Retrofitting OEM HID Projectors into Honda and Acura Headlights
Introduction
This guide covers transplanting a factory xenon (HID) projector into a Honda or Acura headlight that originally used a halogen bulb, producing a sharp, glare-controlled beam that a plug-and-play HID kit cannot match. A true retrofit reuses an OEM projector engineered around the D2S arc rather than forcing xenon bulbs into a halogen optic, which is why the result is bright and clean instead of scattered. The technique has been applied to Integra (DA and DC2), Civic (EG and EK), Accord, RSX, and Prelude housings using donor projectors from the S2000, Acura TSX, and a range of European cars. Expect real fabrication: opening and resealing the housing, cutting the reflector, building a bracket, shielding stray light, and wiring a proper relay harness. Because the work involves high-voltage ignitors and aim that affects other drivers, it is best suited to someone comfortable with wiring and hand fabrication. Adapted from a community writeup by PatrickGSR94 on Honda-Tech (https://honda-tech.com/forums/lighting-107/hid-retrofit-club-1108424/), including corrections from the follow-up discussion.
Reference
Tools Required
- Heat source (oven or heat gun) to soften the headlight sealant
- Rotary tool / Dremel and cutting bits for opening the reflector
- Sandpaper in 1000, 1200, 1500, and 2000 grit
- Polishing compound and a machine buffer
- Soldering iron and wiring/crimp tools for the relay harness
- Multimeter
- Epoxy and headlight sealant
- Basic hand tools and screwdrivers
Parts Required
-
OEM HID (D2S) projector units from a donor vehicle (e.g. Honda S2000, Acura TSX, BMW E46/E55, Audi A6, Mercedes SL500)
-
D2S xenon bulbs (e.g. Philips 85122 4300K)
-
HID ballasts and ignitors (e.g. Philips LVQ-212, or OEM Acura TL ballasts)
-
Relay harness with one 30A relay per side
-
Projector glare shields / shrouds
-
Removable rear dust cap (Hyundai Sonata cap, JDM Integra Type R cap, or USDM 1994-1997 Accord cap)
-
Factory rubber housing seal
-
Flat black paint for chrome bezels
Safety Warnings
- ⚠ Unshielded or misaimed HID projectors throw glare into oncoming traffic, which is dangerous and illegal in most areas; never run a retrofit without working shields and a correct, level cutoff.
- ⚠ HID ignitors generate several thousand volts; disconnect the battery before wiring and never handle a live ballast or ignitor.
- ⚠ Wetsanding a headlight removes the factory UV coating, and treated Honda/Acura lenses may yellow within months once that coating is gone.
Step-by-Step Instructions
1 Select OEM HID Projectors and a Suitable Housing
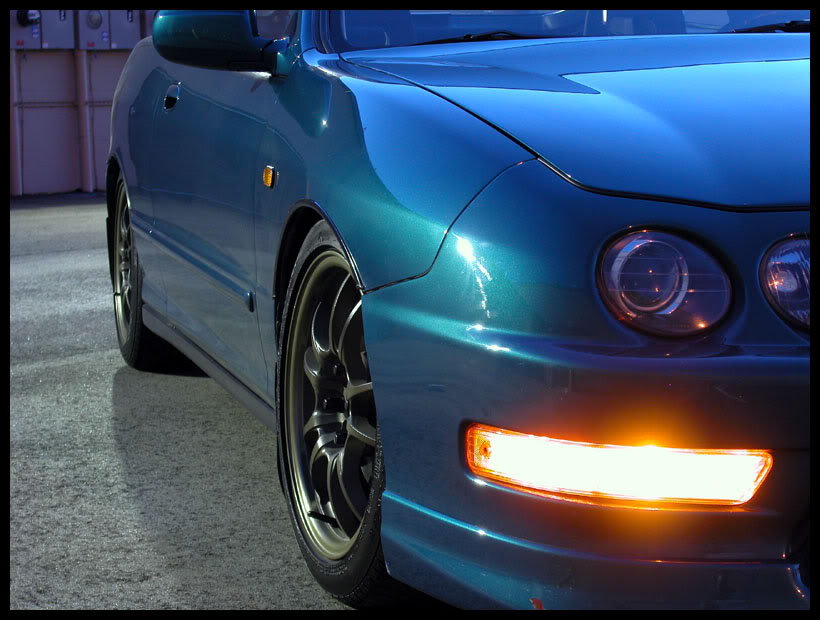
Start with a projector that was designed for a xenon arc, not a halogen filament. Do not drop D2S bulbs and ballasts into the factory halogen projector or a reflector housing; that pairing sprays light everywhere and blinds oncoming traffic. Within the Honda community, S2000 and Acura TSX projector units are common donors, while BMW E46/E55, Audi A6, and Mercedes SL500 optics are also used successfully. Before committing, confirm the projector body and its rear collar will physically clear the depth of your chosen headlight housing.
2 Open the Headlight and Evaluate the Lens
Warm the seam of the housing to soften the factory butyl sealant, then separate the outer lens from the reflector bowl. Inspect the inner lens surface. Integra-style lenses carry molded flutes or textured ribs that smear a projector's crisp cutoff into a wavy double-arc and rob it of output. Where the texturing sits directly ahead of the projector, sand and polish that patch smooth, or fit a clear fluteless lens; leave the texture in front of the fog and corner sections alone.
3 Mount the Projector at the Correct Focal Position
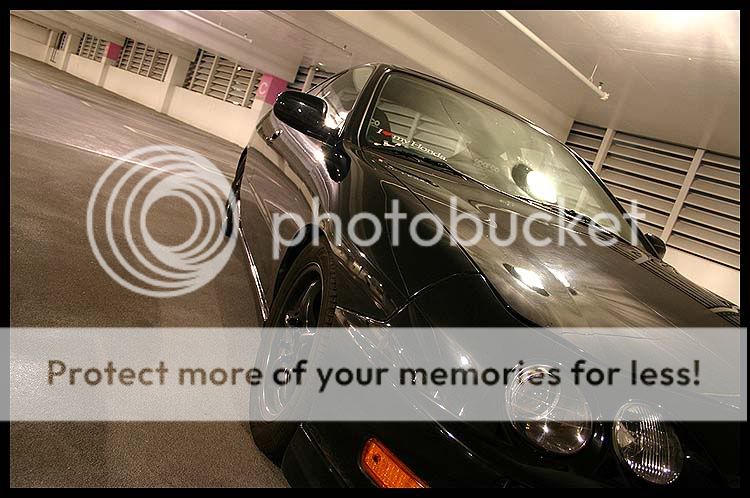
Cut an opening in the reflector just large enough to seat the projector body, then fabricate a bracket that locks the unit solidly in place. Position it so the D2S arc capsule sits where the original H4 low-beam filament used to be; nailing this location is what keeps the beam even and aimable. Compact housings surrender some aiming travel, so take the time to get the projector dead level before you bond anything.
4 Add Shields and Suppress Stray Light
Wrap a glare shield or shroud around the projector so light cannot leak past the lens edge or bounce off the surrounding reflector. Escaped light reflecting inside a reflector-based housing is the single biggest cause of glare in a retrofit. Where the housing has a large bright bezel below the projector, such as the chrome area on 98-01 Integra lights, paint it flat black to kill those reflections.
5 Weatherproof the Bulb Access and Reseal the Housing
Add a removable rear cap so the D2S connector stays sealed inside the housing yet can still be reached for bulb changes. One documented approach bonds a Hyundai Sonata cap to the stock rear piece with epoxy while keeping the factory rubber seal to maintain the weather barrier. Caps taken from JDM Integra Type R headlights, or from USDM 1994-1997 Accord headlights, are reported to fit with far less fabrication. Once sealed, re-bond the lens to the housing with fresh sealant.
6 Wire the Ballasts and Relay Harness
Mount each ballast and ignitor in a protected, weatherproof spot; one build placed Philips LVQ-212 ballasts in sealed cases under the bumper beam. Build a relay harness that powers the ballasts straight from the battery through one 30A relay per side, triggered by the factory low-beam circuit, so the original headlight wiring is never asked to carry ballast load. Install the chosen bulbs, for example Philips 85122 4300K D2S units.
7 Aim, Check the Cutoff, and Confirm No Glare
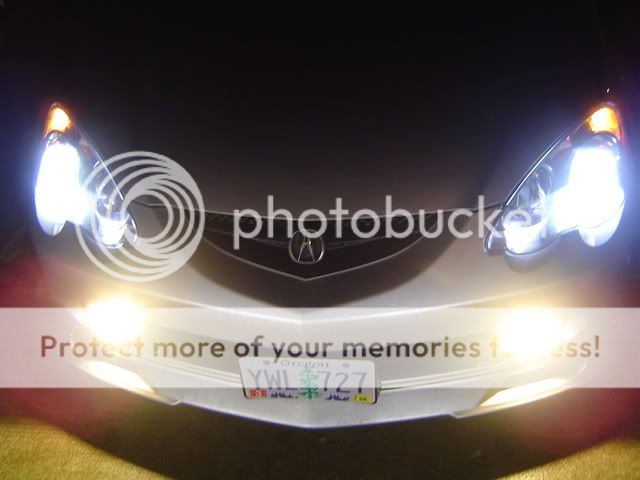
Face the car at a flat wall and confirm the cutoff line is level and consistent on both sides. Then stand in front of the car and verify no bright light spills above the cutoff toward where oncoming drivers would sit. Avoid high-wattage 50W ballasts: they add little usable vision, shorten bulb life, and create such an extreme contrast between lit and unlit zones that dark areas and road signs effectively disappear.
8 Restore the Outer Lens (Optional)
If the outer lens is hazed or scratched, wetsand it progressively through 1000, 1200, 1500, then 2000 grit, using water solely to flush away the removed material and keep the paper from clogging, then machine-buff with polish to bring back clarity. Be aware that sanding strips whatever factory UV coating the lens had, so treated Honda and Acura lenses can begin to yellow within a few months afterward.
Pro Tips
- 💡 A properly shielded OEM projector will not glare; the harsh xenon glare people complain about almost always comes from cheap plug-and-play kits dropped into halogen optics.
- 💡 Textured or flutted lenses noticeably reduce output and blur the cutoff, so a clear lens (or one selectively polished only in front of the projector) gives the best beam.
- 💡 Rear dust caps from a JDM Integra Type R headlight or a 1994-1997 USDM Accord headlight fit with minimal modification if you would rather not fabricate one.
- 💡 Match D2S versus D2R bulbs correctly and always place the arc where the original low-beam filament sat, or the beam pattern will be off.
Was this guide helpful?

