
EK Civic Type R-Style Headlight Blackout (No-Oven Method)
- Do not overheat the headlight - ovens have melted lights doing this. If you use an oven, keep it around 110 degrees C, keep the light off the oven floor, and check constantly.
- Be careful prying with the screwdriver: the plastic tabs and the lens crack easily, and a hot knife will cut into the housing plastic just as readily as the silicone.
- Use methylated spirits, not turpentine, for cleaning - turps can damage the finish.
- Do not let the resealed light contact water for 24 hours; a poor reseal lets moisture in and fogs the headlight.
Introduction
Genuine Civic Type R headlights command a steep premium - around 300 dollars at the time of writing, with genuine EK9 lights later fetching 900 dollars or more - but the CTR look is essentially a standard EK headlight with a dark inner housing. This guide converts standard EK Civic headlights into Type R-style units by opening the headlight, painting the chrome inner housing, and resealing it. It deliberately avoids the common oven method: the author melted a light on a previous oven attempt, and a space heater softens the factory silicone without getting hot enough to deform the plastic. The same process works on EG and ED Civic headlights. Note the differences from genuine parts: the real CTR housing is a reflective grey/gunmetal tint rather than black, and Honda did not paint the indicator (blinker) housing - the author painted his black for maximum contrast against a white car. Adapted from a community writeup by EK4R on OzHonda (https://ozhonda.com/forum/showthread.php?45494-DIY-CTR-Headlight-for-EK-(without-oven)), including corrections from the follow-up discussion.
Procedure
9 steps-
Step 1: Remove the front bumper
Remove the five plastic clips along the top of the bumper, one clip on each side of the bumper inside the fenders, and two clips below the bumper (the lower fasteners are underneath the car where they cannot be seen - locate them by feel).

FIG. 2.1 -
Step 2: Remove the headlights
Working one light at a time, remove the two screws on top of the headlight, one screw on the side (easily accessible once the bumper is off), and one screw just inside the grille area. As with the bumper, one fastener is hidden from view under the car.
-
Step 3: Separate the lens from the housing with a heater
Place the headlight's sealed seam toward a space heater for roughly 10 minutes (time depends on the heater's output) until the factory silicone softens. First lever a small starting gap with a flathead screwdriver so heat can get into the seam. Because a heater cannot warm the whole light at once, open the headlight bit by bit: the initial opening is the hardest, and it gets progressively easier. Slot a coin (a 10-cent piece) into each opened gap so the silicone cannot re-stick, then rotate the next section toward the heater and repeat until the lens comes free. A heat gun or hair dryer aimed at the seam works the same way - the glue needs surprisingly little heat before it lets go.
FIG. 2.3 -
Step 4: Remove the chrome inner housing
Unscrew the two Phillips screws holding the chrome inner housing to the plastic housing (their locations are obvious - make sure you get both) and lift the chrome housing out.
-
Step 5: Prepare the surface
Wipe every area you intend to paint with alcohol (methylated spirits, not turpentine) on a rag. Rubbing for a while will start lifting the chrome finish, which gives the paint a better key. This step can be skipped and the chrome painted over directly - repliers who painted straight over the chrome still got good results.
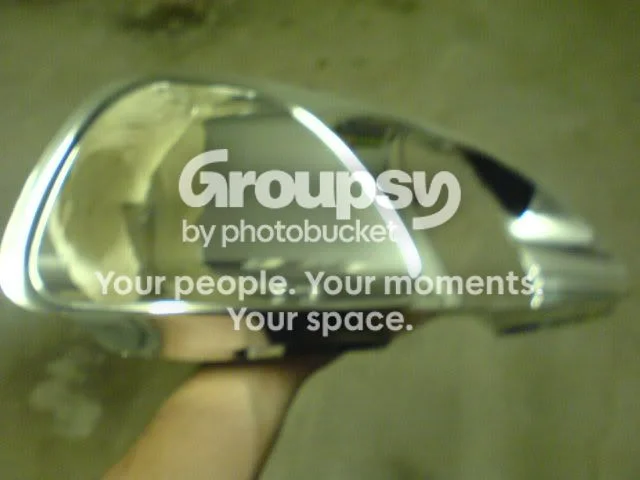
FIG. 2.5 -
Step 6: Spray the housing
Apply a light first coat, let it dry, then apply heavier coats - 3 to 5 in total, or until you reach the depth of color you want. Black gives maximum contrast (especially against a white car); dark gunmetal grey is closer to the genuine EK9 tint, which is a reflective grey/gunmetal rather than true black. Add clear coat for a glossy finish, or leave it for a matte look. A primer first and high-temperature paint are worthwhile for durability against headlight heat, though cheap general-purpose paint held up fine for the author.
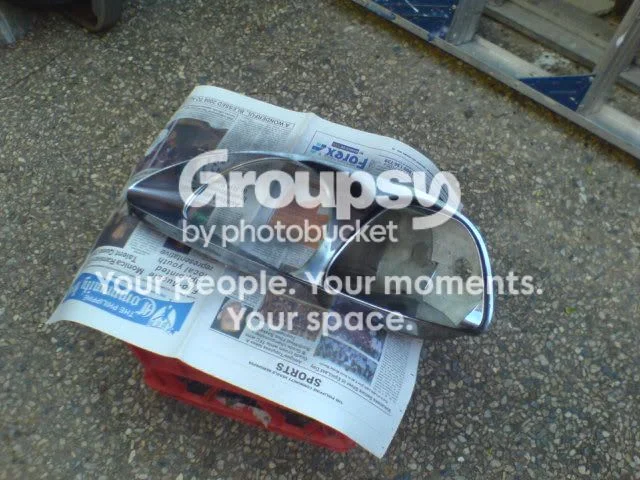
FIG. 2.6 -
Step 7: Deal with the indicator reflector
Painting the indicator (blinker) reflector area dims the indicator. Options: mask the indicator reflector with tape before spraying so it stays chrome (as on genuine CTR lights - tedious on the curved surface but effective); or, if you paint it, apply a few coats of clear coat over that area to restore some reflection - matte black is much less reflective than chrome. Amber LED bulbs (about 20 dollars) can also compensate. On pre-facelift lights the reflector is molded into the one-piece chrome housing rather than being a separate piece, so masking is fiddlier; the indicators remain visible either way.
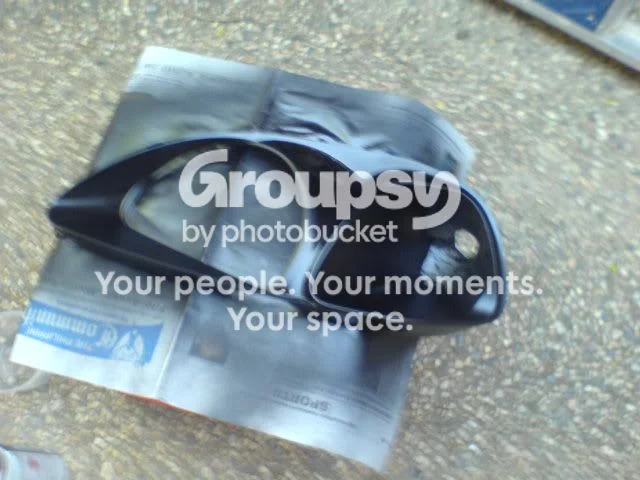
FIG. 2.7 -
Step 8: Clean up the old silicone and inspect
Trim away the old silicone from the sealing channel with a hot knife (or a blade heated over a flame, reheated as needed) - cut slowly, because it is easy to slice into the plastic. Complete removal is not critical as long as the seam can close cleanly; the old silicone can also be reheated and reused with fresh sealant added over it. Before sealing, check the inside of both lenses for dirt and confirm both housings are the same paint shade.
-
Step 9: Reseal and reassemble
Rejoin the lens to the housing with a quality water-resistant silicone such as Selleys All Clear, running an extra bead over the outside edges in case the original silicone does not seal perfectly. Let it cure fully - 24 hours before any water contact - then refit the headlights and bumper.
FIG. 2.9
- If you prefer the oven method anyway: about 110 degrees C with the door ajar, the light resting on wet cardboard or timber blocks (never directly on the tray - the oven floor gets hot enough to melt the plastic), checking every 30 seconds to 2 minutes.
- Heat the whole seam all the way around before prying rather than working one small section at a time - heating section by section gets you nowhere fast.
- Fewer paint coats are better on the indicator area: one very quick light coat plus one covering coat is enough; extra coats just cost indicator brightness.
- If moisture gets in later, remove the light, flip it so the bulb hole faces up, dry it in the sun (or with a hair dryer), then reseal. A small drain hole drilled at the bottom of the headlight also stops fogging.
- Yellowed, hazy lenses can be restored with plastic polish, or wet-and-dry sandpaper stepped through the grits (200 > 400 > 800 > 1200 > 1500 > 2000) followed by plastic polish such as Autosol.
- Budget most of a day: reported times ranged from about 45 minutes just to open, strip, and spray one light, to 5-6.5 hours for the complete job with reseal.
Related procedures
All guides →
Tap right for next · left for back · Keys: ← → step · Space / PgUp / PgDn scroll · Esc exit