
Acura TSX HID Projector Retrofit into EG Civic Headlights
- Oven work is the riskiest step: bake at 350 degrees F for only 5 minutes and pry gently - overheating or forcing the parts will break the glass lens or melt the housing.
- Cut the housing outdoors or in a well-ventilated area; the rotary tool throws a large amount of fine plastic dust.
- Remove the D2S bulbs before handling the projectors - HID capsules are fragile and expensive.
- This conversion eliminates the high beam function of the stock housing.
- HID retrofits can dazzle oncoming traffic if poorly aimed or badly executed, and are not street-legal in many jurisdictions - verify the cutoff against a wall and aim the lamps properly before driving at night.
Introduction
This retrofit mounts genuine Acura TSX OEM HID projectors inside the stock 1992-1995 Honda Civic (EG) headlight housings, paired with D2S bulbs and HID ballasts. Compared with the stock halogens or a plug-and-play HID kit dropped into the halogen reflector, a true OEM projector retrofit gives far greater light output, better night visibility, and a high-end look, because the projector's optics - including the cutoff shield, which on these newer TSX units forms part of the projector's front-half molding - control the beam. The original author retained the OEM fluted glass lens; several experienced repliers cautioned that a fluted lens can scatter a projector beam and soften the cutoff, so consider clear lenses if a razor-sharp cutoff matters to you. Keep a spare set of headlights if the car is your daily driver, since the housings are cut and modified permanently. Adapted from a community writeup by ejoner on Honda-Tech (https://honda-tech.com/forums/lighting-107/diy-eg-tsx-hid-projector-retrofit-2193541/), including corrections from the follow-up discussion.
Procedure
11 steps-
Step 1: Remove the headlights from the car
Remove both headlight assemblies from the vehicle. (The original author deliberately omitted this part - if you cannot work out headlight removal on an EG, this retrofit is not a project to attempt.) Work with the assemblies on a bench.
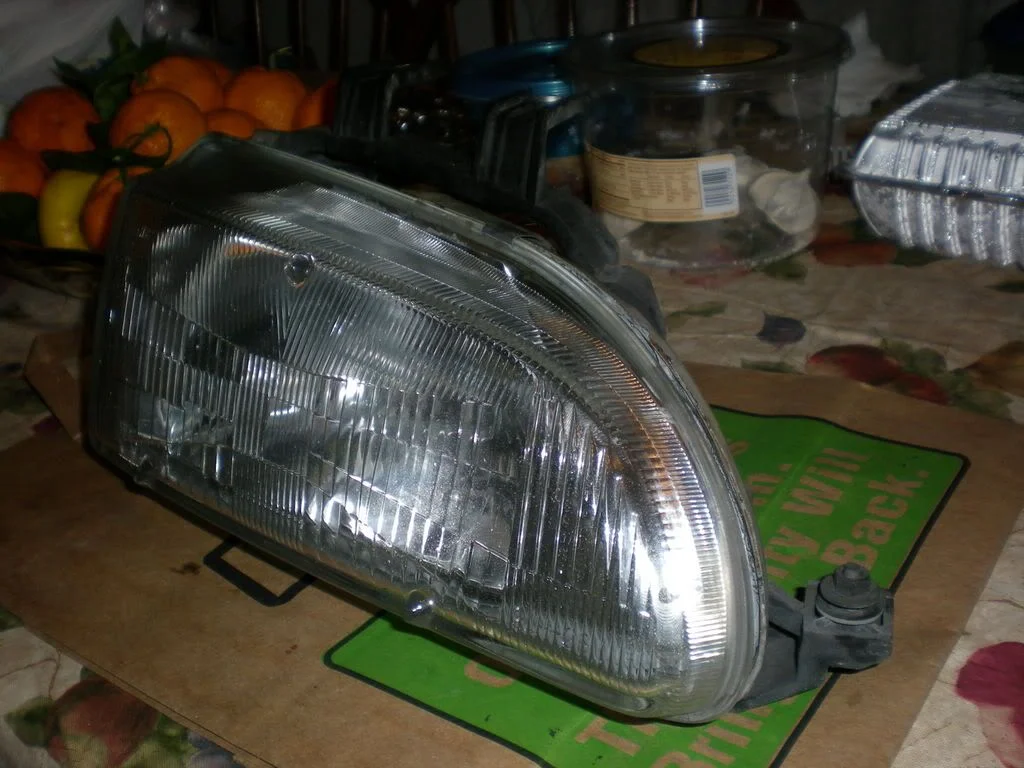
FIG. 2.1 -
Step 2: Release the lens retaining clips
Each headlight has five clips around its perimeter holding the lens to the housing. Pry these off lightly with a flathead screwdriver, taking care not to bend or break them - they are reused at reassembly.
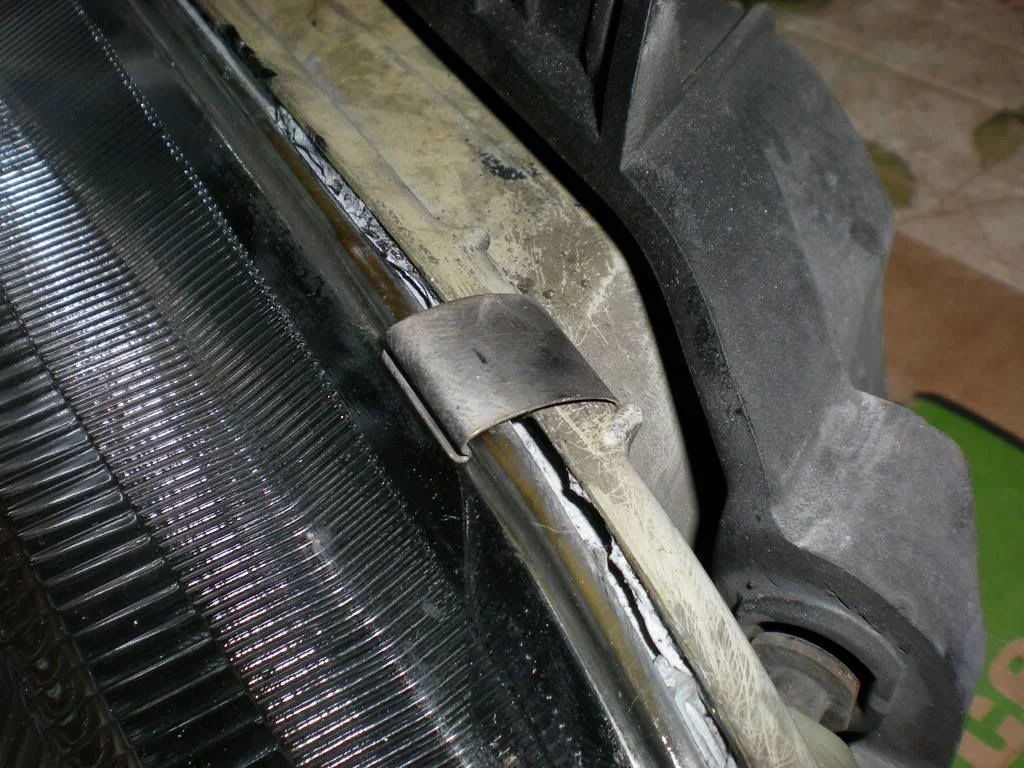
FIG. 2.2 -
Step 3: Bake the headlight and split the lens from the housing
Place the headlight on a cooking sheet. Set the oven to 350 degrees F and set a timer for 10 minutes; wait the first 5 minutes (preheat), then put the headlight in for the remaining 5 minutes. When the timer rings, pull the headlight out, set it on the table, and pry the lens and housing apart very lightly and slowly with a spatula. Work patiently - it will split, but be very careful not to break the glass lens or crack the housing.
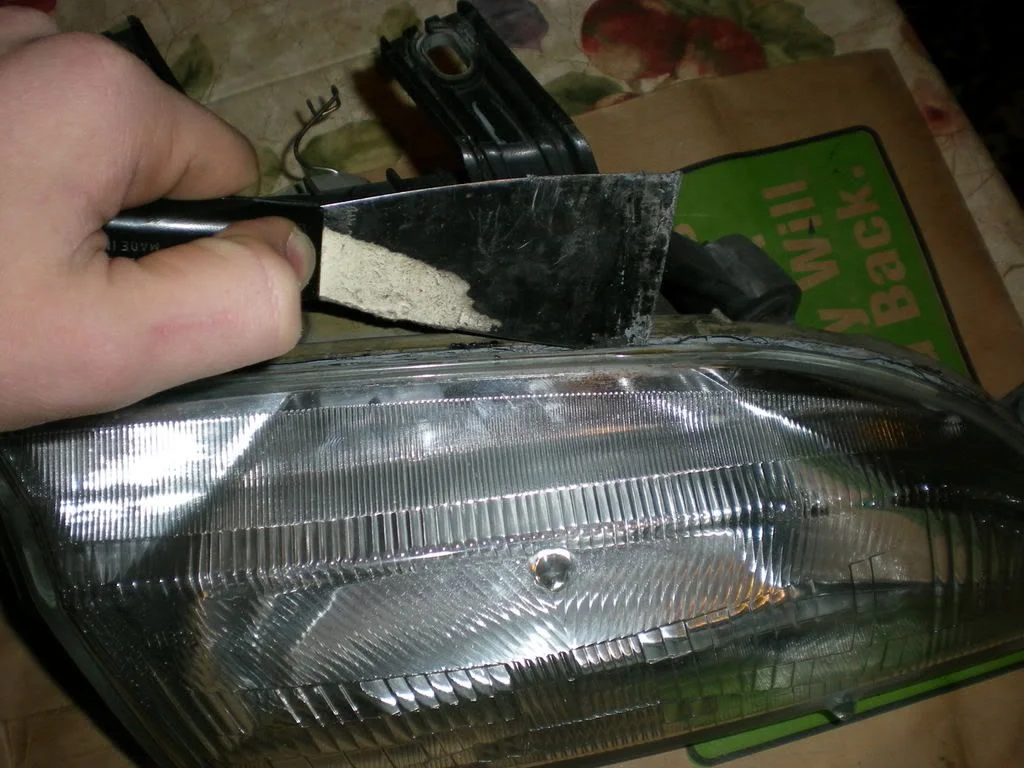
FIG. 2.3 -
Step 4: Remove the original internal shield
Inside the opened headlight you will see the original internal (glare) shield. It is held by two Phillips-head screws along the bottom - remove the screws and take the shield out.
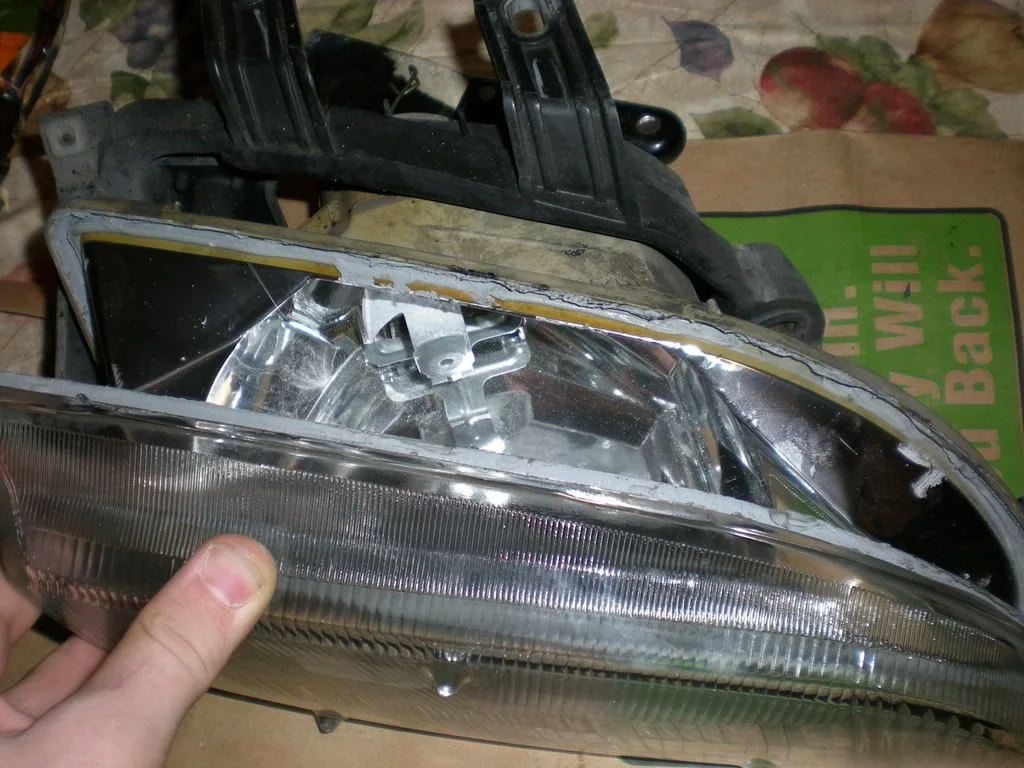
FIG. 2.4 -
Step 5: Mark the clearance cut on the rear of the housing
Trial-position the TSX projector and work out which area of the housing's back must be removed so the projector body clears it. Mark that area with a marker on both the outside and the inside of the housing.
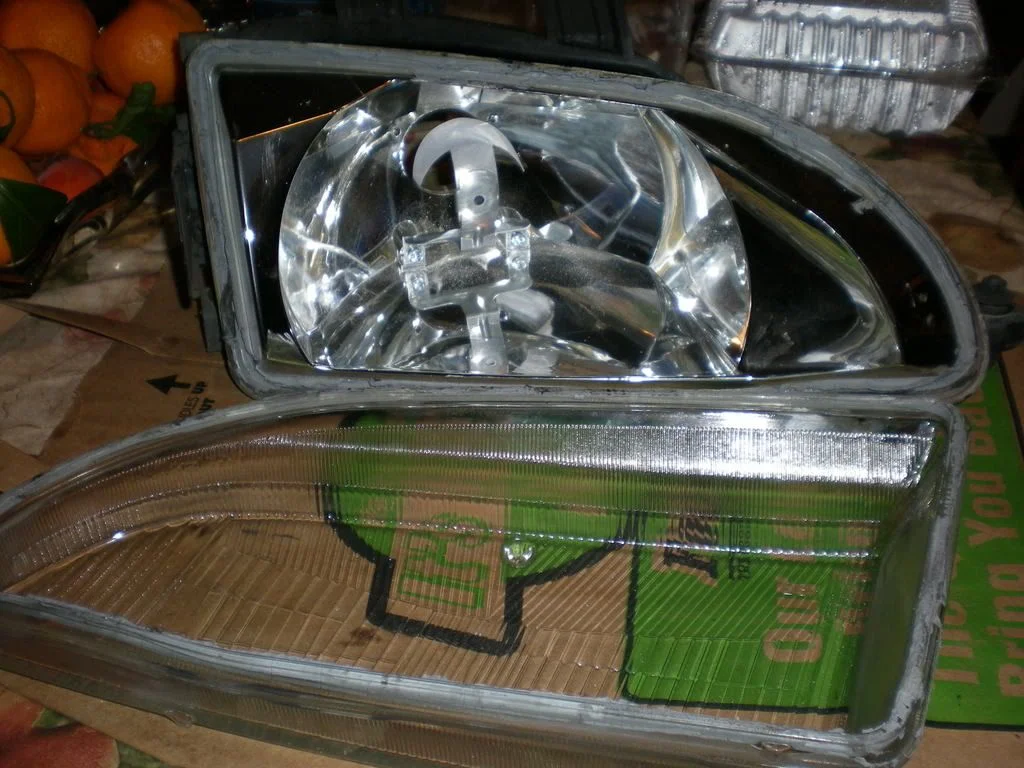
FIG. 2.5 -
Step 6: Cut the housing with a rotary tool
Fit a heavy-duty cutoff wheel to the rotary tool and cut out the marked area from the back of the housing. Do this outdoors or in a well-ventilated area - the cutting produces a lot of plastic dust. When finished, the rear of the housing will have an opening the projector passes through.
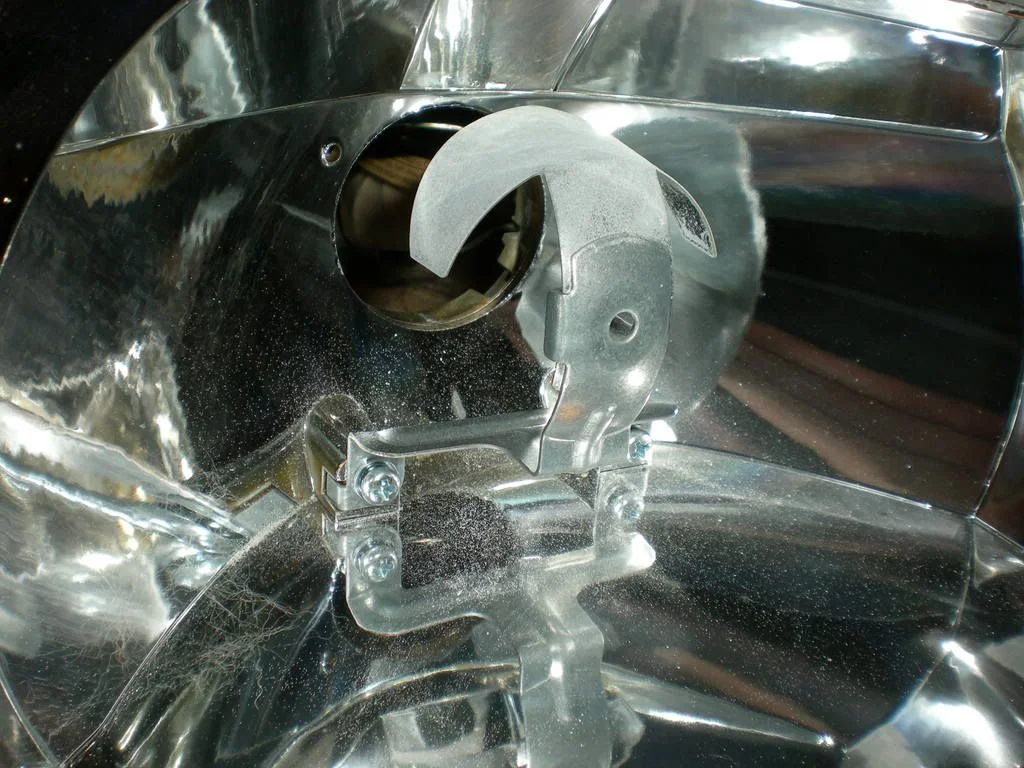
FIG. 2.6 -
Step 7: Disassemble the projector (optional color mod)
Remove the D2S bulbs from the projectors first so they cannot be damaged. If you are doing the "color mod" - a modification that makes the edge of the cutoff line blue and focuses the beam right under the cutoff - unscrew the screw at each corner of the projector to separate it into its two halves, the reflector bowl and the lens half. Note the two small locating nipples protruding through at the bottom of the projector, one each side of the center ring. On these newer TSX projectors the cutoff shield forms part of the front half's molding, so it is not removed.
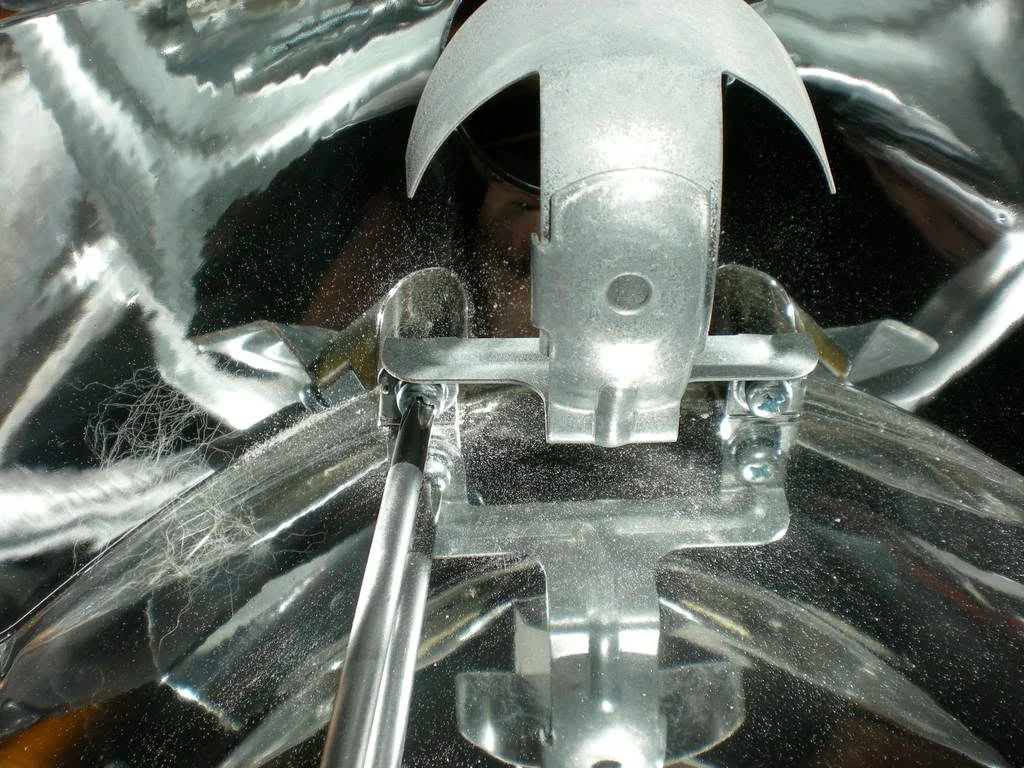
FIG. 2.7 -
Step 8: Shim the nipples and fit the L brackets
Place two of the small (#2) washers on each bottom nipple - four washers per projector. With the washers held in place, mount the 1 in x 1/2 in L brackets (corner braces) to the projector using the machine screws, making sure the washers do not fall off, then screw the two projector halves back together. The brackets must attach at the outer holes of the projector. Also remove the small ring at the bottom of the projector body.
FIG. 2.8 -
Step 9: Level the brackets and lock the fasteners
Adjust the L brackets until they sit level - bracket rotation determines whether your cutoff line ends up flat or tilted, so take time here. Once level, apply Loctite to all the bolts and nuts so nothing can vibrate loose inside the sealed headlight.
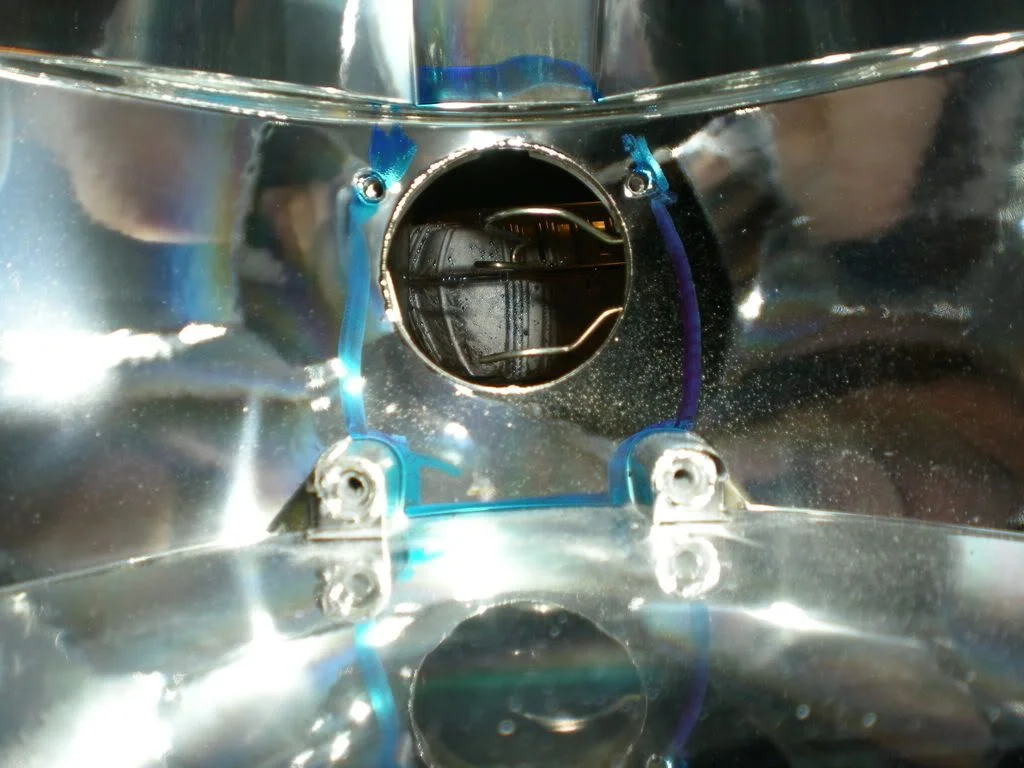
FIG. 2.9 -
Step 10: Optional: paint the housing black
With the headlight already apart, this is the time to paint the chrome housing black if you want the blacked-out look: prime, then paint. The original author did the black housing on the driver's side and ran the projector without a shroud, preferring the raw look; a shroud can be added later, and it also serves a function by blocking stray light.
-
Step 11: Wire the ballasts and reassemble
Make up a harness from the OEM headlight harness to each ballast using soldered joints or crimps, covering all connections with heat shrink and electrical tape, and tidy the wiring with wire loom. Mount the ballasts and secure the wiring with zip ties. Reinstall the D2S bulbs, reseal the lens to the housing with a bead of clear silicone, refit the five retaining clips, and reinstall the headlights. Aim the beams before night driving.
- Keep a spare set of EG headlights so the car stays drivable while you work - the retrofit is a multi-session job.
- The "color mod" (washers shimming the projector halves apart) tints the cutoff edge blue and focuses the light directly under the cutoff line.
- Bracket rotation is the main thing people get wrong in retrofits: if the rotation is off, the beam is tilted instead of flat. Level the brackets carefully before applying Loctite.
- Several experienced repliers recommend clear lenses over the OEM fluted glass: fluted optics can scatter a projector beam and soften the cutoff. The author judged output through the fluted lens still far better than stock halogen or a plug-and-play kit.
- OEM HID projectors are designed for HID bulb temperatures, unlike cheap aftermarket halogen projector bowls whose chrome coating can bubble with heat; HID bulbs also run cooler than halogens (roughly 35 W versus 55 W).
- Avoid touching the projector reflector surfaces with bare hands while the units are apart.
Related procedures
All guides →
Tap right for next · left for back · Keys: ← → step · Space / PgUp / PgDn scroll · Esc exit