
SEC. 02 · Procedures
DIY
procedures
423 step-by-step guides for maintenance, repairs and modifications, written by people who've done the job. Every one opens in garage mode on your phone.
Planning a swap we don't cover? Request it.
Category
Level
Suspension
Moderate
Verified ✓
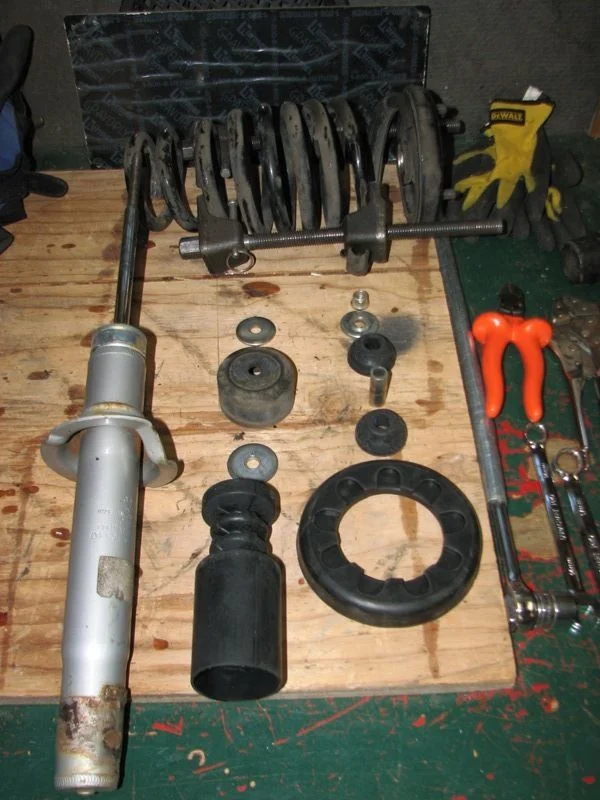
2001 Honda Accord Front Strut and Damper Replacement
11 steps · 3-4 hours per side
7 VIEWS
Brakes
Difficult
Verified ✓
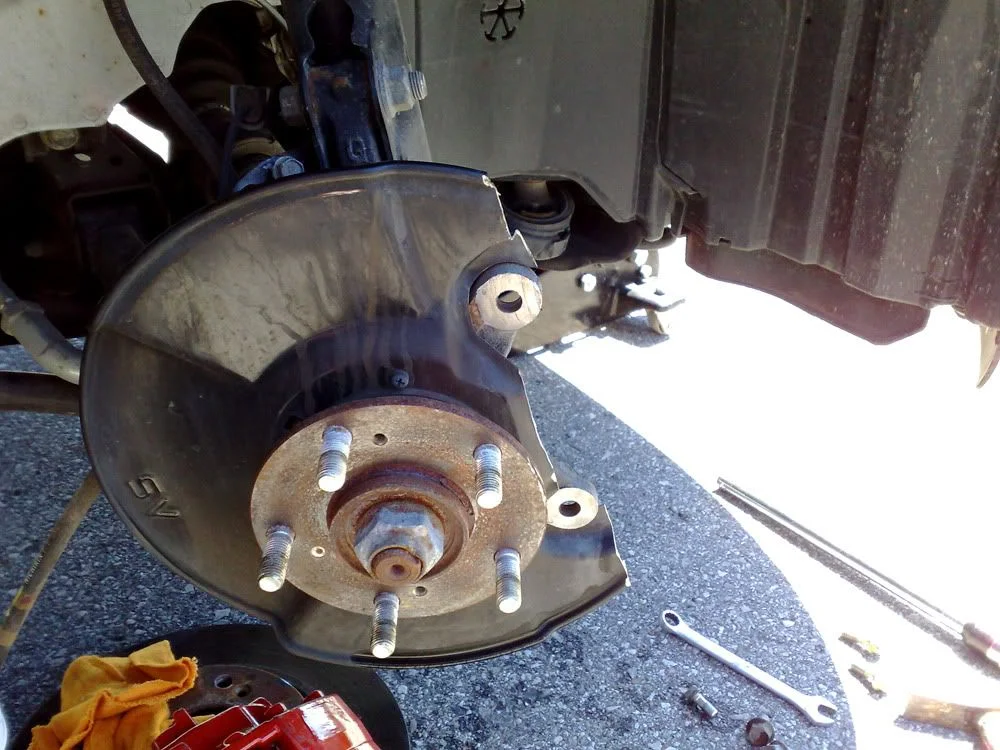
8th-Gen Civic Big Brake Conversion (RSX Rotors with DC5/TSX Type-S Brembo Calipers)
7 steps · 4-6 hours
7 VIEWS
FIG. 2.3
Exterior
Easy
Verified ✓
8th-Gen Honda Civic Sedan Trunk Damper Kit Installation
8 steps · about 30 minutes
7 VIEWS
Lighting
Moderate
Verified ✓
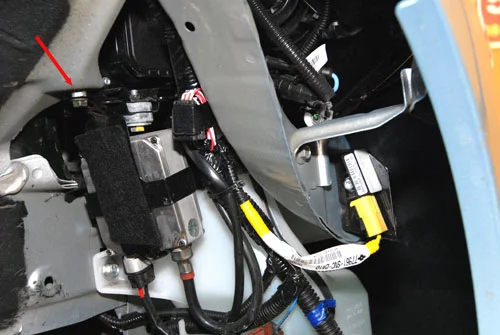
8th-Generation Honda Civic HID Low-Beam Conversion
9 steps · about 2 hours
7 VIEWS
FIG. 2.5
Lighting
Moderate
Verified ✓
9005 Bulb Conversion for Third-Generation Integra Projector Headlights
7 steps · 30-60 minutes
7 VIEWS
FIG. 2.6
Drivetrain
Moderate
Verified ✓
Acura 1G CL Clutch Slave Cylinder Replacement and Bleed
8 steps · 30-45 minutes
7 VIEWS
FIG. 2.7
Interior
Easy
Verified ✓
Acura 1G CL Front Speaker Grille Removal and Fabric Cleaning
6 steps · 1-2 hours
7 VIEWS
FIG. 2.8
Engine
Moderate
Verified ✓
Acura 1G CL Intake Resonator (Air Silencer) Removal
6 steps · 1-2 hours
7 VIEWS
FIG. 2.9
Engine
Difficult
Verified ✓
Acura 1G TL (2.5) Engine Mount Replacement
10 steps · 3-5 hours per side
7 VIEWS
Drivetrain
Moderate
Verified ✓
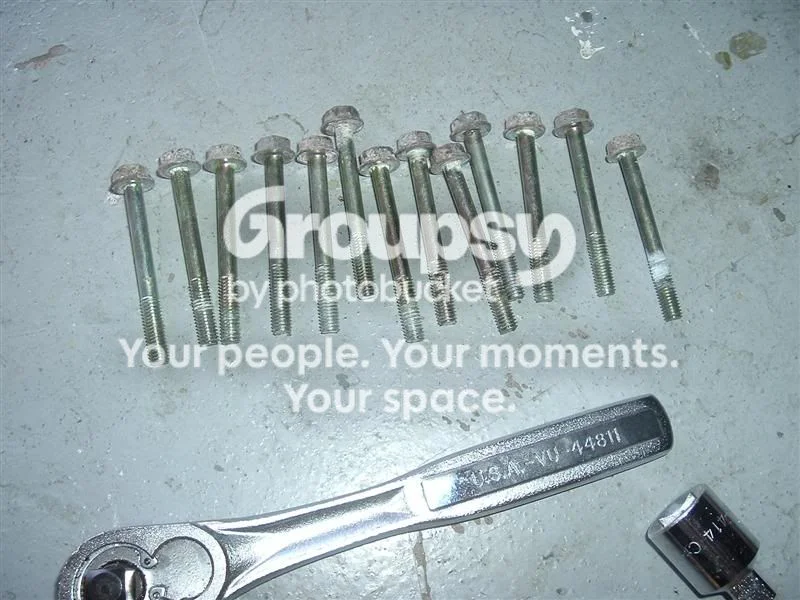
Acura 1G TL Automatic Transmission Strainer (Filter) and Fluid Service
11 steps · 2-3 hours
7 VIEWS
FIG. 2.11
Lighting
Moderate
Verified ✓
Acura 1G TL Fog Light Conversion: H3C to H3 Bulbs
8 steps · 1-2 hours
7 VIEWS
FIG. 2.12
Suspension
Difficult
Verified ✓
Acura 1G TL Rear Lowering Spring and Strut Replacement
8 steps · 3-8 hours for the rear pair (first attempt)
7 VIEWS
FIG. 2.13
Drivetrain
Moderate
Verified ✓
Acura 3.0 CL / TL Automatic Transmission Fluid Cooler Install
9 steps · 1-2 hours
7 VIEWS
Engine
Moderate
Verified ✓
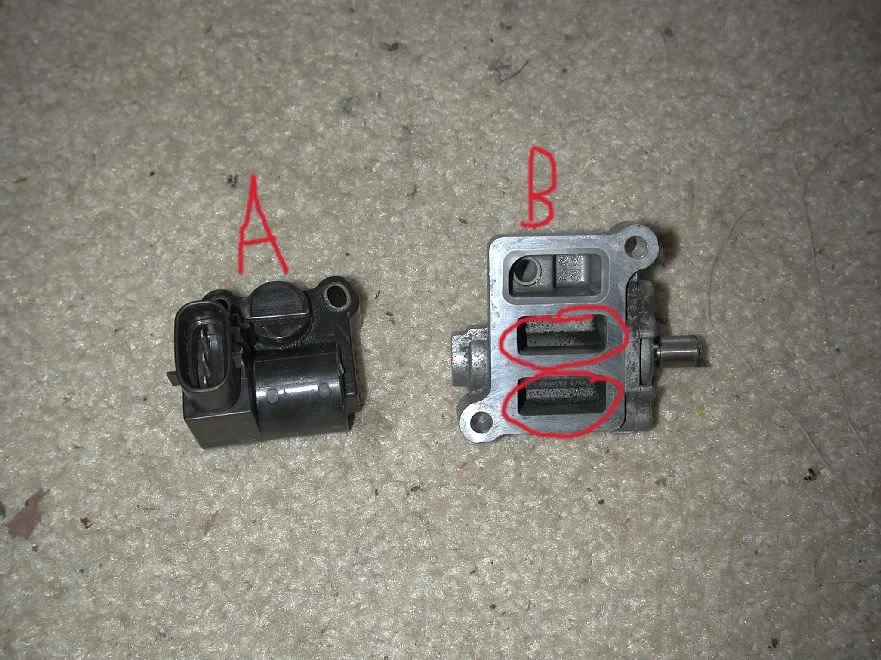
Acura 3.0/3.2 V6 Idle Air Control Valve: Throttle Body Removal, Cleaning, and Replacement
11 steps · 1-2 hours
7 VIEWS
FIG. 2.15
Electrical
Difficult
Verified ✓
Acura 3G TL Navigation Modding: Custom Splash Screen, Trip Computer, and OK-Button Nag Removal
8 steps · 1-2 hours
7 VIEWS
Lighting
Moderate
Verified ✓
Acura CL (1G) Black-Housing Headlight Conversion
14 steps · About 4 hours of work, plus overnight drying
7 VIEWS
FIG. 2.17
Lighting
Difficult
Verified ✓
Acura CL (1G) Climate Control LED Illumination Conversion
7 steps · 2-4 hours for the drop-in bulb swap; a full day or more for the optional wired LED addition
7 VIEWS
FIG. 2.18
Maintenance
Moderate
Verified ✓
Acura CL (1G) Clogged Evaporator Drain Cleaning
7 steps · 1-2 hours
7 VIEWS
Audio
Moderate
Verified ✓
Acura CL (1G) Factory Stereo iPod Integration Adapter Install
10 steps · 1-2 hours
7 VIEWS
Suspension
Difficult
Verified ✓
Acura CL (1G) Front and Rear Spring and Strut Replacement
10 steps · A full day for all four corners; several days if a rear lower bolt seizes
7 VIEWS
FIG. 2.21
Lighting
Moderate
Verified ✓
Acura CL (1G) Low-Beam HID Conversion
7 steps · 1-2 hours
7 VIEWS
FIG. 2.22
Interior
Moderate
Verified ✓
Acura CL (1G) Power Window Regulator and Motor Replacement
13 steps · 1-2 hours
7 VIEWS
FIG. 2.23
Audio
Moderate
Verified ✓
Acura CL (1G): Adding Amplified Subwoofers to the Factory Bose System
9 steps · 3-4 hours
7 VIEWS
Interior
Moderate
Verified ✓
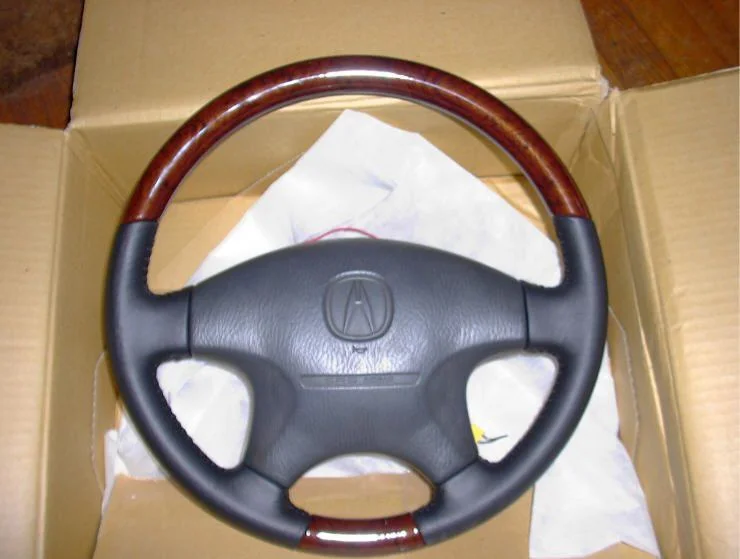
Acura CL (1st Gen) Steering Wheel Removal and Replacement
13 steps · 1-2 hours
7 VIEWS
Drivetrain
Difficult
Verified ✓
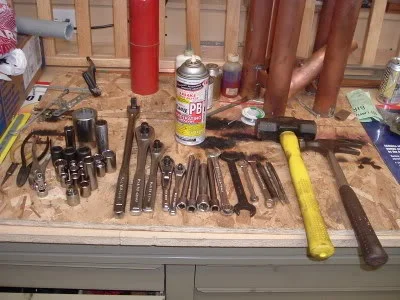
Acura CL (2.2/2.3) Clutch and Flywheel Replacement
15 steps · 6-8 hours (professional flat rate is close to 6 hours; expect longer as a first-timer)
7 VIEWS
FIG. 2.26
Brakes
Moderate
Verified ✓
Acura CL Brake Rotor and Pad Replacement with Caliper Painting
10 steps · 4-6 hours plus paint drying time
7 VIEWS
FIG. 2.27
Lighting
Moderate
Verified ✓
Acura CL Clear Corner Lights: Blacked-Out Housing Conversion
12 steps · About 4 hours of hands-on work, plus overnight paint and sealant curing
7 VIEWS
Lighting
Easy
Verified ✓
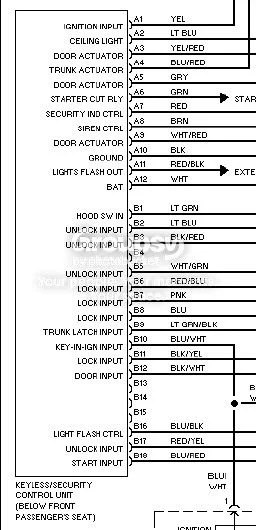
Acura CL Footwell Accent Lighting: Wiring LED Tubes to Switch With Your Interior Lights
9 steps · 30 minutes to 1 hour
7 VIEWS
FIG. 2.29
Audio
Easy
Verified ✓
Acura Integra (G3) Factory Radio / Head Unit Removal
8 steps · 30-45 minutes
7 VIEWS
FIG. 2.30
Engine
Easy
Verified ✓
Acura Integra Cold Air Intake Installation (AEM-Style CAI)
9 steps · 1-2 hours
7 VIEWS
FIG. 2.31
Maintenance
Difficult
Verified ✓
Acura Integra GS-R (DC2, B18C1) Timing Belt and Water Pump Replacement
15 steps · 4-6 hours
0 VIEWS
FIG. 2.32
Interior
Moderate
Verified ✓
Acura Integra Indiglo Electroluminescent Gauge Face Install
9 steps · 2-3 hours
7 VIEWS
FIG. 2.33
Drivetrain
Moderate
Verified ✓
Acura Integra Short Shifter Installation (94-01 GSR/RS/LS)
11 steps · 2-3 hours
7 VIEWS
FIG. 2.34
Interior
Easy
Verified ✓
Acura RDX (1G) Center Console Top Cover Removal and Cup Holder Replacement
8 steps · 30-45 minutes
7 VIEWS
Suspension
Moderate
Verified ✓
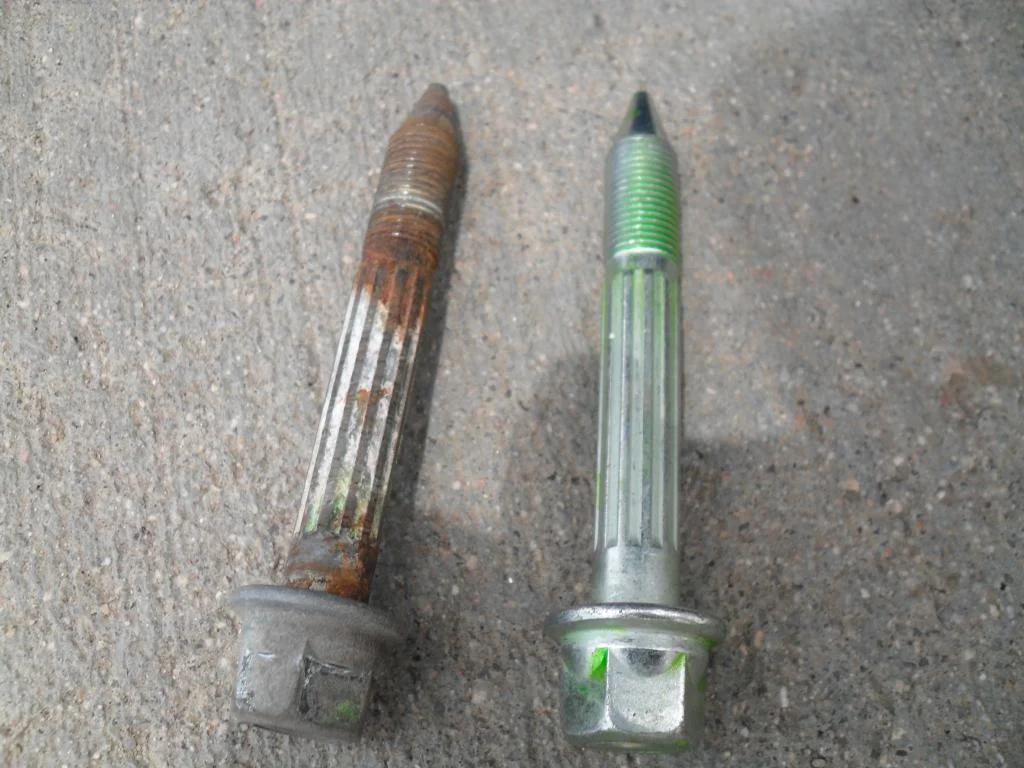
Acura RDX (1st Gen) Rear Damper Replacement
12 steps · 1-2 hours
7 VIEWS
FIG. 2.36
Maintenance
Moderate
Verified ✓
Acura RDX (1st Gen) Spark Plug Replacement and Top-Mount Intercooler Removal
12 steps · 1.5-2.5 hours
7 VIEWS
Maintenance
Moderate
Verified ✓
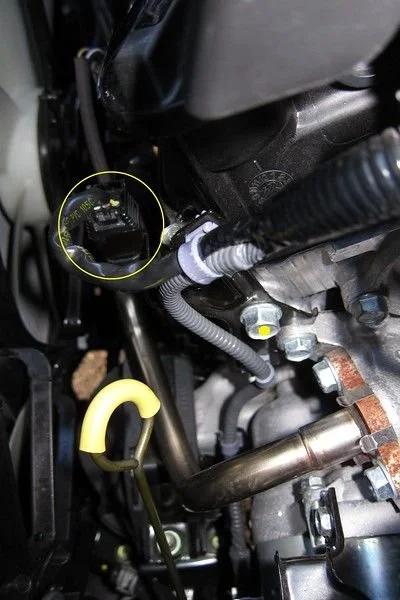
Acura RDX (2G) Engine Block Heater Installation
10 steps · 2-3 hours
7 VIEWS
FIG. 2.38
Interior
Moderate
Verified ✓
Acura RDX (2G) Front Door Panel Removal
7 steps · 30-60 minutes
7 VIEWS
Electrical
Moderate
Verified ✓
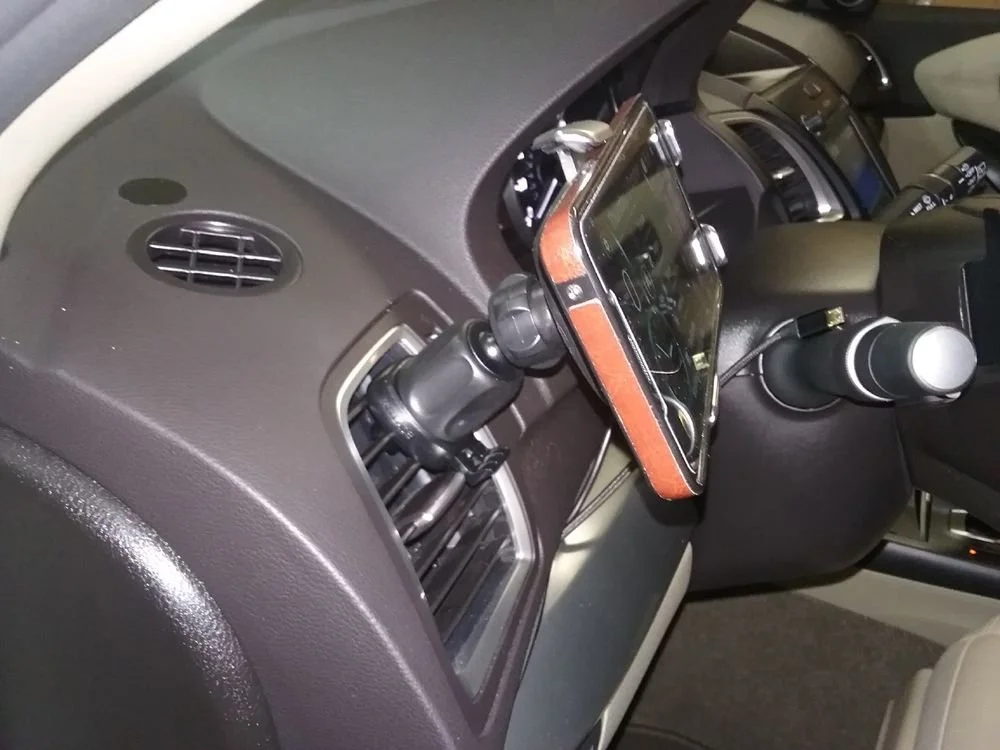
Acura RDX (2G): Hidden USB Phone Charger and Mount Install via Radio Trim Removal
9 steps · 1-2 hours
7 VIEWS
Drivetrain
Moderate
Verified ✓
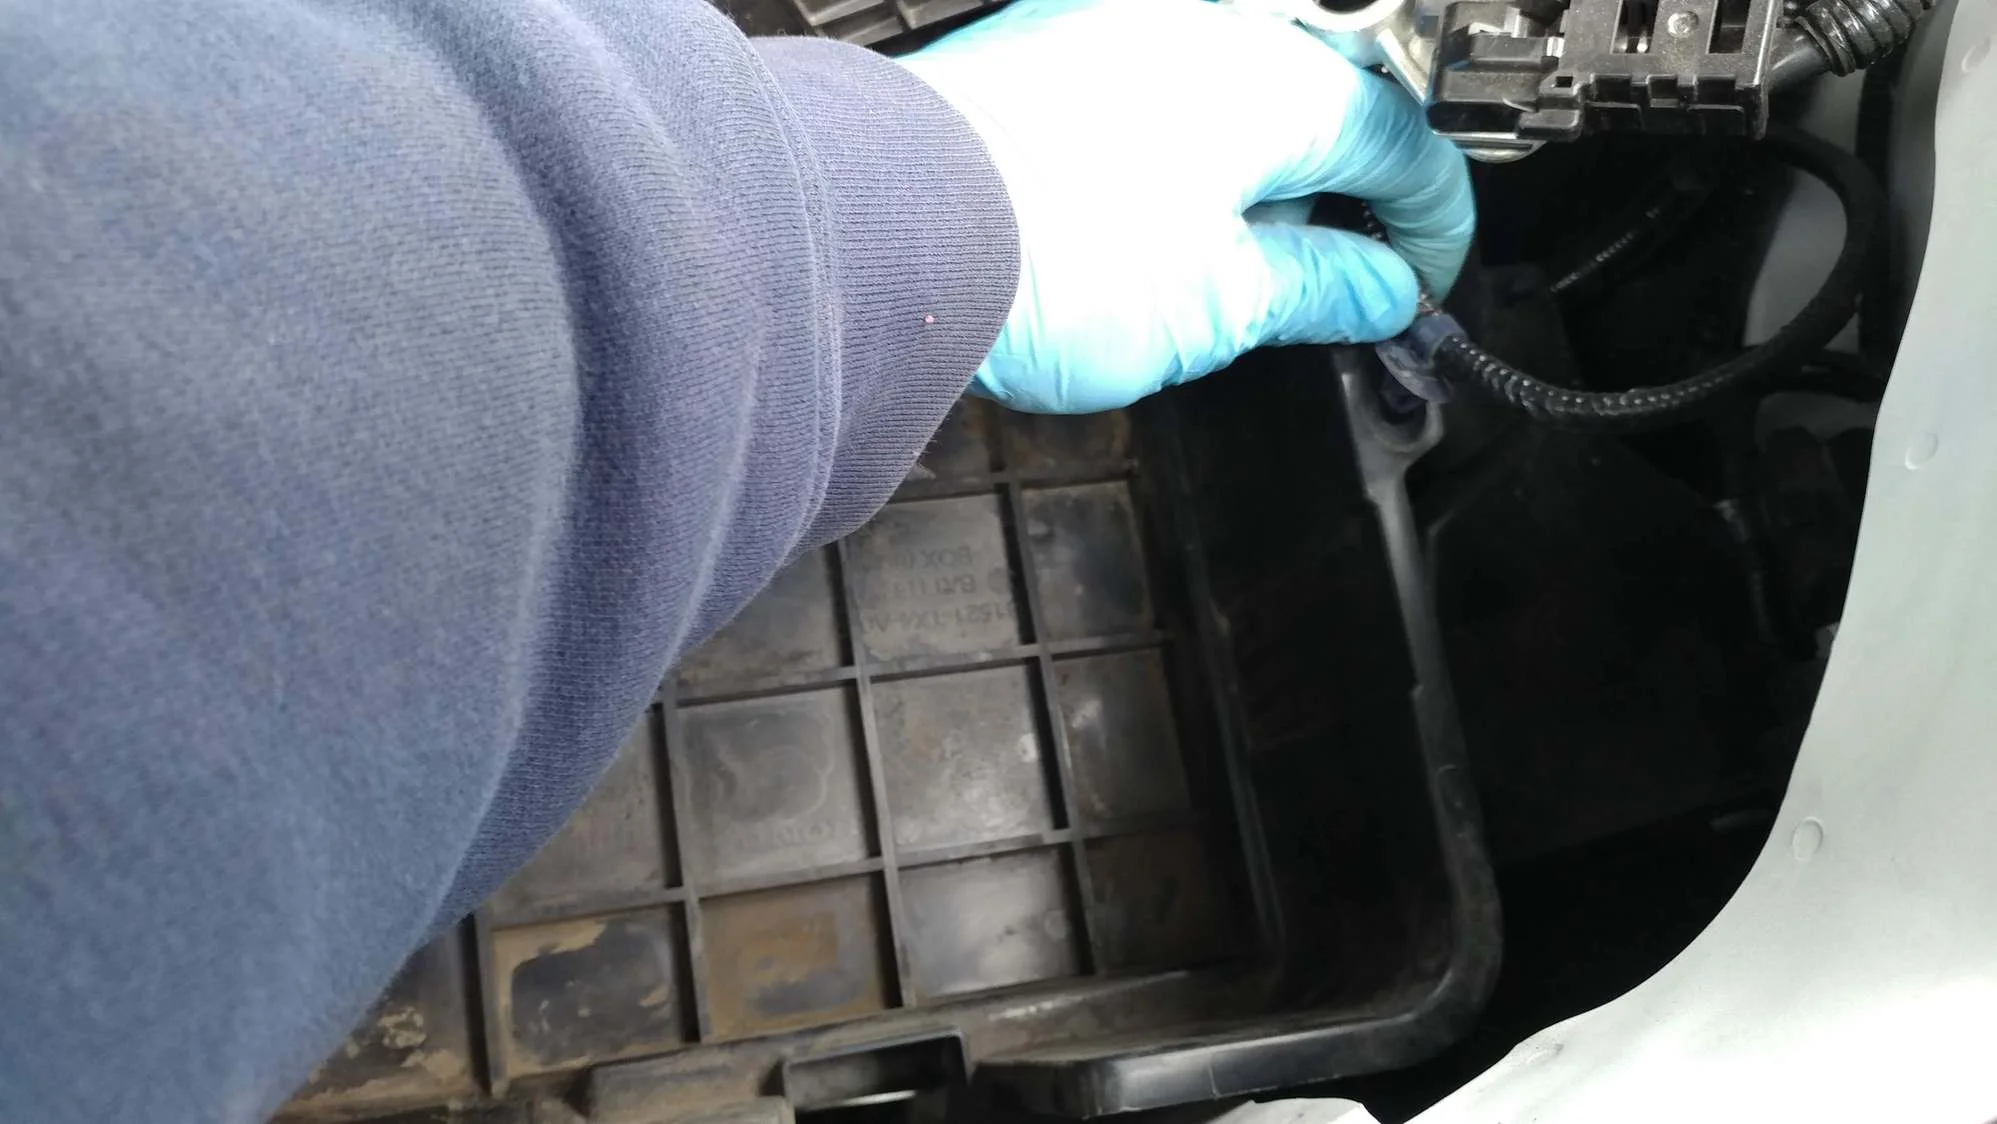
Acura RDX (2nd Gen) Third-Gear Clutch Pressure Switch Replacement
10 steps · 1-2 hours
7 VIEWS
Interior
Difficult
Verified ✓
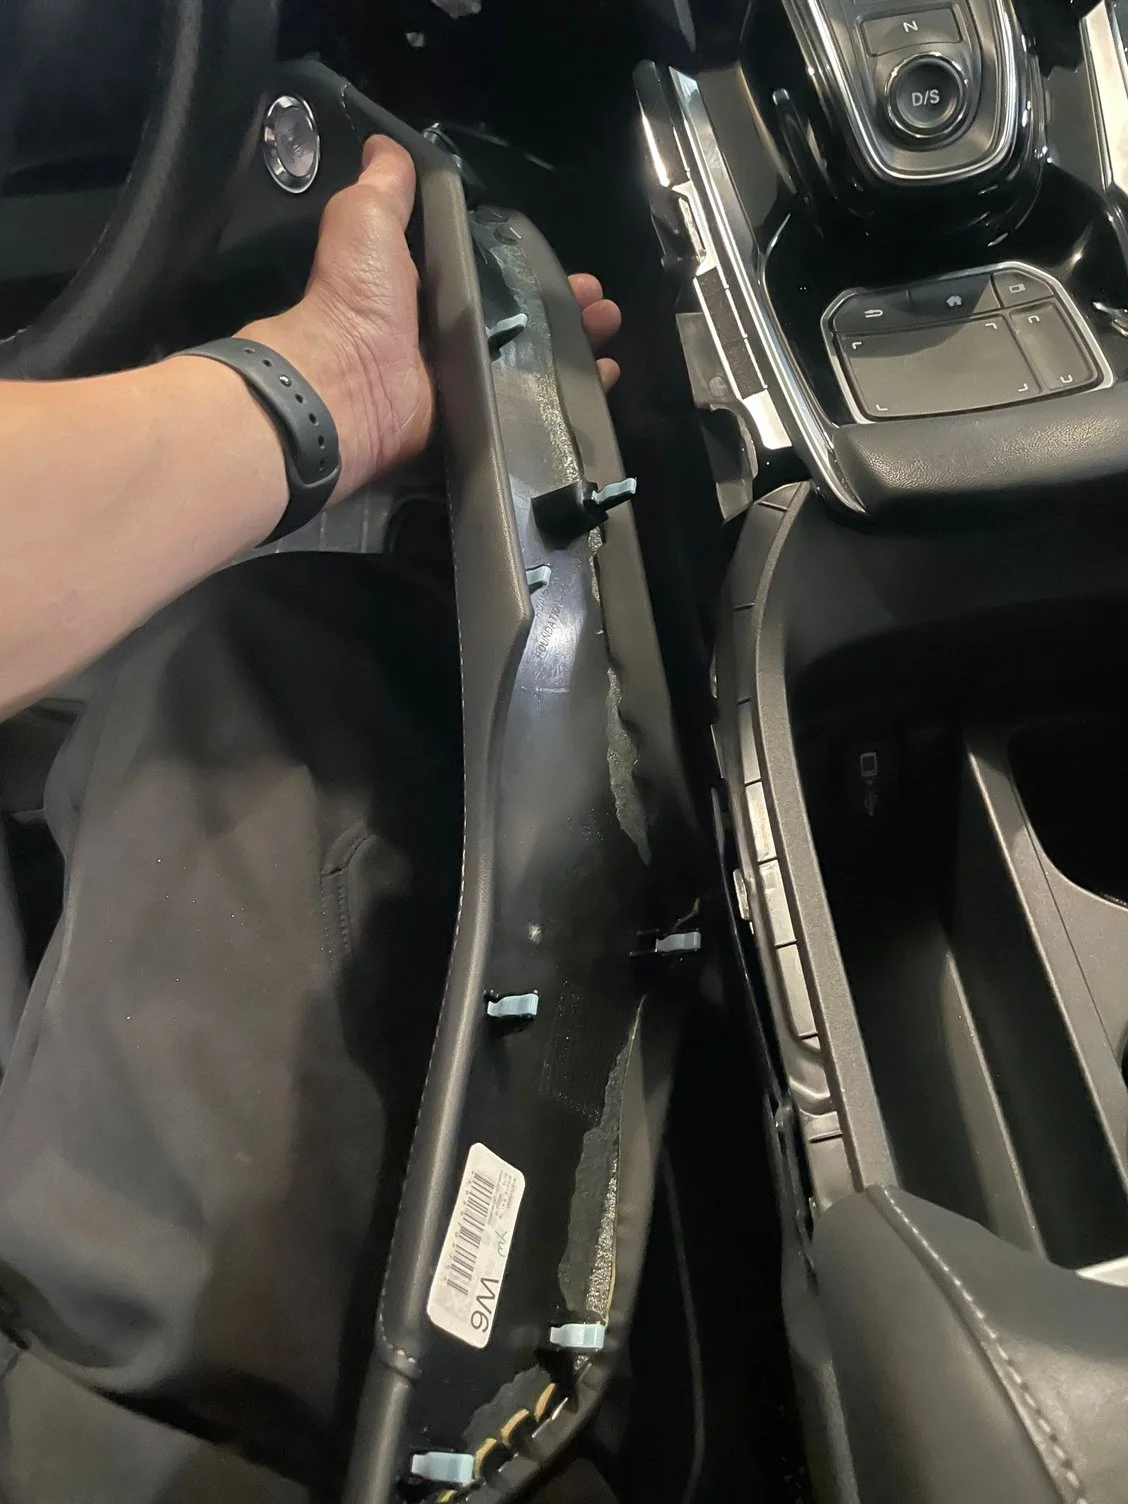
Acura RDX (3G) Apple CarPlay USB Port Relocation
12 steps · 3-4 hours
7 VIEWS
FIG. 2.42
Interior
Moderate
Verified ✓
Acura RDX (3G) Custom Phone-Mount Bracket
9 steps · 1-2 hours
7 VIEWS
FIG. 2.43
Drivetrain
Easy
Verified ✓
Acura RDX (First Generation) Transfer Case Fluid Change
8 steps · 30-45 minutes
7 VIEWS
Audio
Easy
Verified ✓
Acura RDX (Gen1 Tech/Navi): USA Spec ACUxl iPod/iPhone Interface Install
9 steps · 20-30 minutes
7 VIEWS
FIG. 2.45
Exterior
Difficult
Verified ✓
Acura RDX Advance Running Board Installation (2013-2016)
14 steps · 3-4 hours
7 VIEWS
Maintenance
Moderate
Verified ✓
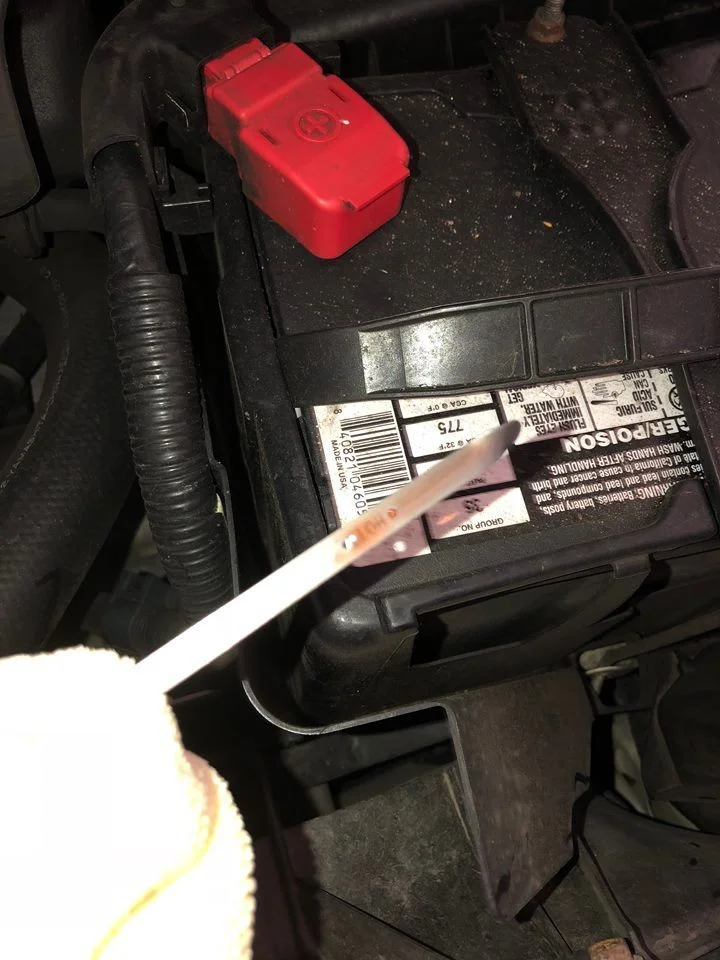
Acura RDX Automatic Transmission Fluid Change and Accurate Level Reading
13 steps · 2-3 hours (single drain-and-fill)
7 VIEWS

Drivetrain
Moderate
Verified ✓
Acura RDX Automatic Transmission Fluid Drain and Fill (1st Gen)
8 steps · 1-2 hours
7 VIEWS
FIG. 2.48
Drivetrain
Moderate
Verified ✓
Acura RDX Automatic Transmission Fluid Flush by Triple Drain-and-Fill
9 steps · 2-3 hours
7 VIEWS
FIG. 2.49
Brakes
Moderate
Verified ✓
Acura RDX Brake Caliper Refinishing and Full Brake Service
8 steps · 1-2 days (including paint cure time)
7 VIEWS
FIG. 2.50
Maintenance
Easy
Verified ✓
Acura RDX Climate Control (HVAC) Off-Season Maintenance and Baseline Temperature Testing
7 steps · 15-45 minutes per procedure
7 VIEWS
FIG. 2.51
Lighting
Easy
Verified ✓
Acura RDX Console Compartment Light: Bulb Replacement and Wire Slack Fix
8 steps · 30-60 minutes
7 VIEWS
FIG. 2.52
Audio
Moderate
Verified ✓
Acura RDX Front Door Panel Removal and Mid-Range Speaker Replacement
10 steps · 45 minutes to 1 hour
7 VIEWS
FIG. 2.53
Exterior
Easy
Verified ✓
Acura RDX Painted Grille Molding Replacement (Without Bumper Removal)
7 steps · About 1 hour
7 VIEWS
FIG. 2.54
Audio
Moderate
Verified ✓
Acura RDX Rear Door Coaxial Speaker Replacement
10 steps · 1 hour per door
7 VIEWS
Maintenance
Easy
Verified ✓
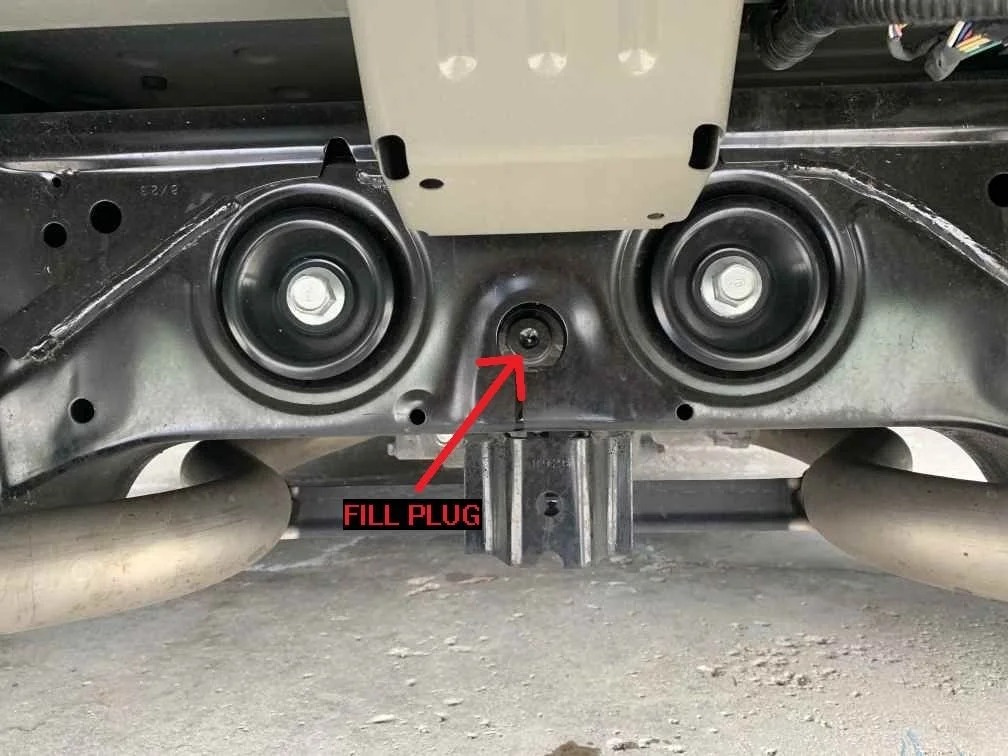
Acura RDX SH-AWD Rear Differential Fluid Change
9 steps · 30 minutes to 1 hour
7 VIEWS
Drivetrain
Easy
Verified ✓
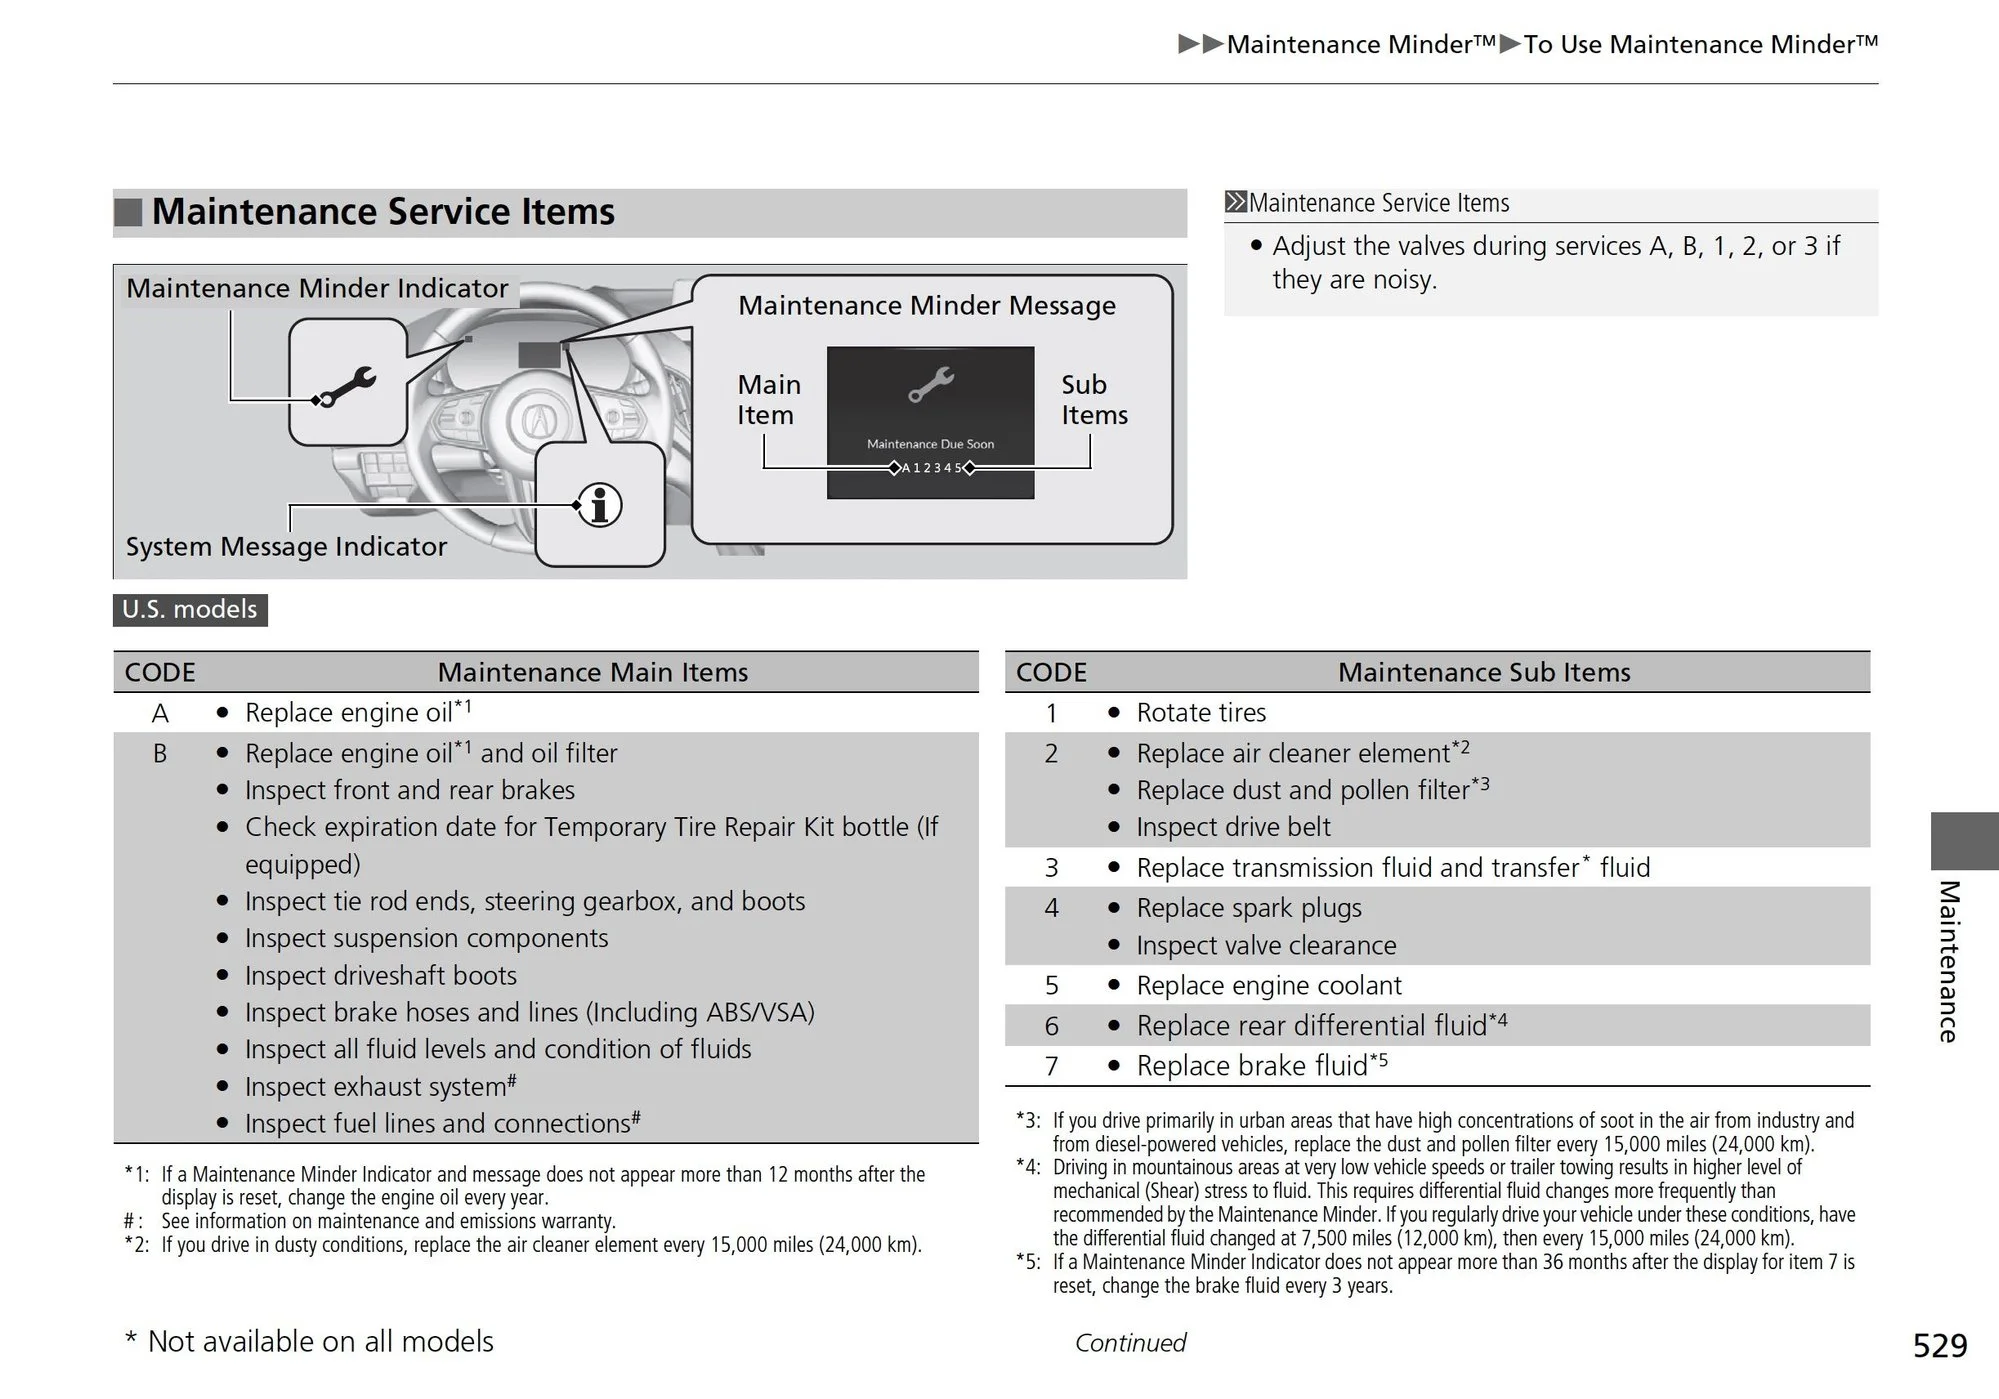
Acura RDX SH-AWD Rear Differential Fluid Change
8 steps · 15-30 minutes
8 VIEWS
FIG. 2.57
Interior
Easy
Verified ✓
Acura RDX Shift Knob and Shift Indicator Bulb Replacement
10 steps · 30-45 minutes
7 VIEWS
FIG. 2.58
Maintenance
Easy
Verified ✓
Acura RDX Windshield Wiper Insert (Refill) Replacement
8 steps · 15 minutes to 1 hour
7 VIEWS
FIG. 2.59
Electrical
Moderate
Verified ✓
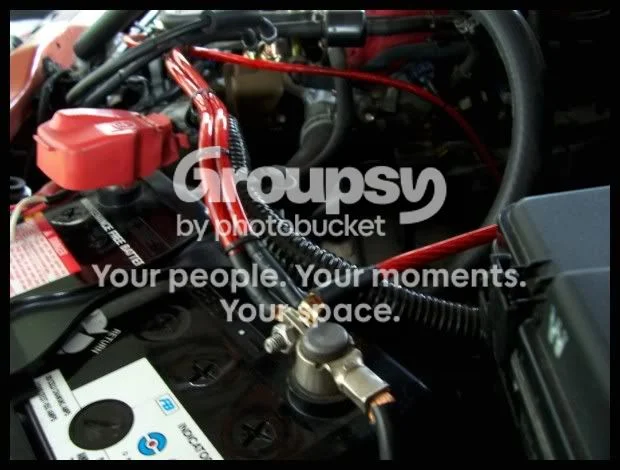
Acura RSX (DC5) Custom 8-Point Engine Ground Kit
10 steps · 4-5 hours
7 VIEWS
Electrical
Moderate
Verified ✓
Acura RSX (DC5) DIY Engine Grounding Wire Kit Installation
8 steps · 2-3 hours
7 VIEWS
FIG. 2.61
Interior
Easy
Verified ✓
Acura RSX (DC5) Interior Door Panel Removal
6 steps · 30-45 minutes
7 VIEWS
FIG. 2.62
Exterior
Moderate
Verified ✓
Acura RSX (DC5) Side Skirt Painting: Matching Black Plastic Skirts to Body Color
9 steps · 5-6 hours of work, plus 24-48 hours drying
7 VIEWS
Electrical
Moderate
Verified ✓
Acura RSX (DC5): Integrate a Garage Door Opener into a Blank Dash Switch
10 steps · 1-3 hours
7 VIEWS
Electrical
Moderate
Verified ✓
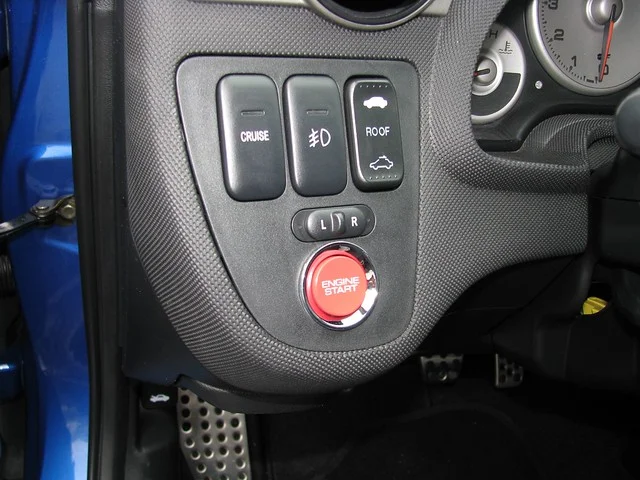
Acura RSX (DC5): S2000 Push-Start Button Installation
9 steps · 20-40 minutes
7 VIEWS
Electrical
Moderate
Verified ✓
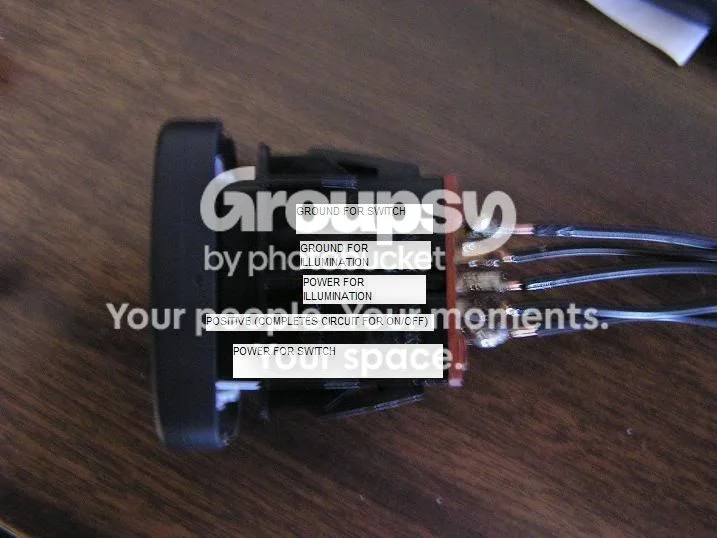
Acura RSX (DC5): Wiring an OEM Fog Light Switch to a Replica Fog Harness
10 steps · 1-2 hours
7 VIEWS
Engine
Easy
Verified ✓
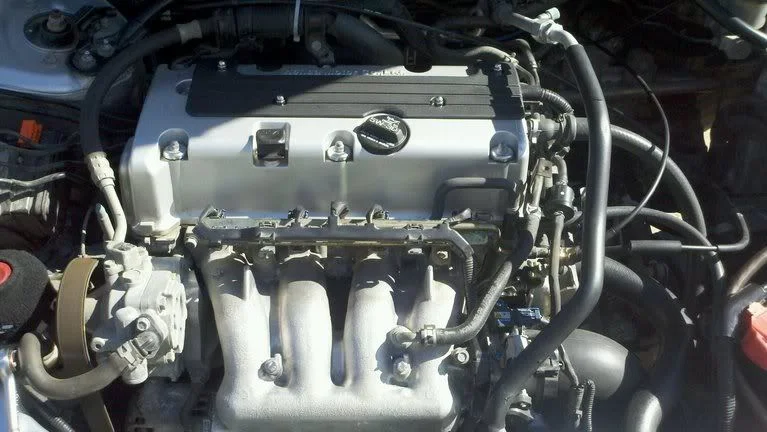
Acura RSX (K-Series) Fuel Injector Harness Tuck
6 steps · 30-45 minutes
7 VIEWS
Drivetrain
Difficult
Verified ✓
Acura RSX / Civic Si (K-Series) Clutch Replacement
10 steps · 6-10 hours
7 VIEWS
FIG. 2.68
Brakes
Moderate
Verified ✓
Acura RSX / Honda Civic Si (EP3) Front Brake Rotor Replacement
7 steps · 30-60 minutes per axle
7 VIEWS
FIG. 2.69
Maintenance
Easy
Verified ✓
Acura RSX / Honda Civic Si (K20) Engine Oil and Filter Change
9 steps · 30-45 minutes
7 VIEWS
FIG. 2.70
Brakes
Moderate
Verified ✓
Acura RSX Brake Pad Replacement (Front and Rear)
11 steps · 1-3 hours
7 VIEWS
Brakes
Moderate
Verified ✓
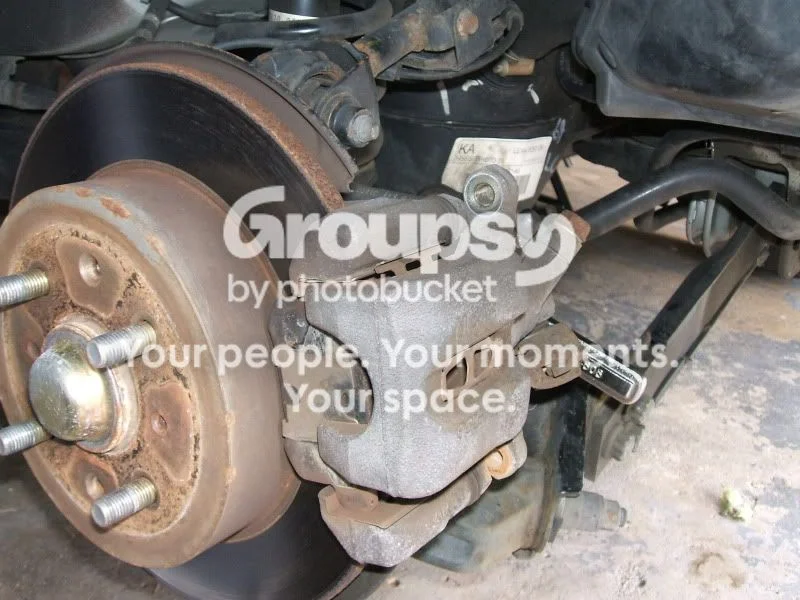
Acura RSX Brake Pad and Rotor Replacement (2002-2005)
11 steps · 2-3 hours
7 VIEWS
FIG. 2.72
Exterior
Easy
Verified ✓
Acura RSX Budget Mesh Front Grille (Gutter-Guard DIY)
8 steps · 1-2 hours
7 VIEWS
FIG. 2.73
Suspension
Moderate
Verified ✓
Acura RSX Camber Kit Installation (Ingalls Adjustable Rear Arms and Front Cam Bolts)
10 steps · 2-3 hours
7 VIEWS
FIG. 2.74
Audio
Moderate
Verified ✓
Acura RSX EDi 6500 Component Speaker Install (Door and Dash Fitment)
6 steps · 3-4 hours
7 VIEWS
FIG. 2.75
Electrical
Difficult
Verified ✓
Acura RSX EPS Warning Light Retrofit and DTC Communication Enable
10 steps · 3-5 hours
7 VIEWS

Drivetrain
Difficult
Verified ✓
Acura RSX Energy Suspension Motor Mount (ESMM) Insert Install
12 steps · 2-3 hours
7 VIEWS

Exterior
Easy
Verified ✓
Acura RSX Front Tow Hook Installation
8 steps · 1-2 hours
7 VIEWS
FIG. 2.78
Lighting
Moderate
Verified ✓
Acura RSX Headlight Blackout: Oven-Bake, Separate, and Paint the Internals
12 steps · 4-6 hours (plus paint drying time)
7 VIEWS
FIG. 2.79
Interior
Easy
Verified ✓
Acura RSX Moonroof Auto-Stop Delete
8 steps · 20-45 minutes
7 VIEWS
Electrical
Easy
Verified ✓
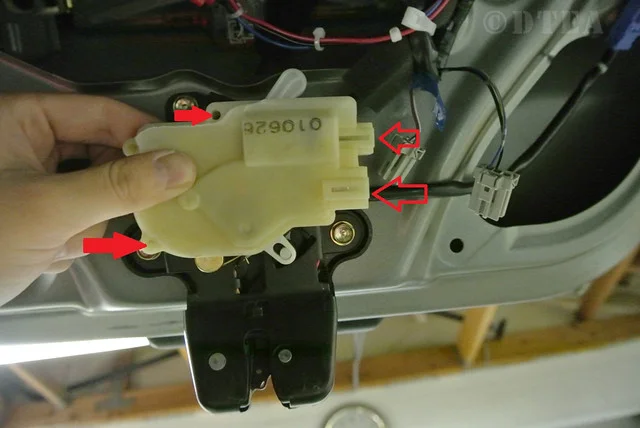
Acura RSX Rear Hatch Lock Actuator Replacement
7 steps · 30 minutes to 1 hour
7 VIEWS

Interior
Moderate
Verified ✓
Acura RSX: Mounting a Gauge Inside the Center A/C Vent
10 steps · 3-12 hours plus paint drying time
7 VIEWS
FIG. 2.82
Audio
Easy
Verified ✓
Acura TL (1G) Factory Head Unit Removal and Reinstallation
7 steps · 30-45 minutes
7 VIEWS
FIG. 2.83
Maintenance
Easy
Verified ✓
Acura TL (1G) Inline Fuel Filter Replacement
6 steps · 30-45 minutes
7 VIEWS
FIG. 2.84
Maintenance
Easy
Verified ✓
Acura TSX (CL9, 2004-2008) 6-Speed Manual Transmission Fluid Change
9 steps · 45 minutes-1 hour
0 VIEWS
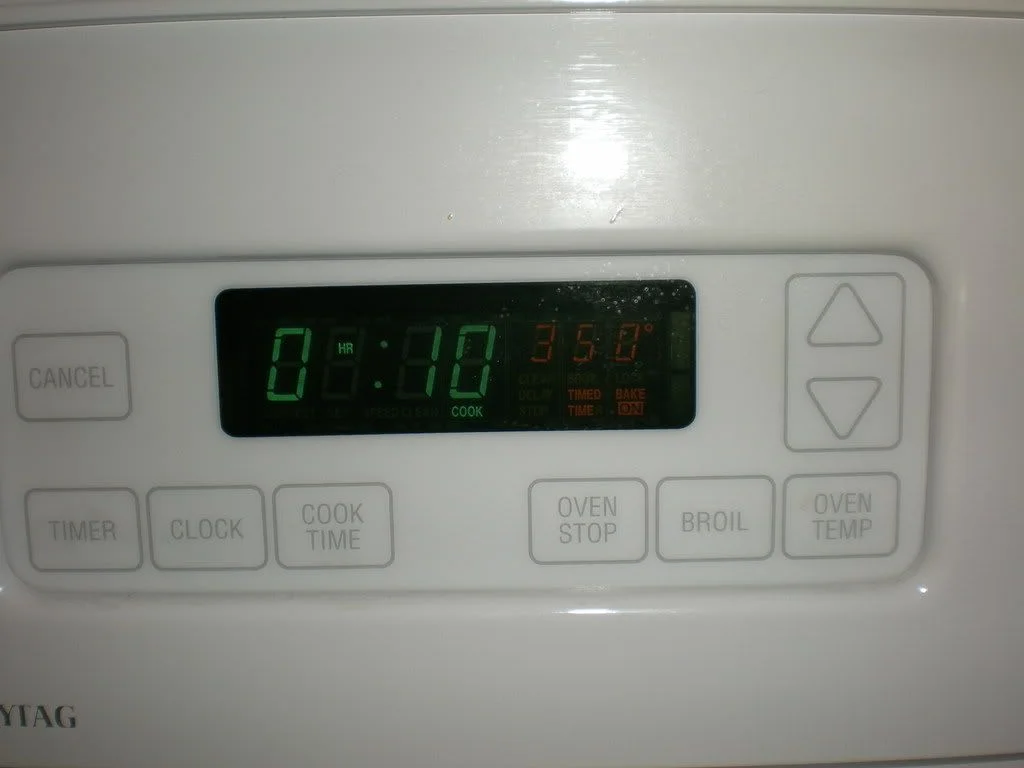
Lighting
Difficult
Verified ✓
Acura TSX HID Projector Retrofit into EG Civic Headlights
11 steps · 8-12 hours
23 VIEWS
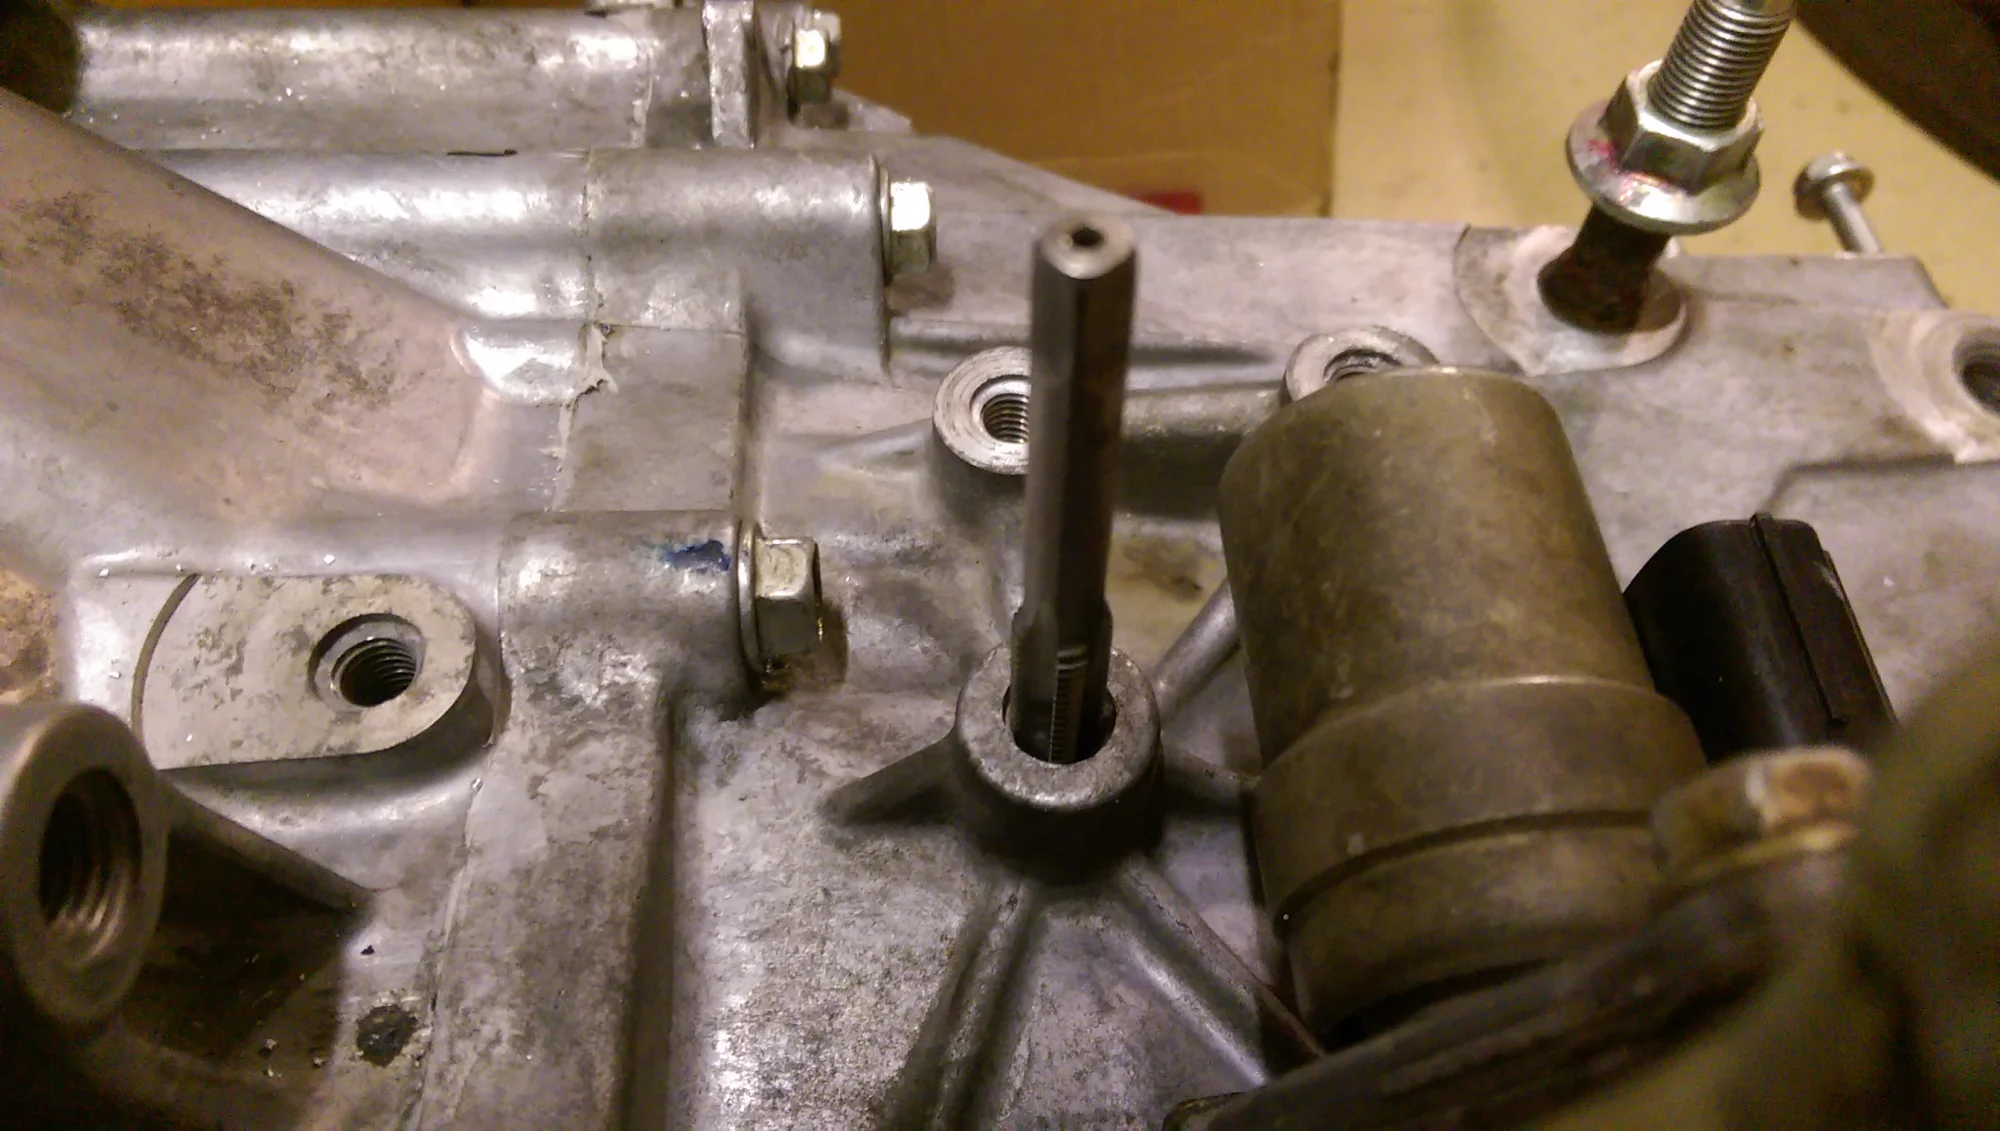
Drivetrain
Expert
Verified ✓
Adapting a K20Z3 Transmission to Fit a 2002-2004 Acura RSX
8 steps · 8-12 hours
7 VIEWS
FIG. 2.87
Audio
Moderate
Verified ✓
Adding a Subwoofer and Amplifier to a Honda Civic With the Factory Head Unit
9 steps · 4-6 hours
7 VIEWS
Audio
Moderate
Verified ✓
Adding an Auxiliary (AUX) Input to a Base Honda Fit
7 steps · 1-2 hours
7 VIEWS
FIG. 2.89
Maintenance
Moderate
Verified ✓
Adding an Inline Magnetic Power Steering Filter (Acura RDX)
8 steps · 2-3 hours
7 VIEWS
FIG. 2.90
Drivetrain
Moderate
Verified ✓
Adding an Inline Magnetic Transmission Filter to the Acura RDX
10 steps · 2-3 hours
7 VIEWS
FIG. 2.91
Lighting
Moderate
Verified ✓
Aftermarket H7 HID (Xenon) Headlight Conversion for the Honda Civic
7 steps · 2-3 hours
7 VIEWS
FIG. 2.92
Interior
Easy
Verified ✓
Aftermarket Threaded Shift Knob Install (7th Gen Honda Accord Manual)
9 steps · 30 minutes
7 VIEWS
FIG. 2.93
Lighting
Difficult
Verified ✓
Angel Eye (Halo Ring) Headlight Retrofit for the 8th-Gen Honda Accord
8 steps · 4-6 hours
7 VIEWS
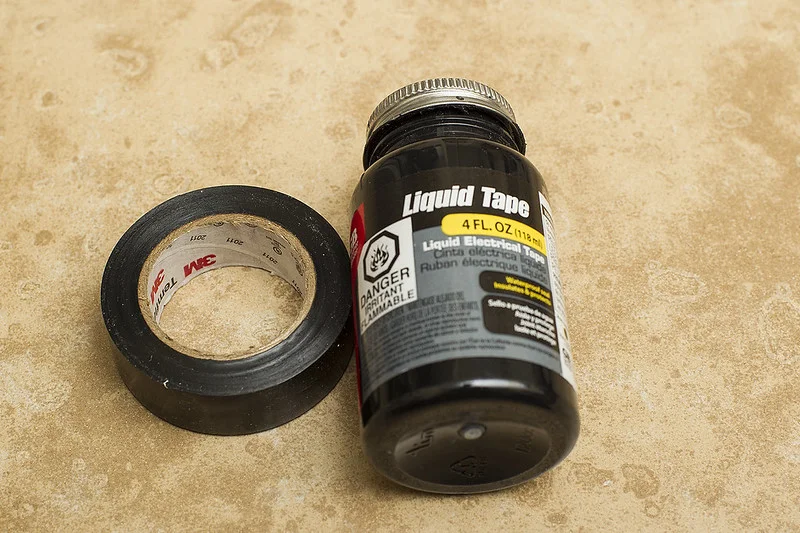
Electrical
Moderate
Verified ✓
Automotive Electrical Wiring: Clean, Reliable DIY Accessory Installs
11 steps · 1-2 hours per accessory install
7 VIEWS
FIG. 2.95
Engine
Expert
Verified ✓
B16A Engine Swap into a Second-Generation Honda CRX (ED9)
10 steps · 24 hours (four 6-hour days, including stripping the donor front cut)
23 VIEWS
FIG. 2.96
Engine
Expert
Verified ✓
Blueprinting a Honda Four-Cylinder Bottom End: Precision Measurement for a Race Build
10 steps · 8-12 hours of measurement, plus machine-shop turnaround
7 VIEWS
FIG. 2.97
Brakes
Easy
Verified ✓
Brake Fluid Flush and Bleed on ABS-Equipped Hondas and Acuras (TSX CL9, 1998-2002 Accord, 2001-2003 CL)
10 steps · 1-2 hours
0 VIEWS
FIG. 2.98
Suspension
Difficult
Verified ✓
BuddyClub Extended Front Lower Ball Joint Installation (RSX / EP3 Civic Si)
9 steps · 3-4 hours, plus shop time to press the joints
7 VIEWS
Exterior
Moderate
Verified ✓
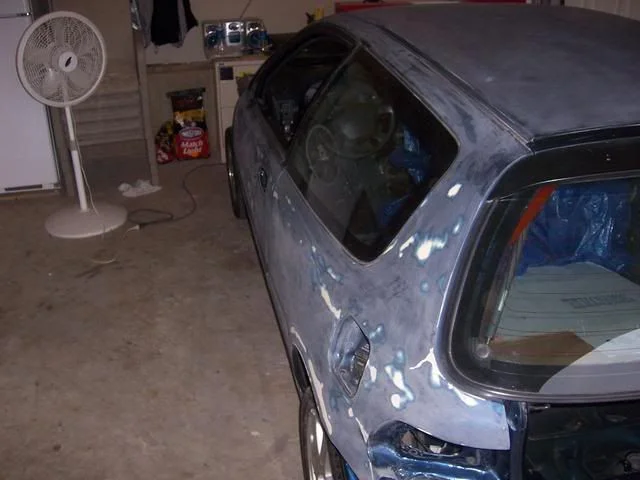
Budget Full-Color-Change Respray Using Marine Topside Paint (Roll or Spray)
9 steps · 40-60 hours spread over several weekends
24 VIEWS
FIG. 2.100
Maintenance
Moderate
Verified ✓
Build a Scratch-Free Home Tire Changing Station
7 steps · Initial build 2-4 hours; about 20 minutes per tire once set up
7 VIEWS
FIG. 2.101
Maintenance
Moderate
Verified ✓
Build a Scratch-Free Static Wheel Balancer (No-Mar Cones + Harbor Freight Stand)
8 steps · About 1 hour to build the rig, then 10-15 minutes per wheel
7 VIEWS

Lighting
Moderate
Verified ✓
Building Custom LED Interior and Trunk Bulbs for the Acura RSX
9 steps · 2-4 hours
7 VIEWS
Exterior
Expert
Verified ✓
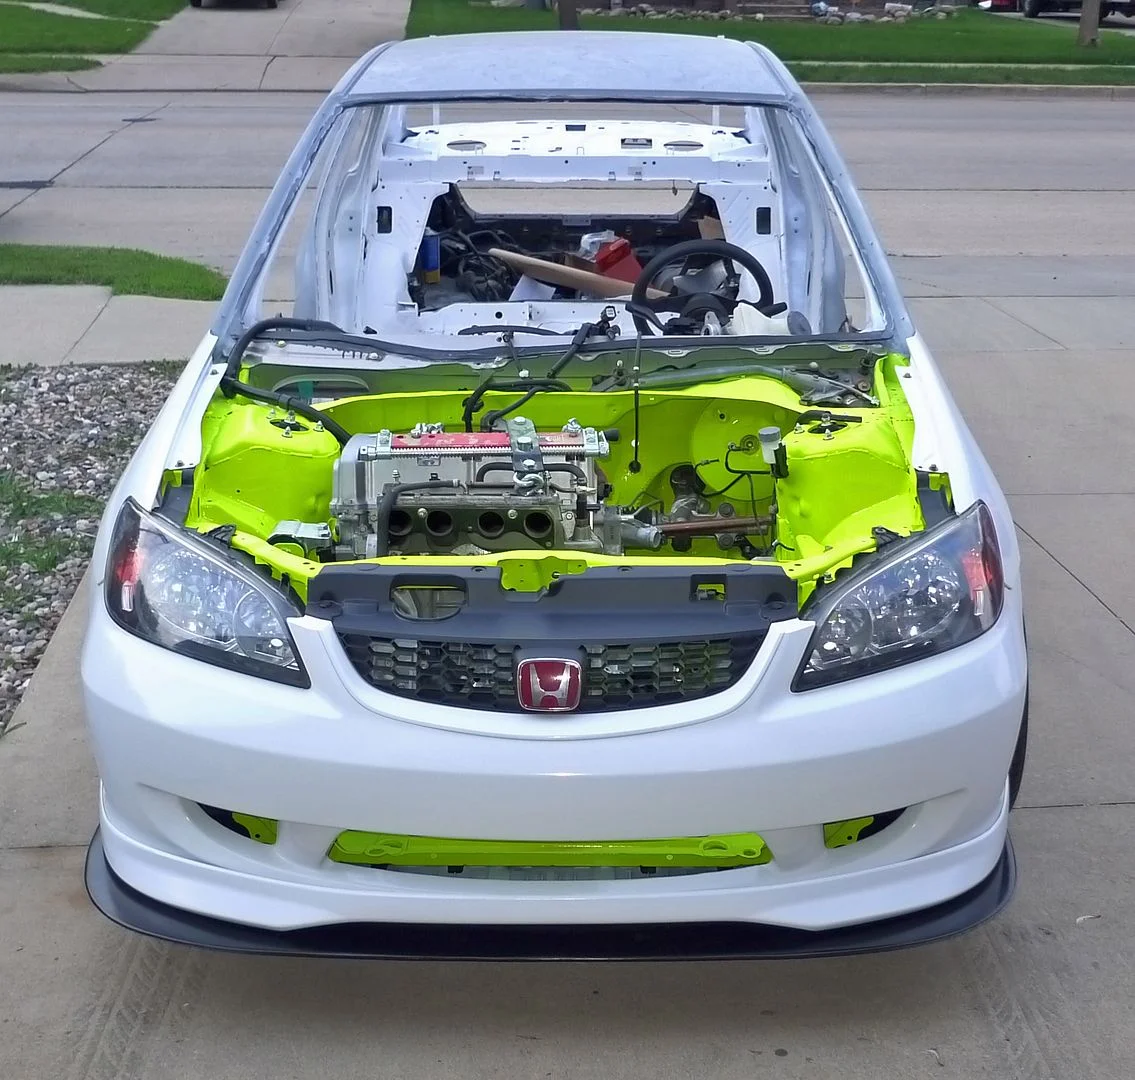
Building a Custom Fiberglass Front Lip and Splitter Base (7th-Gen Civic)
8 steps · 20-40 hours of active work spread over several weeks (weather-dependent curing)
7 VIEWS
FIG. 2.104
Engine
Difficult
Verified ✓
Building a Custom Sealed Airbox and Cold-Air Duct for a Short Ram Intake (Honda Accord Euro CL9)
10 steps · 8-12 hours (spread over a weekend)
7 VIEWS
Forced Induction
Expert
Verified ✓
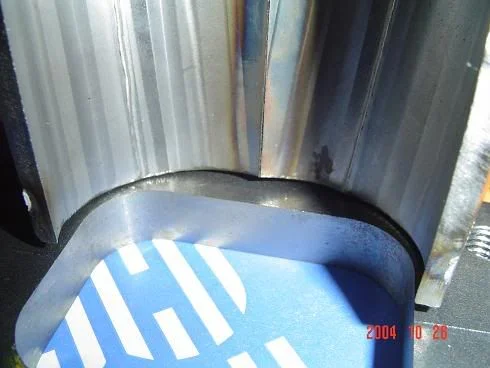
Building a DIY Equal-Length Tubular Turbo Manifold for Honda D-Series
8 steps · 10-20 hours over multiple sessions
7 VIEWS
Electrical
Expert
Verified ✓
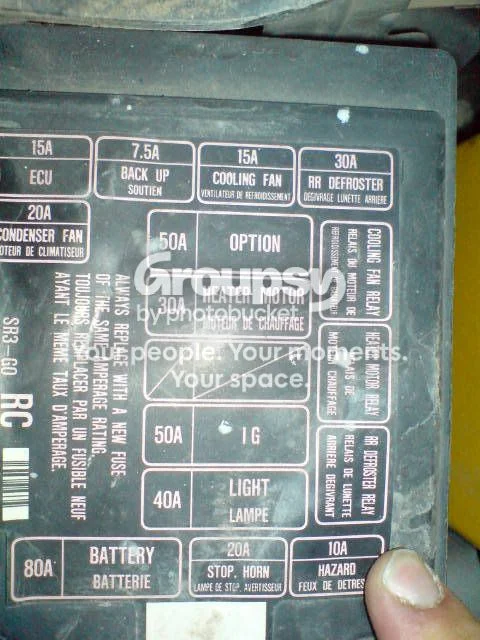
Building a K-Series Swap Conversion Wiring Harness for the Honda Civic (EG)
10 steps · 8-12 hours
7 VIEWS
FIG. 2.107
Engine
Expert
Verified ✓
Building a K24/K20A2 "Frankenstein" Hybrid Engine
12 steps · Multiple weekends (25-40 hours)
7 VIEWS
FIG. 2.108
Electrical
Difficult
Verified ✓
CR-Z Factory Navigation: Adding Auxiliary Video Inputs via a Navtool Interface
9 steps · 8-10 hours
7 VIEWS
FIG. 2.109
Drivetrain
Moderate
Verified ✓
Cable-to-Hydraulic Clutch Conversion with a Remote Actuator for B-Series Swaps (Civic/CRX EF, Integra DA)
12 steps · 3-5 hours
0 VIEWS
FIG. 2.110
Electrical
Expert
Verified ✓
Chipping Honda OBD0 and OBD1 ECUs for Programmable Tuning
11 steps · 2-4 hours
24 VIEWS
FIG. 2.111
Brakes
Difficult
Verified ✓
Civic Type R 5-Lug Brake and Suspension Conversion for the 1996-2000 Civic (EK)
9 steps · 1-2 days
23 VIEWS
Suspension
Moderate
Verified ✓
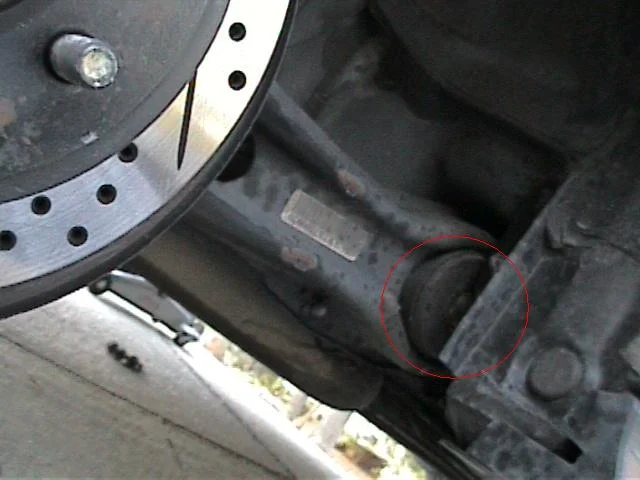
Civic/Integra Rear Trailing Arm Bushing Replacement (On-Car Method)
10 steps · 1-2 hours
24 VIEWS
Audio
Moderate
Verified ✓
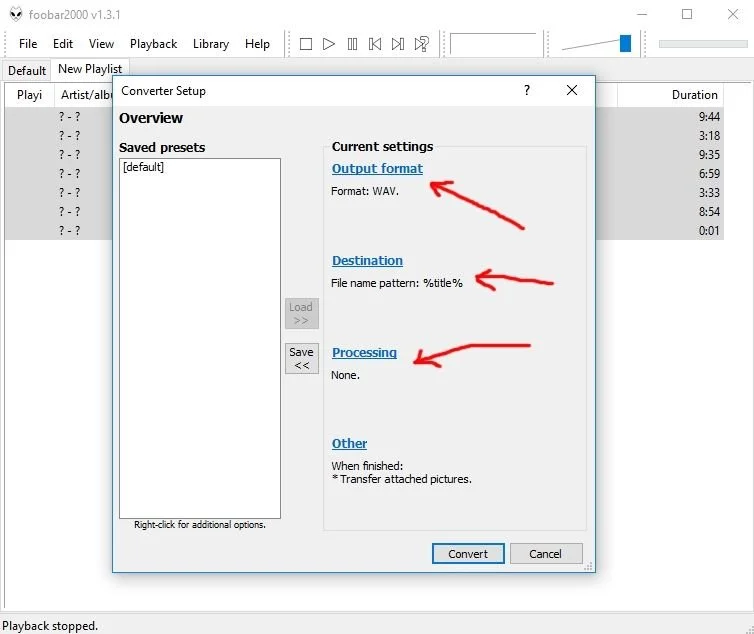
Convert DVD-Audio Discs to 5.1 FLAC for the Acura RDX ELS Studio 3D
9 steps · 1-2 hours
7 VIEWS
Exterior
Moderate
Verified ✓
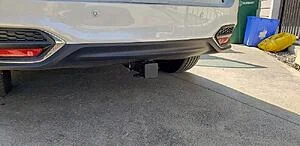
Curt Class III Trailer Hitch and Wiring Installation on the 2G Acura RDX
8 steps · 2-3 hours
7 VIEWS
FIG. 2.115
Interior
Moderate
Verified ✓
Custom RSX Switch Panel for a Honda S2000 Push Button
11 steps · 4-6 hours over 2-3 days (allowing for drying)
7 VIEWS
FIG. 2.116
Interior
Difficult
Verified ✓
DC2 Integra Dashboard Swap into an EG Civic
13 steps · 2-3 days
23 VIEWS
Lighting
Moderate
Verified ✓
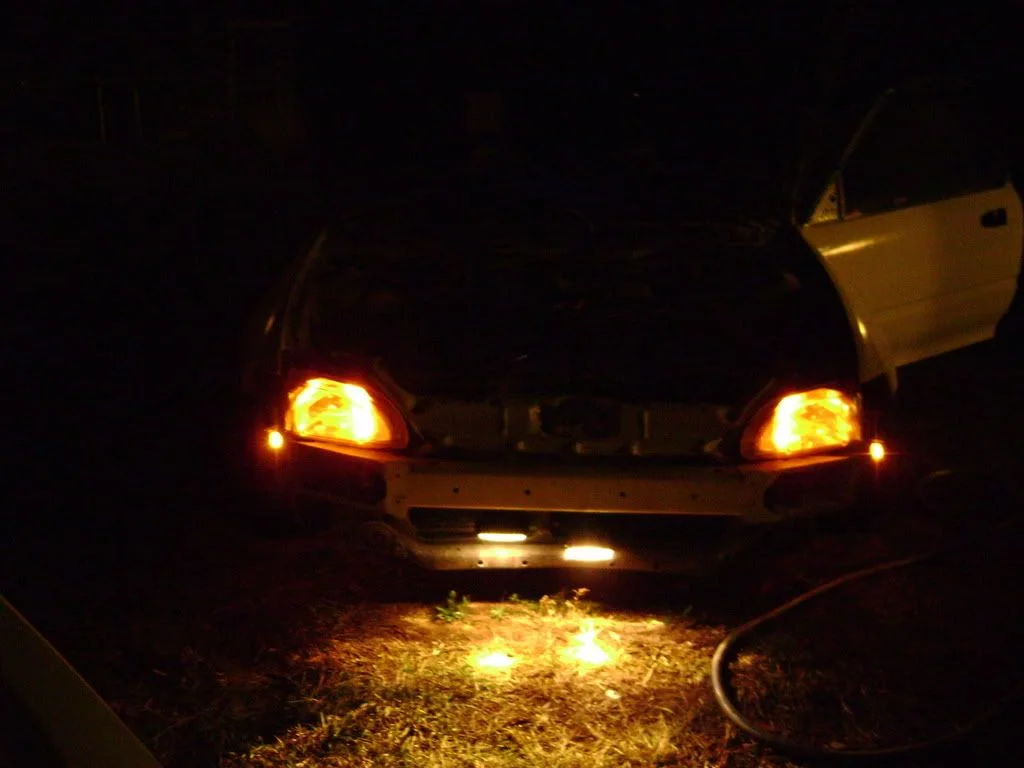
DIY Amber City Lights in Honda Headlight Housings
9 steps · 4-6 hours (plus sealant cure time)
7 VIEWS
Engine
Easy
Verified ✓
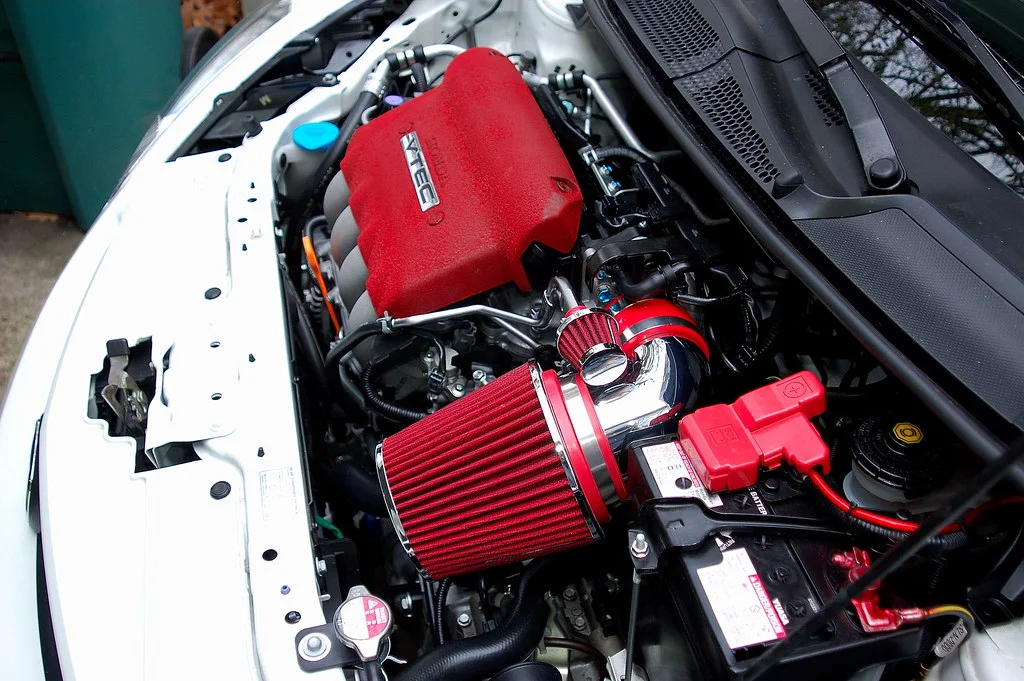
DIY Budget Short Ram Intake for the Honda Fit
8 steps · 1 hour
7 VIEWS
FIG. 2.119
Exterior
Moderate
Verified ✓
DIY Carbon Fiber Coating for Trim and Cover Panels
12 steps · 1-2 days (includes overnight cure)
7 VIEWS
Forced Induction
Difficult
Verified ✓
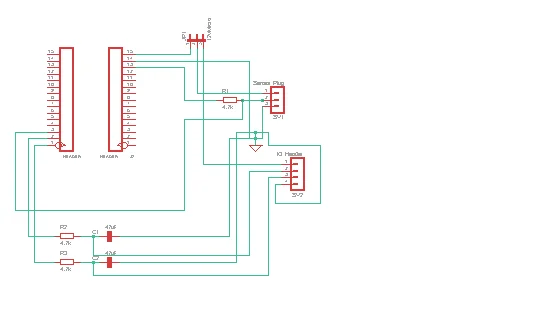
DIY Flex-Fuel Ethanol Content Analyzer for OBD1 Honda ECUs
10 steps · 3-6 hours
7 VIEWS
Interior
Easy
Verified ✓
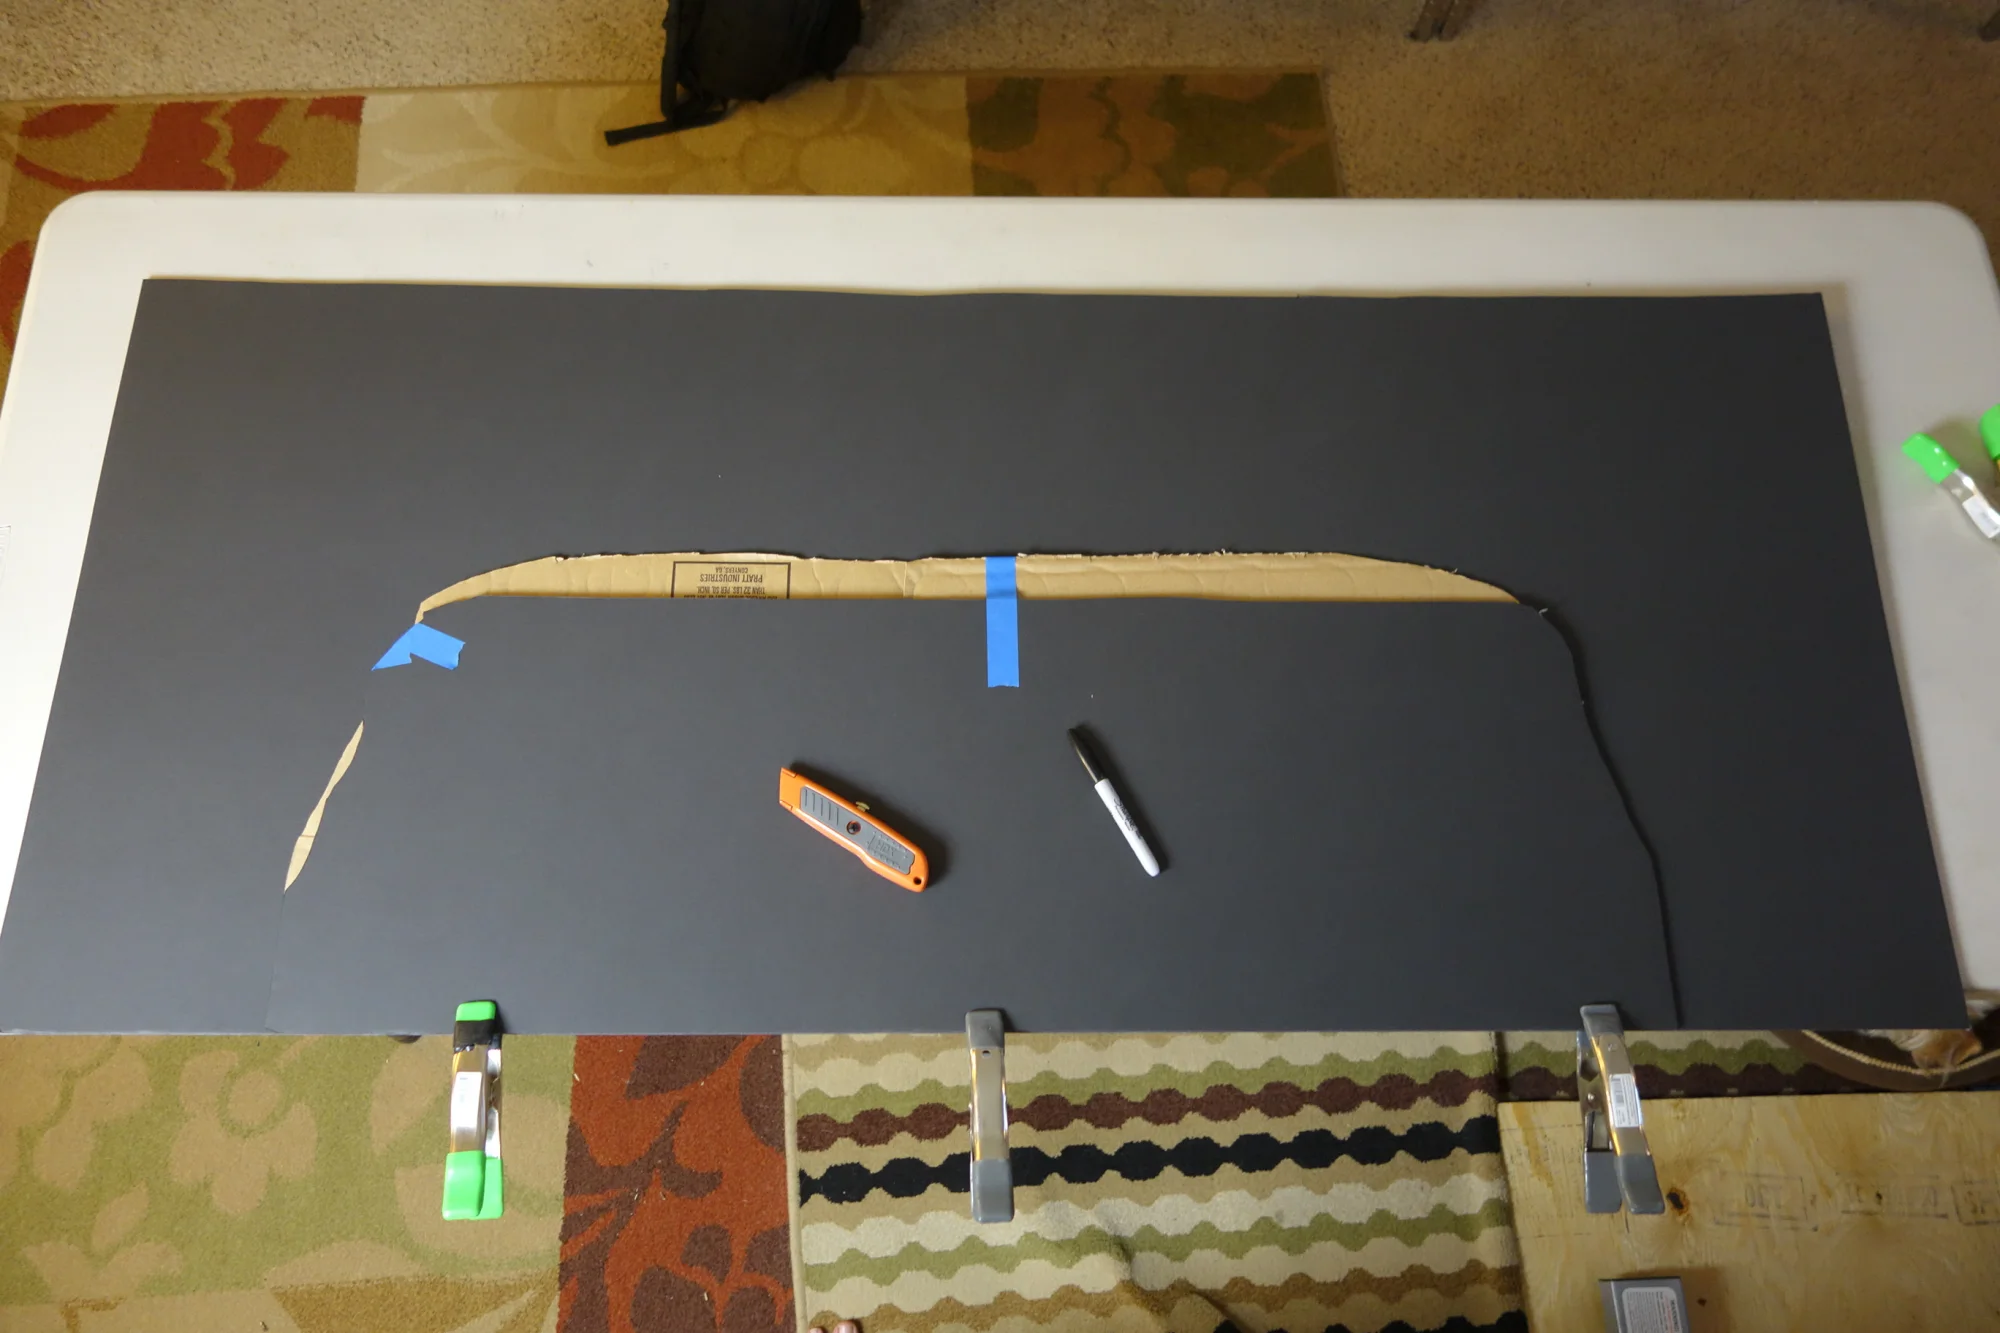
DIY Foam-Core Cargo Cover for the Honda Fit (3rd Gen GK)
9 steps · 1-2 hours
7 VIEWS
Interior
Expert
Verified ✓
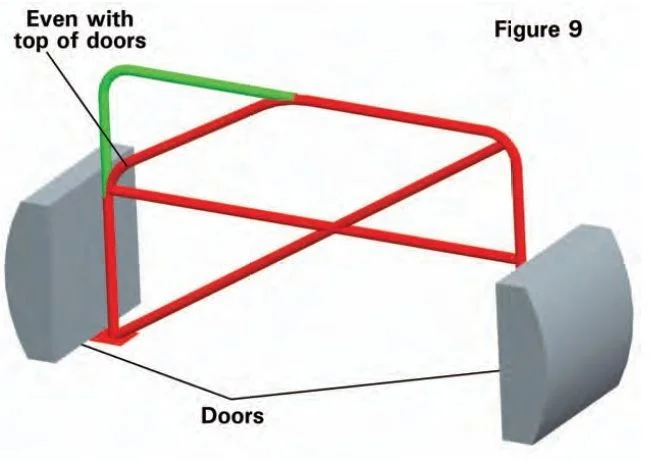
DIY Four-Point Roll Cage Fabrication for a Honda Civic
8 steps · 3-5 days (fabrication, excluding welding)
7 VIEWS
Exterior
Easy
Verified ✓
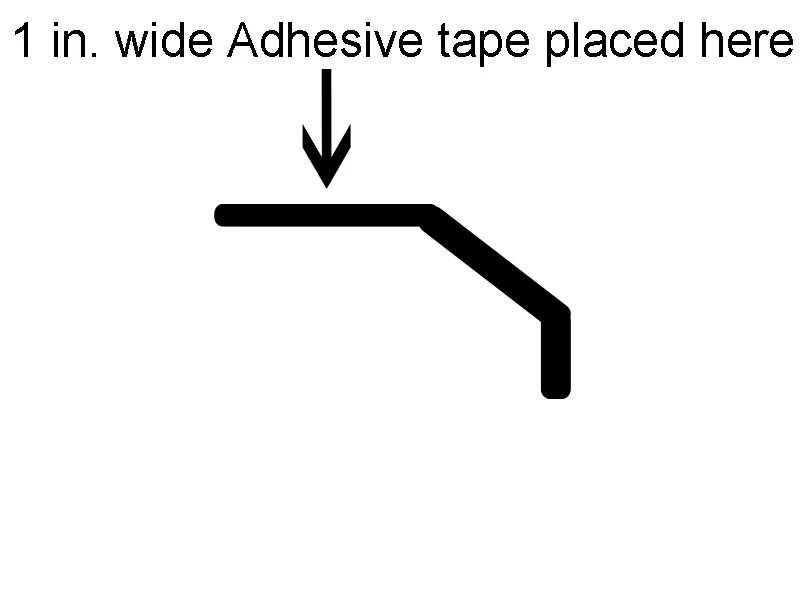
DIY Front Lip for the Honda Fit Using Garage-Door Weather Seal
9 steps · 1-2 hours
7 VIEWS
Interior
Easy
Verified ✓
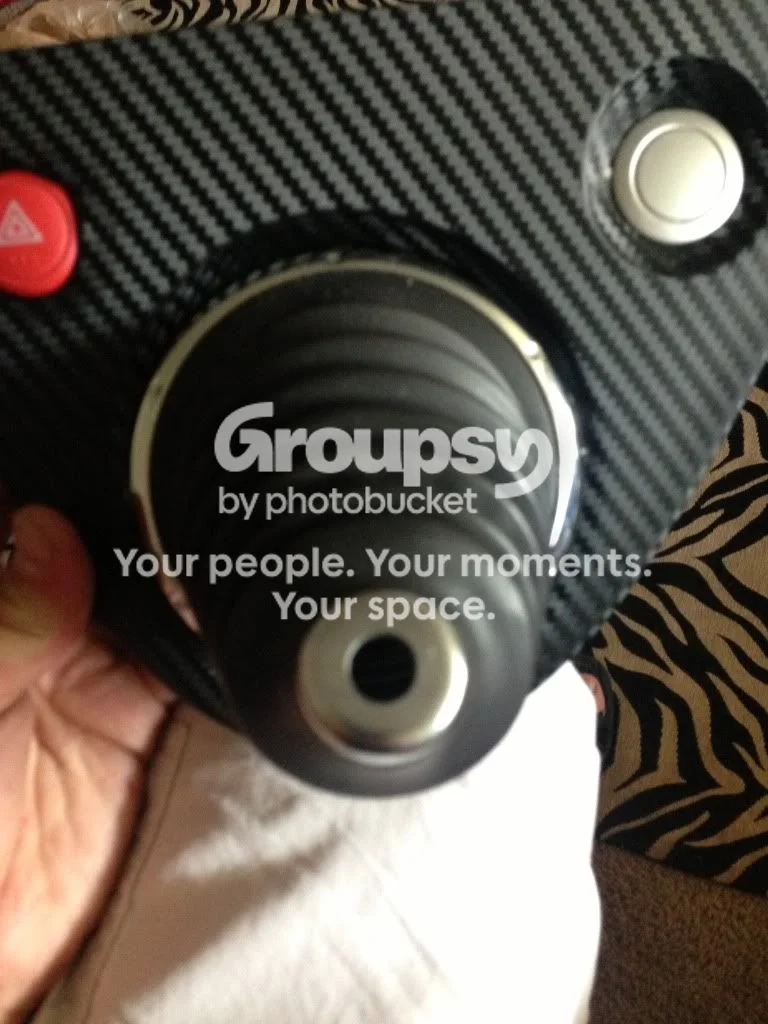
DIY JDM-Style Shift Boot Trim Ring Using a Honda Valve Cover Washer
7 steps · 15-30 minutes
7 VIEWS
FIG. 2.125
Exterior
Easy
Verified ✓
DIY Red Type-R Style Emblem Conversion Using Outdoor Vinyl
8 steps · 1-2 hours
7 VIEWS

Exterior
Moderate
Verified ✓
DIY Surface Rust Repair and Touch-Up Repaint
10 steps · About 2 days (spread across coating cure times)
7 VIEWS
Engine
Difficult
Verified ✓
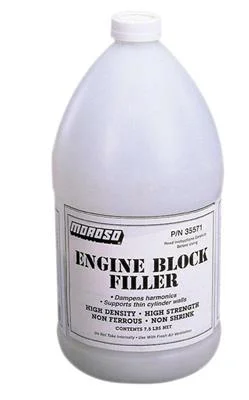
Devcon Block Fill: Reinforcing a Honda B-Series Open-Deck Block for Boost
10 steps · 2-3 hours of hands-on work plus about 26 hours of curing
7 VIEWS
FIG. 2.128
Electrical
Difficult
Verified ✓
Diagnosing Dead ECT, CMP and Wideband O2 Signals After a K-Series Conversion Harness Swap
8 steps · 3-5 hours
7 VIEWS

Engine
Difficult
Verified ✓
Diagnosing a Non-Rotating Honda B20A Short Block Before Installation
8 steps · 1-2 days for diagnosis; several more days if a full rebuild is required
7 VIEWS
FIG. 2.130
Maintenance
Easy
Verified ✓
Distributor Cap and Rotor Replacement (1995-2000 Civic EG/EK, 1994-2001 Integra DC2 LS/RS/GS)
10 steps · 30 minutes
0 VIEWS
FIG. 2.131
Brakes
Difficult
Verified ✓
Dual-Piston Front Brake Upgrade for the 1G Acura CL (Legend Calipers, Prelude Rotors)
9 steps · 3-4 hours
7 VIEWS
Electrical
Moderate
Verified ✓
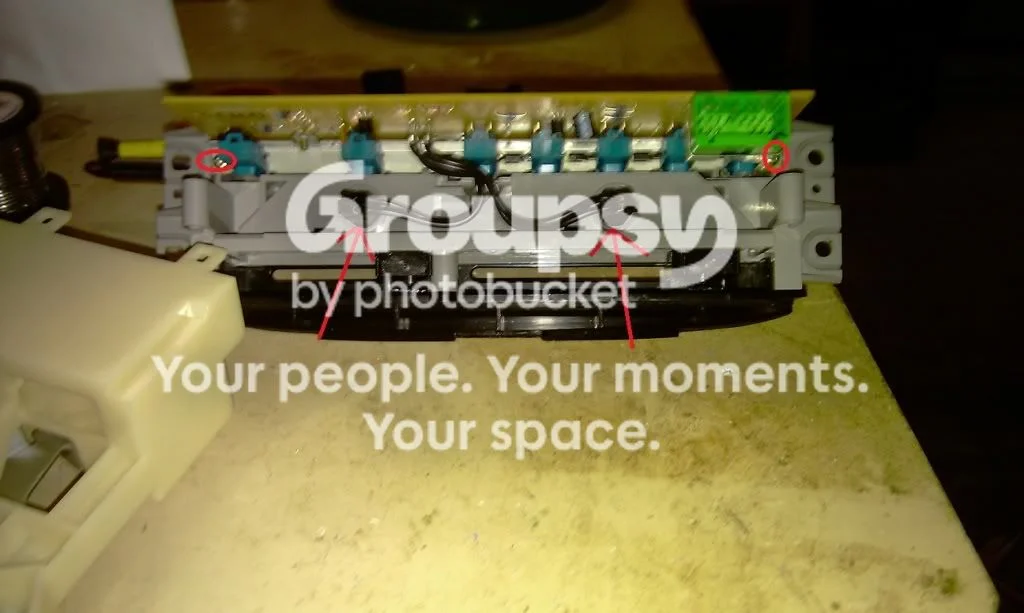
EK Civic LED Instrument Cluster and Climate Control Conversion
10 steps · 4-6 hours
23 VIEWS
Lighting
Moderate
Verified ✓
EK Civic Type R-Style Headlight Blackout (No-Oven Method)
9 steps · 3-6 hours (plus 24-hour silicone cure)
23 VIEWS
FIG. 2.134
Electrical
Moderate
Verified ✓
Enabling Factory Remote Trunk Release on an 8th-Gen Honda Civic LX Sedan
8 steps · 2-3 hours
7 VIEWS
FIG. 2.135
Brakes
Difficult
Verified ✓
Fabricating Custom Steel Brake Hard Lines and Relocating the Proportioning Valve (Honda EG/EK/DC2)
8 steps · 4-8 hours
7 VIEWS
FIG. 2.136
Electrical
Difficult
Verified ✓
Feeding a Composite Video Source into the Honda Civic Factory Navigation Screen
9 steps · 3-4 hours
7 VIEWS
FIG. 2.137
Audio
Difficult
Verified ✓
Fiberglass False-Floor Subwoofer Enclosure for a Honda Accord Trunk
13 steps · 6-8 hours of hands-on work spread over 2-3 weeks (excludes resin cure time)
7 VIEWS
FIG. 2.138
Lighting
Moderate
Verified ✓
First-Generation Acura TL D4 Gear-Indicator Bulb Replacement
9 steps · 30-45 minutes
7 VIEWS

Electrical
Moderate
Verified ✓
Fitting Aftermarket Rear Parking Sensors to a Honda Civic Hatchback
13 steps · 3-6 hours
7 VIEWS
Exterior
Moderate
Verified ✓
Fitting Honda Accord Oval Exhaust Tips to a Fit Sport (GE8)
9 steps · 3-4 hours
7 VIEWS
Exterior
Moderate
Verified ✓
Fitting a 1999-2000 Civic Si Front Lip to a 1992-1995 EG Civic Bumper
6 steps · 1-2 hours
8 VIEWS
FIG. 2.142
Exterior
Difficult
Verified ✓
Fitting a DC5 (RSX) Rear Diffuser to an 8th-Gen Civic Coupe (FG2)
10 steps · 12-13 hours (spread over 2-3 days)
7 VIEWS
FIG. 2.143
Engine
Difficult
Verified ✓
Fitting a Fujita Cold Air Intake to an Automatic Honda Fit (Not Recommended)
10 steps · 2-3 hours
7 VIEWS
FIG. 2.144
Electrical
Moderate
Verified ✓
Fitting a Number-Plate Reversing Camera to a 3-Door Honda Civic Type R (FN2)
9 steps · 1-2 hours
7 VIEWS
FIG. 2.145
Engine
Moderate
Verified ✓
Fitting an HKS Racing Suction Reloaded Intake Kit to the Honda Civic Type R (FN2)
11 steps · 1-2 hours
7 VIEWS
FIG. 2.146
Suspension
Moderate
Verified ✓
Front Adjustable Camber Kit Installation (1G Acura CL / 94-97 Honda Accord)
8 steps · 45 minutes to 1 hour per side
7 VIEWS
Exterior
Moderate
Verified ✓
Front Bumper Cover Removal: 1st-Gen Acura CL (1997)
7 steps · About 2 hours
7 VIEWS
FIG. 2.148
Suspension
Difficult
Verified ✓
Front Lower Ball Joint Replacement, Knuckle-Off Press Method (Civic EG/EK, Integra DC2)
12 steps · 3-4 hours per side
0 VIEWS
FIG. 2.149
Suspension
Moderate
Verified ✓
Front Lowering Spring Install (Acura RSX / Honda Civic Si)
12 steps · 3-5 hours
7 VIEWS
FIG. 2.150
Engine
Moderate
Verified ✓
Fujita Cold Air Intake Installation (7th Gen Honda Accord)
12 steps · 2-3 hours
7 VIEWS
FIG. 2.151
Engine
Expert
Verified ✓
H22A Prelude Engine Swap into an EG Civic
13 steps · 3 weeks (including engine bay respray and certification)
23 VIEWS
Lighting
Moderate
Verified ✓
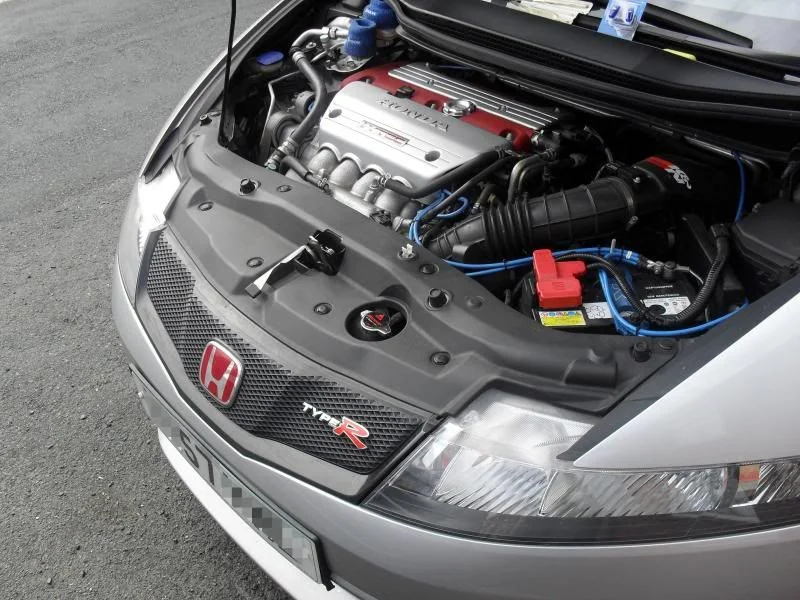
HID Headlight Conversion for the Honda Civic Type R (FN2)
11 steps · 2-3 hours
7 VIEWS
FIG. 2.153
Lighting
Expert
Verified ✓
HID Projector Retrofit for the 7th-Gen Honda Accord Headlight
8 steps · 8-12 hours over a weekend
7 VIEWS
FIG. 2.154
Electrical
Moderate
Verified ✓
Hardwiring a High-Flow Fuel Pump with a Dedicated Relay (Honda/Acura)
12 steps · 3-4 hours
24 VIEWS
FIG. 2.155
Electrical
Moderate
Verified ✓
Hardwiring a Valentine One Radar/Laser Detector to the Civic Interior Light
8 steps · 30-45 minutes
7 VIEWS
Forced Induction
Difficult
Verified ✓
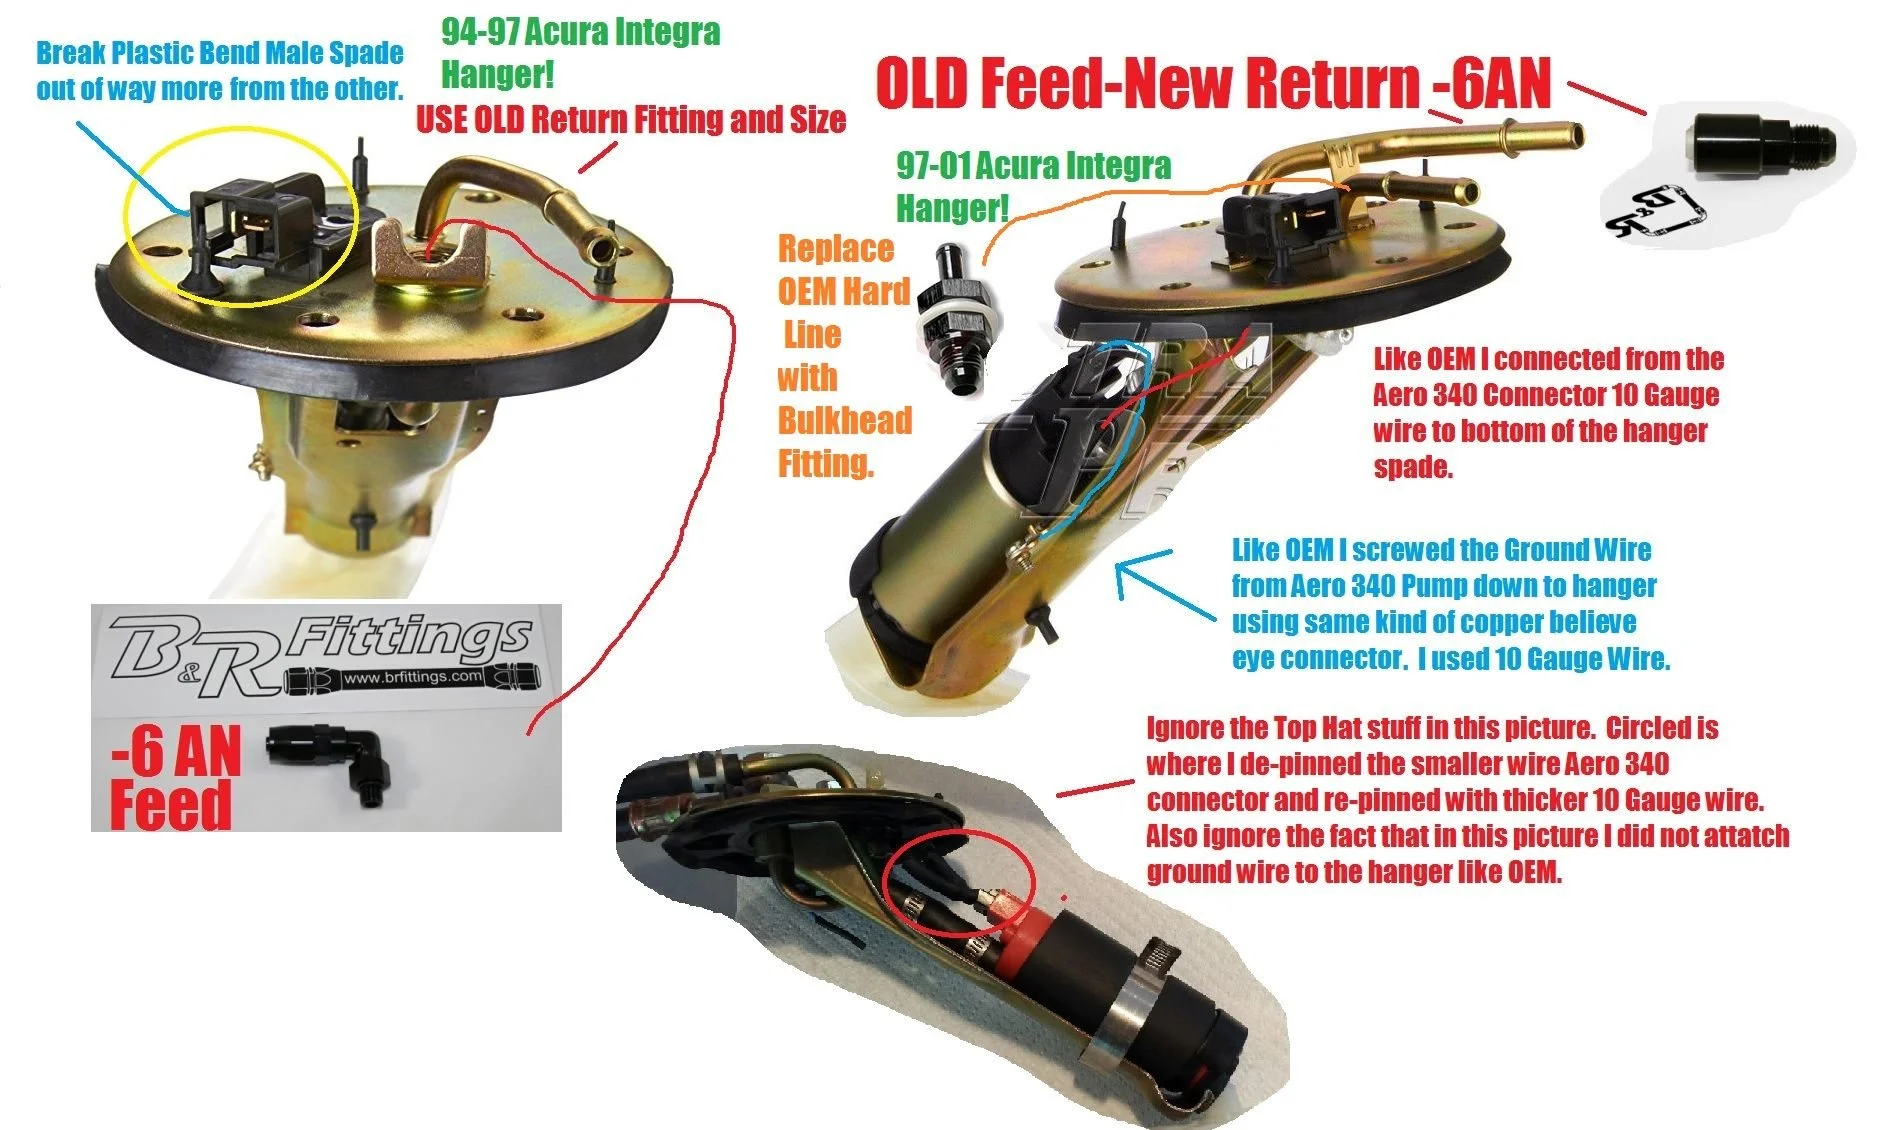
High-Flow Fuel Pump Upgrade Using the Factory Honda/Acura In-Tank Hanger
8 steps · 3-4 hours
7 VIEWS
FIG. 2.157
Maintenance
Easy
Verified ✓
Honda Accord (CG, 1998-2002) 4-Cylinder Coolant Flush, Refill and Bleed
11 steps · 1.5-2 hours
0 VIEWS
FIG. 2.158
Maintenance
Easy
Verified ✓
Honda Accord (CG, 1998-2002) Manual Transmission Fluid Change
7 steps · 45 minutes-1 hour
0 VIEWS
FIG. 2.159
Lighting
Moderate
Verified ✓
Honda Accord Coupe (8th Gen) OEM Fog Light Installation
9 steps · 1.5-3 hours
7 VIEWS
FIG. 2.160
Interior
Difficult
Verified ✓
Honda Accord Euro (CL9) Center Console and Switch Backlighting LED Color Conversion
14 steps · 10-15 hours (a full weekend)
23 VIEWS
FIG. 2.161
Lighting
Easy
Verified ✓
Honda Accord Interior LED Bulb Conversion (Dome, Map, and Door Courtesy Lights)
6 steps · 20-30 minutes
7 VIEWS
Electrical
Expert
Verified ✓
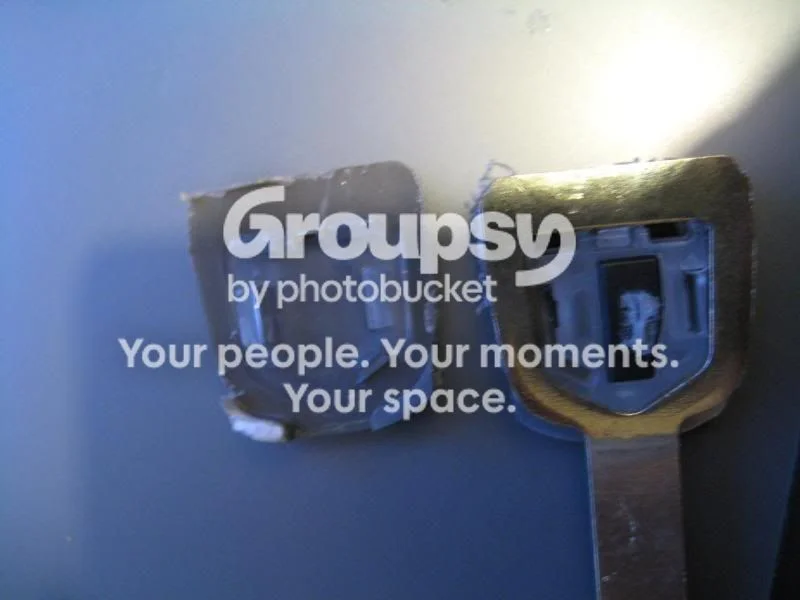
Honda Accord to TSX Switchblade (Flip) Key Conversion
11 steps · 2-4 hours
7 VIEWS
Engine
Moderate
Verified ✓
Honda B-Series Harmonic Damper Inspection and Fluidampr Upgrade
7 steps · 1-2 hours
24 VIEWS
Engine
Easy
Verified ✓
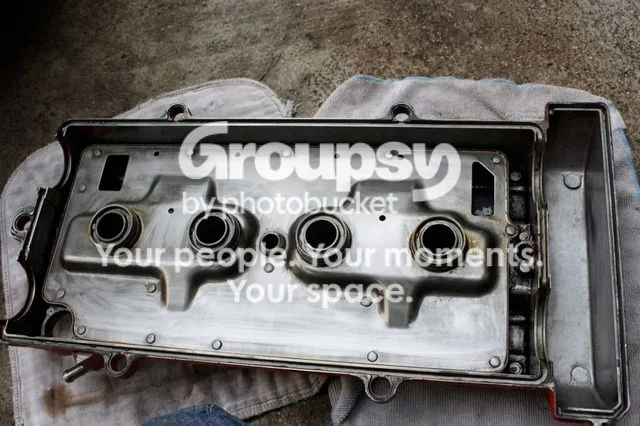
Honda B-Series Valve Cover Gasket and Cam Seal Replacement (B18B)
8 steps · 1-2 hours
7 VIEWS
FIG. 2.165
Brakes
Difficult
Verified ✓
Honda Brake Master Cylinder Rebuild
14 steps · 1-2 hours including brake bleeding
23 VIEWS
Audio
Moderate
Verified ✓
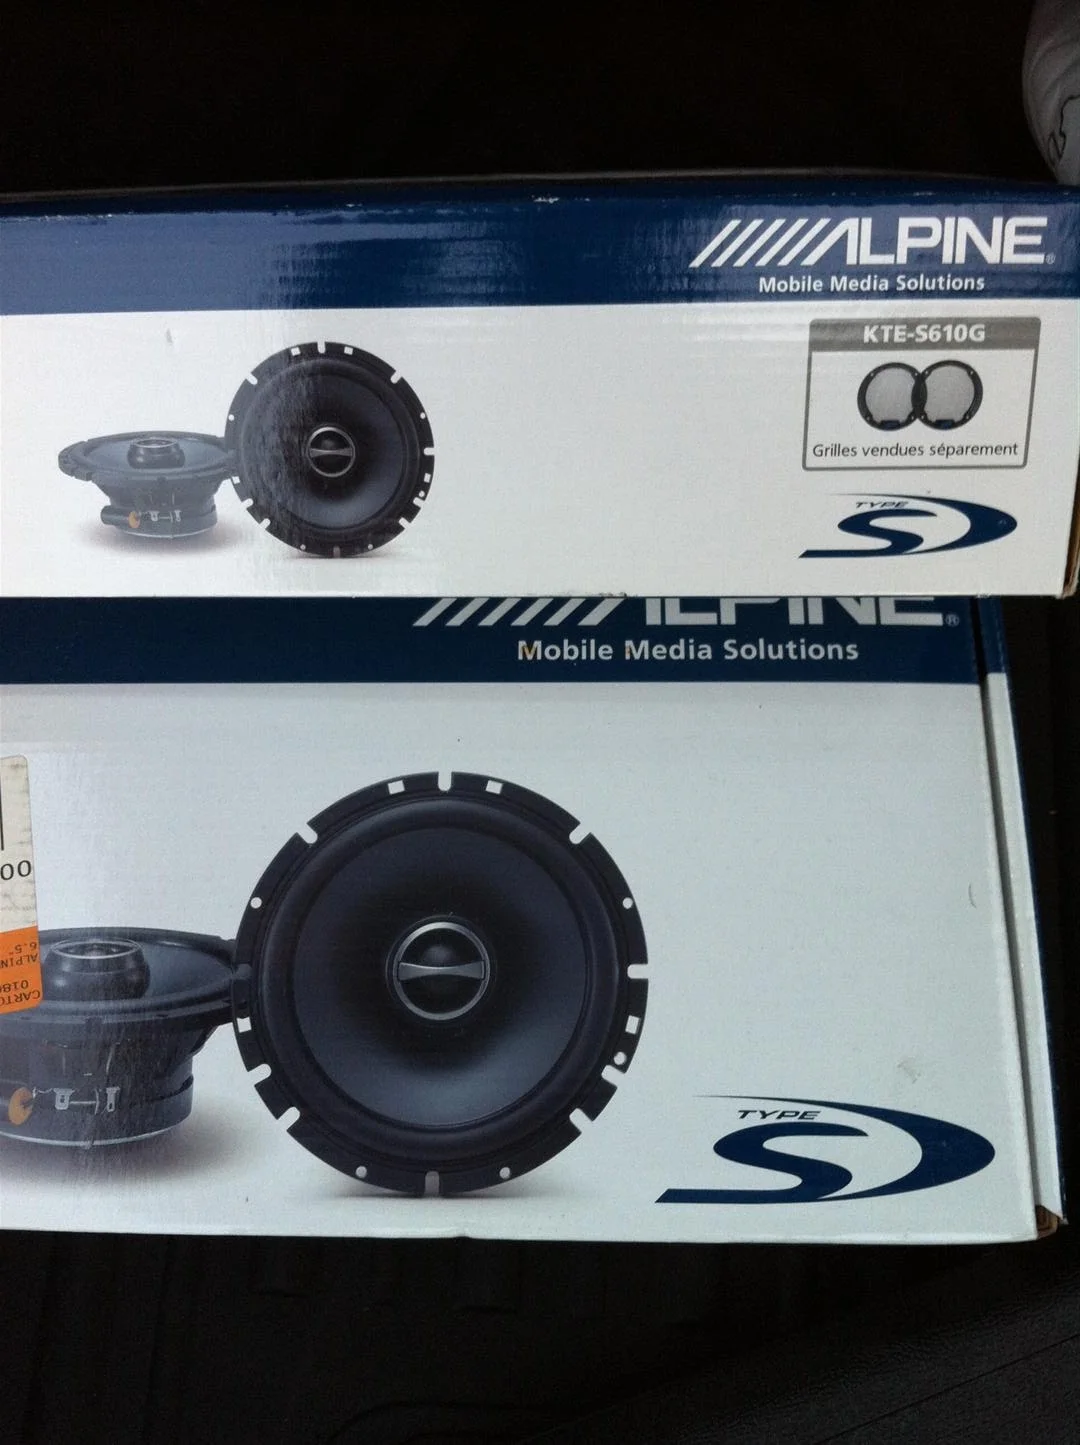
Honda CR-Z (EX) Polk Speaker and Subwoofer Upgrade
8 steps · 4-6 hours
7 VIEWS
Suspension
Difficult
Verified ✓
Honda CR-Z (ZF1) Lowering Spring Installation
13 steps · 3-6 hours
7 VIEWS
FIG. 2.168
Lighting
Moderate
Verified ✓
Honda CR-Z Center High-Mount Brake Light (CHMSL) Flasher Install
9 steps · 30-60 minutes
7 VIEWS
Suspension
Moderate
Verified ✓
Honda CR-Z Cusco Rear Strut Bar Installation (EX With Subwoofer)
9 steps · 2-3 hours
7 VIEWS
Suspension
Moderate
Verified ✓
Honda CR-Z Eibach Pro-Kit Lowering Spring Installation (Hand Tools)
12 steps · 4-6 hours
7 VIEWS
Lighting
Easy
Verified ✓
Honda CR-Z Footwell LED Brightening Modification
8 steps · 15-45 minutes
7 VIEWS
Exterior
Easy
Verified ✓
Honda CR-Z Front and Rear H Emblem Replacement (Red JDM Badges)
8 steps · 30-60 minutes
7 VIEWS
FIG. 2.173
Lighting
Moderate
Verified ✓
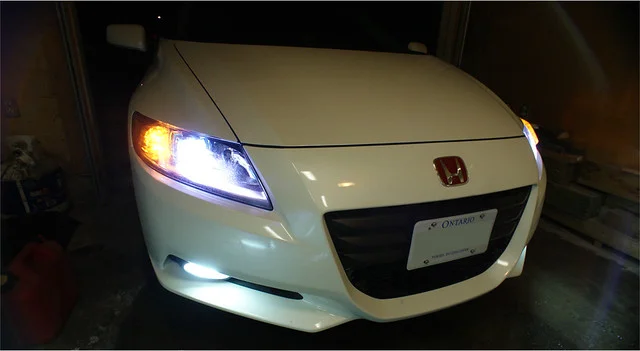
Honda CR-Z HID Fog Light Conversion
8 steps · 1-2 hours
7 VIEWS
Suspension
Moderate
Verified ✓
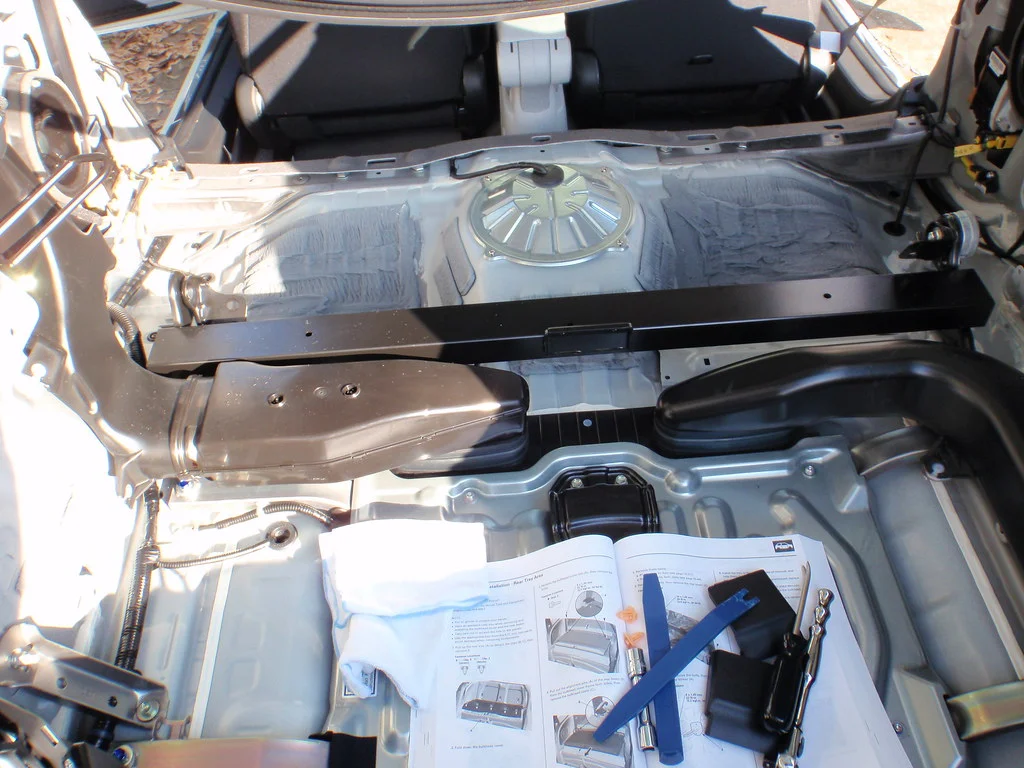
Honda CR-Z HKS Kansai Rear Hatch Brace Installation
8 steps · 2-3 hours
7 VIEWS
Interior
Easy
Verified ✓
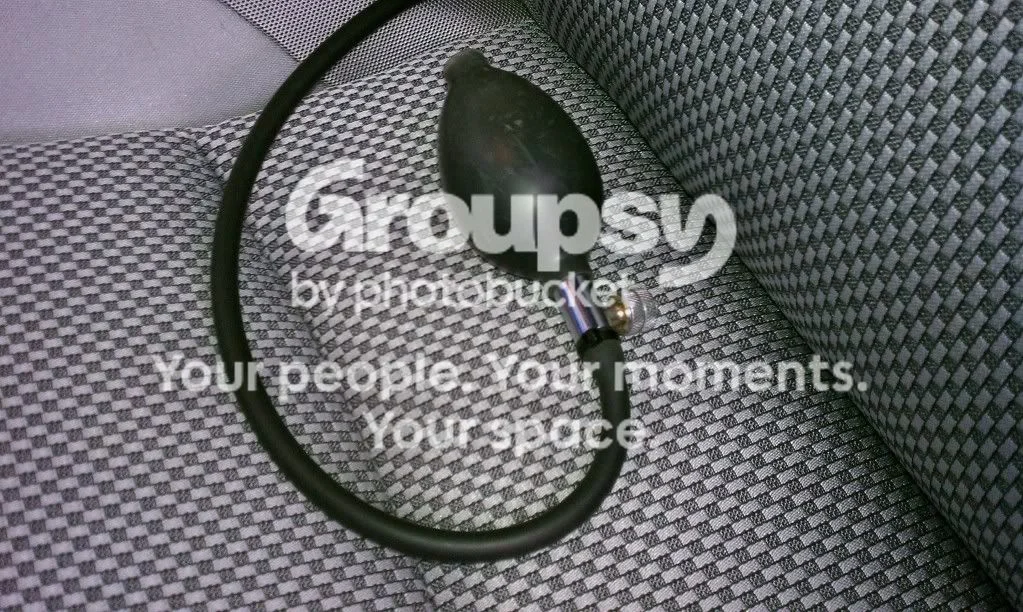
Honda CR-Z Inflatable Lumbar Support Bladder Installation
7 steps · 15-20 minutes
7 VIEWS
FIG. 2.176
Exterior
Easy
Verified ✓
Honda CR-Z JDM Door Visor (Window Deflector) Installation
7 steps · 30-60 minutes
7 VIEWS
Electrical
Easy
Verified ✓
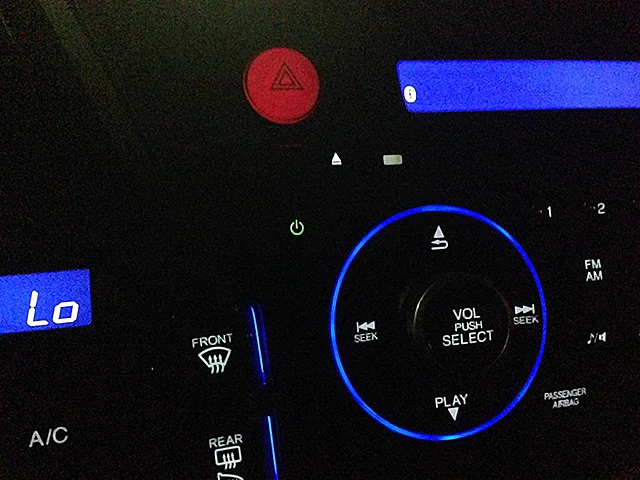
Honda CR-Z JDM Red Hazard Switch Installation (Non-Navi Head Unit)
7 steps · 30-45 minutes
7 VIEWS
Electrical
Difficult
Verified ✓
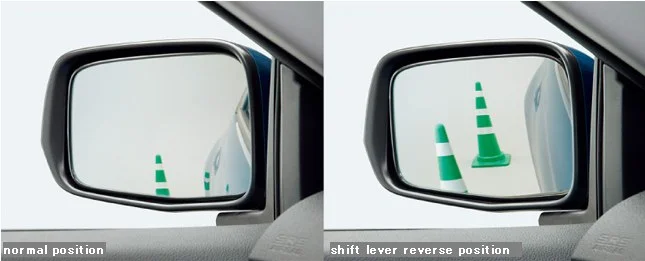
Honda CR-Z JDM Reverse-Tilt Passenger Mirror Installation
10 steps · 3-4 hours
7 VIEWS

Engine
Moderate
Verified ✓
Honda CR-Z K&N Typhoon Short Ram Intake Installation
13 steps · 1.5-2 hours
7 VIEWS

Lighting
Moderate
Verified ✓
Honda CR-Z LED Rear Diffuser Reflector Light Installation
10 steps · 1-2 hours
7 VIEWS
FIG. 2.181
Lighting
Easy
Verified ✓
Honda CR-Z License Plate Bulb Replacement (LED Upgrade)
7 steps · 5-10 minutes
7 VIEWS
FIG. 2.182
Audio
Difficult
Verified ✓
Honda CR-Z Navigation Splash Screen Replacement
7 steps · 1-2 hours
7 VIEWS
FIG. 2.183
Lighting
Difficult
Verified ✓
Honda CR-Z Projector Headlight Blackout and Amber Reflector Delete
11 steps · A full day (6-10 hours), or a weekend for a first attempt
7 VIEWS
FIG. 2.184
Electrical
Moderate
Verified ✓
Honda CR-Z Rear Backup Camera Install to the Factory Navigation Screen
7 steps · 1-2 hours
7 VIEWS
Interior
Moderate
Verified ✓
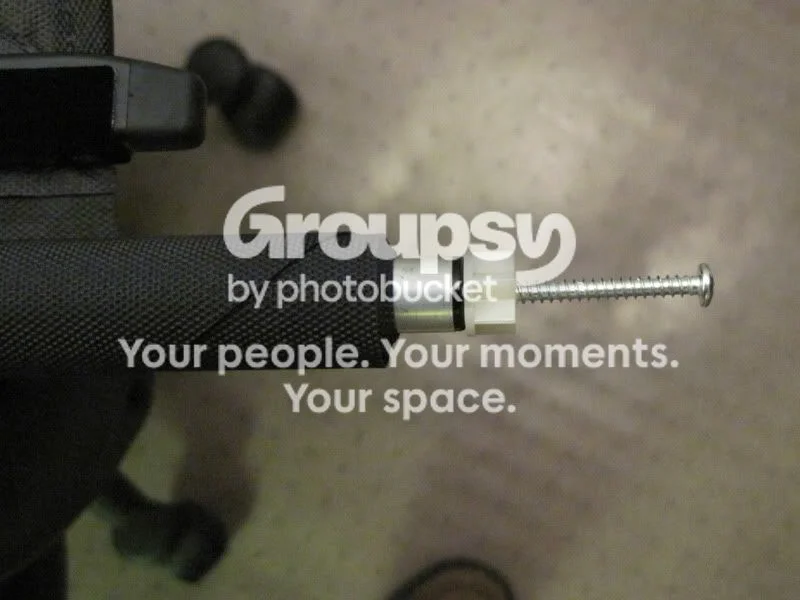
Honda CR-Z Retractable Cargo Hooks Installation
10 steps · 2-3 hours
7 VIEWS
FIG. 2.186
Drivetrain
Difficult
Verified ✓
Honda CR-Z Short-Shift Adapter and Hard-Mount Bushing Installation (H-Fit Kit)
12 steps · 2-3 hours
7 VIEWS
Suspension
Difficult
Verified ✓
Honda CR-Z Tein High Tech Lowering Spring and Rear Wheel Spacer Install
13 steps · 4-6 hours
7 VIEWS
FIG. 2.188
Audio
Moderate
Verified ✓
Honda CR-Z: Adding an Aftermarket Amplifier to the Factory Navigation Audio System
8 steps · 3-4 hours
7 VIEWS
FIG. 2.189
Electrical
Moderate
Verified ✓
Honda CR-Z: Keeping Factory HandsFreeLink Bluetooth When Replacing the Head Unit
8 steps · 2-4 hours
7 VIEWS

Interior
Easy
Verified ✓
Honda CR-Z: Swap the CVT Selector for a Honda Fit Leather Shift Knob
9 steps · 10-15 minutes
7 VIEWS
FIG. 2.191
Lighting
Easy
Verified ✓
Honda Civic (10th Gen) LED Interior Light Upgrade with DIY Reflectors
6 steps · 1-2 hours
7 VIEWS
FIG. 2.192
Exterior
Easy
Verified ✓
Honda Civic (10th Gen) Rear Trunk Emblem Replacement
9 steps · 15-30 minutes
7 VIEWS
FIG. 2.193
Suspension
Difficult
Verified ✓
Honda Civic (1992-2000) Front Wheel Bearing Replacement
14 steps · 3-5 hours per side (plus press time)
24 VIEWS
FIG. 2.194
Exterior
Moderate
Verified ✓
Honda Civic (2006-2010) Hood Damper (Gas Strut) Installation
12 steps · About 1 hour
7 VIEWS
FIG. 2.195
Brakes
Moderate
Verified ✓
Honda Civic (8th Gen) ABS Warning Light Diagnosis and Wheel Speed Sensor Replacement
9 steps · 2-3 hours
7 VIEWS
FIG. 2.196
Lighting
Difficult
Verified ✓
Honda Civic (8th Gen) Footwell LED Lighting Wired to the Courtesy-Light Circuit
8 steps · 1-2 hours
7 VIEWS
FIG. 2.197
Audio
Easy
Verified ✓
Honda Civic (8th Gen) Hands-Free Microphone Repositioning for Clearer Calls
8 steps · 15-45 minutes
7 VIEWS
FIG. 2.198
Lighting
Moderate
Verified ✓
Honda Civic (8th Gen) Headlight and Position Light Bulb Replacement
7 steps · 1-2 hours
7 VIEWS
FIG. 2.199
Electrical
Easy
Verified ✓
Honda Civic (8th Gen) Key-In-Ignition Reminder Chime Delete
7 steps · 15-30 minutes
7 VIEWS
FIG. 2.200
Electrical
Difficult
Verified ✓
Honda Civic (8th Gen) Starter Motor Replacement (Automatic Transmission)
14 steps · 7-9 hours
7 VIEWS
FIG. 2.201
Electrical
Moderate
Verified ✓
Honda Civic (8th Gen) VSA Toggle Switch: Disable Stability Assist by Default
10 steps · 1-2 hours
7 VIEWS
FIG. 2.202
Electrical
Expert
Verified ✓
Honda Civic (8th Gen, R18) Engine Bay Wire Tuck
11 steps · About 1 week (5 working days)
7 VIEWS
FIG. 2.203
Interior
Moderate
Verified ✓
Honda Civic (9G) Front Door Card Removal
8 steps · 30-60 minutes
7 VIEWS
FIG. 2.204
Engine
Moderate
Verified ✓
Honda Civic (EG) Fuel Pump Replacement
10 steps · 1-2 hours
24 VIEWS
FIG. 2.205
Lighting
Difficult
Verified ✓
Honda Civic (FK): Fitting a Type R (CTR) Rear Centre Light Panel
8 steps · 3-5 hours
7 VIEWS
FIG. 2.206
Exterior
Moderate
Verified ✓
Honda Civic (FK/FN) Front Grille Swap Without Breaking Clips
9 steps · 15 minutes to 1 hour
7 VIEWS
Suspension
Moderate
Verified ✓
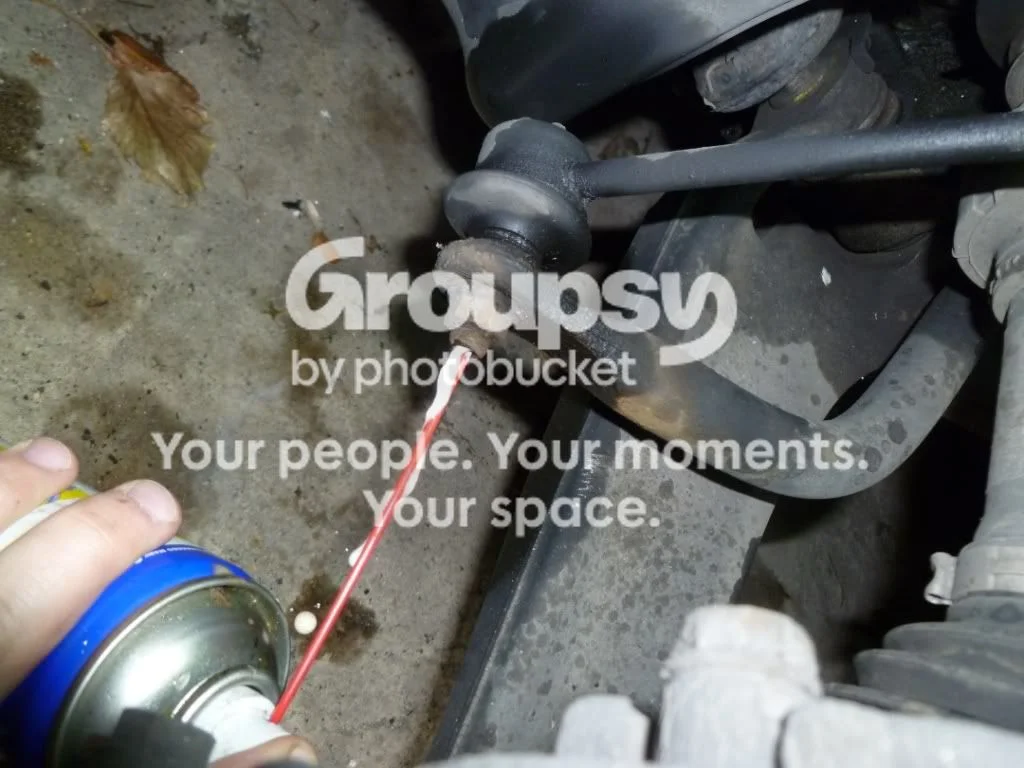
Honda Civic (FN2) Front Anti-Roll Bar Drop Link Replacement
8 steps · 1-2 hours
7 VIEWS
FIG. 2.208
Drivetrain
Moderate
Verified ✓
Honda Civic (FN2/FK) Short Shifter Kit Installation
13 steps · 1-3 hours
7 VIEWS
FIG. 2.209
Brakes
Moderate
Verified ✓
Honda Civic (FN3) Rear Brake Disc and Pad Replacement - EBC GD Grooved Discs and Yellow Stuff Pads
12 steps · 6-8 hours (a full day if discs are thoroughly cleaned)
7 VIEWS
Interior
Easy
Verified ✓
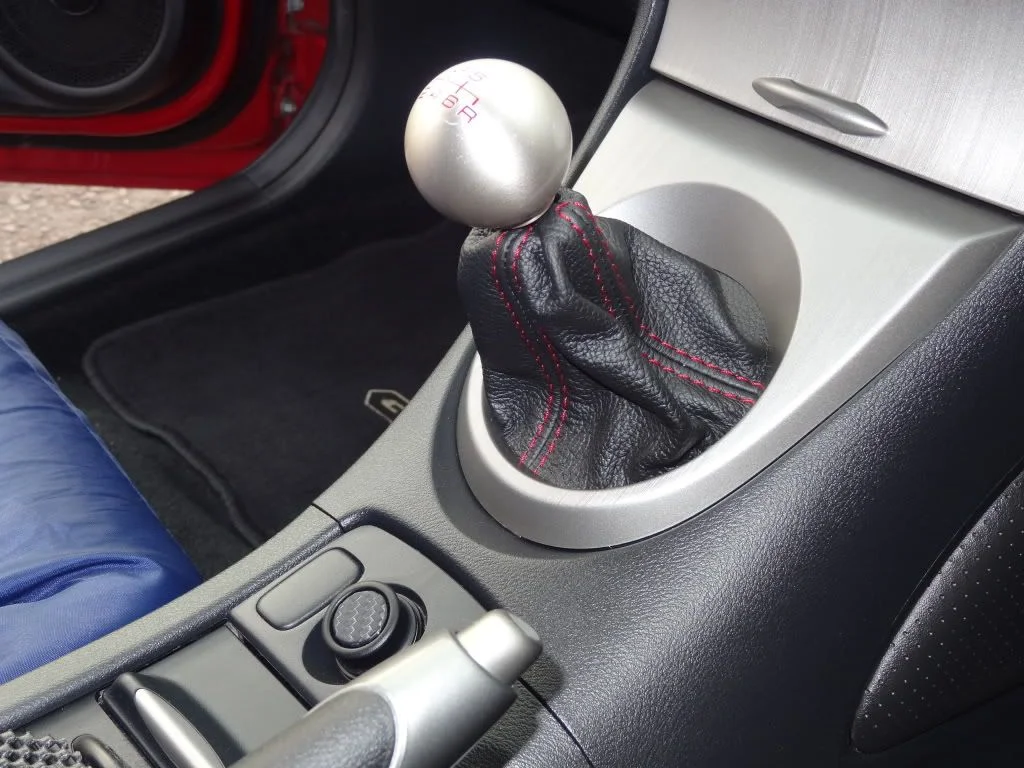
Honda Civic (Mk8) Gear Knob and Shift Gaiter Replacement
6 steps · 15-30 minutes
7 VIEWS
FIG. 2.211
Drivetrain
Moderate
Verified ✓
Honda Civic 1.8 Manual Transmission Fluid Change (8th Gen R18)
8 steps · 1-2 hours
7 VIEWS
FIG. 2.212
Lighting
Moderate
Verified ✓
Honda Civic 2.2 i-CTDi Aftermarket HID Headlight Conversion (H7)
11 steps · 1-2 hours
7 VIEWS
Engine
Moderate
Verified ✓
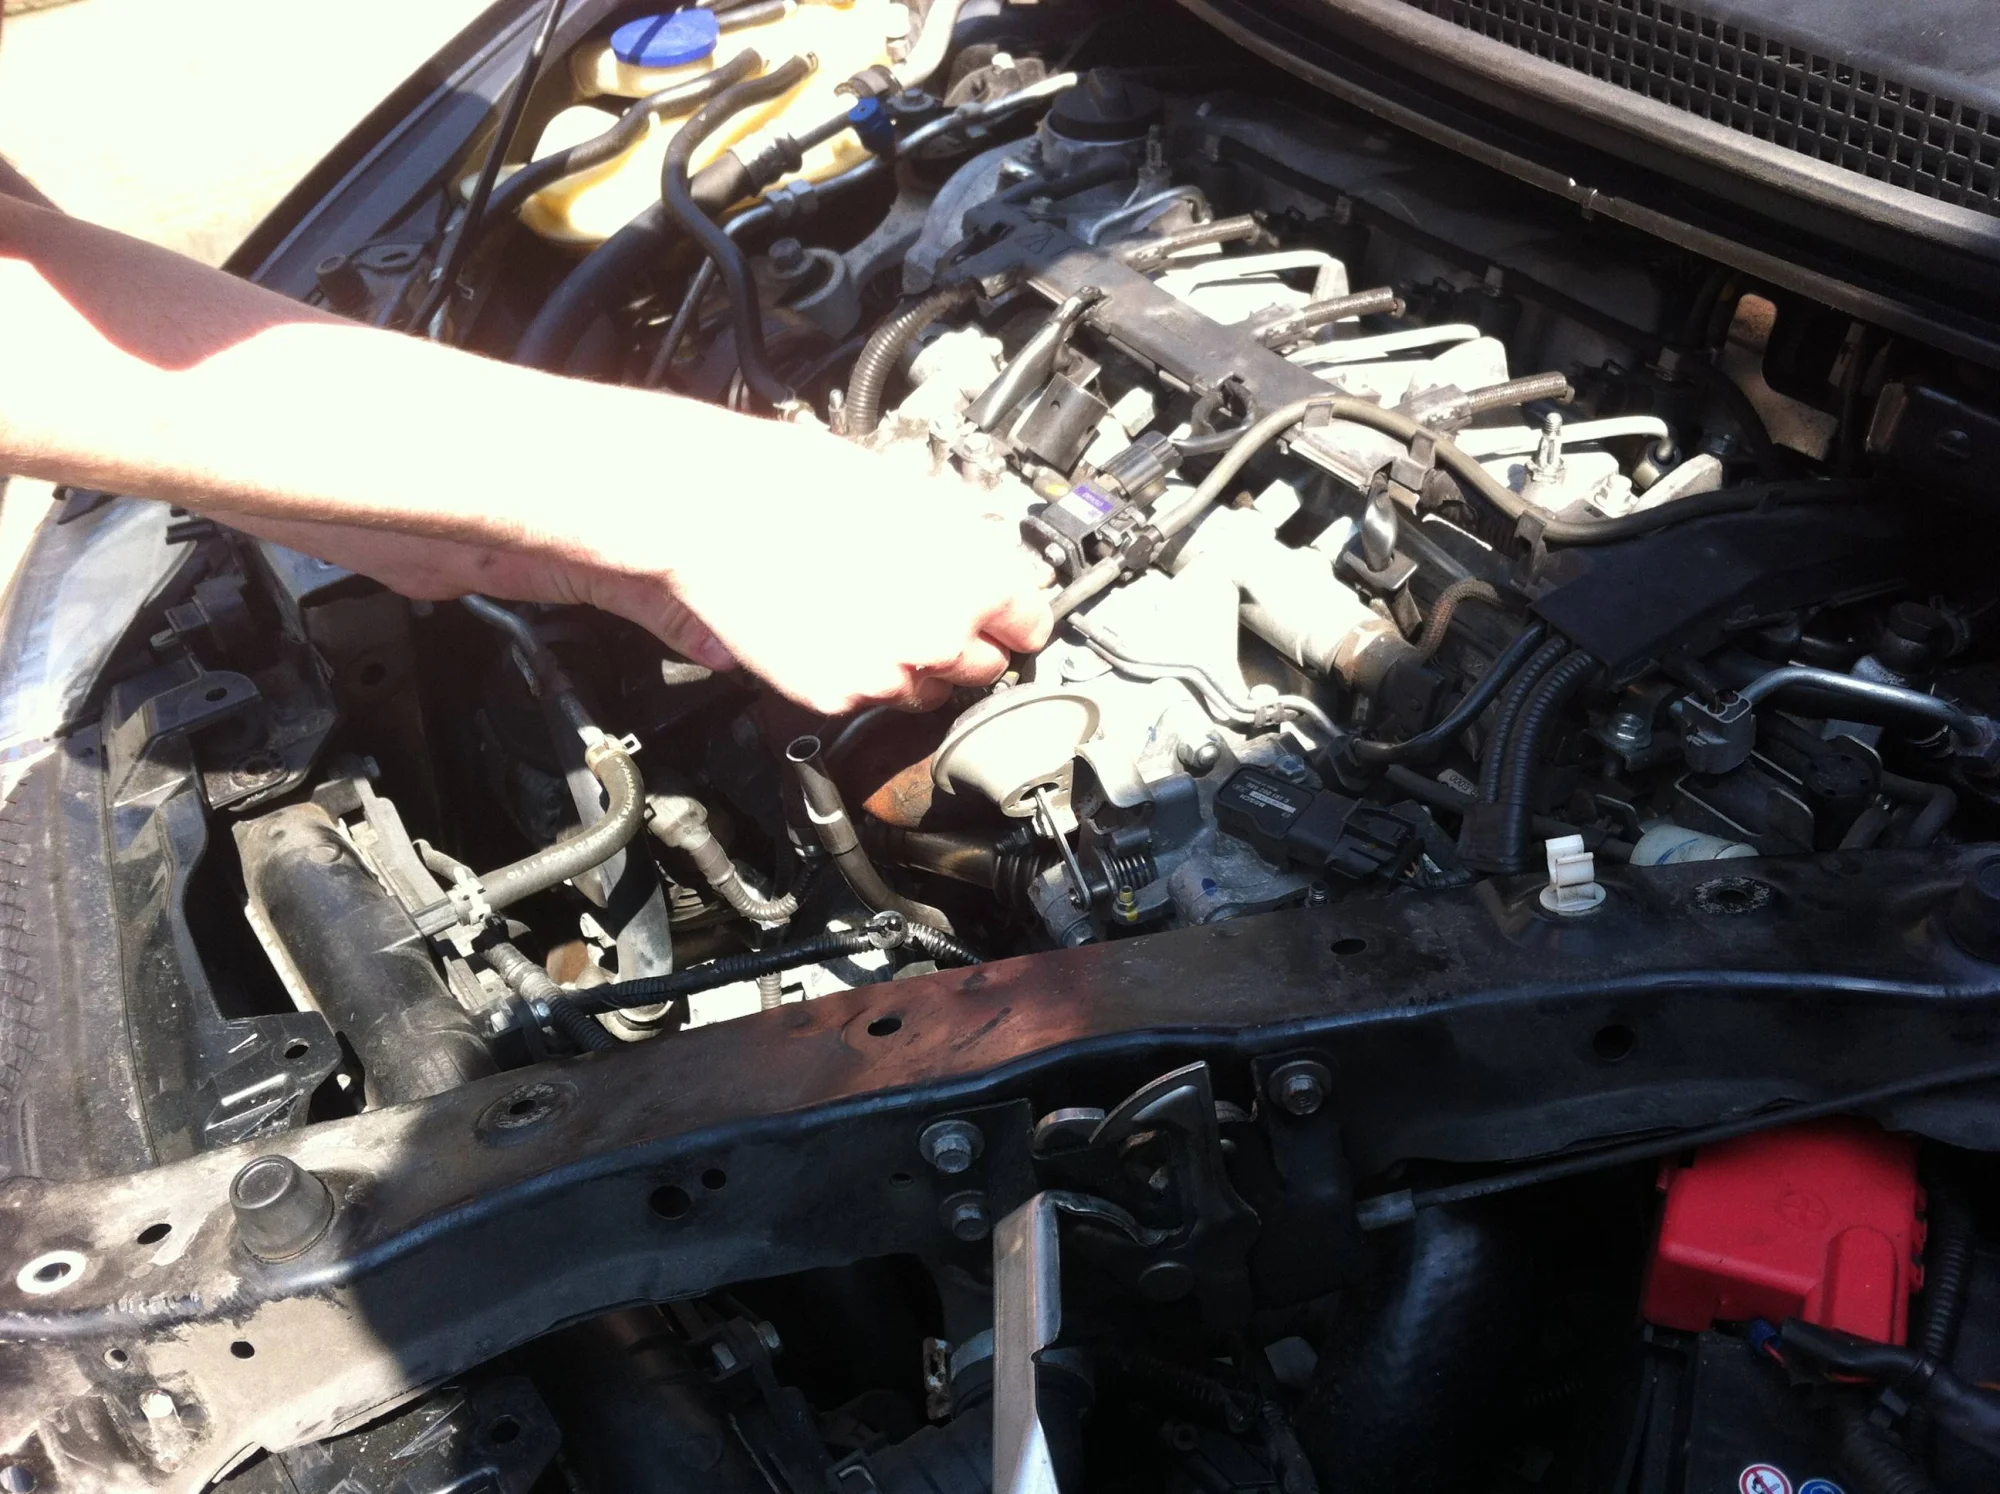
Honda Civic 2.2 i-CTDi Diesel EGR Valve Removal and Cleaning
10 steps · 1-2 hours
7 VIEWS
FIG. 2.214
Exterior
Moderate
Verified ✓
Honda Civic 5-Door to Type R/S Body Kit Conversion (8th Gen FK)
11 steps · 4-6 hours
7 VIEWS
FIG. 2.215
Electrical
Moderate
Verified ✓
Honda Civic Aftermarket Rear Parking Sensor Installation
8 steps · 3-4 hours
7 VIEWS
Lighting
Moderate
Verified ✓
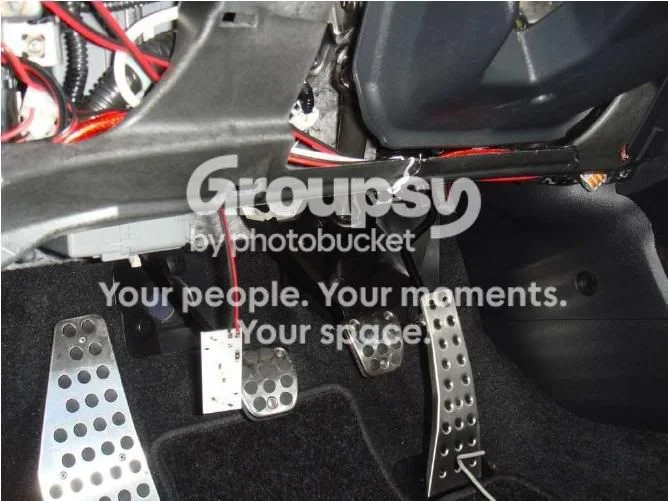
Honda Civic Ambient Footwell Lighting Install with Door-Triggered Dimming
6 steps · About 1 hour
7 VIEWS
Electrical
Moderate
Verified ✓
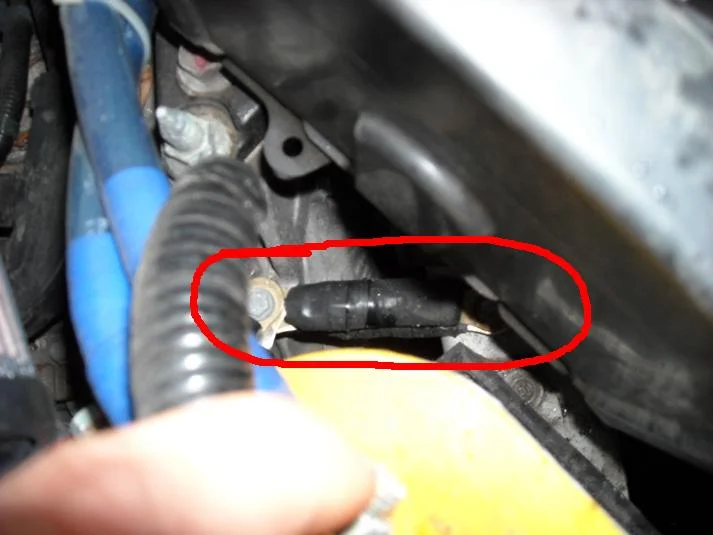
Honda Civic Big Three Charging and Grounding Cable Upgrade
9 steps · 2-3 hours
7 VIEWS
Brakes
Difficult
Verified ✓
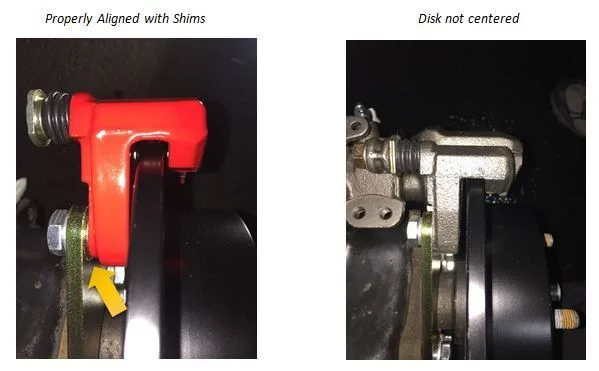
Honda Civic CRX Rear Drum-to-Disc Brake Conversion (Scarebird Adapter Kit)
9 steps · 4-6 hours
7 VIEWS
FIG. 2.219
Electrical
Moderate
Verified ✓
Honda Civic Door Card Removal and Auto-Fold Mirror Module Wiring
10 steps · 2-3 hours (both doors)
7 VIEWS
FIG. 2.220
Suspension
Difficult
Verified ✓
Honda Civic EG (1992-1995) Power Steering Rack Replacement
12 steps · 4-6 hours
0 VIEWS
FIG. 2.221
Modifications
Difficult
Verified ✓
Honda Civic EK 5-Lug Conversion Using CRV Parts
8 steps · 6-8 hours
5,297 VIEWS
FIG. 2.222
Lighting
Moderate
Verified ✓
Honda Civic EK Daytime Running Light Conversion (Relay-Driven Low Beams)
8 steps · 2-3 hours
7 VIEWS

Interior
Moderate
Verified ✓
Honda Civic EP3 Headliner Removal and Suede Re-Wrap
9 steps · 4-6 hours
7 VIEWS

Audio
Moderate
Verified ✓
Honda Civic EP3: Custom MDF Cargo Deck and Front Speaker Adaptors
8 steps · 3-4 hours of work plus 5-24 hours for adhesive to cure
7 VIEWS
FIG. 2.225
Interior
Moderate
Verified ✓
Honda Civic FN2 Headliner (Roof Lining) Removal and Refit
8 steps · 1-2 hours
7 VIEWS
FIG. 2.226
Electrical
Difficult
Verified ✓
Honda Civic Flip Key Conversion: Transponder Transplant
6 steps · 1-2 hours (plus a trip to a key cutter)
7 VIEWS
FIG. 2.227
Brakes
Moderate
Verified ✓
Honda Civic Front Brake Disc and Pad Replacement
12 steps · 1-2 hours
7 VIEWS
FIG. 2.228
Lighting
Moderate
Verified ✓
Honda Civic Front Fog Light Kit Installation (8th Generation, 2006 onward)
10 steps · About 2 hours
7 VIEWS
FIG. 2.229
Audio
Difficult
Verified ✓
Honda Civic Full In-Car Entertainment (ICE) System Install
11 steps · 12-20 hours
7 VIEWS
FIG. 2.230
Brakes
Easy
Verified ✓
Honda Civic Handbrake (Parking Brake) Cable Tension Adjustment
6 steps · 30-45 minutes
7 VIEWS
Electrical
Moderate
Verified ✓
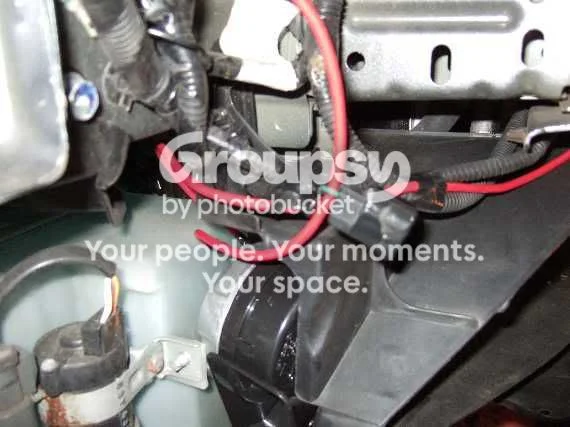
Honda Civic Horn Upgrade: Fitting Aftermarket Twin Horns
8 steps · 2-3 hours
7 VIEWS
Lighting
Moderate
Verified ✓
Honda Civic Interior LED Accent Lighting Install (Dual-Zone Switched)
8 steps · 3-5 hours
7 VIEWS
FIG. 2.233
Suspension
Difficult
Verified ✓
Honda Civic Lowering Spring Replacement (Front and Rear)
10 steps · 3-4 hours (allow a full morning)
7 VIEWS
FIG. 2.234
Engine
Difficult
Verified ✓
Honda Civic MK9 i-DTEC Leaking Oil Cooler Plate Replacement
14 steps · 3-4 days (first attempt)
7 VIEWS
FIG. 2.235
Audio
Moderate
Verified ✓
Honda Civic Mk9: Replacing the Factory Honda Connect Head Unit with an Aftermarket CarPlay Double-DIN
7 steps · 1-2 hours
7 VIEWS
FIG. 2.236
Lighting
Moderate
Verified ✓
Honda Civic Puddle Light (Door Courtesy LED) Installation
10 steps · 2-3 hours per door
7 VIEWS
FIG. 2.237
Engine
Moderate
Verified ✓
Honda Civic Radiator Removal and Replacement
12 steps · 4-6 hours
7 VIEWS
FIG. 2.238
Brakes
Moderate
Verified ✓
Honda Civic Rear Brake Pad Replacement
10 steps · 1-2 hours
7 VIEWS
FIG. 2.239
Brakes
Moderate
Verified ✓
Honda Civic Rear Drum-to-Disc Brake Conversion
14 steps · 2 hours with a helper, up to half a day working solo
7 VIEWS
FIG. 2.240
Lighting
Easy
Verified ✓
Honda Civic Rear Indicator Bulb Swap and Facelift/Type R Lens Conversion
8 steps · 45-60 minutes
7 VIEWS
FIG. 2.241
Brakes
Moderate
Verified ✓
Honda Civic Si (EP3) / Acura RSX Front Brake Pad Replacement
10 steps · 1-2 hours
7 VIEWS
Maintenance
Moderate
Verified ✓
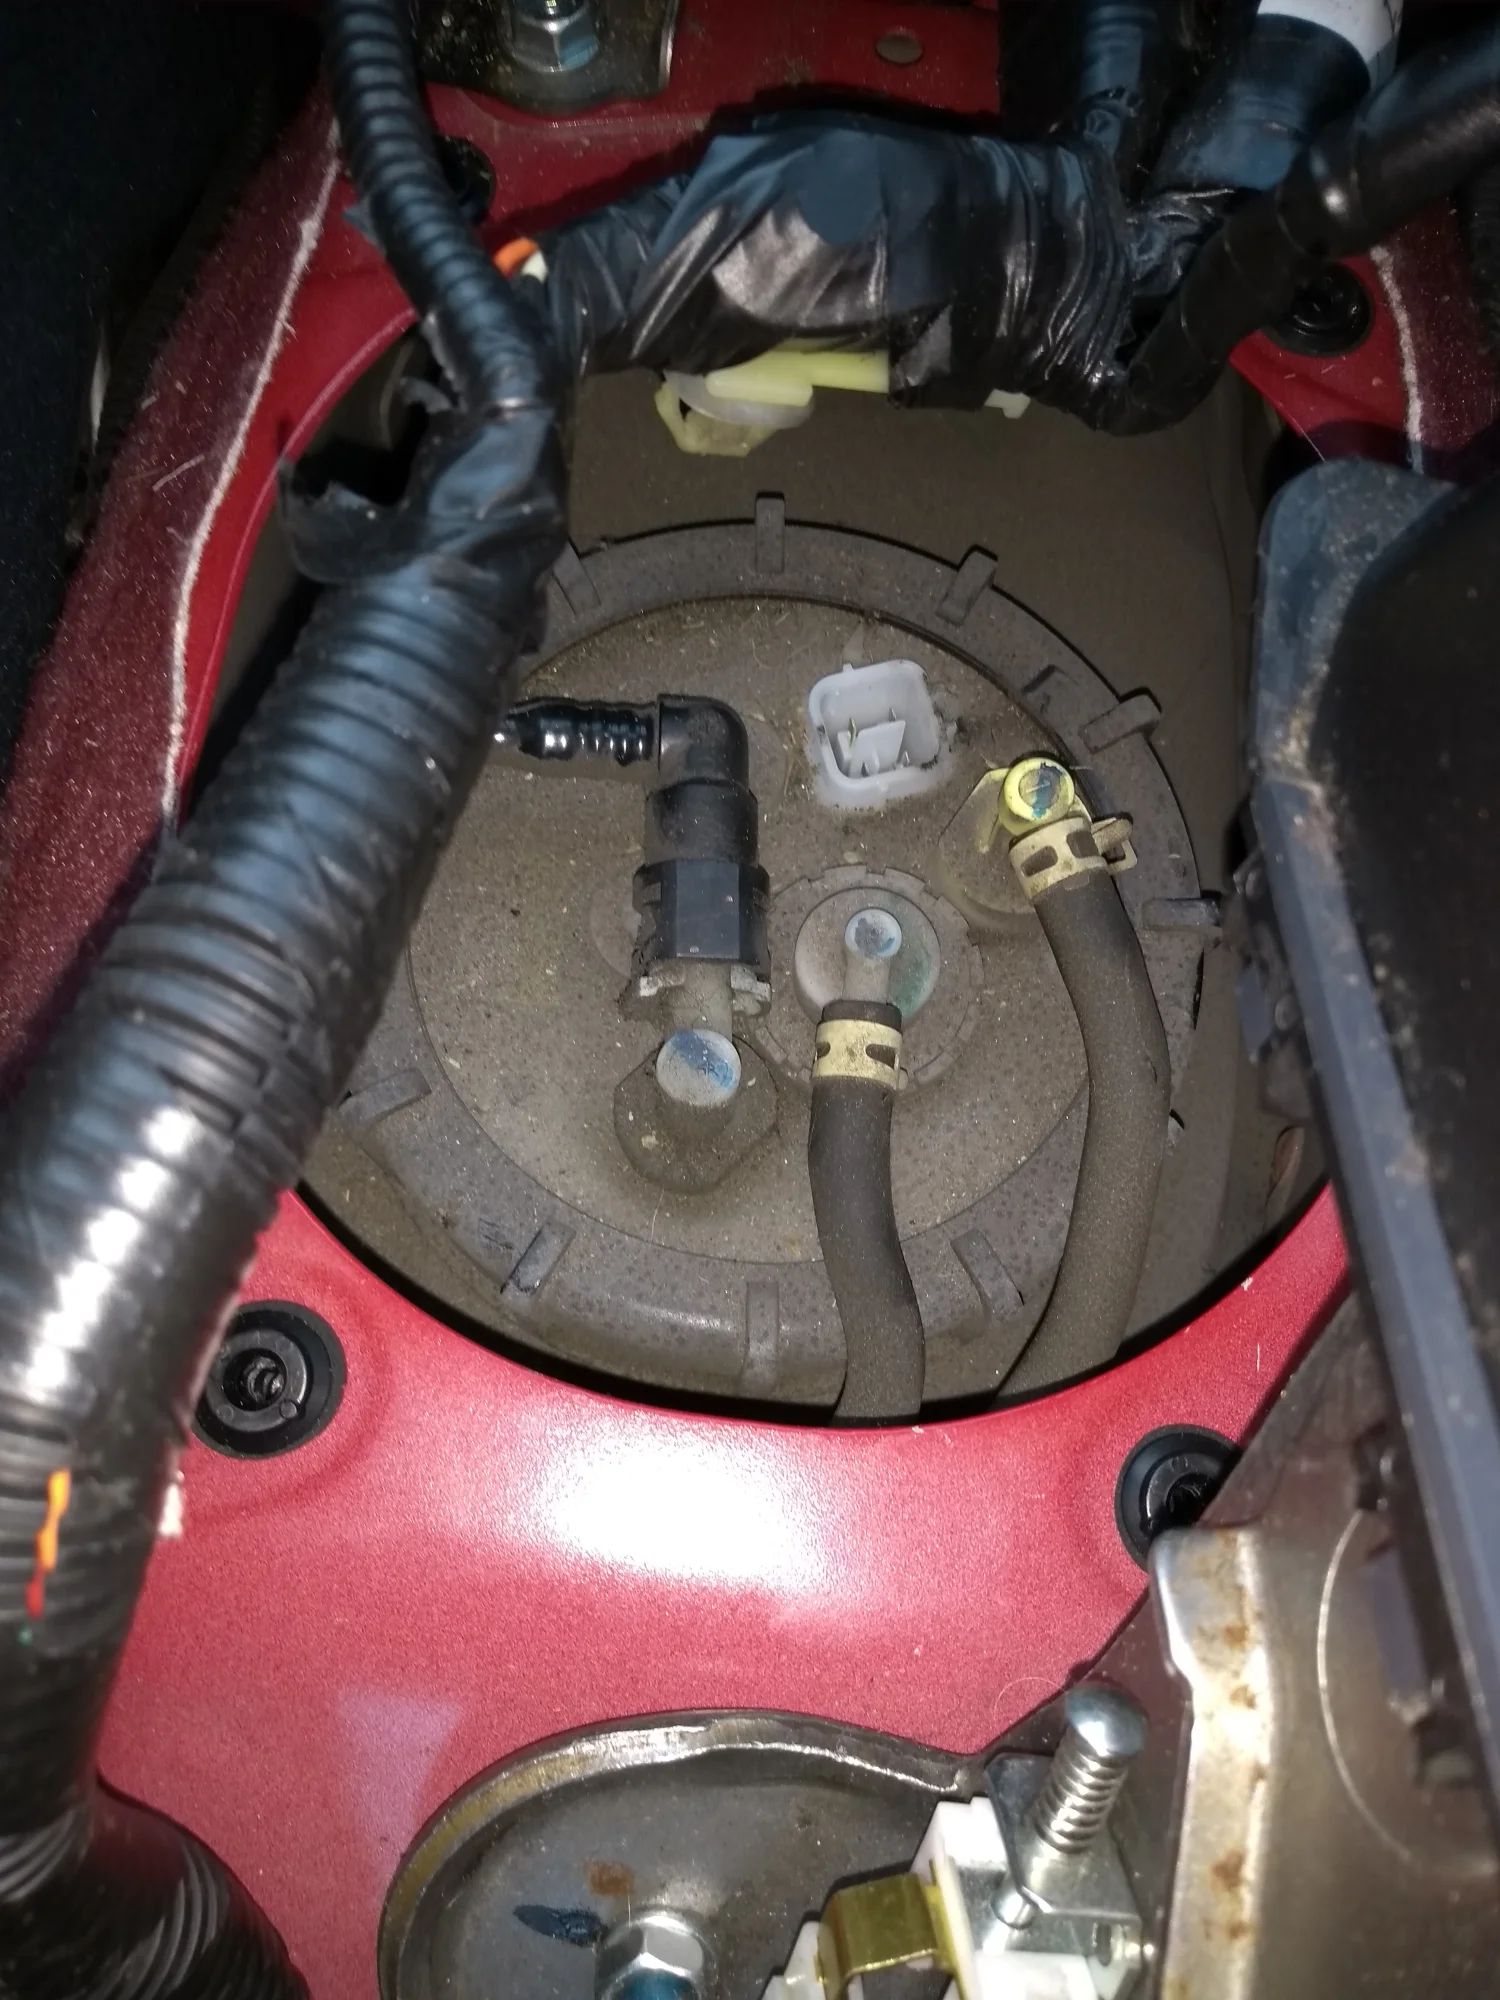
Honda Civic Type R (FN2) In-Tank Fuel Filter and Pump Replacement
11 steps · 2-3 hours
7 VIEWS
FIG. 2.243
Engine
Moderate
Verified ✓
Honda Civic i-CTDi (FK3) Diesel EGR Valve Cleaning
10 steps · 1-2 hours
7 VIEWS
FIG. 2.244
Maintenance
Easy
Verified ✓
Honda Coolant Change and Bleed (EG/EK Civic, DC2 Integra)
10 steps · 1-1.5 hours
24 VIEWS
Suspension
Easy
Verified ✓
Honda Crosstour Rear Sway Bar Upgrade Using the Acura TL AWD Bar
8 steps · 30-60 minutes
7 VIEWS
FIG. 2.246
Engine
Difficult
Verified ✓
Honda D17 SOHC VTEC "Mini-Me" Conversion (2001-2005 Civic)
8 steps · 4-6 hours
7 VIEWS
FIG. 2.247
Engine
Moderate
Verified ✓
Honda DOHC Non-VTEC Rocker Cover Gasket and Cam Plug Reseal
13 steps · 2-3 hours
24 VIEWS
FIG. 2.248
Engine
Difficult
Verified ✓
Honda Fit (2nd Gen) Timing Cam Chain Replacement
14 steps · 6-8 hours
7 VIEWS
Lighting
Moderate
Verified ✓
Honda Fit (3rd Gen GK) Footwell LED Lighting Tied to the Dome Light Circuit
8 steps · 4-6 hours
7 VIEWS
FIG. 2.250
Lighting
Easy
Verified ✓
Honda Fit (GD) Cupholder LED Illumination Upgrade
9 steps · 30-45 minutes
7 VIEWS

Suspension
Difficult
Verified ✓
Honda Fit (GD) DIY Rear Camber Shim Mod
11 steps · 2-4 hours
7 VIEWS
FIG. 2.252
Lighting
Difficult
Verified ✓
Honda Fit (GD) HVAC Control Panel LED Illumination Conversion
14 steps · 2-3 hours
7 VIEWS
Brakes
Difficult
Verified ✓
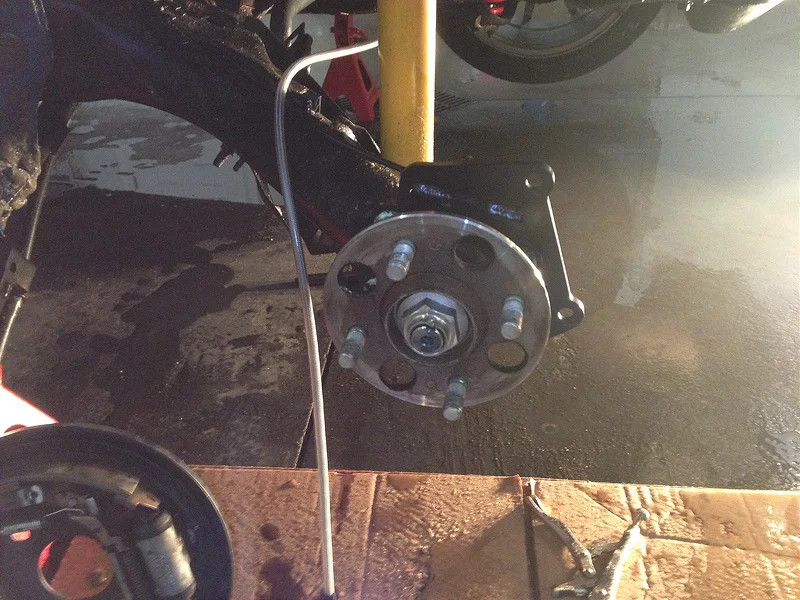
Honda Fit (GD) Rear Drum-to-Disc Brake Conversion
13 steps · 6-10 hours (a full day)
7 VIEWS
Suspension
Moderate
Verified ✓
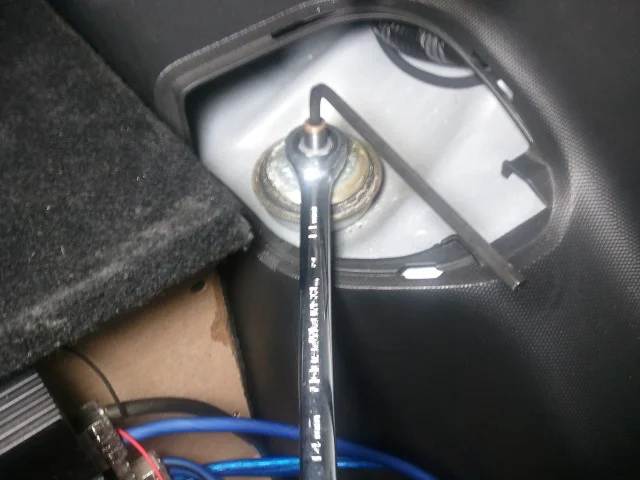
Honda Fit (GD) Rear Koni Sport Shock Conversion
8 steps · 2-3 hours
7 VIEWS
Drivetrain
Moderate
Verified ✓
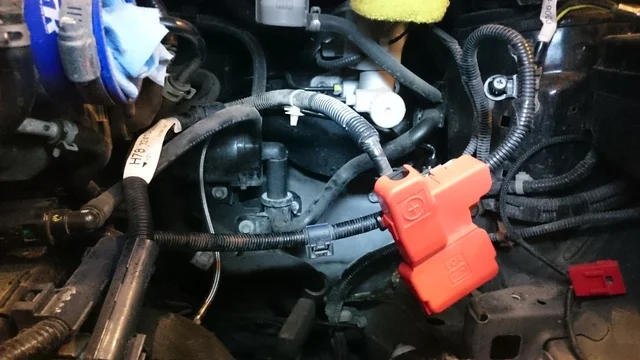
Honda Fit (GD) Stainless Clutch Line and Delay-Valve Delete
8 steps · 2-3 hours
7 VIEWS
Lighting
Moderate
Verified ✓
Honda Fit (GD): Build a JDM-Style LED Third Brake Light
10 steps · 2-3 hours
7 VIEWS
Lighting
Easy
Verified ✓
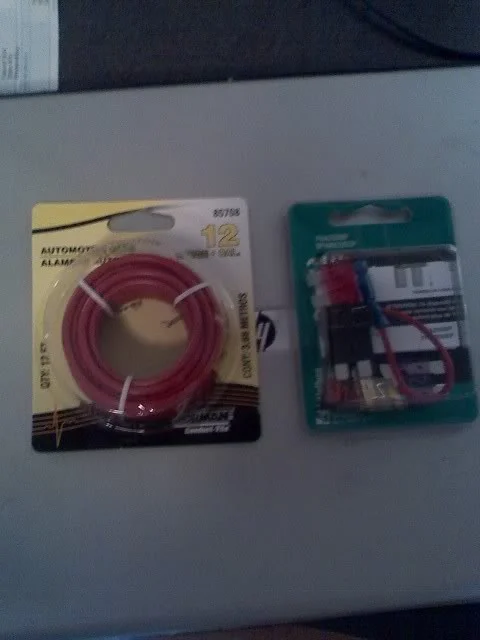
Honda Fit (GD): Independent Fog Light Control Using the Factory Switch
11 steps · 15-30 minutes
7 VIEWS
FIG. 2.258
Engine
Difficult
Verified ✓
Honda Fit (GD): Injen Cold Air Intake Installation
10 steps · 2-3 hours
7 VIEWS

Lighting
Moderate
Verified ✓
Honda Fit (GD): Wiring Footwell / Accent Lights to the Dome-Light Circuit
8 steps · 1-2 hours
7 VIEWS
Drivetrain
Moderate
Verified ✓
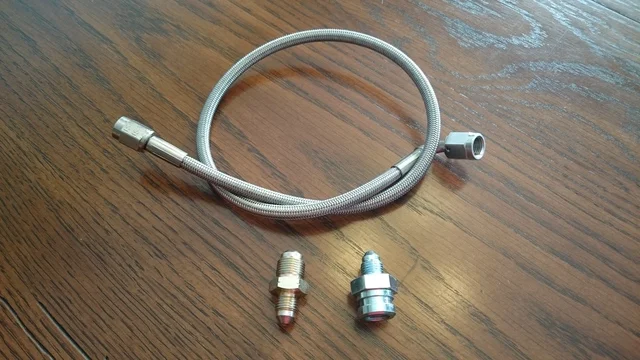
Honda Fit (GD3) Clutch Delay Valve Delete via Braided -3 AN Line
8 steps · 1-2 hours
7 VIEWS
FIG. 2.261
Exterior
Easy
Verified ✓
Honda Fit (GE) DIY Mesh Guard for the A/C Condenser Grille Opening
6 steps · 1-2 hours (plus paint drying time)
7 VIEWS
Audio
Moderate
Verified ✓
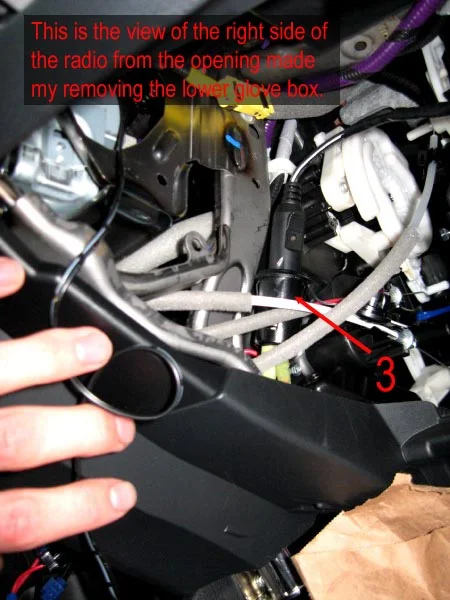
Honda Fit (GE) Satellite Radio Installation
9 steps · 2-4 hours
7 VIEWS
Audio
Moderate
Verified ✓
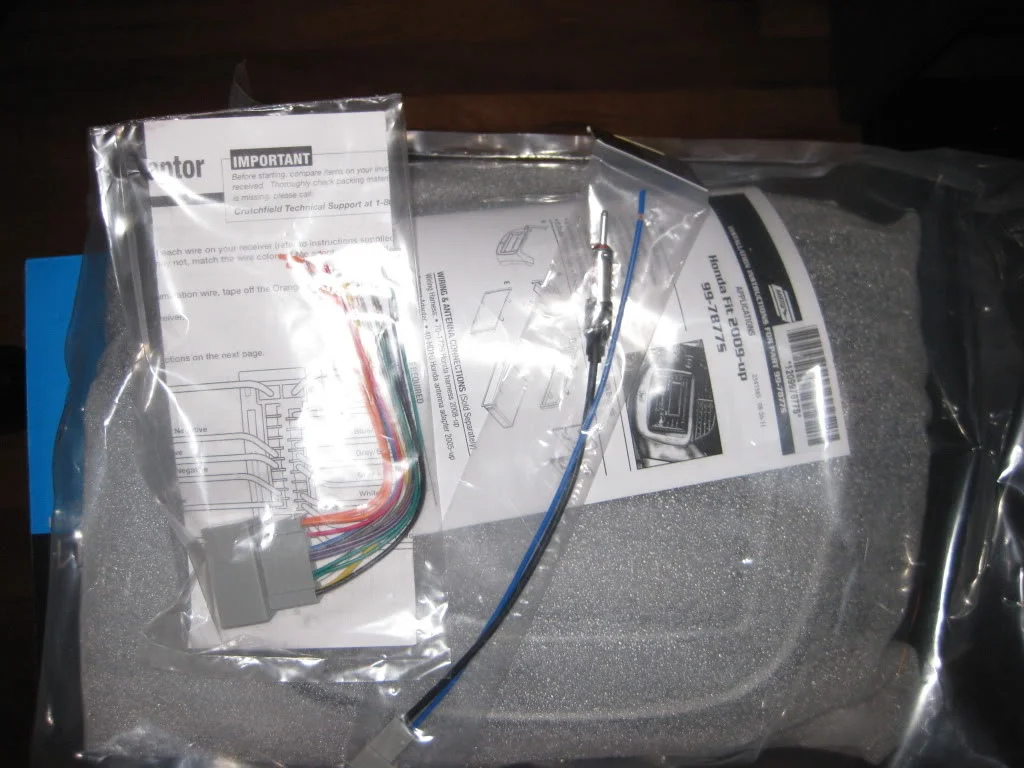
Honda Fit (GE8) Aftermarket Head Unit, Amplifier and Subwoofer Installation
10 steps · 6-8 hours
7 VIEWS
Interior
Expert
Verified ✓
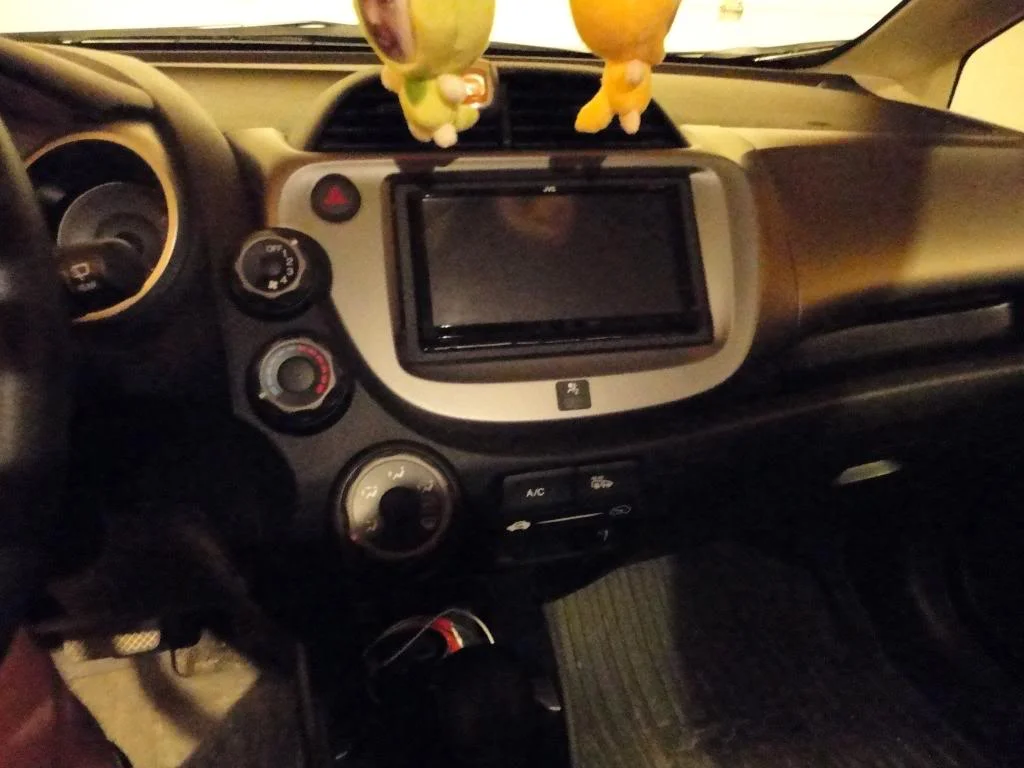
Honda Fit (GE8) Automatic Climate Control Retrofit Using EDM Jazz Hardware
12 steps · About 15 hours of labor over a full weekend
7 VIEWS
FIG. 2.265
Lighting
Moderate
Verified ✓
Honda Fit (GE8) Base Model OEM Map Light Retrofit
8 steps · 1-2 hours
7 VIEWS
FIG. 2.266
Suspension
Easy
Verified ✓
Honda Fit (GE8) C-Pillar Brace Bar Installation
10 steps · 30-45 minutes
7 VIEWS
Lighting
Easy
Verified ✓
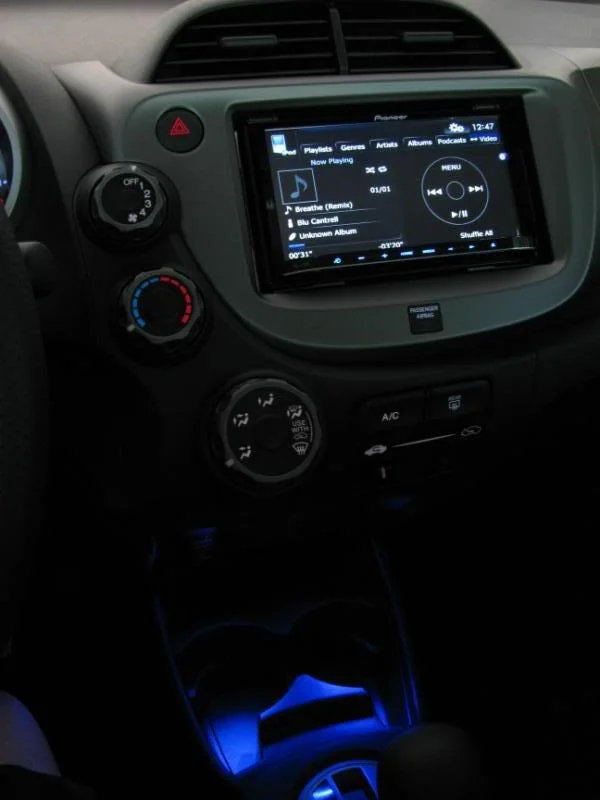
Honda Fit (GE8) Cup Holder LED Accent Lighting Install
8 steps · 1-2 hours
7 VIEWS
Engine
Moderate
Verified ✓
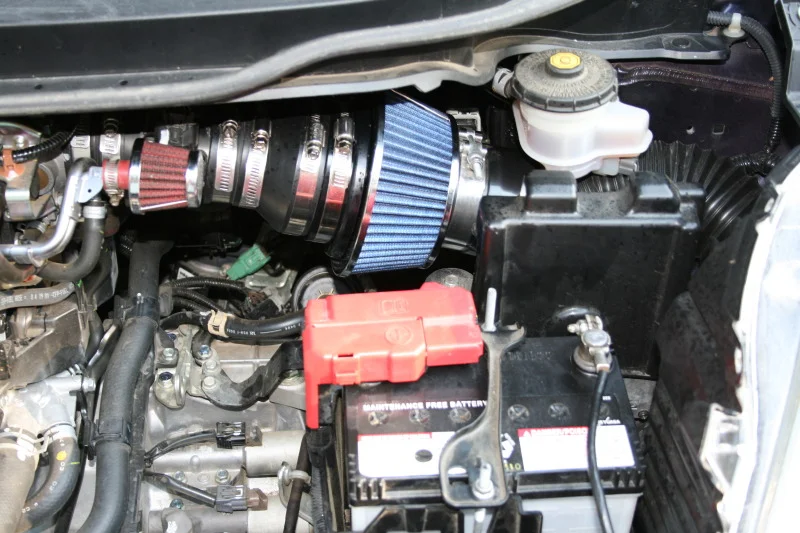
Honda Fit (GE8) Custom Cold-Air Intake with Velocity Stack
7 steps · 2-4 hours
7 VIEWS
FIG. 2.269
Interior
Easy
Verified ✓
Honda Fit (GE8) Custom Dash-Mounted Phone Cradle
6 steps · 20-30 minutes
7 VIEWS
Engine
Moderate
Verified ✓
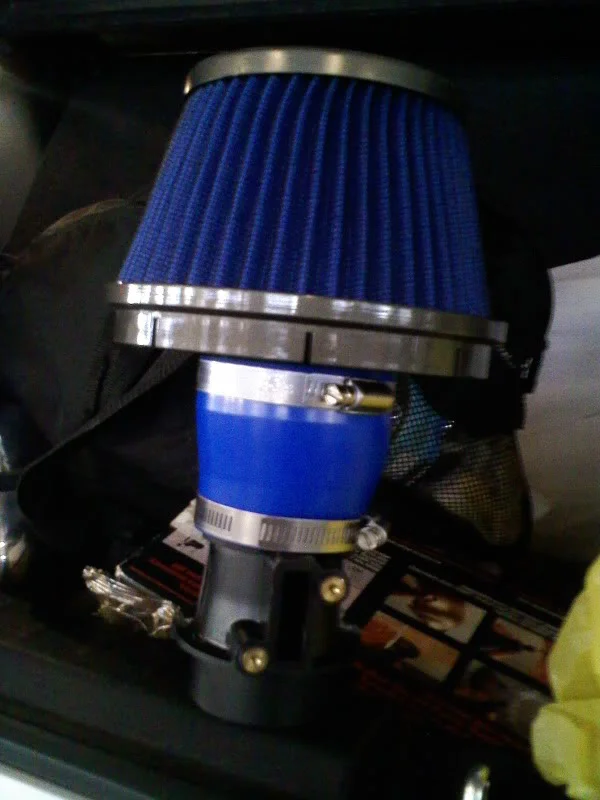
Honda Fit (GE8) DIY Short-Ram / Cold-Air Intake Using the Factory MAF Tube
8 steps · 1-2 hours
7 VIEWS
FIG. 2.271
Interior
Difficult
Verified ✓
Honda Fit (GE8) Door Panel Reupholstery and Aftermarket Speaker Mounting
9 steps · 5-8 hours
7 VIEWS
FIG. 2.272
Interior
Moderate
Verified ✓
Honda Fit (GE8) Factory Center-Console Armrest Installation
8 steps · 30-45 minutes
7 VIEWS
FIG. 2.273
Audio
Moderate
Verified ✓
Honda Fit (GE8) Focal 165V1 Component Speaker Install Using Factory Door Mounts
11 steps · 2-3 hours
7 VIEWS
FIG. 2.274
Electrical
Moderate
Verified ✓
Honda Fit (GE8) Gentex GENK41A Auto-Dimming Homelink Mirror Installation
8 steps · 1-2 hours
7 VIEWS
Electrical
Easy
Verified ✓
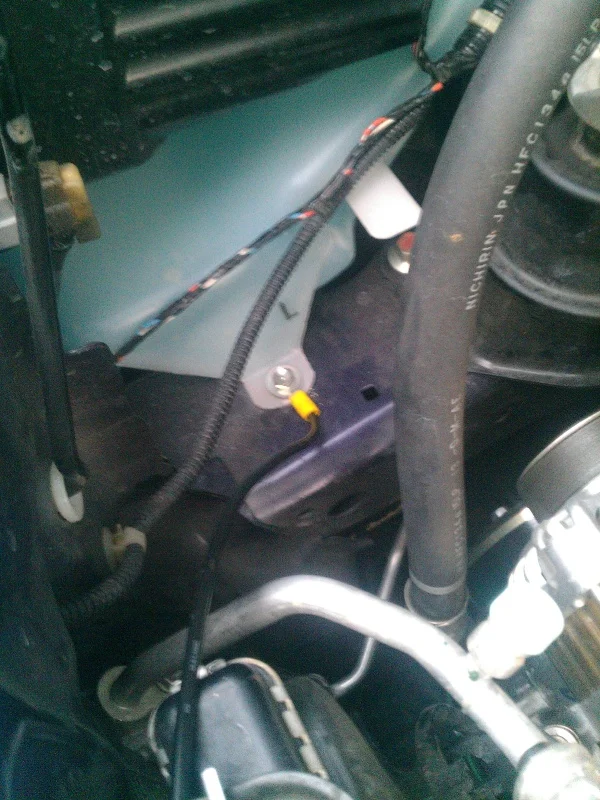
Honda Fit (GE8) Ground Wire Upgrade
7 steps · 1 hour
7 VIEWS
Lighting
Moderate
Verified ✓
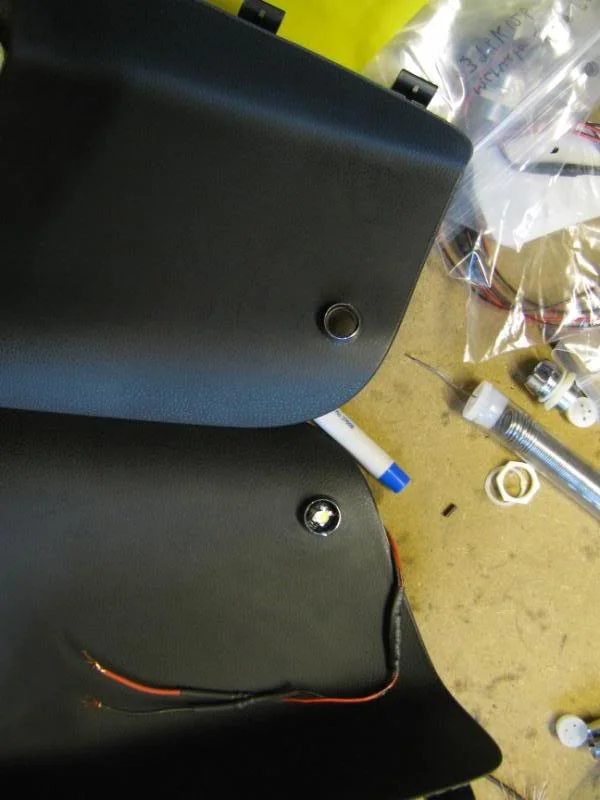
Honda Fit (GE8) Hatch LED Cargo Lighting Install
11 steps · 2-3 hours
7 VIEWS
Electrical
Difficult
Verified ✓
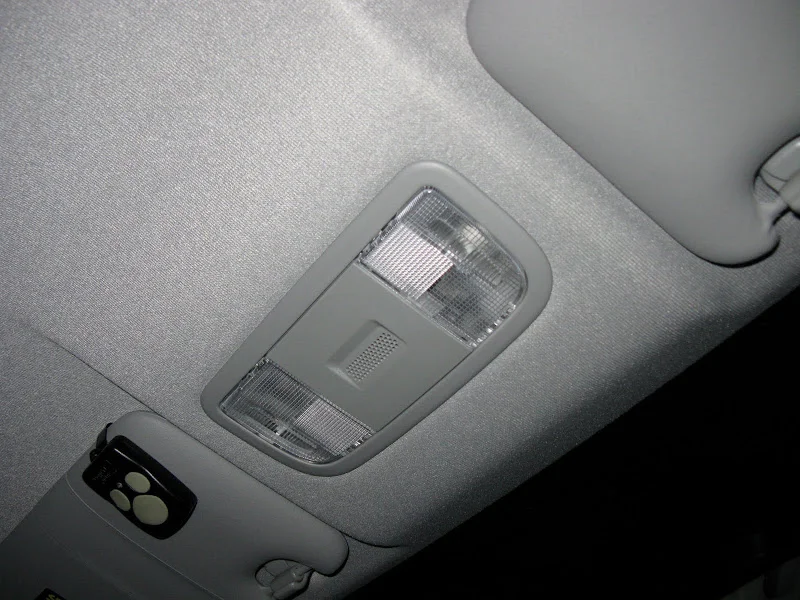
Honda Fit (GE8) HomeLink and Ambient Light Retrofit Using an Acura TSX Overhead Console
11 steps · 3-4 hours
7 VIEWS
Suspension
Easy
Verified ✓
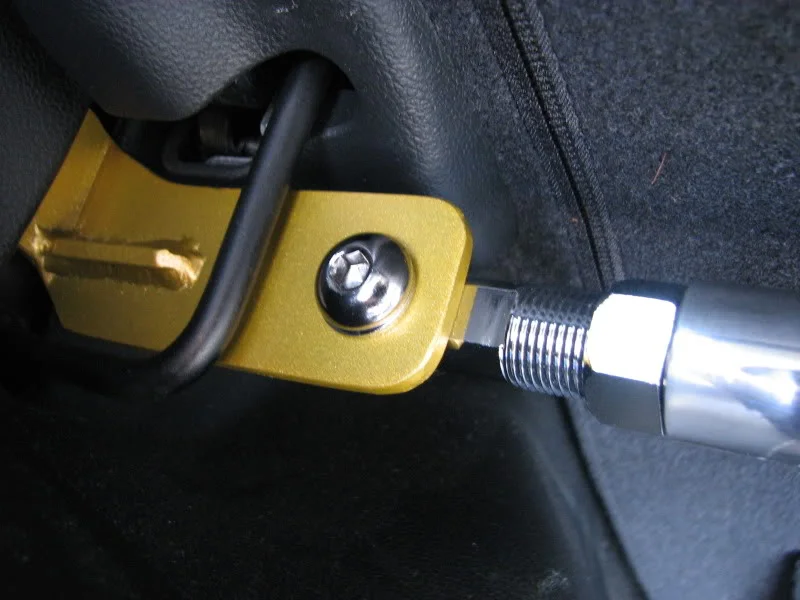
Honda Fit (GE8) J's Racing Rear C-Pillar Bar Installation
6 steps · 1-2 hours
7 VIEWS
Exterior
Expert
Verified ✓
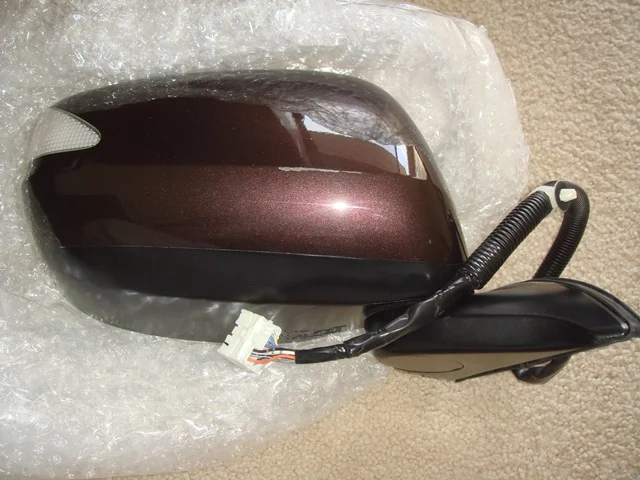
Honda Fit (GE8) JDM 11-Pin Folding, Heated Door Mirror Retrofit
10 steps · 6-10 hours (excluding paint and parts lead time)
7 VIEWS
Lighting
Difficult
Verified ✓
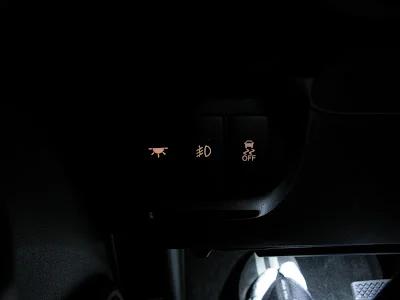
Honda Fit (GE8) LED Taillight and Rear Fog Light Retrofit
9 steps · 4-6 hours
7 VIEWS
Interior
Easy
Verified ✓
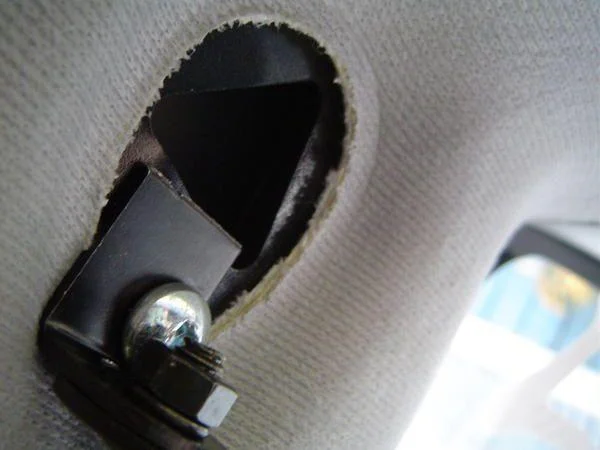
Honda Fit (GE8) Panoramic Wink Mirror Installation
6 steps · 30-60 minutes
7 VIEWS
FIG. 2.282
Exterior
Moderate
Verified ✓
Honda Fit (GE8) Protective Mesh Grille Install
7 steps · 1-2 hours
7 VIEWS
Maintenance
Moderate
Verified ✓
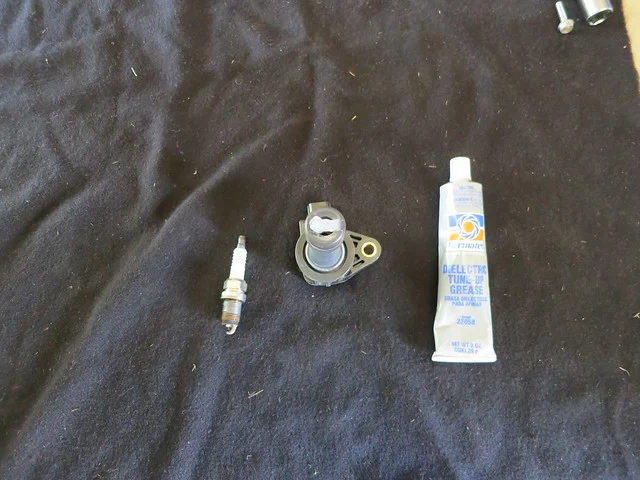
Honda Fit (GE8) Spark Plug Access and Replacement
9 steps · 2-3 hours
7 VIEWS
Engine
Moderate
Verified ✓
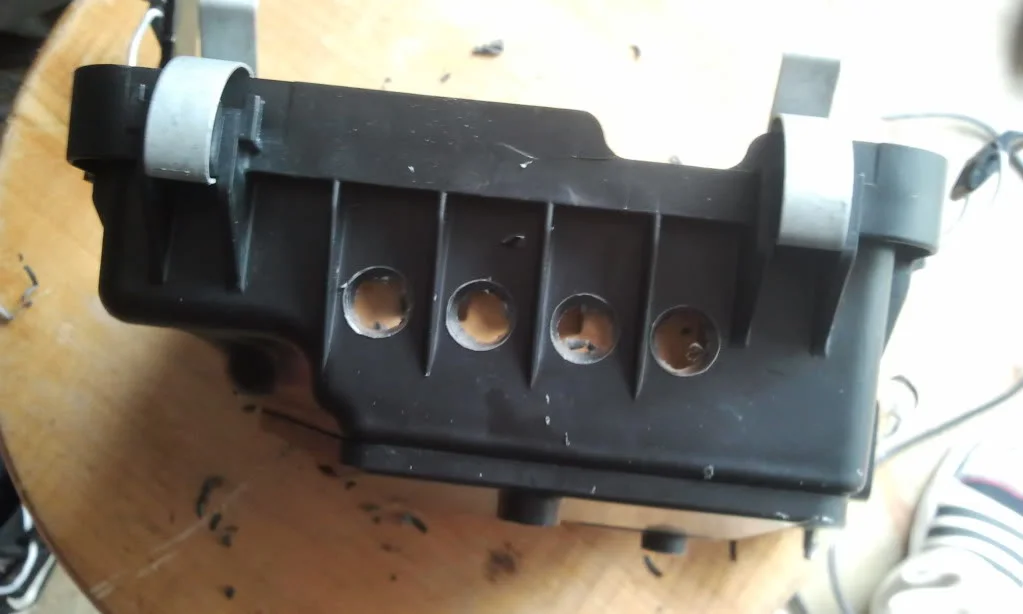
Honda Fit (GE8) Stock Airbox Intake Restriction Mod
8 steps · 1-2 hours (plus paint cure time)
7 VIEWS
FIG. 2.285
Exterior
Moderate
Verified ✓
Honda Fit (GE8): Accord Horn Swap and Blackout Mesh Grille Install
11 steps · 1-2 hours
7 VIEWS
FIG. 2.286
Interior
Moderate
Verified ✓
Honda Fit (GK) ACUITY Shift Boot Collar Installation
12 steps · 1-2 hours
7 VIEWS
Interior
Moderate
Verified ✓
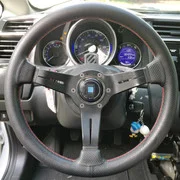
Honda Fit (GK) Aftermarket Steering Wheel Install with a Spoon / WorksBell 226 Hub
10 steps · 1-2 hours
7 VIEWS
Lighting
Difficult
Verified ✓
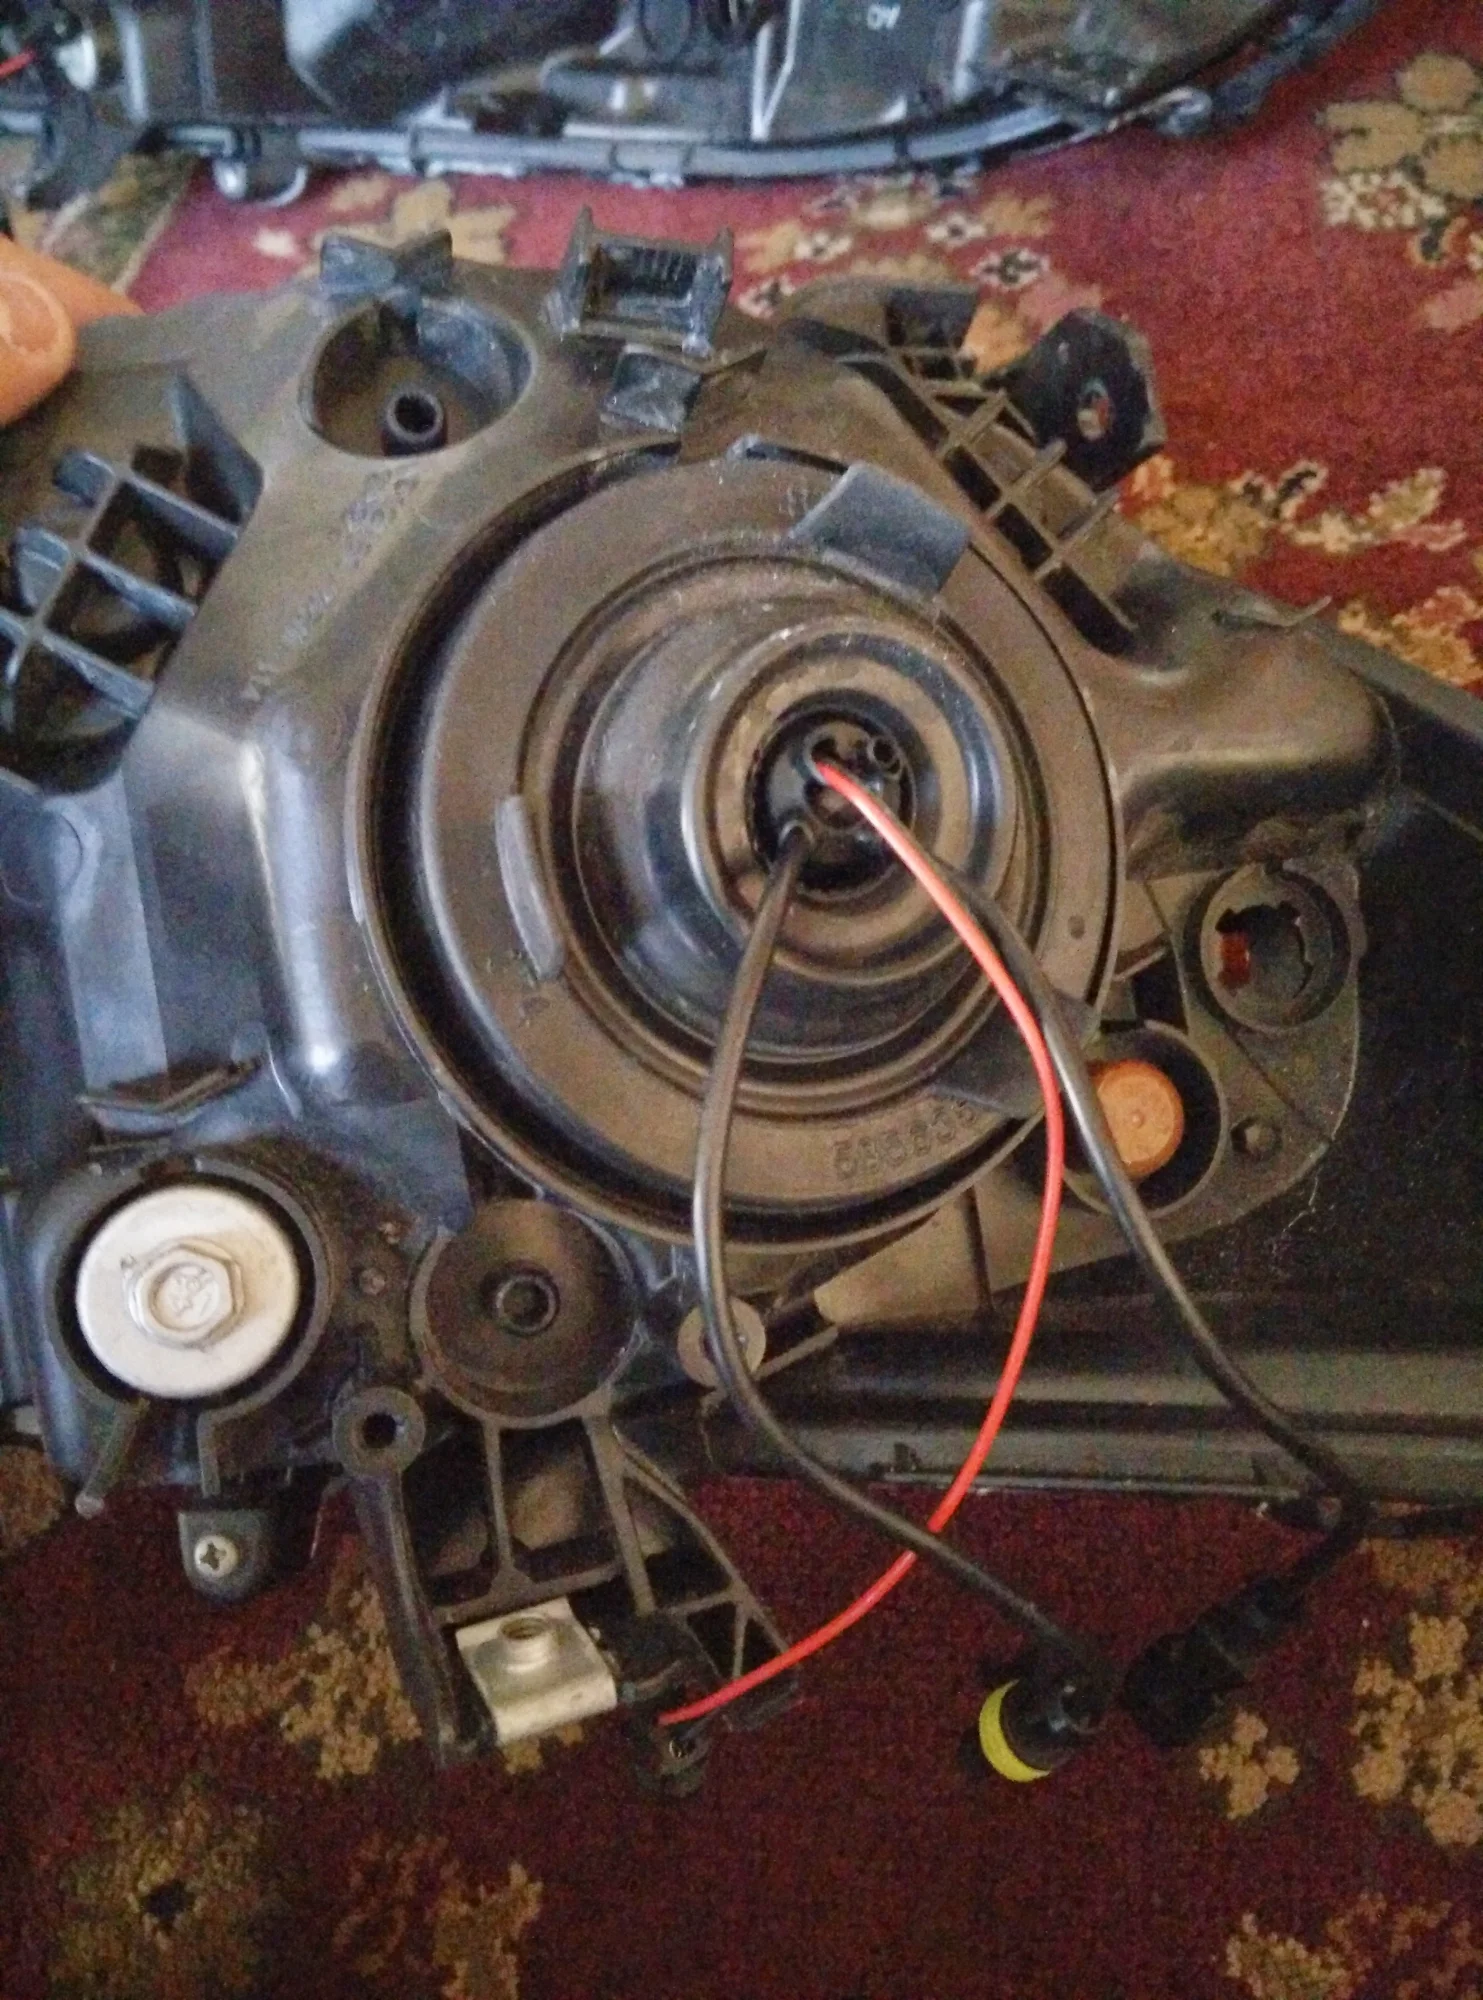
Honda Fit (GK) Bi-Xenon Projector Headlight Retrofit
10 steps · 2-3 days
7 VIEWS
Lighting
Difficult
Verified ✓
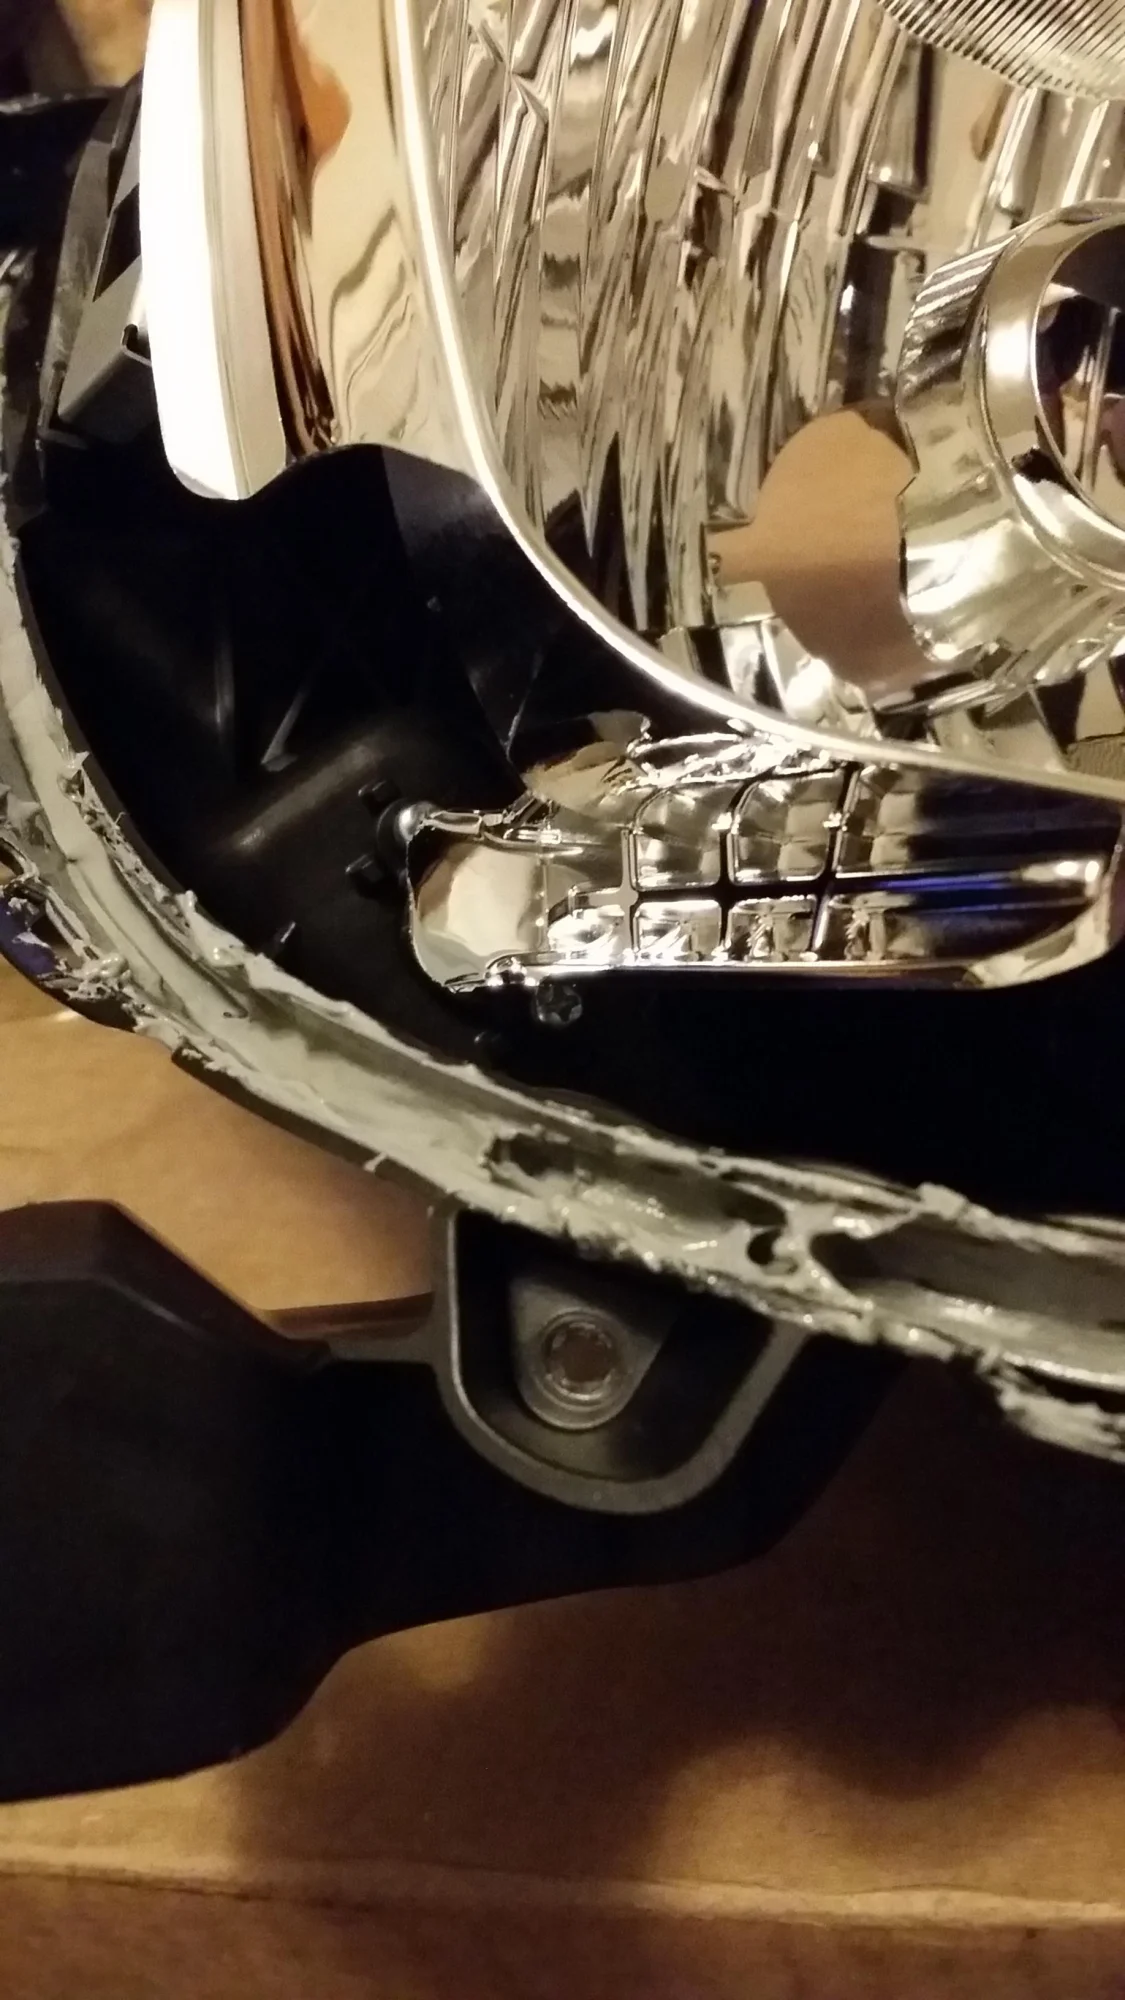
Honda Fit (GK) Halogen-to-Projector Headlight Retrofit
9 steps · 8-12 hours (plus paint and sealant cure time)
7 VIEWS
Lighting
Easy
Verified ✓
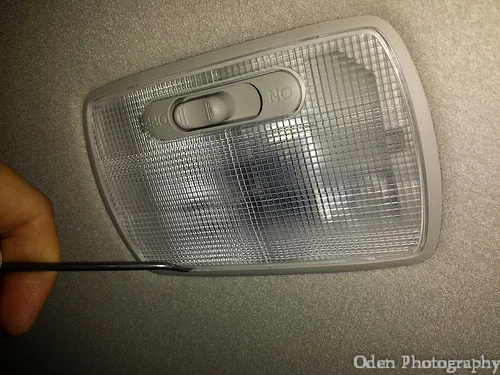
Honda Fit (GK) Interior and License Plate LED Bulb Conversion
9 steps · 15-30 minutes
7 VIEWS
Interior
Easy
Verified ✓
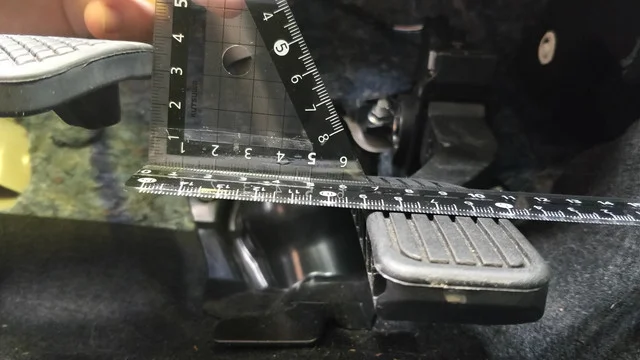
Honda Fit (GK) Throttle Pedal Spacer Installation
6 steps · 30-60 minutes
7 VIEWS
FIG. 2.292
Interior
Easy
Verified ✓
Honda Fit Adhesive Door Sill Cover Installation
9 steps · 30-45 minutes
7 VIEWS
FIG. 2.293
Exterior
Easy
Verified ✓
Honda Fit Billet Grille Overlay Installation with Zip Ties (A/C Condenser Rock Protection)
8 steps · 1-2 hours
7 VIEWS
Engine
Moderate
Verified ✓
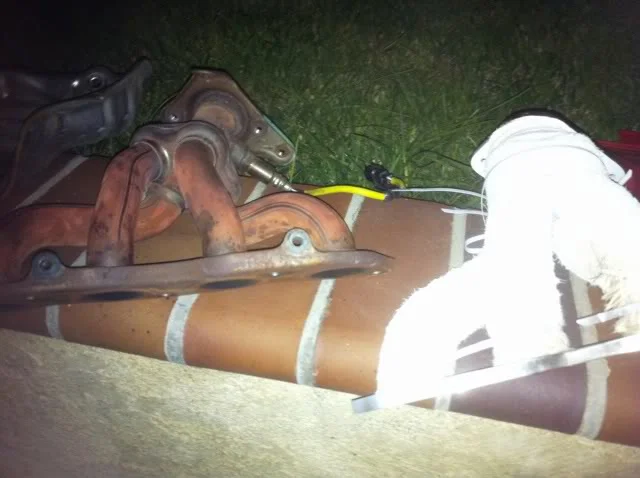
Honda Fit Exhaust Header Removal and Aftermarket Header Installation
13 steps · 2-4 hours
7 VIEWS
Lighting
Difficult
Verified ✓
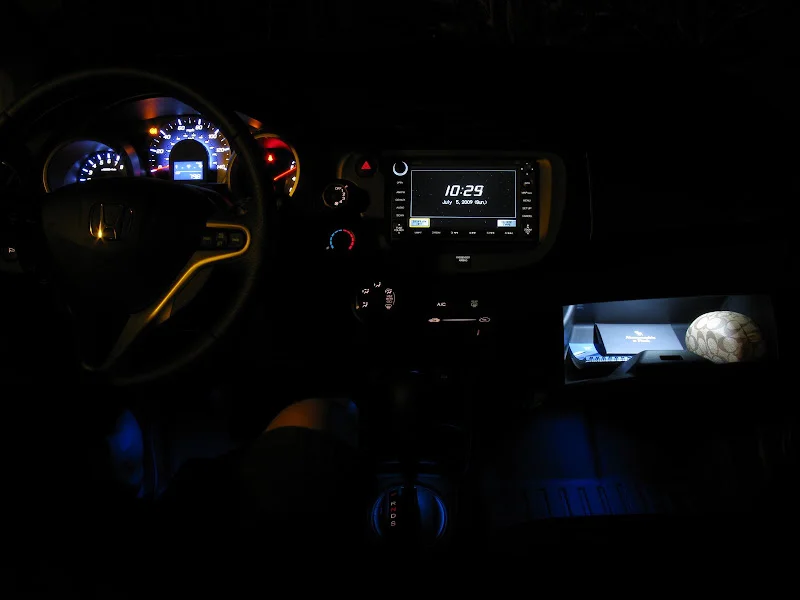
Honda Fit Footwell, Ambient, and Glovebox LED Lighting Installation
8 steps · 4-6 hours
7 VIEWS
Suspension
Moderate
Verified ✓
Honda Fit Front Strut Tower Bar Installation (A Spec / Tanabe)
7 steps · 1-2 hours
7 VIEWS
Lighting
Difficult
Verified ✓
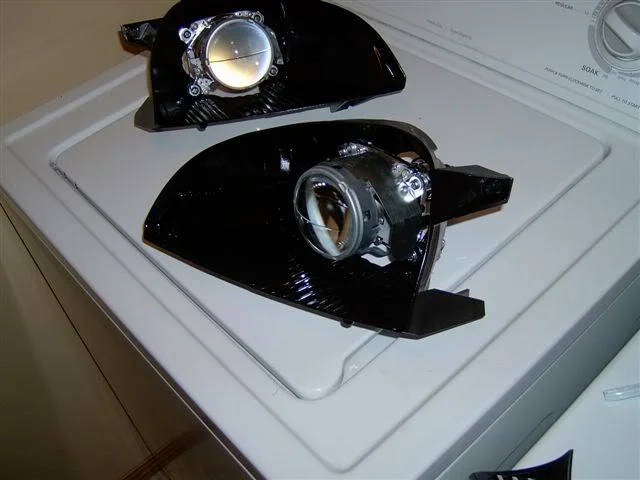
Honda Fit HID Projector Retrofit Using Infiniti FX35 Bi-Xenon Projectors
10 steps · 6-10 hours, plus paint curing time
7 VIEWS
Lighting
Moderate
Verified ✓
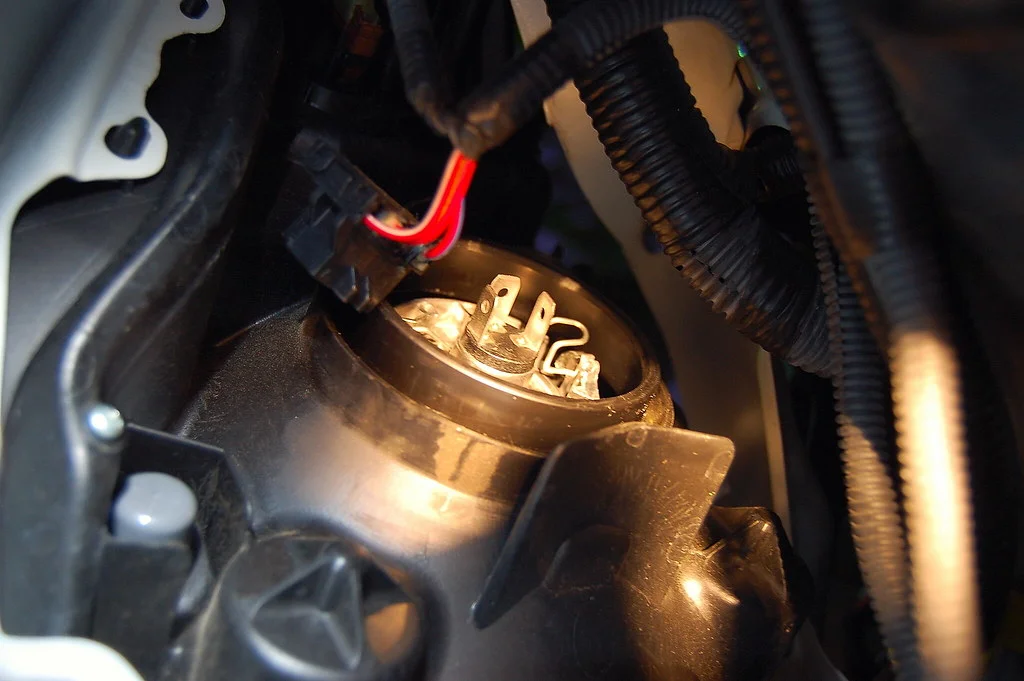
Honda Fit Headlight Bulb Replacement (GD/GE)
9 steps · 30 minutes to 1 hour
7 VIEWS
FIG. 2.299
Lighting
Moderate
Verified ✓
Honda Fit Headlight Disassembly: Opening the Sealed Housing With Oven Heat
7 steps · 1-2 hours
7 VIEWS
FIG. 2.300
Lighting
Moderate
Verified ✓
Honda Fit Headlight Tinting and Blackout Painting
8 steps · 1-2 hours plus overnight drying
7 VIEWS
Engine
Difficult
Verified ✓
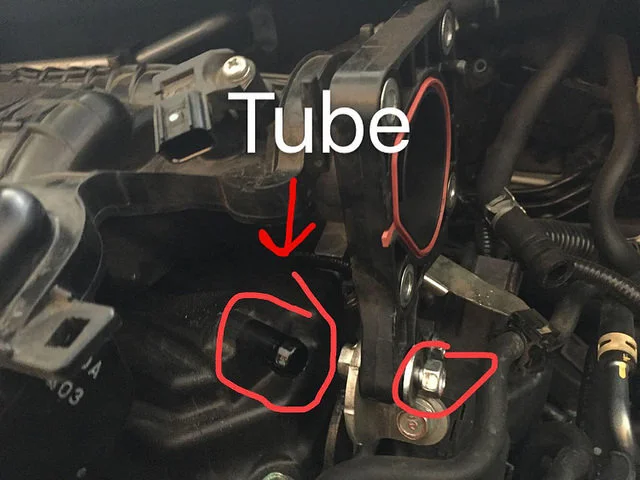
Honda Fit L15A7 Valve Clearance Check and Adjustment (2nd-Gen GE8)
11 steps · 2-3 hours (first time)
7 VIEWS
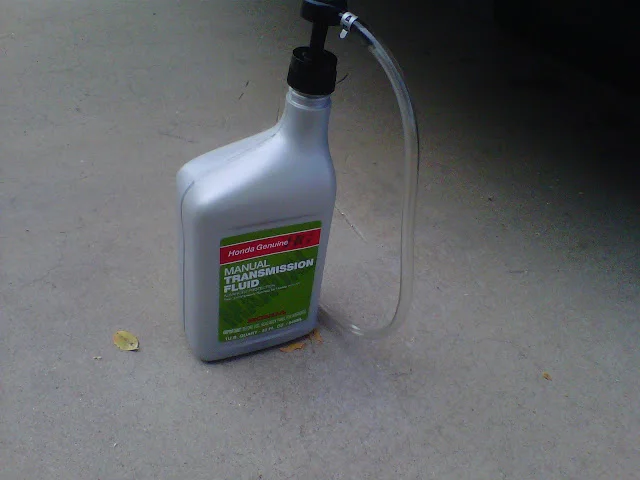
Drivetrain
Easy
Verified ✓
Honda Fit Manual Transmission Fluid Change (GD/GE8)
10 steps · 1-2 hours
7 VIEWS
FIG. 2.303
Engine
Difficult
Verified ✓
Honda Fit Walbro 255 Fuel Pump Install with AN Return Line
11 steps · 3-4 hours
7 VIEWS
FIG. 2.304
Electrical
Moderate
Verified ✓
Honda Fit/Jazz A/C Button Backlight Bulb Replacement
9 steps · 30-60 minutes
7 VIEWS

Forced Induction
Expert
Verified ✓
Honda H22 Complete Engine Build for Forced Induction (Turbo/Supercharger)
10 steps · 2-3 weeks (vehicle off the road)
7 VIEWS
Electrical
Moderate
Verified ✓
Honda Integra Ignition Control Module (ICM) Replacement
10 steps · 1 hour
23 VIEWS
Electrical
Moderate
Verified ✓
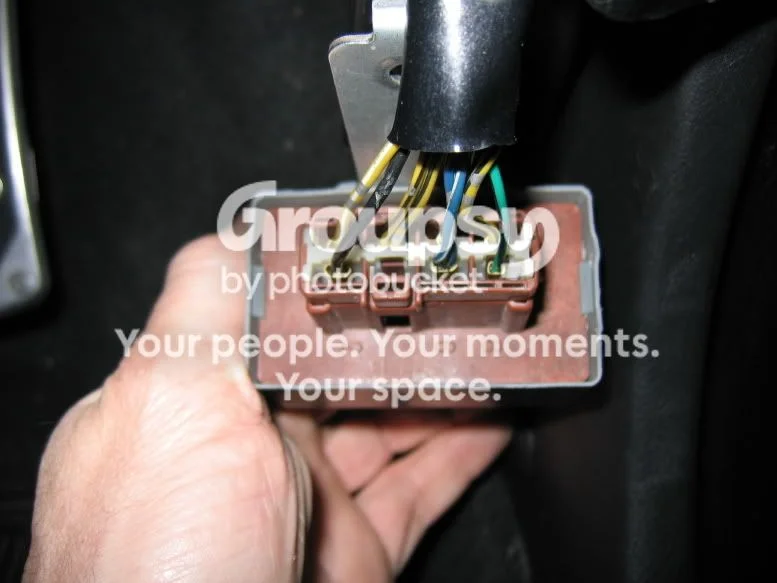
Honda Main PGM-FI Relay Repair - Solder Reflow for No-Start and Stalling Issues
7 steps · 30-60 minutes
23 VIEWS
Drivetrain
Difficult
Verified ✓
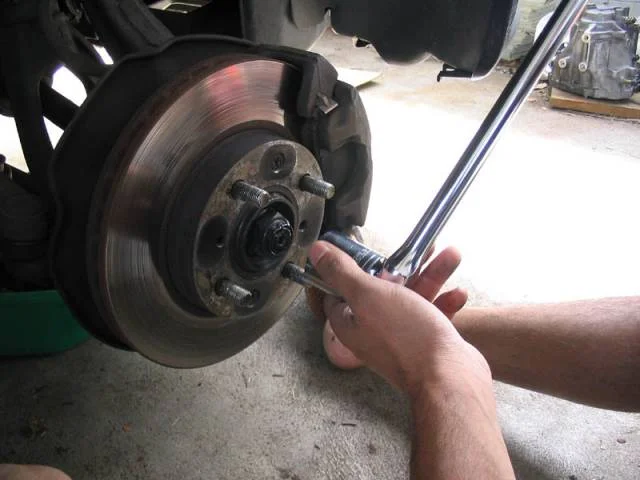
Honda Manual Transmission Removal and Input Shaft Bearing Replacement
15 steps · 1-2 days (an experienced mechanic can have the gearbox out in about an hour)
23 VIEWS
FIG. 2.309
Electrical
Moderate
Verified ✓
Honda OBD0 to OBD1 ECU and Distributor Conversion
13 steps · 3-5 hours
23 VIEWS
Electrical
Easy
Verified ✓
Honda PGM-FI Fault Code Reading and ECU Reset (OBD0/OBD1/OBD2)
10 steps · 15-30 minutes
23 VIEWS
FIG. 2.311
Electrical
Difficult
Verified ✓
Honda Prelude (1992-1996) 4WS ECU Repair - Dry Solder Joint Reflow
14 steps · 45 minutes - 1.5 hours
23 VIEWS
Lighting
Difficult
Verified ✓
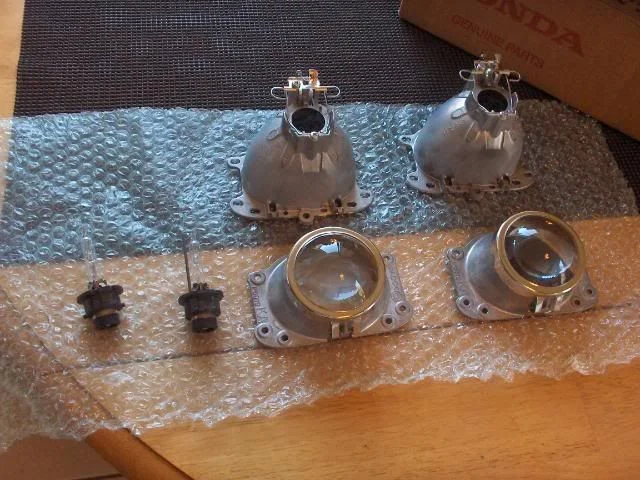
Honda Prelude (4th Gen) Projector Headlight Retrofit
7 steps · 6-10 hours
7 VIEWS
Lighting
Moderate
Verified ✓
Honda Prelude (5th Gen) Blinking Side Marker Wiring
10 steps · 30-60 minutes per side
7 VIEWS
FIG. 2.314
Interior
Moderate
Verified ✓
Honda Prelude Door Panel Recovering with Automotive Carpet
8 steps · 2-3 hours per door
7 VIEWS
Forced Induction
Expert
Verified ✓
Honda Prelude H22 Jackson Racing Supercharger (JRSC): Preparation and Installation
12 steps · Full weekend (installation plus supporting modifications)
7 VIEWS
Electrical
Expert
Verified ✓
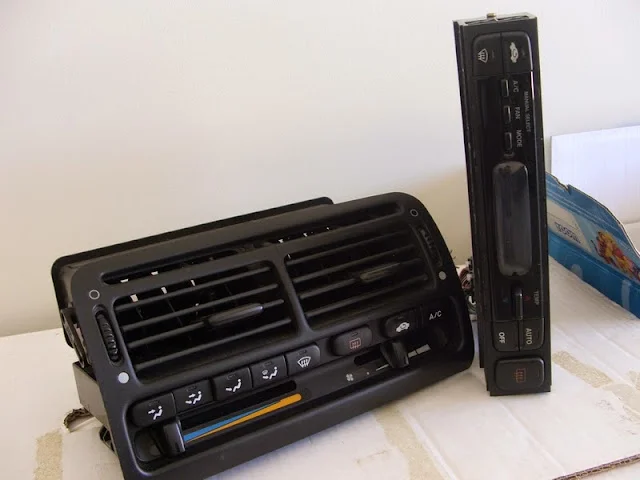
Honda Prelude JDM Digital Climate Control (DCC) Conversion
13 steps · 4-6 days (can be split into stages)
7 VIEWS
FIG. 2.317
Maintenance
Easy
Verified ✓
Honda S2000 (AP1/AP2) Clutch Fluid Flush and Gravity Bleed
10 steps · 20-40 minutes
0 VIEWS
FIG. 2.318
Suspension
Moderate
Verified ✓
Honda S2000 (AP1/AP2) Coilover Installation, Front and Rear
14 steps · 4-5 hours
0 VIEWS
FIG. 2.319
Maintenance
Moderate
Verified ✓
Honda S2000 (AP1/AP2) Coolant Drain, Refill and Air Bleed
12 steps · 1.5-2.5 hours
0 VIEWS
FIG. 2.320
Maintenance
Easy
Verified ✓
Honda S2000 (AP1/AP2) Manual Transmission Fluid Change
10 steps · 30-45 minutes
0 VIEWS
FIG. 2.321
Maintenance
Easy
Verified ✓
Honda S2000 (AP1/AP2) Rear Differential Fluid Change
10 steps · 30-45 minutes
0 VIEWS
Exterior
Difficult
Verified ✓
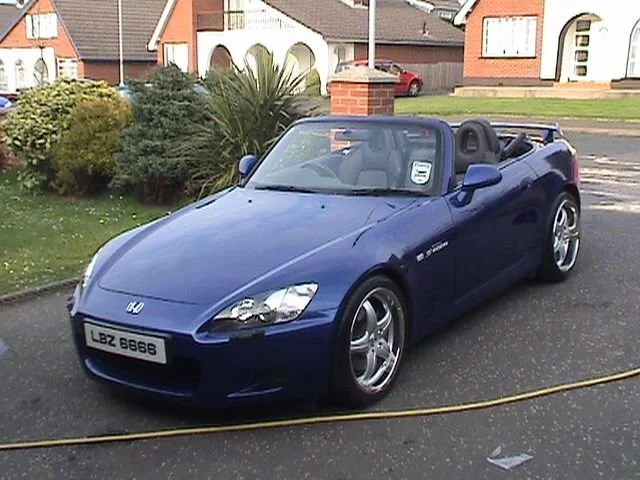
Honda S2000 AP1-to-AP2 ("04") Front End Conversion
9 steps · 8-12 hours (one to two days)
8 VIEWS
FIG. 2.323
Brakes
Moderate
Verified ✓
Honda S2000 Brake Fluid Flush by Gravity Bleeding
8 steps · 2-3 hours
7 VIEWS

Electrical
Moderate
Verified ✓
Honda S2000 Convertible Top In-Motion Interlock Bypass
7 steps · 30-60 minutes
8 VIEWS
Exterior
Easy
Verified ✓
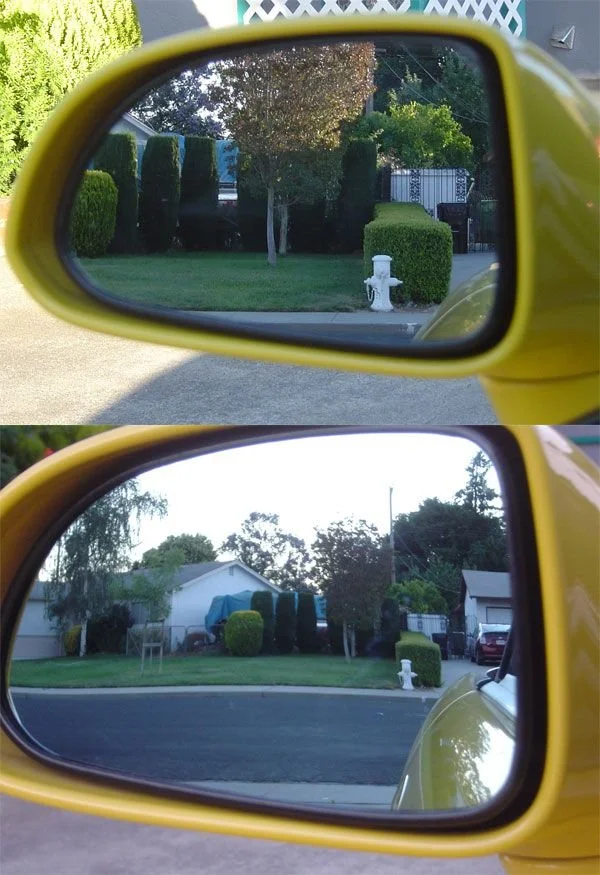
Honda S2000 Convex Mirror Glass Installation
6 steps · 30-60 minutes
7 VIEWS
Engine
Moderate
Verified ✓
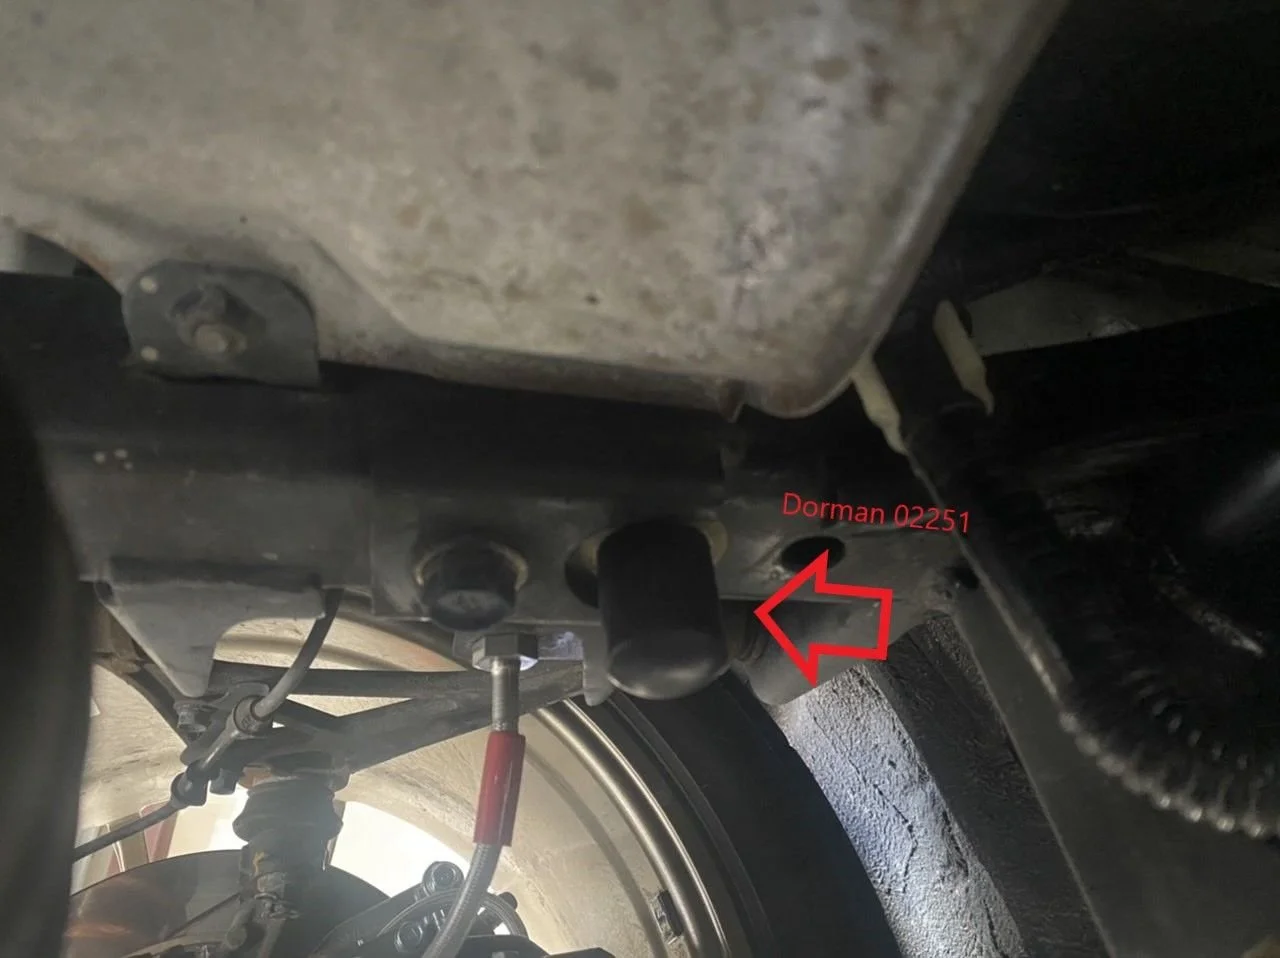
Honda S2000 EVAP System Delete with Fuel-Tank Vent Valve
11 steps · 1-2 hours
7 VIEWS
FIG. 2.327
Suspension
Difficult
Verified ✓
Honda S2000 Front Lower Control Arm and Compliance Bushing Replacement
12 steps · 5-8 hours
0 VIEWS
FIG. 2.328
Suspension
Moderate
Verified ✓
Honda S2000 Home Alignment: Setting Camber, Caster and Toe
12 steps · 2-4 hours
0 VIEWS
FIG. 2.329
Brakes
Moderate
Verified ✓
Honda S2000 RacingBrake Front Big Brake Kit Installation
12 steps · 3-4 hours
0 VIEWS
FIG. 2.330
Suspension
Difficult
Verified ✓
Honda S2000 Rear Wheel Bearing and Hub Replacement (Press Method)
14 steps · 4-6 hours per side
0 VIEWS
FIG. 2.331
Suspension
Difficult
Verified ✓
Honda S2000 SPC Adjustable Upper Ball Joint (Camber Kit) Installation
12 steps · 3-4 hours
0 VIEWS
FIG. 2.332
Maintenance
Easy
Verified ✓
Honda Throttle Body Cleaning (Carbon and Oil Deposit Removal)
10 steps · 1-1.5 hours
24 VIEWS
FIG. 2.333
Engine
Moderate
Verified ✓
Honda Valve Clearance (Tappet) Adjustment
10 steps · 1-2 hours
23 VIEWS
FIG. 2.334
Maintenance
Moderate
Verified ✓
Honda/Acura Idle Air Control Valve (IACV) Removal and Cleaning (EG/EK Civic, DC2 Integra)
12 steps · 1-1.5 hours
0 VIEWS
FIG. 2.335
Engine
Moderate
Verified ✓
Honda/Acura K-Series Cylinder Compression Test
8 steps · 30-60 minutes
7 VIEWS
Suspension
Difficult
Verified ✓
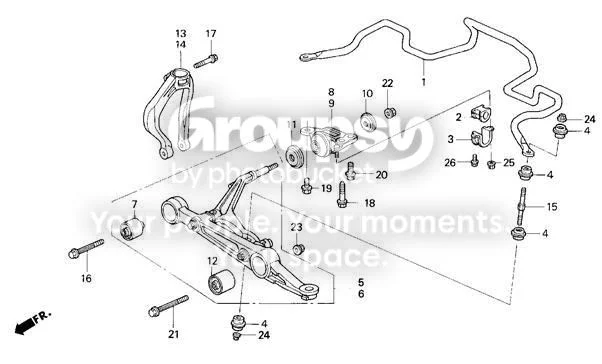
Honda/Acura Sway Bar Upgrade and Cross-Model Swap Guide (1988-2005)
9 steps · 4-8 hours per axle, plus an alignment
7 VIEWS
FIG. 2.337
Engine
Moderate
Verified ✓
Hondata Intake Manifold Gasket (IMG) Installation on the Acura RSX (K20)
12 steps · 1.5-3 hours
7 VIEWS
FIG. 2.338
Maintenance
Easy
Verified ✓
How to Change Your Engine Oil
8 steps · 30-45 minutes
1,348 VIEWS
Exterior
Easy
Verified ✓
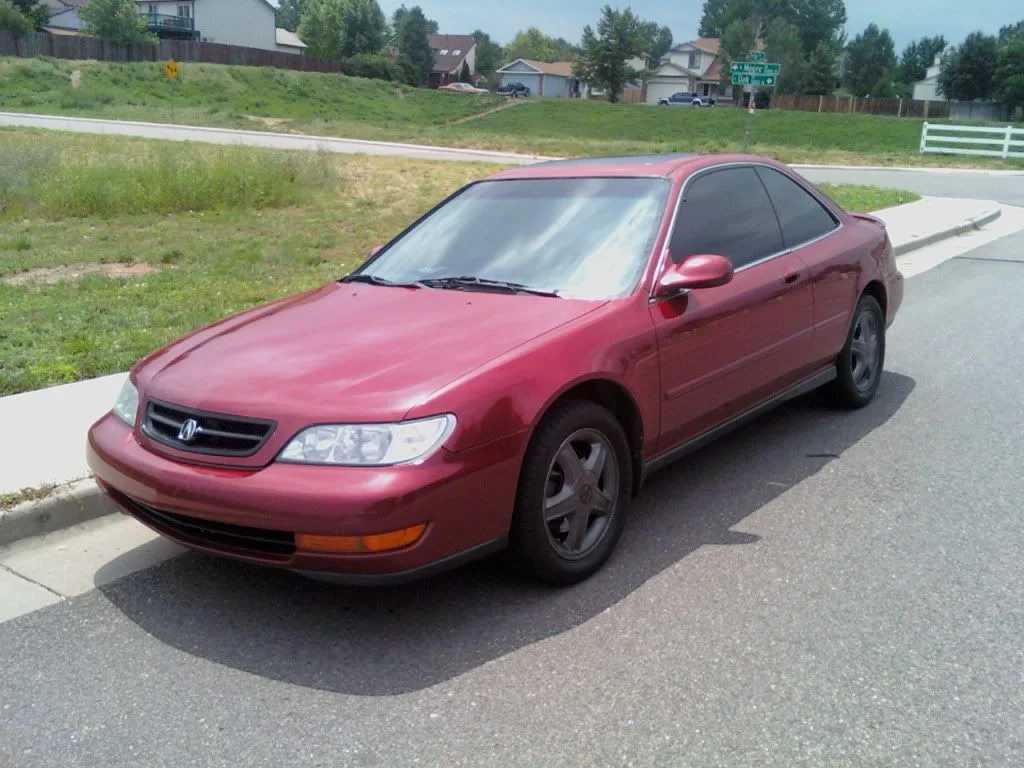
How to Paint Alloy Wheels at Home (Acura CL)
9 steps · 2-3 hours
7 VIEWS
FIG. 2.340
Modifications
Difficult
Verified ✓
Installing Coilovers for Lowering Your Car
8 steps · 4-6 hours
3,543 VIEWS
FIG. 2.341
Drivetrain
Moderate
Verified ✓
Installing a Bolt-In K-Swap Short Shifter and Shifter Cables (Civic EG/EK, Integra DC2)
17 steps · 3-5 hours
0 VIEWS
FIG. 2.342
Electrical
Moderate
Verified ✓
Installing a Plug-In K-Swap Conversion Harness in a 1999-2000 Honda Civic (EK)
18 steps · 2-4 hours
0 VIEWS
FIG. 2.343
Electrical
Easy
Verified ✓
Installing a Shift Light in a Honda/Acura
8 steps · 1-2 hours
7 VIEWS
FIG. 2.344
Electrical
Moderate
Verified ✓
Installing a Tucked K-Series Engine Harness for a K-Swap (Non Drive-by-Wire)
14 steps · 1-3 hours
0 VIEWS
Lighting
Moderate
Verified ✓
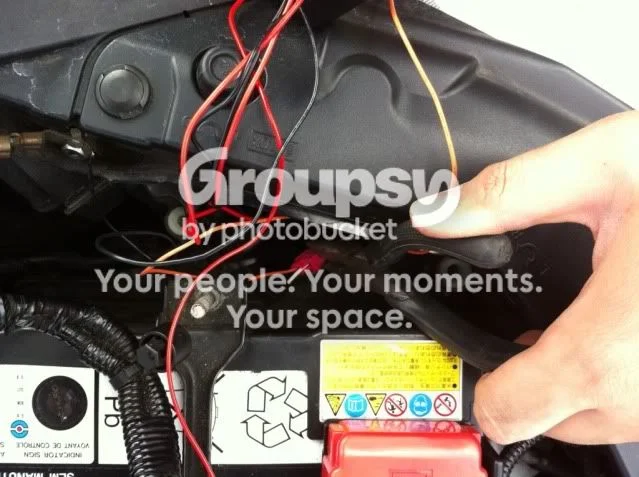
Installing an LED Daytime Running Light (DRL) Kit and Control Module on a Honda Civic
11 steps · 1-2 hours
7 VIEWS
Electrical
Moderate
Verified ✓
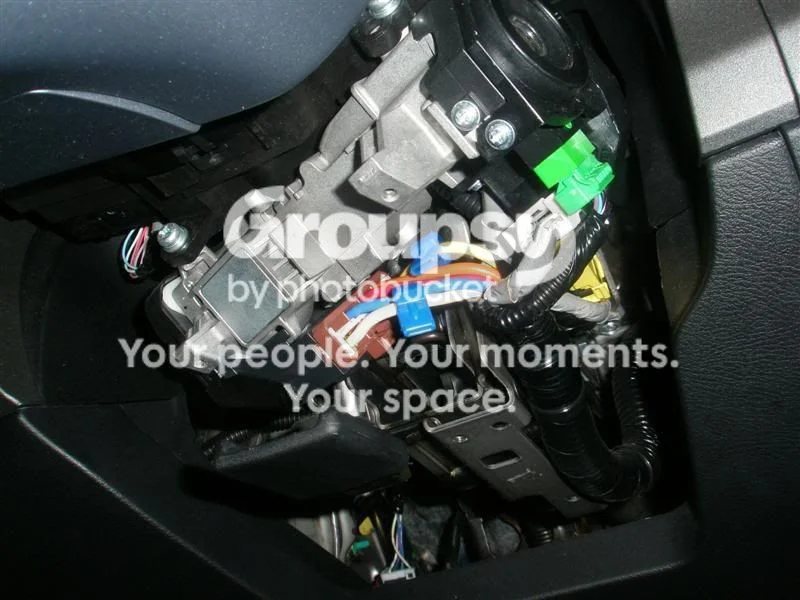
Installing an S2000 Engine Start Button in a 5th-Gen Honda Prelude
9 steps · 3-4 hours
23 VIEWS
FIG. 2.347
Engine
Moderate
Verified ✓
Installing the K&N 69-1018TS Typhoon Intake on a Honda CR-Z
10 steps · 2-3 hours
7 VIEWS
Brakes
Moderate
Verified ✓
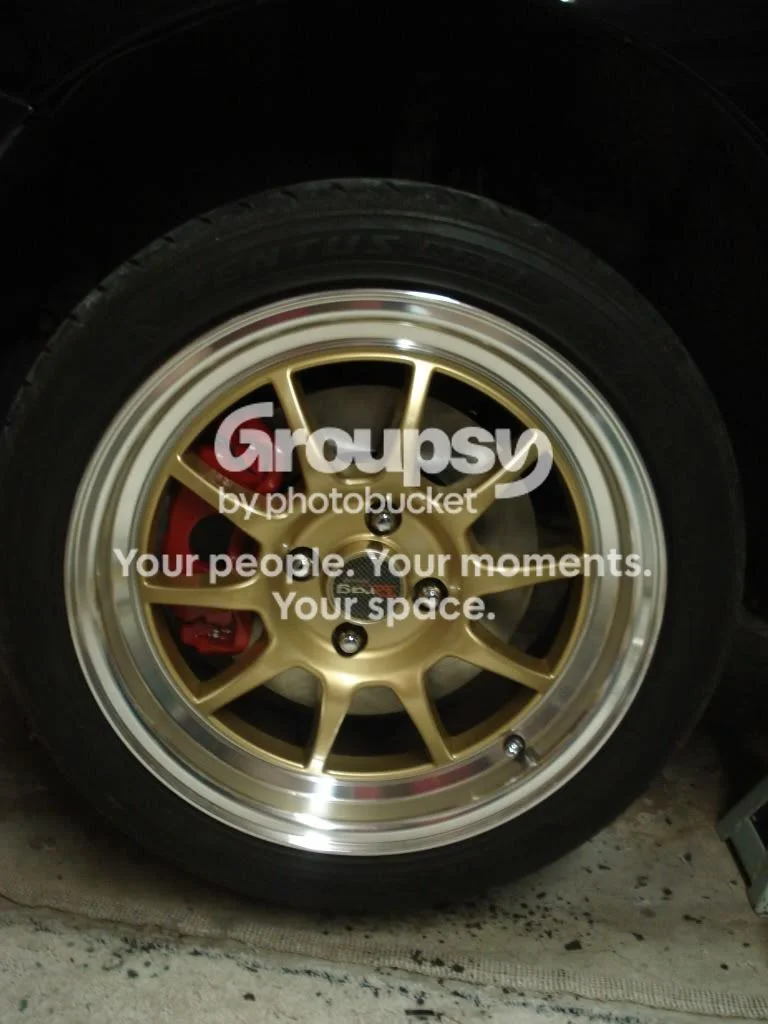
Integra RS/GS/LS/GSR Front Big-Brake Upgrade Using Type R Calipers and Mini Cooper Rotors
9 steps · 4-6 hours (front only); allow a full day if the rear is done at the same time
7 VIEWS
Engine
Expert
Verified ✓
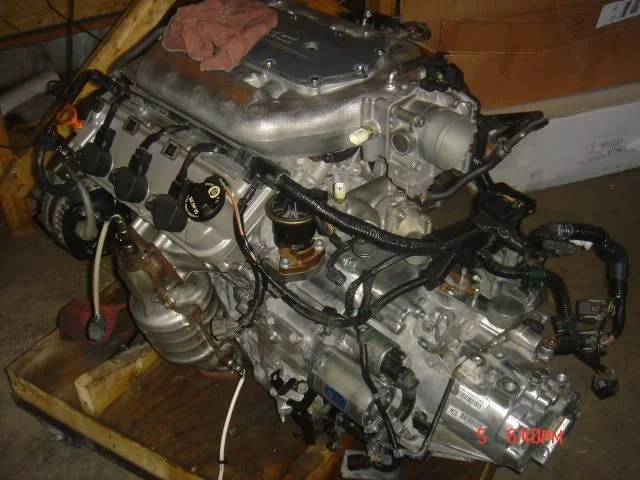
J32A3 V6 Swap with Plug-and-Play Harness: Retaining Drive-by-Wire Throttle
8 steps · Several days (initial build completed in about 13 days)
7 VIEWS
FIG. 2.350
Engine
Difficult
Verified ✓
JDM B18C (Integra Type R) Engine Swap into an EG Civic
12 steps · 2-3 days
23 VIEWS
Exterior
Moderate
Verified ✓
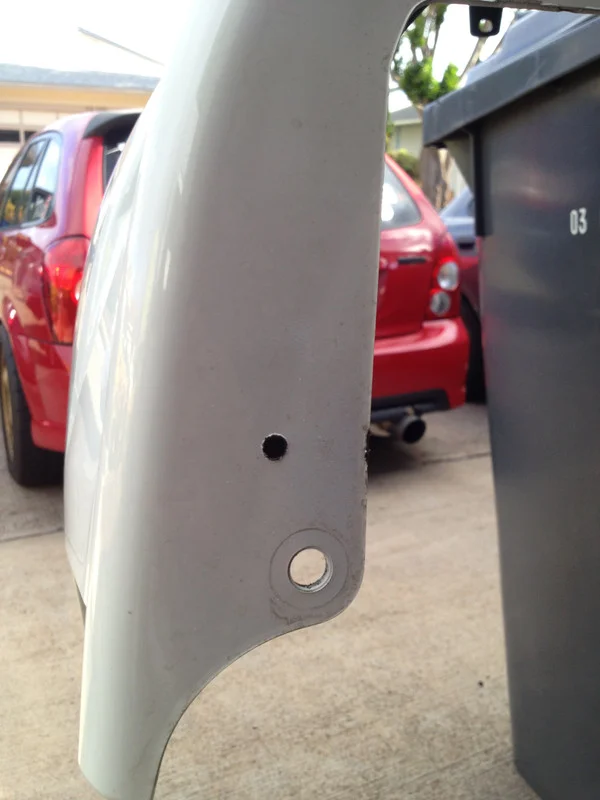
JDP Front Lip Installation on the 2012+ Honda Fit (GE8)
9 steps · 3-4 hours
7 VIEWS
FIG. 2.352
Engine
Expert
Verified ✓
K-Series Engine Swap into Civic EG / Integra DC Chassis (Part 1: Mounting)
5 steps · 2-3 days
7 VIEWS
Drivetrain
Moderate
Verified ✓
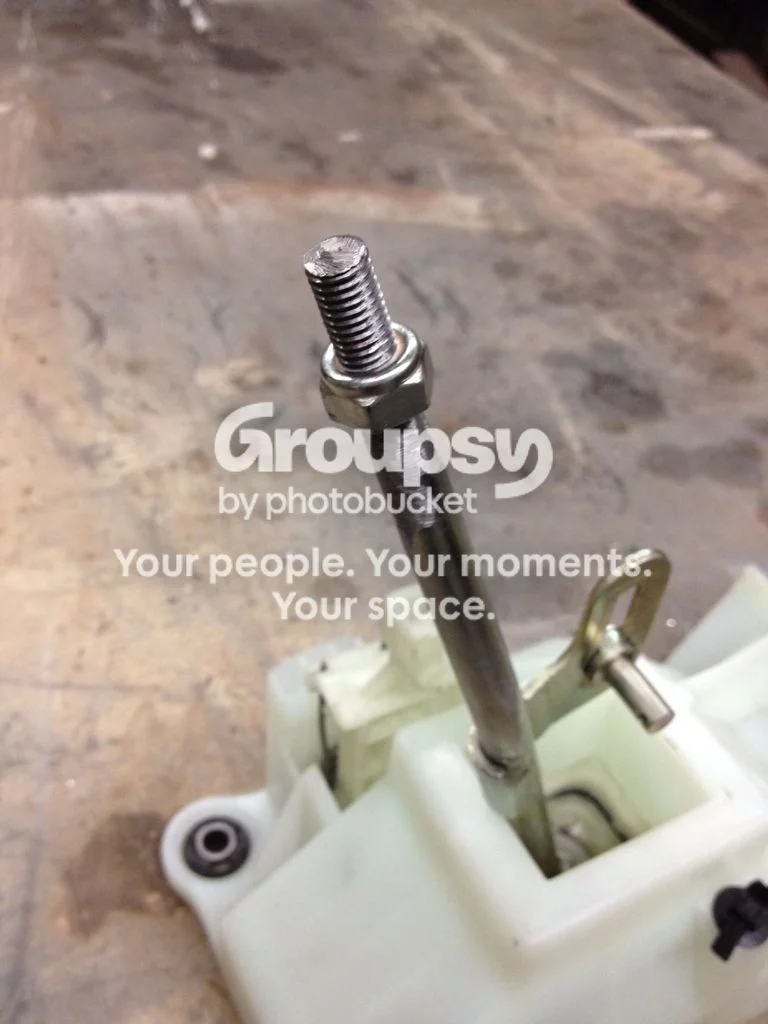
K-Series Short Shifter: Lowering the Knob Height and Tightening Throw
7 steps · 1-2 hours
7 VIEWS
Electrical
Difficult
Verified ✓
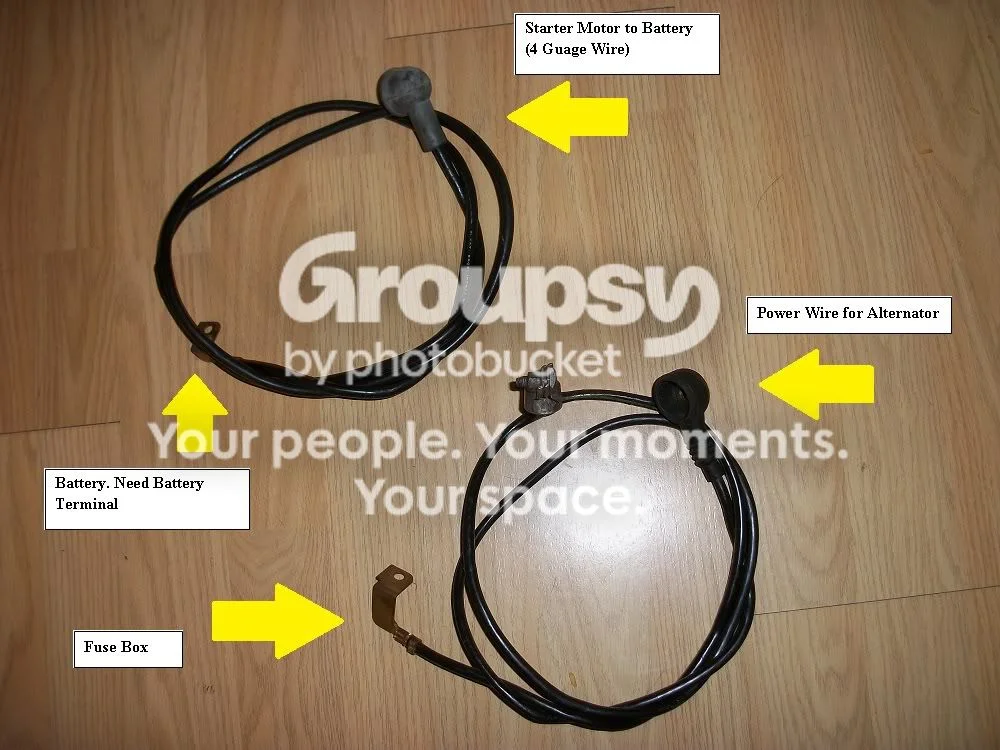
K-Series Swap Charge Harness Wiring (Civic EG/EK, Integra DC)
9 steps · 3-6 hours
7 VIEWS
FIG. 2.355
Engine
Moderate
Verified ✓
K-Series Swap: Installing an Auto-Tensioning A/C and Power Steering Delete Kit
11 steps · 2-3 hours
0 VIEWS
FIG. 2.356
Electrical
Moderate
Verified ✓
K-Swap First Start with a Hondata K-Pro: Base Calibration, Immobilizer and Sensor Setup
14 steps · 1-2 hours
0 VIEWS
FIG. 2.357
Engine
Moderate
Verified ✓
K-Swap Fuel System: Center-Feed Fuel Rail and Tucked Return Fuel Lines (Civic EG/EK, Integra DC2)
14 steps · 3-5 hours
0 VIEWS
FIG. 2.358
Engine
Moderate
Verified ✓
K-Swap Radiator, Fan and Thermostat Housing Installation (Civic EG/EK, Integra DC2)
13 steps · 2-4 hours
0 VIEWS
Engine
Expert
Verified ✓
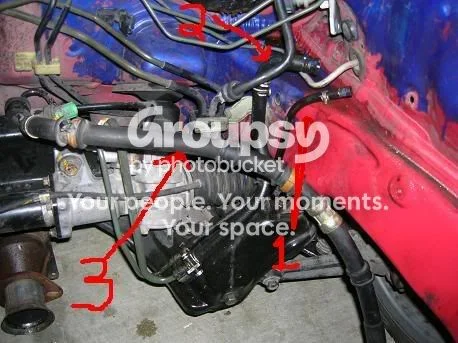
K20/K24 Engine Swap Parts List for the Honda Civic (EG/EK) and Integra DC2
12 steps · 20-40 hours (full swap)
7 VIEWS
FIG. 2.360
Maintenance
Easy
Verified ✓
K20/K24 Spark Plug Replacement (Acura RSX DC5, Civic Si EP3/FA5/FG2, Acura TSX CL9)
12 steps · 30-45 minutes
0 VIEWS
Engine
Expert
Verified ✓
K20A2 Swap into a 1996-2000 Honda Civic (EK): Mounts, Manual Conversion, Cooling and Axles
12 steps · 40-60 hours (multi-week project)
7 VIEWS
FIG. 2.362
Engine
Expert
Verified ✓
K24 VTC Actuator Cold-Start Rattle: Diagnosis and Actuator Replacement (2009-2010 Acura TSX, 2008-2012 Honda Accord 2.4)
17 steps · 3-5 hours (Honda's flat-rate time is 2.0 hours for a technician)
0 VIEWS
Suspension
Moderate
Verified ✓
KW ST Coilover Installation on the Acura TSX, with Bushing Clocking
13 steps · 4-6 hours
24 VIEWS
FIG. 2.364
Engine
Difficult
Verified ✓
Keeping Air Conditioning on a K-Swapped 1996-2000 Honda Civic (EK)
14 steps · 3-5 hours plus professional A/C charge
0 VIEWS
Suspension
Difficult
Verified ✓
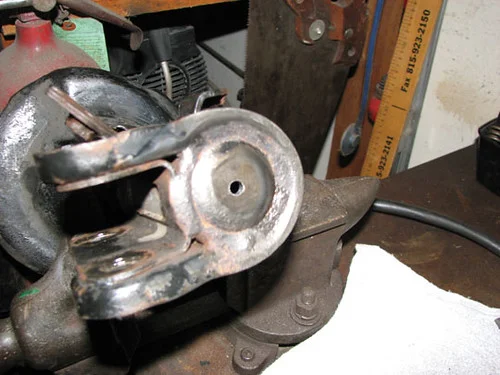
Koni Sport Cartridge Conversion for EP3/DC5 Front Struts
10 steps · 3-4 hours (front pair)
7 VIEWS
Suspension
Moderate
Verified ✓
Koni Sport Shocks and Ground Control Coilover Sleeve Install (Honda Civic)
13 steps · 4-6 hours
23 VIEWS
FIG. 2.367
Suspension
Moderate
Verified ✓
Lowering Spring and Shock Installation for the 1998-2002 Honda Accord (CG/CK)
10 steps · 4-6 hours (allow longer for a first attempt)
23 VIEWS
FIG. 2.368
Exterior
Moderate
Verified ✓
M3-Style Side Mirror Install on the Acura CL / 94-97 Honda Accord
9 steps · 2-4 hours
7 VIEWS
FIG. 2.369
Drivetrain
Moderate
Verified ✓
MTEC Shift Spring Install (RSX / Civic Si Shifter Mechanism)
12 steps · 1-2 hours
7 VIEWS
FIG. 2.370
Suspension
Moderate
Verified ✓
MaXpeedingRods Coilover Installation on the 8th-Gen Honda Civic
10 steps · 3-4 hours
7 VIEWS
FIG. 2.371
Electrical
Expert
Verified ✓
Making the Speedometer and VSS Work After a 2005-2006 K-Series Transmission Swap (EG/EK/DC2)
8 steps · 8-12 hours
7 VIEWS
Audio
Difficult
Verified ✓
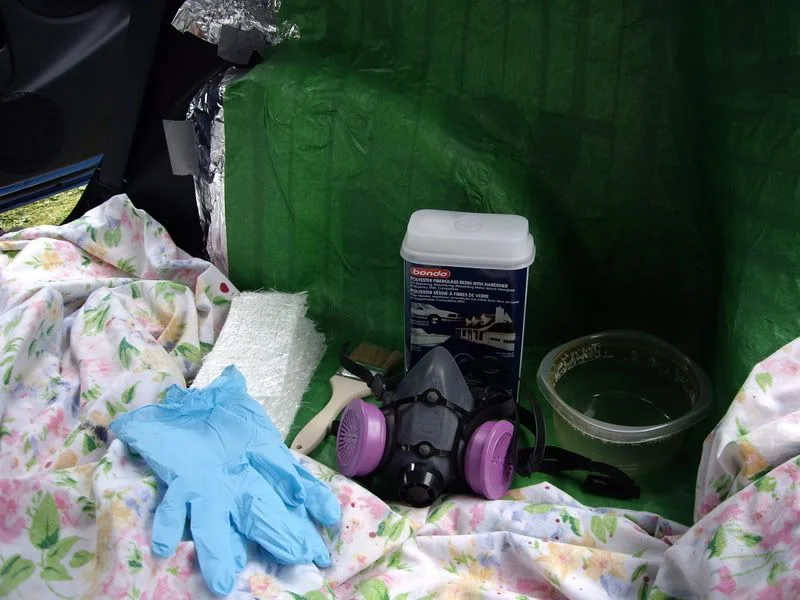
Molded Fiberglass Stealth Subwoofer Enclosure for the Honda Fit
12 steps · 10-15 hours of hands-on work spread over several days for curing
7 VIEWS
FIG. 2.373
Maintenance
Easy
Verified ✓
Monthly Maintenance Checks for the EK Honda Civic (D16Y4/Y7/Y8)
12 steps · 1-2 hours
23 VIEWS
Suspension
Moderate
Verified ✓
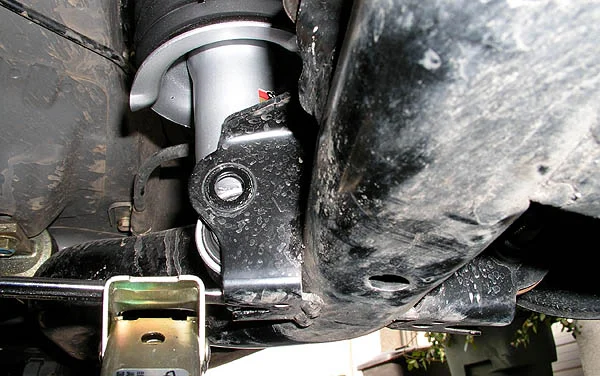
Mugen Sport Suspension (Mugen SS) Install on the Acura RSX Type-S
11 steps · 4-5 hours
7 VIEWS
FIG. 2.375
Exterior
Easy
Verified ✓
NRG Hood Damper Installation (Honda CR-Z)
8 steps · 5-10 minutes
7 VIEWS
Audio
Expert
Verified ✓
Nexus 7 Tablet Head Unit Install with Factory Amp and Steering Wheel Control (2006-2011 Honda Civic)
10 steps · A weekend (6-10 hours), plus tablet setup
7 VIEWS
FIG. 2.377
Lighting
Moderate
Verified ✓
OEM Acura TL HID (D2R) Conversion for JDM H4H Headlamps
7 steps · 3-4 hours
23 VIEWS
FIG. 2.378
Exterior
Moderate
Verified ✓
OEM Roof Rack Installation on the First-Generation Acura RDX
8 steps · 2-3 hours
7 VIEWS
FIG. 2.379
Brakes
Easy
Verified ✓
Painting Honda Brake Calipers with High-Temperature Paint
7 steps · 3-4 hours (all four wheels)
7 VIEWS

Interior
Easy
Verified ✓
Painting Recessed Shift Knob Numbers Red (Acura RSX and Similar OEM Knobs)
8 steps · 15-30 minutes
7 VIEWS
FIG. 2.381
Exterior
Easy
Verified ✓
Paintless Dent Removal Using Heat and Freezing Air Duster Spray
6 steps · 15-30 minutes
7 VIEWS
FIG. 2.382
Electrical
Moderate
Verified ✓
Parrot CK3100 Hands-Free Kit and Multicomm Steering-Wheel Control Retrofit (Honda Civic Type S / FK)
8 steps · 2-3 hours
7 VIEWS
FIG. 2.383
Audio
Moderate
Verified ✓
Parrot MKi9200 Bluetooth Kit Installation in the Honda Civic (FN2 Type R)
10 steps · 2-3 hours
7 VIEWS
FIG. 2.384
Engine
Moderate
Verified ✓
Polishing Cast Aluminum Parts to a Mirror Finish
8 steps · 10-12 hours
7 VIEWS
FIG. 2.385
Electrical
Moderate
Verified ✓
Programming Acura HomeLink to a Garage Door Opener
8 steps · 30-60 minutes
7 VIEWS
FIG. 2.386
Suspension
Moderate
Verified ✓
Progress 22mm/24mm Rear Sway Bar and Tie Bar Installation (RSX / EP3 Civic Si)
10 steps · 2-4 hours
7 VIEWS
FIG. 2.387
Brakes
Moderate
Verified ✓
Rear Brake Pad Replacement (Honda Civic Si EP3 / Acura RSX)
12 steps · 1-2 hours
7 VIEWS
FIG. 2.388
Suspension
Moderate
Verified ✓
Rear Camber Cam and Bracket Kit Installation (2006-2015 Civic incl. Si FA5/FG2/FB6)
10 steps · 2-3 hours
0 VIEWS
FIG. 2.389
Suspension
Moderate
Verified ✓
Rear Lower Control Arm Polyurethane Bushing Replacement (1989-1995 Civic, CRX, Del Sol)
11 steps · 3-5 hours
0 VIEWS
FIG. 2.390
Suspension
Moderate
Verified ✓
Rear Lowering Spring Install (Acura RSX / Honda Civic Si EP3)
13 steps · 3-4 hours
7 VIEWS
FIG. 2.391
Exterior
Easy
Verified ✓
Refinishing Faded Window Trim on the Acura RSX and Honda Civic (EP3)
9 steps · 3-4 hours of work, plus paint drying time
7 VIEWS
Exterior
Easy
Verified ✓
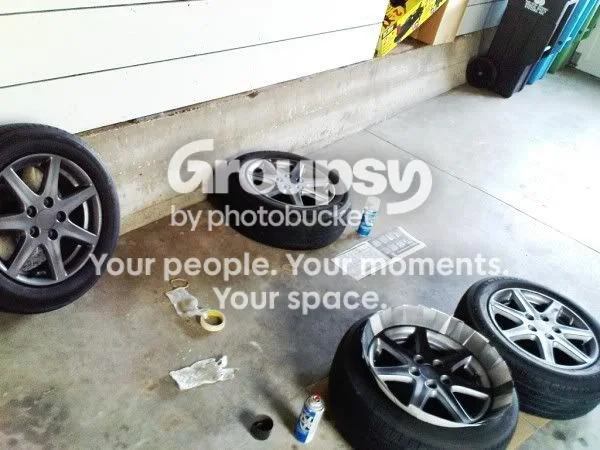
Repainting 7th-Gen Accord OEM Alloy Wheels with Aerosol Wheel Paint
8 steps · 3-4 hours plus drying time
7 VIEWS
FIG. 2.393
Interior
Easy
Verified ✓
Repairing Cracked Interior Plastic Panels and Broken Mounting Clips
7 steps · 30-60 minutes
7 VIEWS
FIG. 2.394
Maintenance
Moderate
Verified ✓
Replacing Front Brake Pads
8 steps · 1-2 hours
2,199 VIEWS
FIG. 2.395
Interior
Easy
Verified ✓
Restoring Clarity and Shine to Automotive Hard-Plastic Trim by Sanding and Polishing
7 steps · 30-60 minutes per piece
7 VIEWS
FIG. 2.396
Exterior
Moderate
Verified ✓
Restoring Hazy, Oxidized Headlight Lenses by Wet-Sanding and Polishing
8 steps · 1-2 hours
7 VIEWS

Electrical
Difficult
Verified ✓
Retrofit Acura TSX Homelink Into a Honda CR-Z EX Overhead Console
10 steps · 2-3 hours
7 VIEWS
Lighting
Expert
Verified ✓
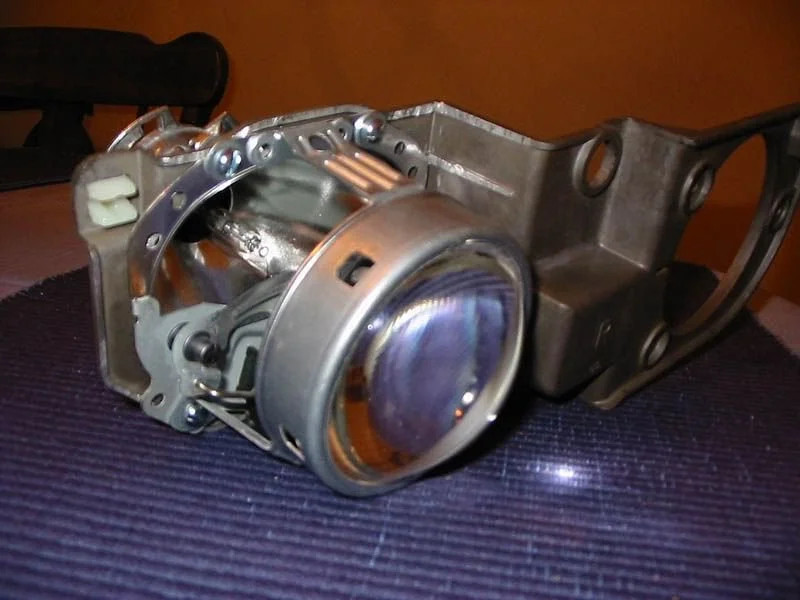
Retrofitting OEM HID Projectors into Honda and Acura Headlights
8 steps · A weekend (roughly 8-12 hours)
7 VIEWS
FIG. 2.399
Electrical
Moderate
Verified ✓
Retrofitting an Aftermarket Reversing Camera to an Aftermarket Head Unit (Civic Type R FN2)
10 steps · 4-6 hours
7 VIEWS
Forced Induction
Expert
Verified ✓
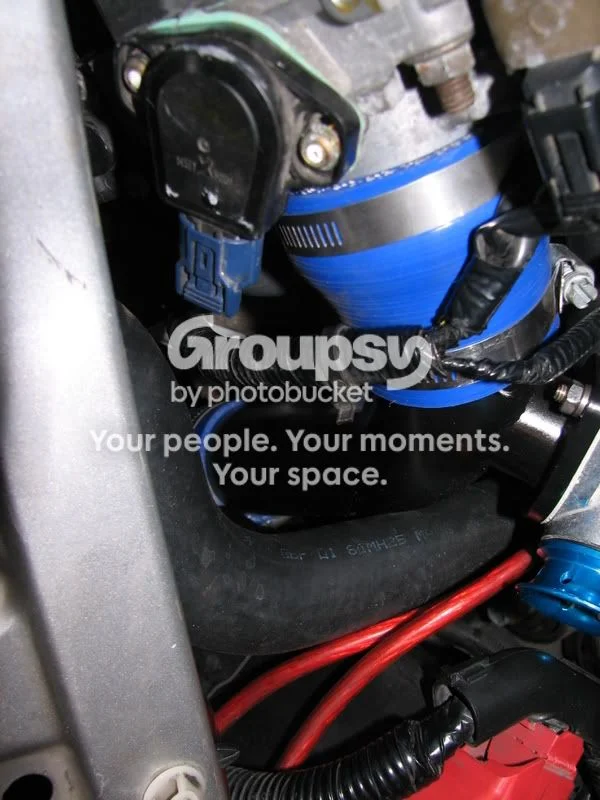
RevHard Turbo Kit Installation on the Honda Civic Si (EP3)
14 steps · 2-3 days
7 VIEWS
FIG. 2.401
Audio
Easy
Verified ✓
Running New Speaker Wire Into the Doors Without Drilling (1G Acura CL)
7 steps · 1-2 hours
7 VIEWS
FIG. 2.402
Interior
Moderate
Verified ✓
S2000 Steering Wheel Install into a 5th Gen Prelude (SRS Airbag Wheel Swap)
12 steps · 2-3 hours
23 VIEWS
Drivetrain
Moderate
Verified ✓
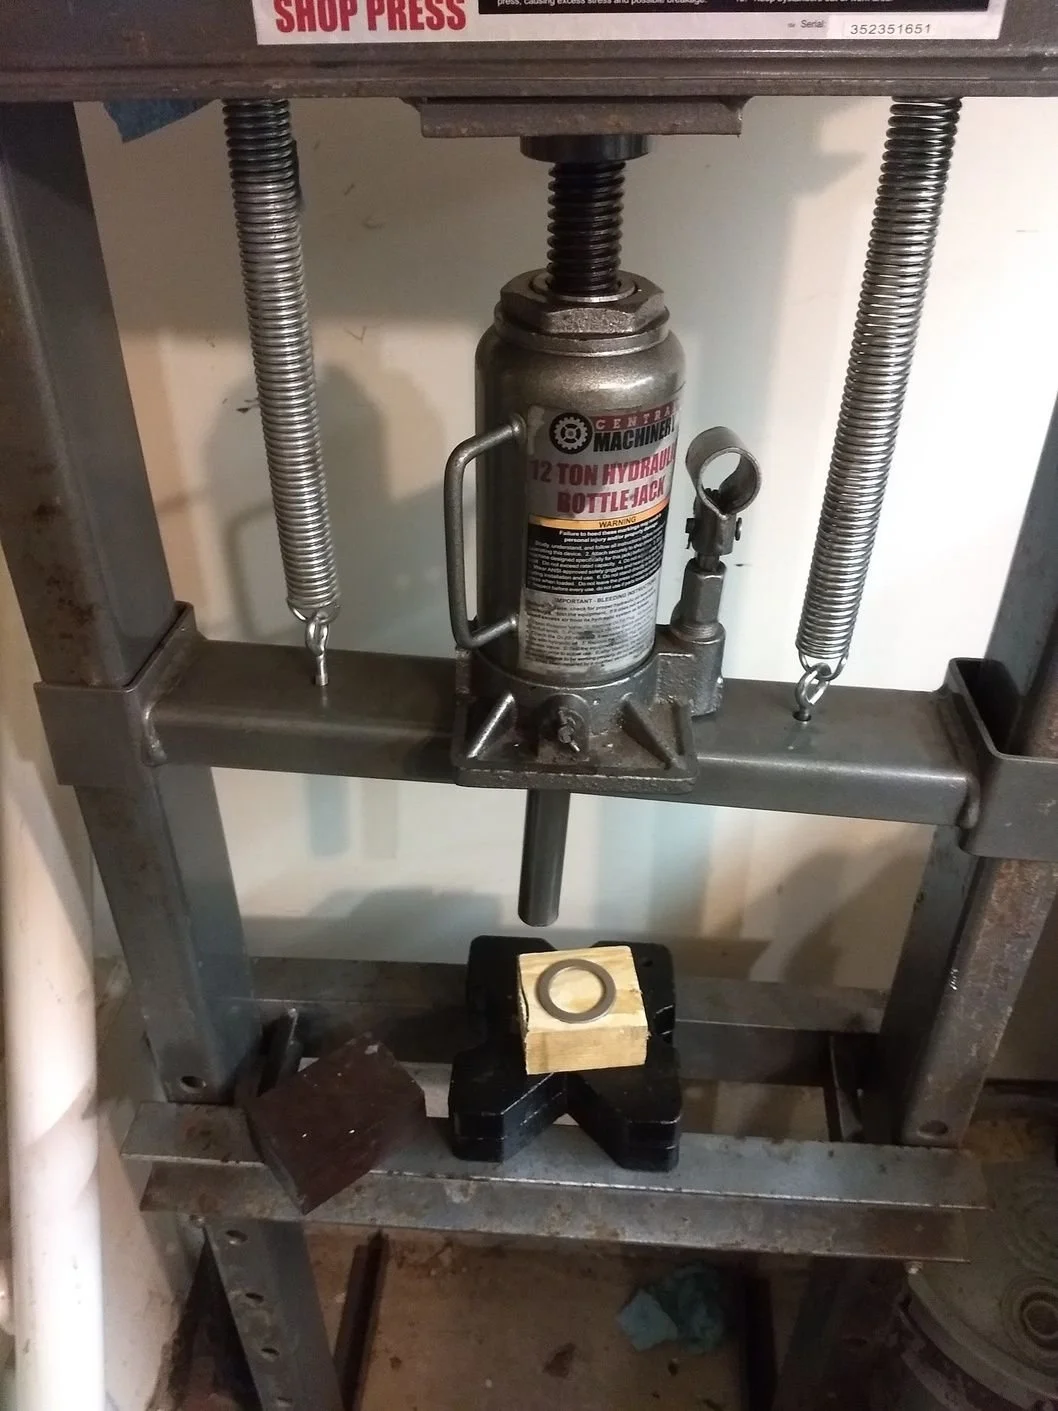
Sanding an Oversized Transmission Shim Down to a Custom Thickness
6 steps · 1-2 hours per shim
7 VIEWS
FIG. 2.404
Audio
Moderate
Verified ✓
Sideloading Third-Party Apps onto the Stock Honda Connect Head Unit
7 steps · 1-2 hours
7 VIEWS
Audio
Easy
Verified ✓
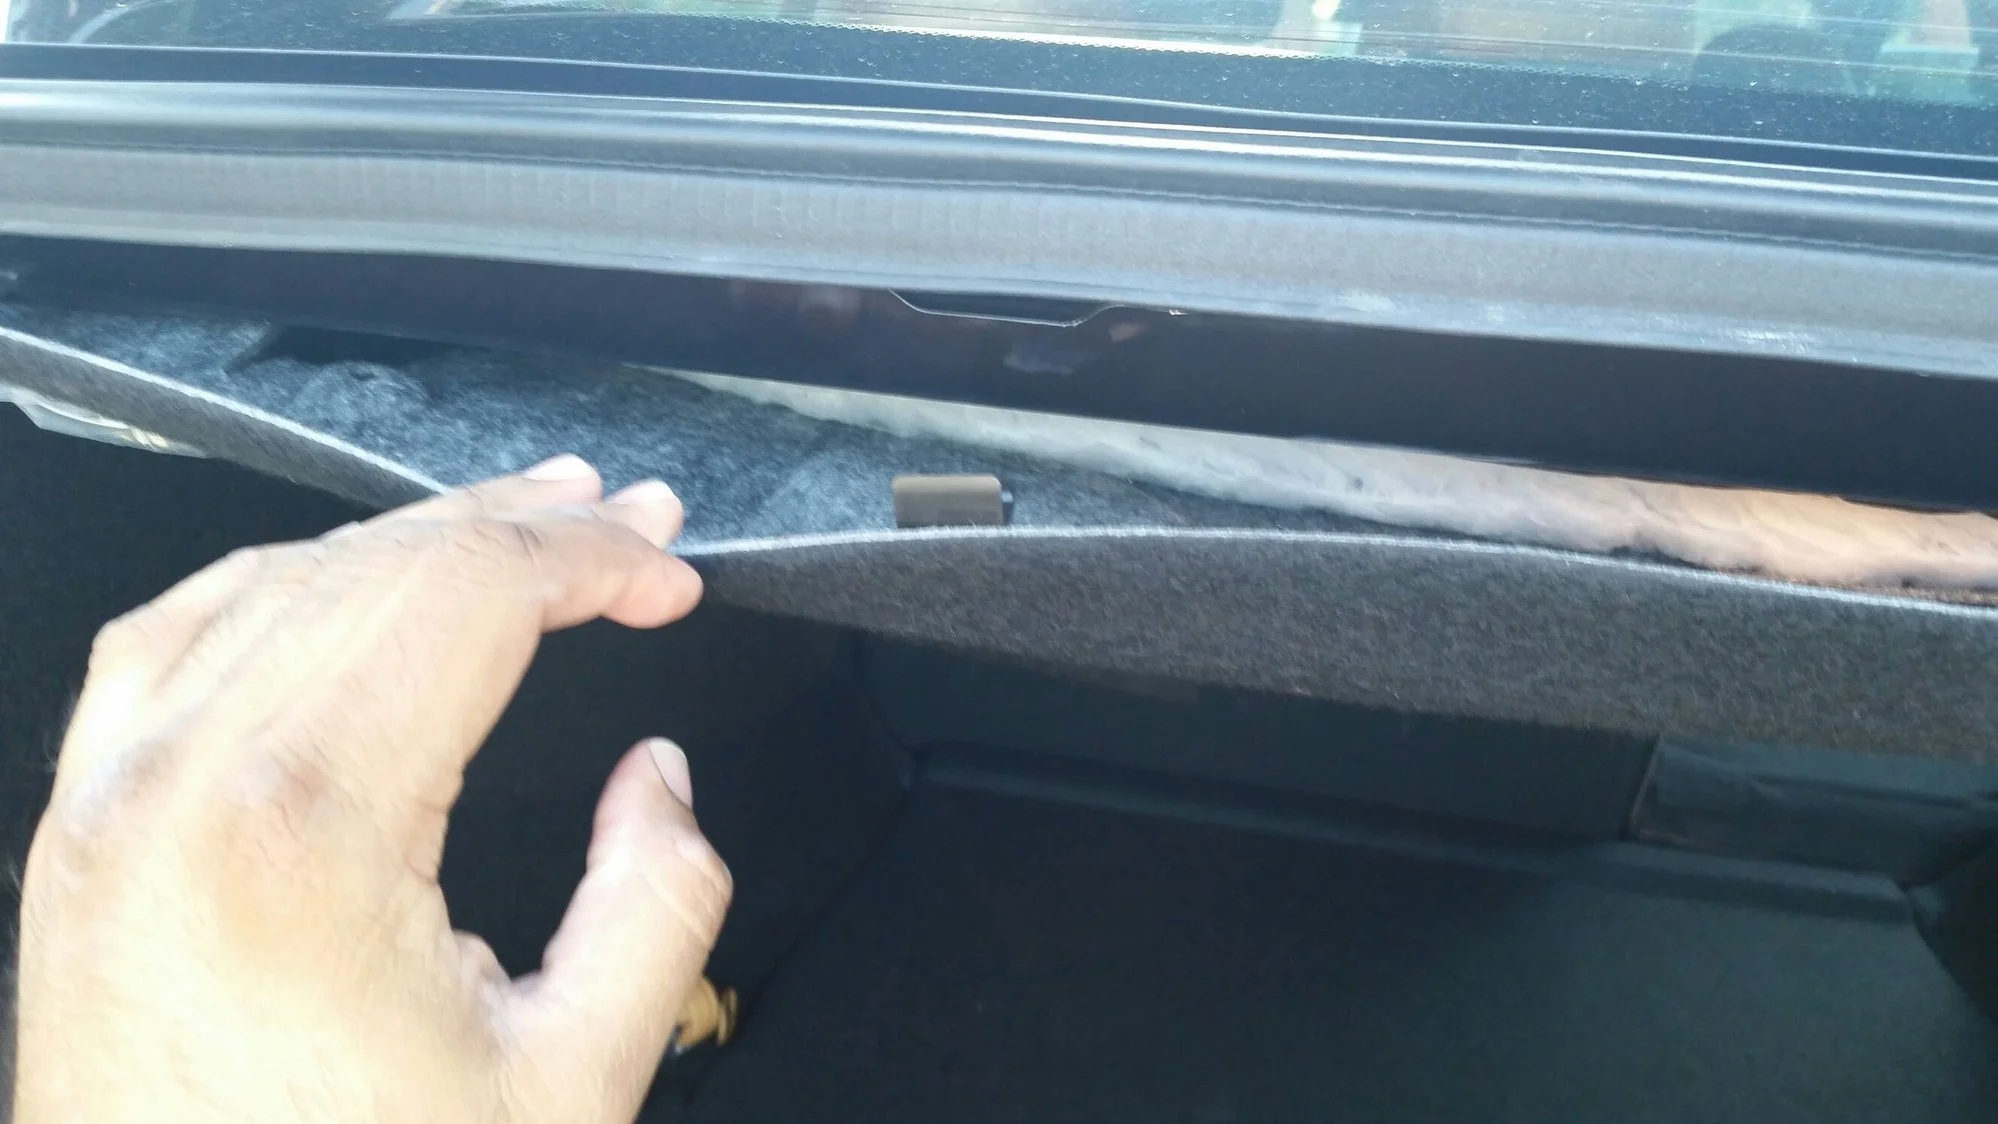
Silencing Rear Deck (Parcel Shelf) Bass Rattle in Honda and Acura Sedans
7 steps · 20-30 minutes
7 VIEWS

Lighting
Moderate
Verified ✓
Smoked Taillights with VHT Night Shades Aerosol Tint (Acura RSX)
7 steps · 3-5 hours plus drying time between coats
7 VIEWS
FIG. 2.407
Electrical
Difficult
Verified ✓
Socketing and Chipping an OBD0/OBD1 Honda ECU
10 steps · 1-2 hours
7 VIEWS
FIG. 2.408
Electrical
Easy
Verified ✓
Soldering Automotive Wire Splices: A Practical DIY Method
6 steps · 1-2 hours
7 VIEWS
Engine
Moderate
Verified ✓
Stiffening Honda D-Series Engine Mounts With Poured Polyurethane
8 steps · 2-3 days (mostly unattended cure time; roughly 1-2 hours of hands-on work)
7 VIEWS
FIG. 2.410
Brakes
Moderate
Verified ✓
TSX Front Brake Upgrade for the 8th-Generation Honda Civic (LX/EX)
11 steps · 3-4 hours
7 VIEWS
FIG. 2.411
Suspension
Difficult
Verified ✓
Third-Generation Acura Integra Coilover, Shock, and Spring Installation
12 steps · 3-4 hours
7 VIEWS
FIG. 2.412
Engine
Moderate
Verified ✓
Third-Generation Acura Integra Exhaust Header Replacement (B18B1)
14 steps · 3-4 hours
7 VIEWS
FIG. 2.413
Lighting
Moderate
Verified ✓
Trunk CCFL (Cathode) Accent Lighting Install with 3-Position Selector
12 steps · 2-3 hours (about 15 minutes for a basic always-on install without the switch)
7 VIEWS
Forced Induction
Expert
Verified ✓
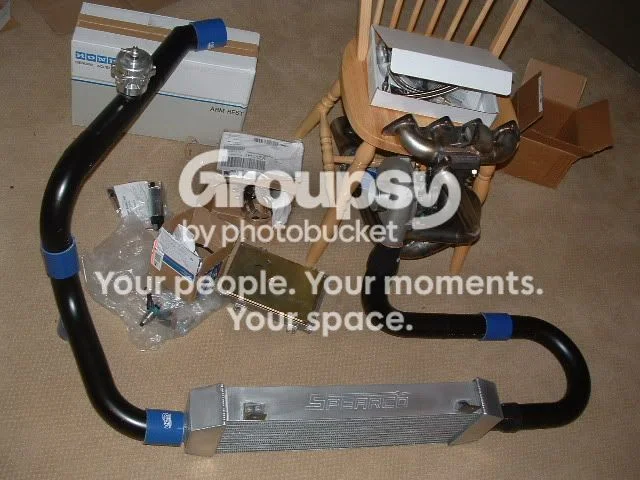
Turbocharging a Naturally Aspirated Honda: Full Turbo Kit Installation
12 steps · 1 week or more
23 VIEWS
Forced Induction
Expert
Verified ✓
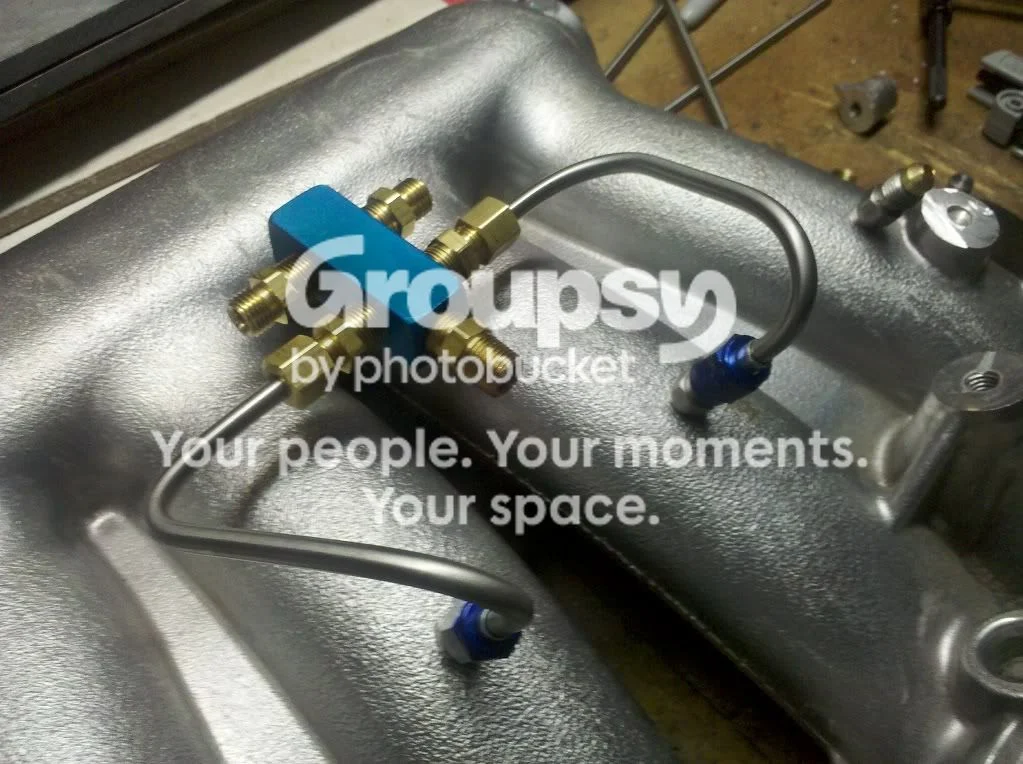
Two-Stage Dry Nitrous Install and KPro Wiring for a K-Series Honda
12 steps · 20-40 hours over several sessions, plus dyno tuning time
7 VIEWS
FIG. 2.416
Electrical
Easy
Verified ✓
Valentine One (V1) Radar Detector Hardwire Install - Honda Fit (GE8)
10 steps · 1 hour
7 VIEWS
Electrical
Expert
Verified ✓
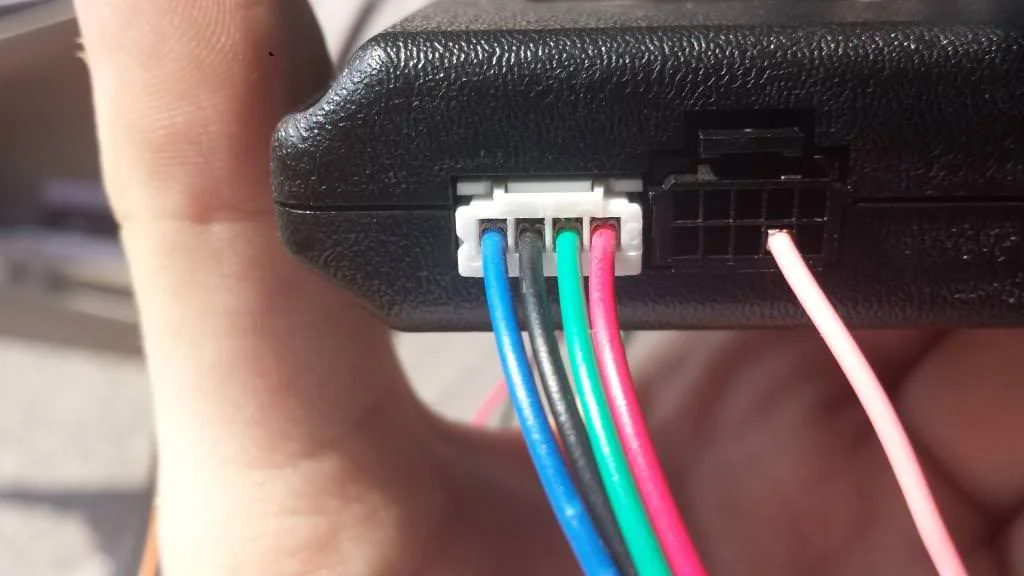
Viper 5204V Alarm and Remote Start Install (2006-2011 Honda Civic) with DB-ALL2 Immobilizer Bypass
11 steps · 6-10 hours
7 VIEWS
Brakes
Difficult
Verified ✓
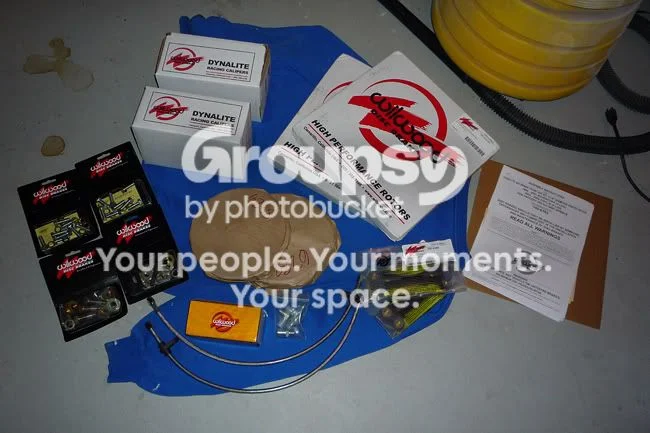
Wilwood Dynalite 12.2" Big Brake Kit Install (Honda Civic Si / Acura RSX)
13 steps · 4-6 hours
7 VIEWS
Exterior
Moderate
Verified ✓
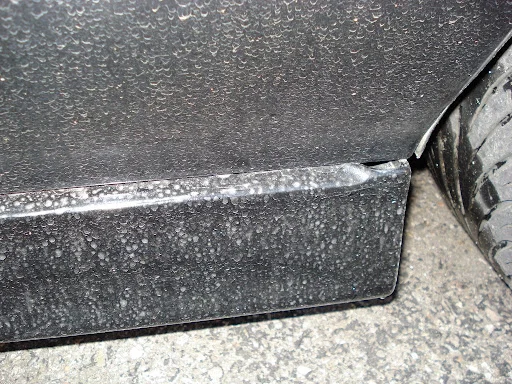
Wings West Lip Kit Install on the First-Gen Acura CL
6 steps · 4-6 hours
7 VIEWS
Engine
Moderate
Verified ✓
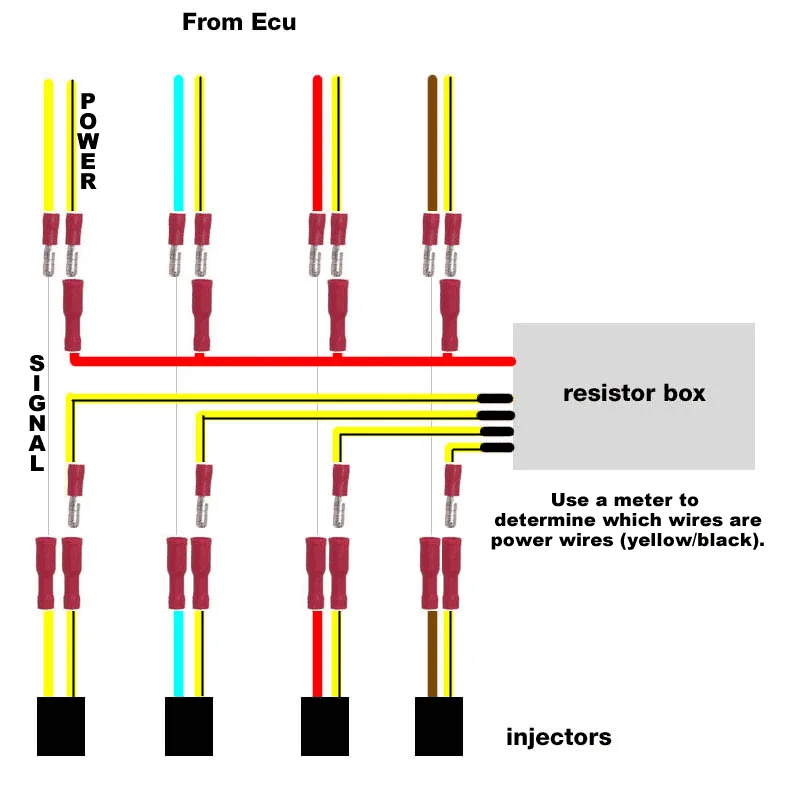
Wiring DSM Low-Impedance Injectors into a Honda D-Series with Inline Resistors
9 steps · 1-2 hours
7 VIEWS
FIG. 2.421
Audio
Moderate
Verified ✓
Wiring Subwoofers and Amplifiers to the Trunk in a 1st-Gen Acura CL
7 steps · 2-4 hours
7 VIEWS
FIG. 2.422
Lighting
Moderate
Verified ✓
Wiring a Relay-Switched LED Light Bar to a Roof Rack
10 steps · 3-4 hours
7 VIEWS
FIG. 2.423
Electrical
Moderate
Verified ✓
Wiring an OBD2 B-Series Engine into an OBD1 Civic (EG): Harness, Distributor and ECU Options
11 steps · 2-6 hours depending on route
0 VIEWS