Honda Fit (GK) Bi-Xenon Projector Headlight Retrofit
Introduction
This guide covers retrofitting true bi-xenon projectors into the factory halogen headlights of a third-generation Honda Fit (GK). The stock Fit runs a single dual-filament bulb for both low and high beam, so the projector chosen here uses a solenoid to shift between the two beam patterns. Retrofitting a projector with a proper cutoff shield produces a sharp, focused beam that lights the road without the scattered glare that comes from simply dropping HID bulbs into an unmodified reflector housing. Expect to surrender the car for a couple of days: the housings must be baked open, the internal shield cut out, the shrouds and bowl painted, and the projectors mounted, wired, and carefully aimed. Plan the work around a daily driver accordingly. Adapted from a community writeup by Kdawgz on FitFreak (https://www.fitfreak.net/forums/3rd-gen-gk-specific-fit-exterior-modifications-jdm-styling-sub-forum/88591-diy-projector-headlights.html), including corrections from the follow-up discussion.
Reference
Tools Required
- Screwdrivers and trim/clip removal tools
- Oven (able to hold 250 F)
- Heat gun (for reassembly and faster paint drying)
- Rotary tool (Dremel) with cutting bit
- Nitrile or work gloves
- Basic wiring tools (crimpers, wire strippers, electrical tape)
Parts Required
-
Two 2.5" mini HID bi-xenon projector lenses for the H1 bulb (Morimoto or equivalent, e.g. Nilight)
-
Chrome projector shrouds
-
H1 HID kit
-
H1 relay harness (H4 motorelay harness if wiring into the factory dual-filament plug)
-
VHT matte black spray paint plus adhesion promoter
-
Teflon tape or grease for the projector retaining nut
-
JB Weld KwikWeld steel stick (preferred over super glue for alignment)
-
Optional: H8 fog HID kit with relay
Safety Warnings
- ⚠ A projector with a proper cutoff shield is what keeps this legal and courteous; dropping bare HID bulbs into an unmodified reflector scatters glare and dazzles oncoming drivers. Aim carefully.
- ⚠ Grease or Teflon-tape the projector retaining nut before tightening; a dry nut can strip and leave the beam crooked.
- ⚠ The oven and freshly baked lenses are hot; handle with gloves and let parts cool before pressing the seam.
- ⚠ Disconnect the battery before cutting into the factory harness or splicing the relay in.
Step-by-Step Instructions
1 Stage parts and set aside enough time
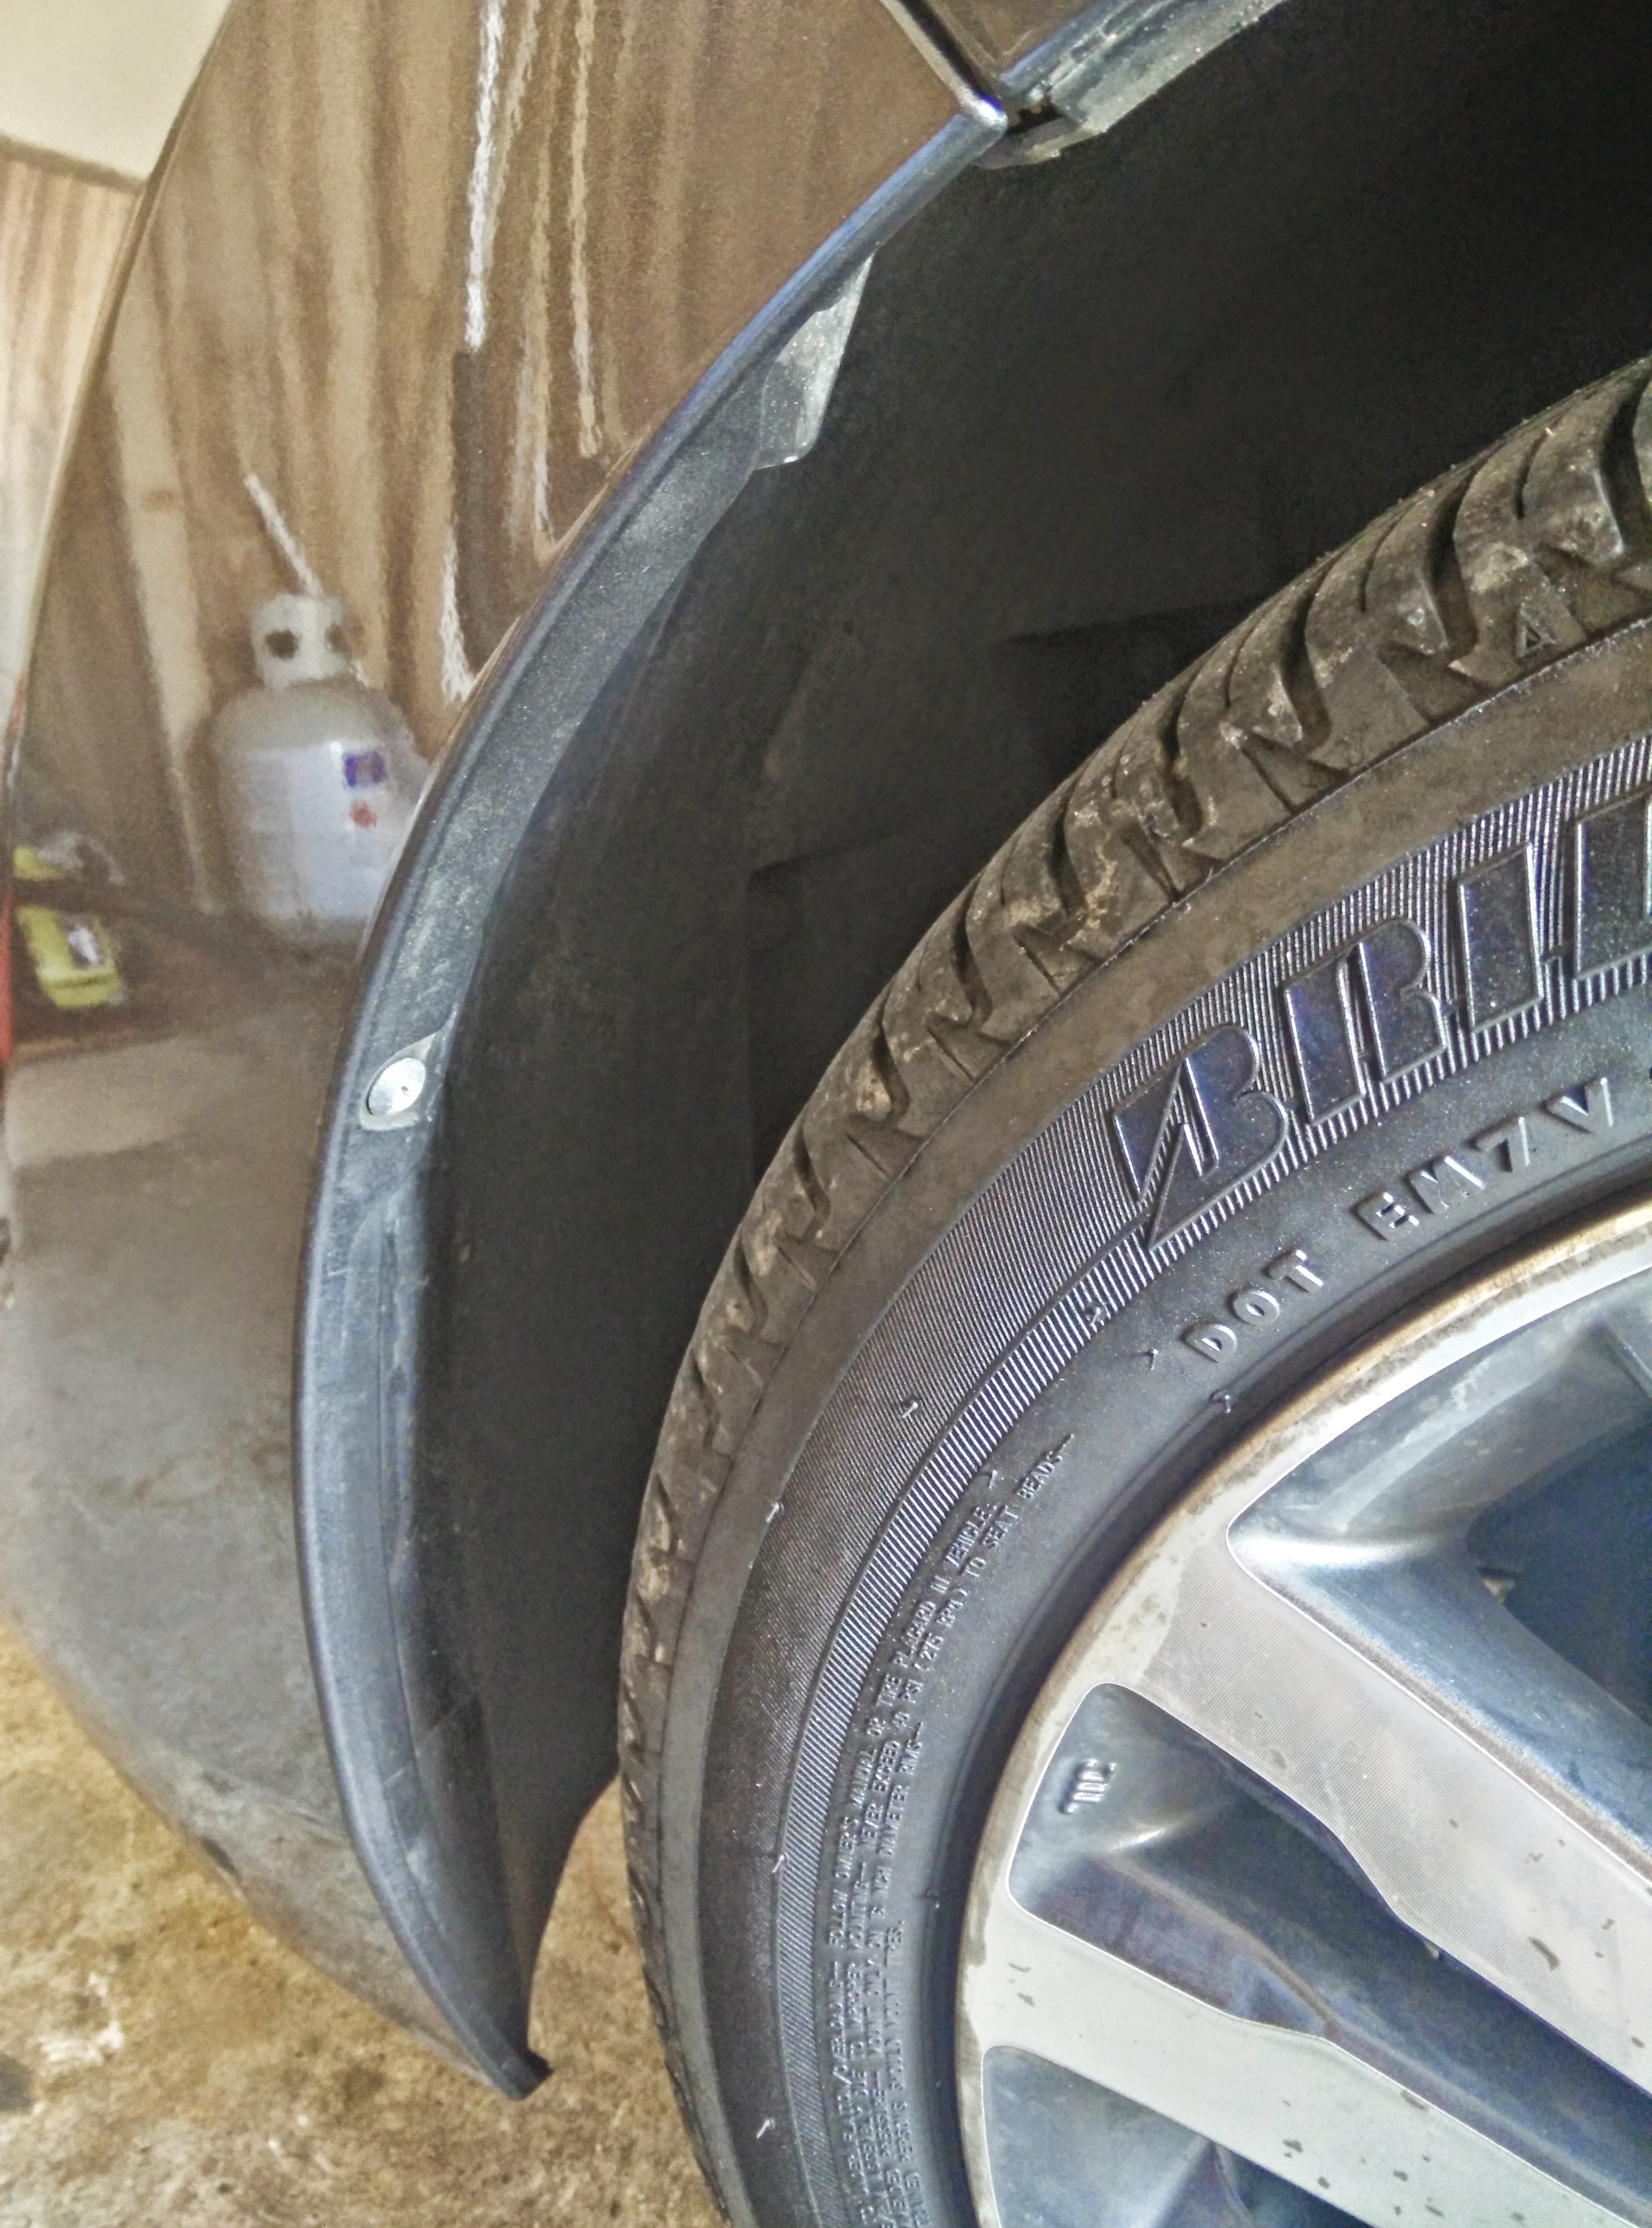
Collect both projectors, shrouds, the HID kit, relay harness, paint, and adhesive before starting. Because the housings are sealed with heat and the paint needs to cure, this is not a job to rush between errands; set aside two to three days. If the Fit is your only vehicle, arrange alternate transport so you are not forced to reassemble a half-aligned headlight in a hurry.
2 Remove the front bumper cover
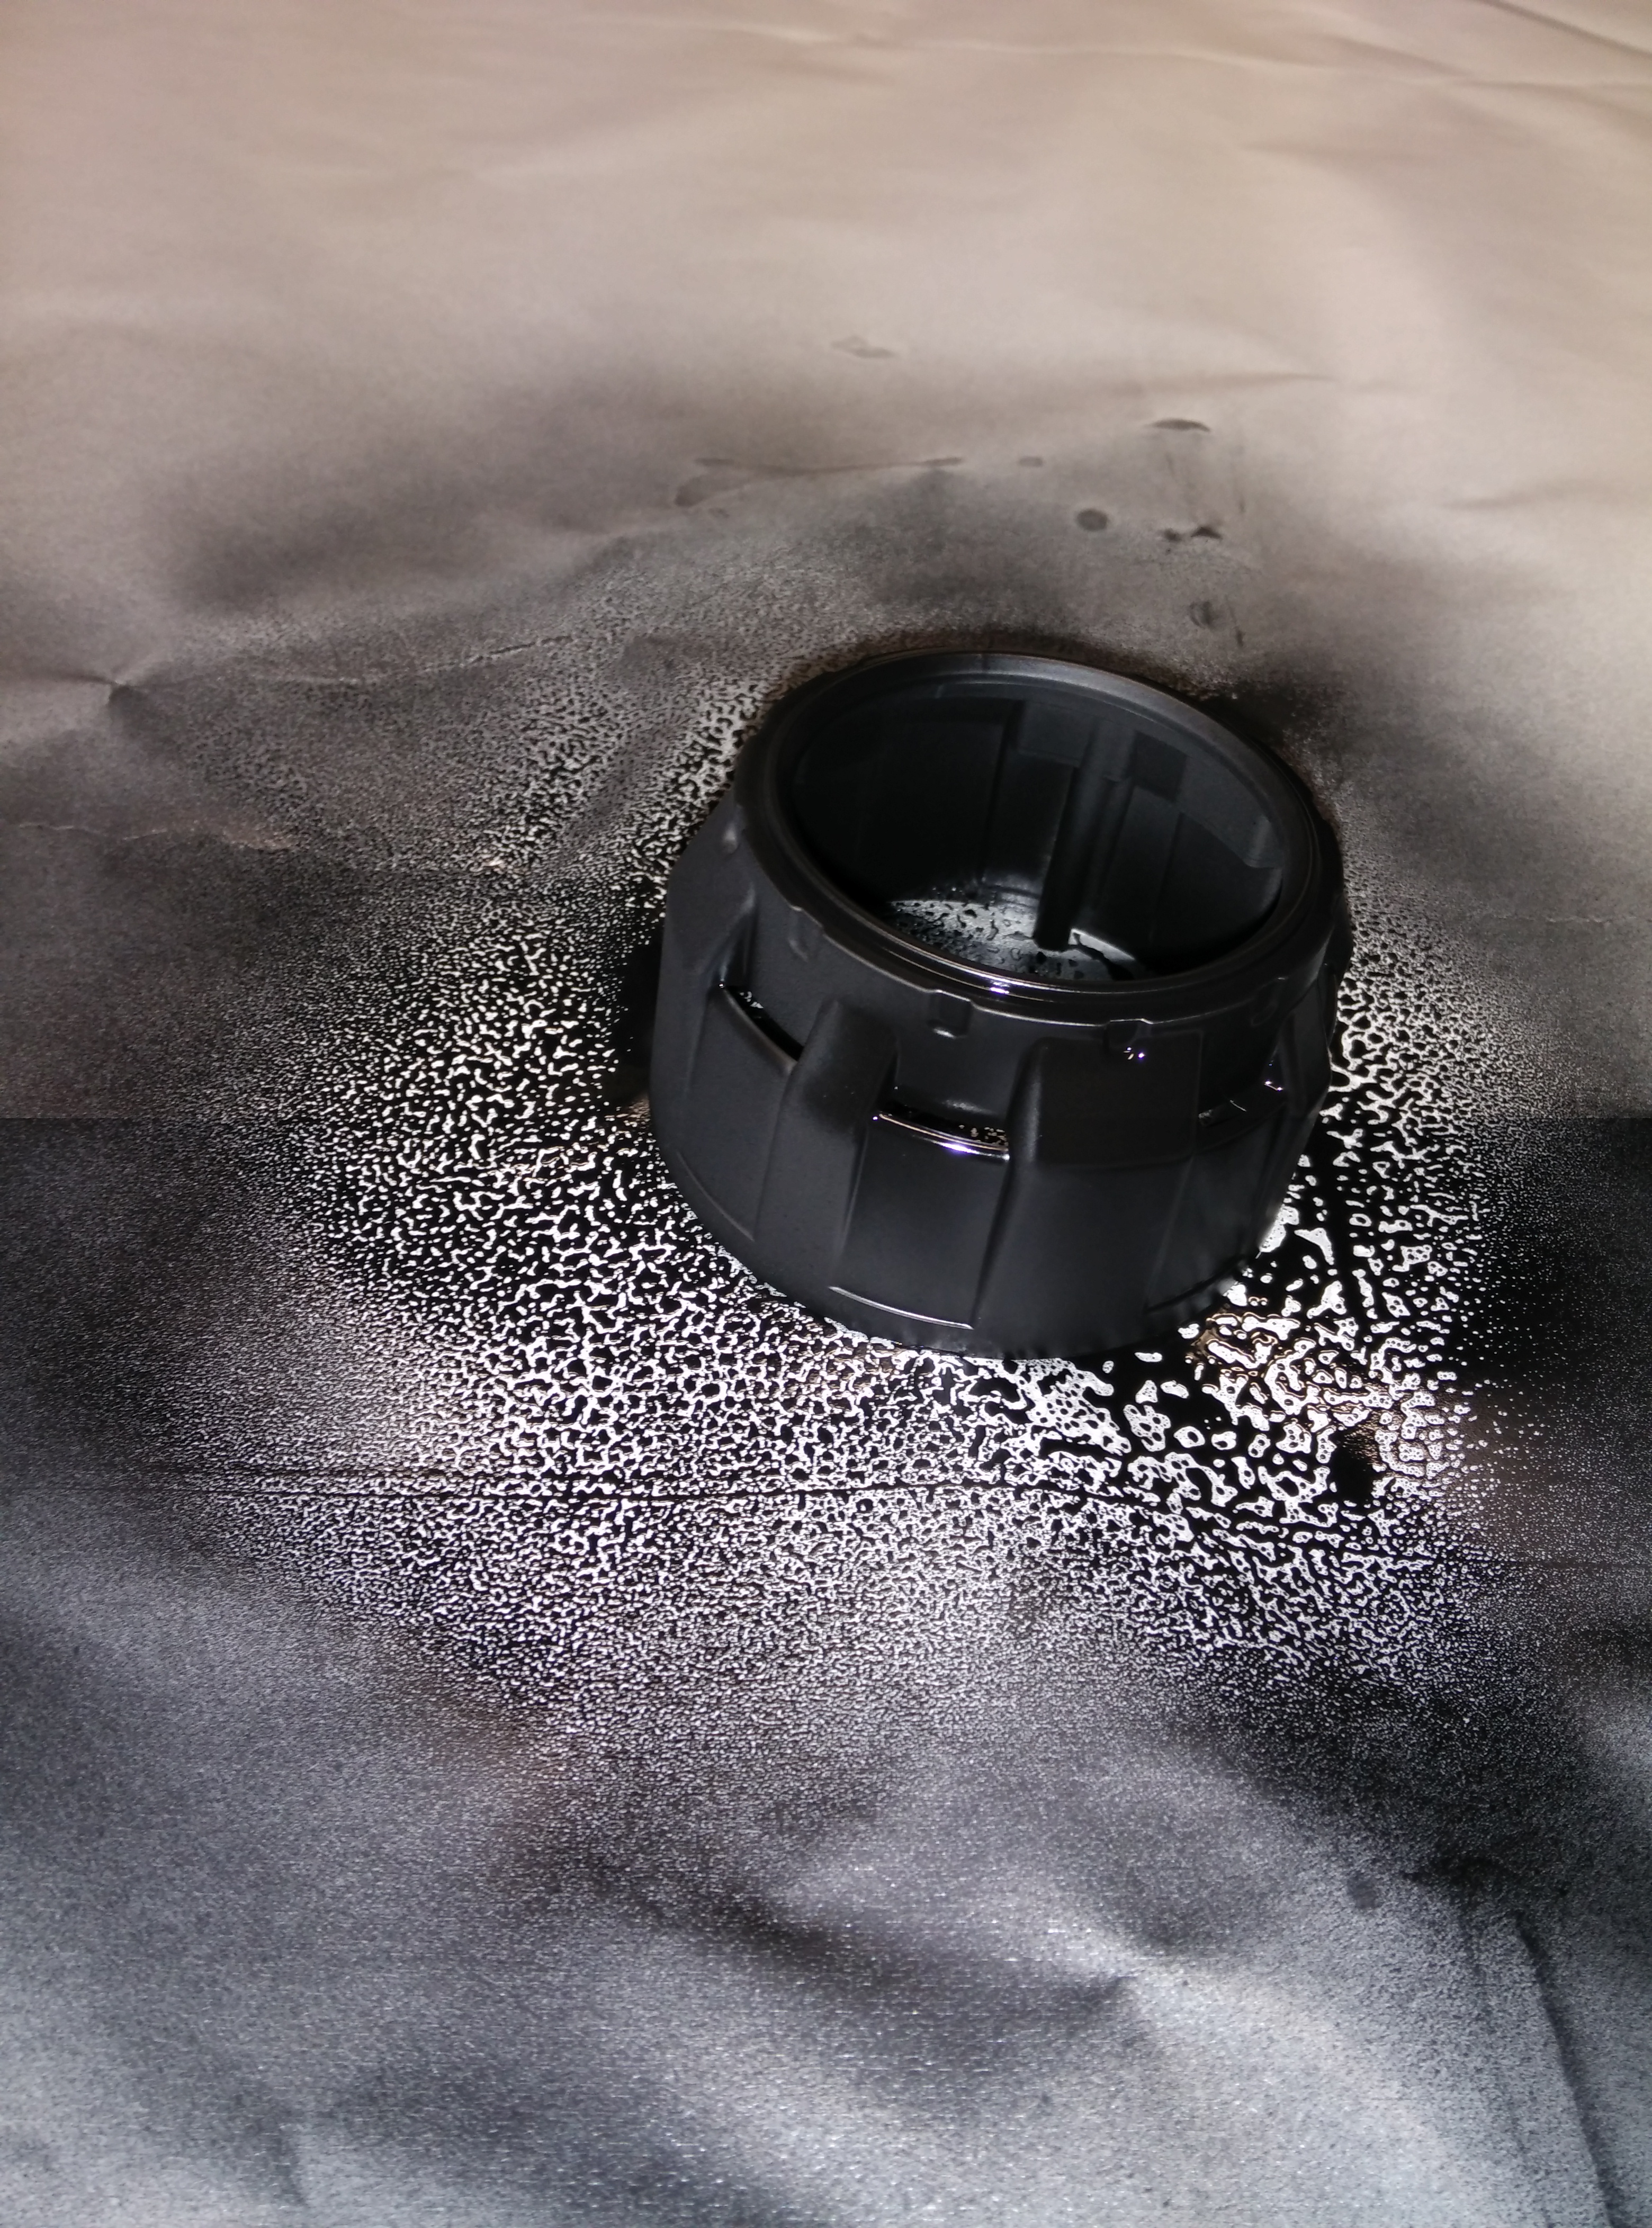
Take the front bumper off to reach the headlights. Remove the two screws at each wheel-arch side and the two screws along the bottom edge, then release the four clips underneath the bumper and the five or six clips across the top of the grille. With the fasteners out, the cover pulls forward and off. The layout is straightforward once the clips are located.
3 Detach the headlight assembly
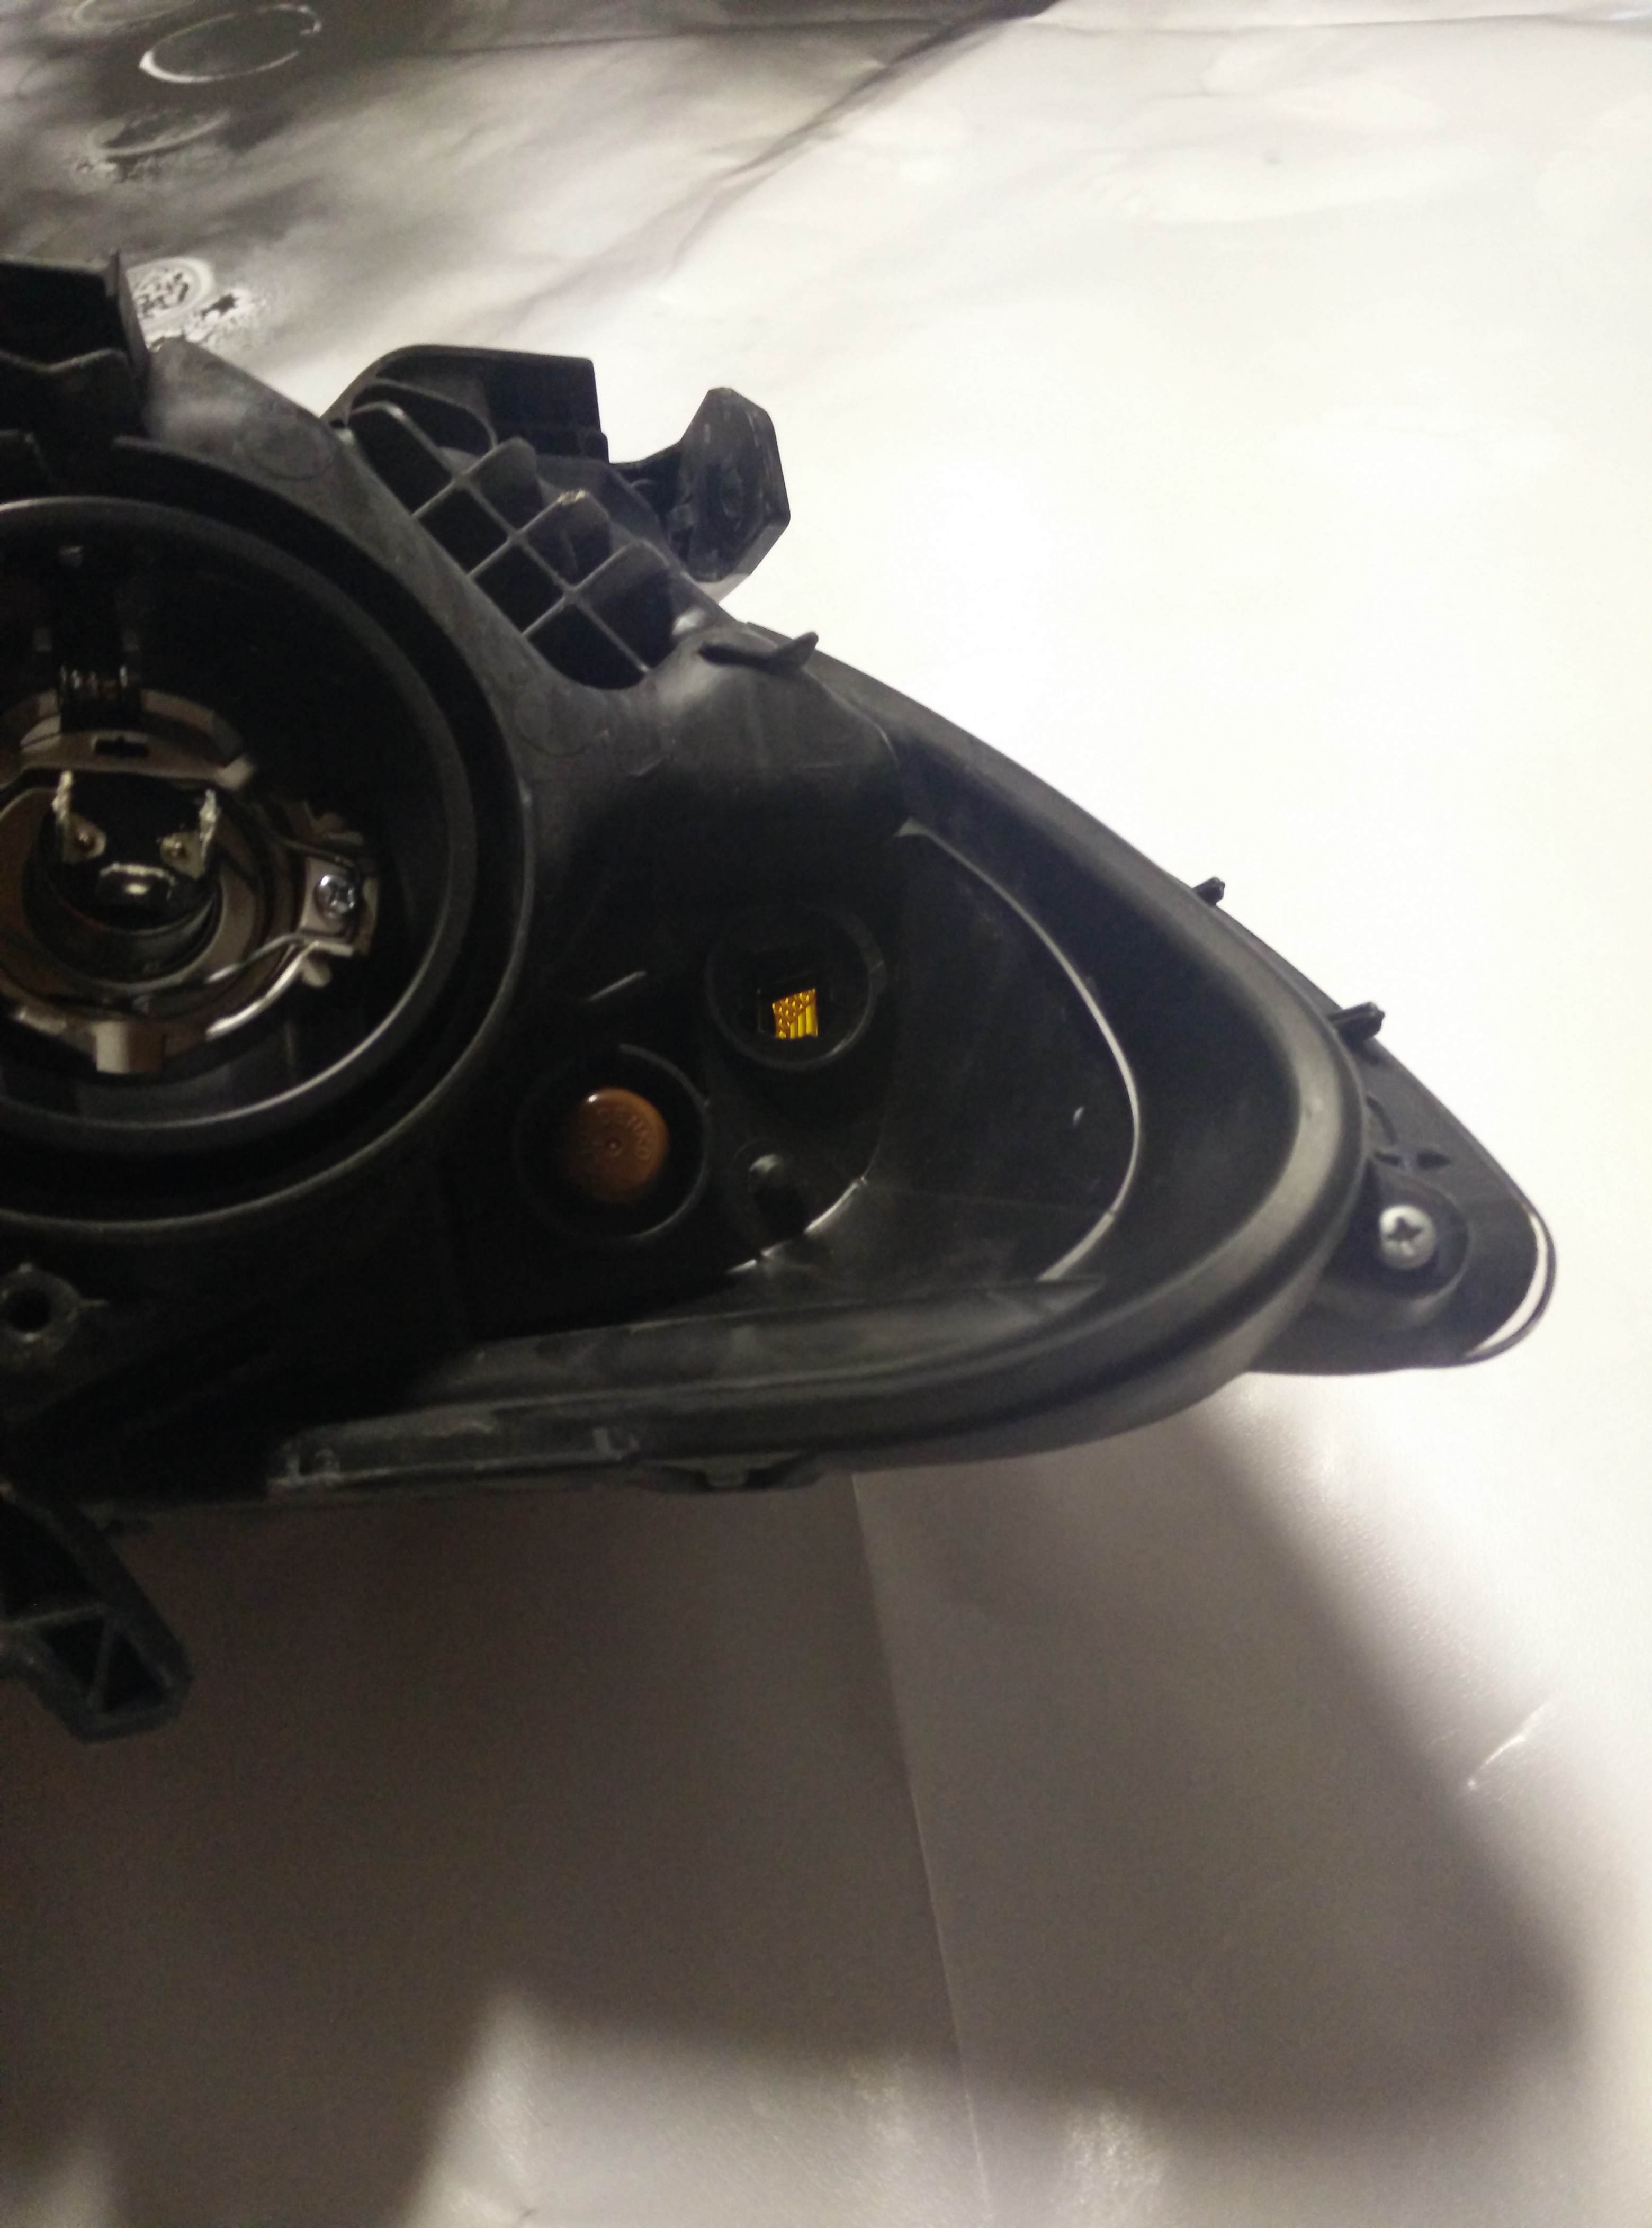
Each headlight is held by four screws and a single clip, all easy to spot once the bumper is clear. Remove them and lift the assembly out of the car so it can be worked on at the bench.
4 Bake the housing open and separate the lens
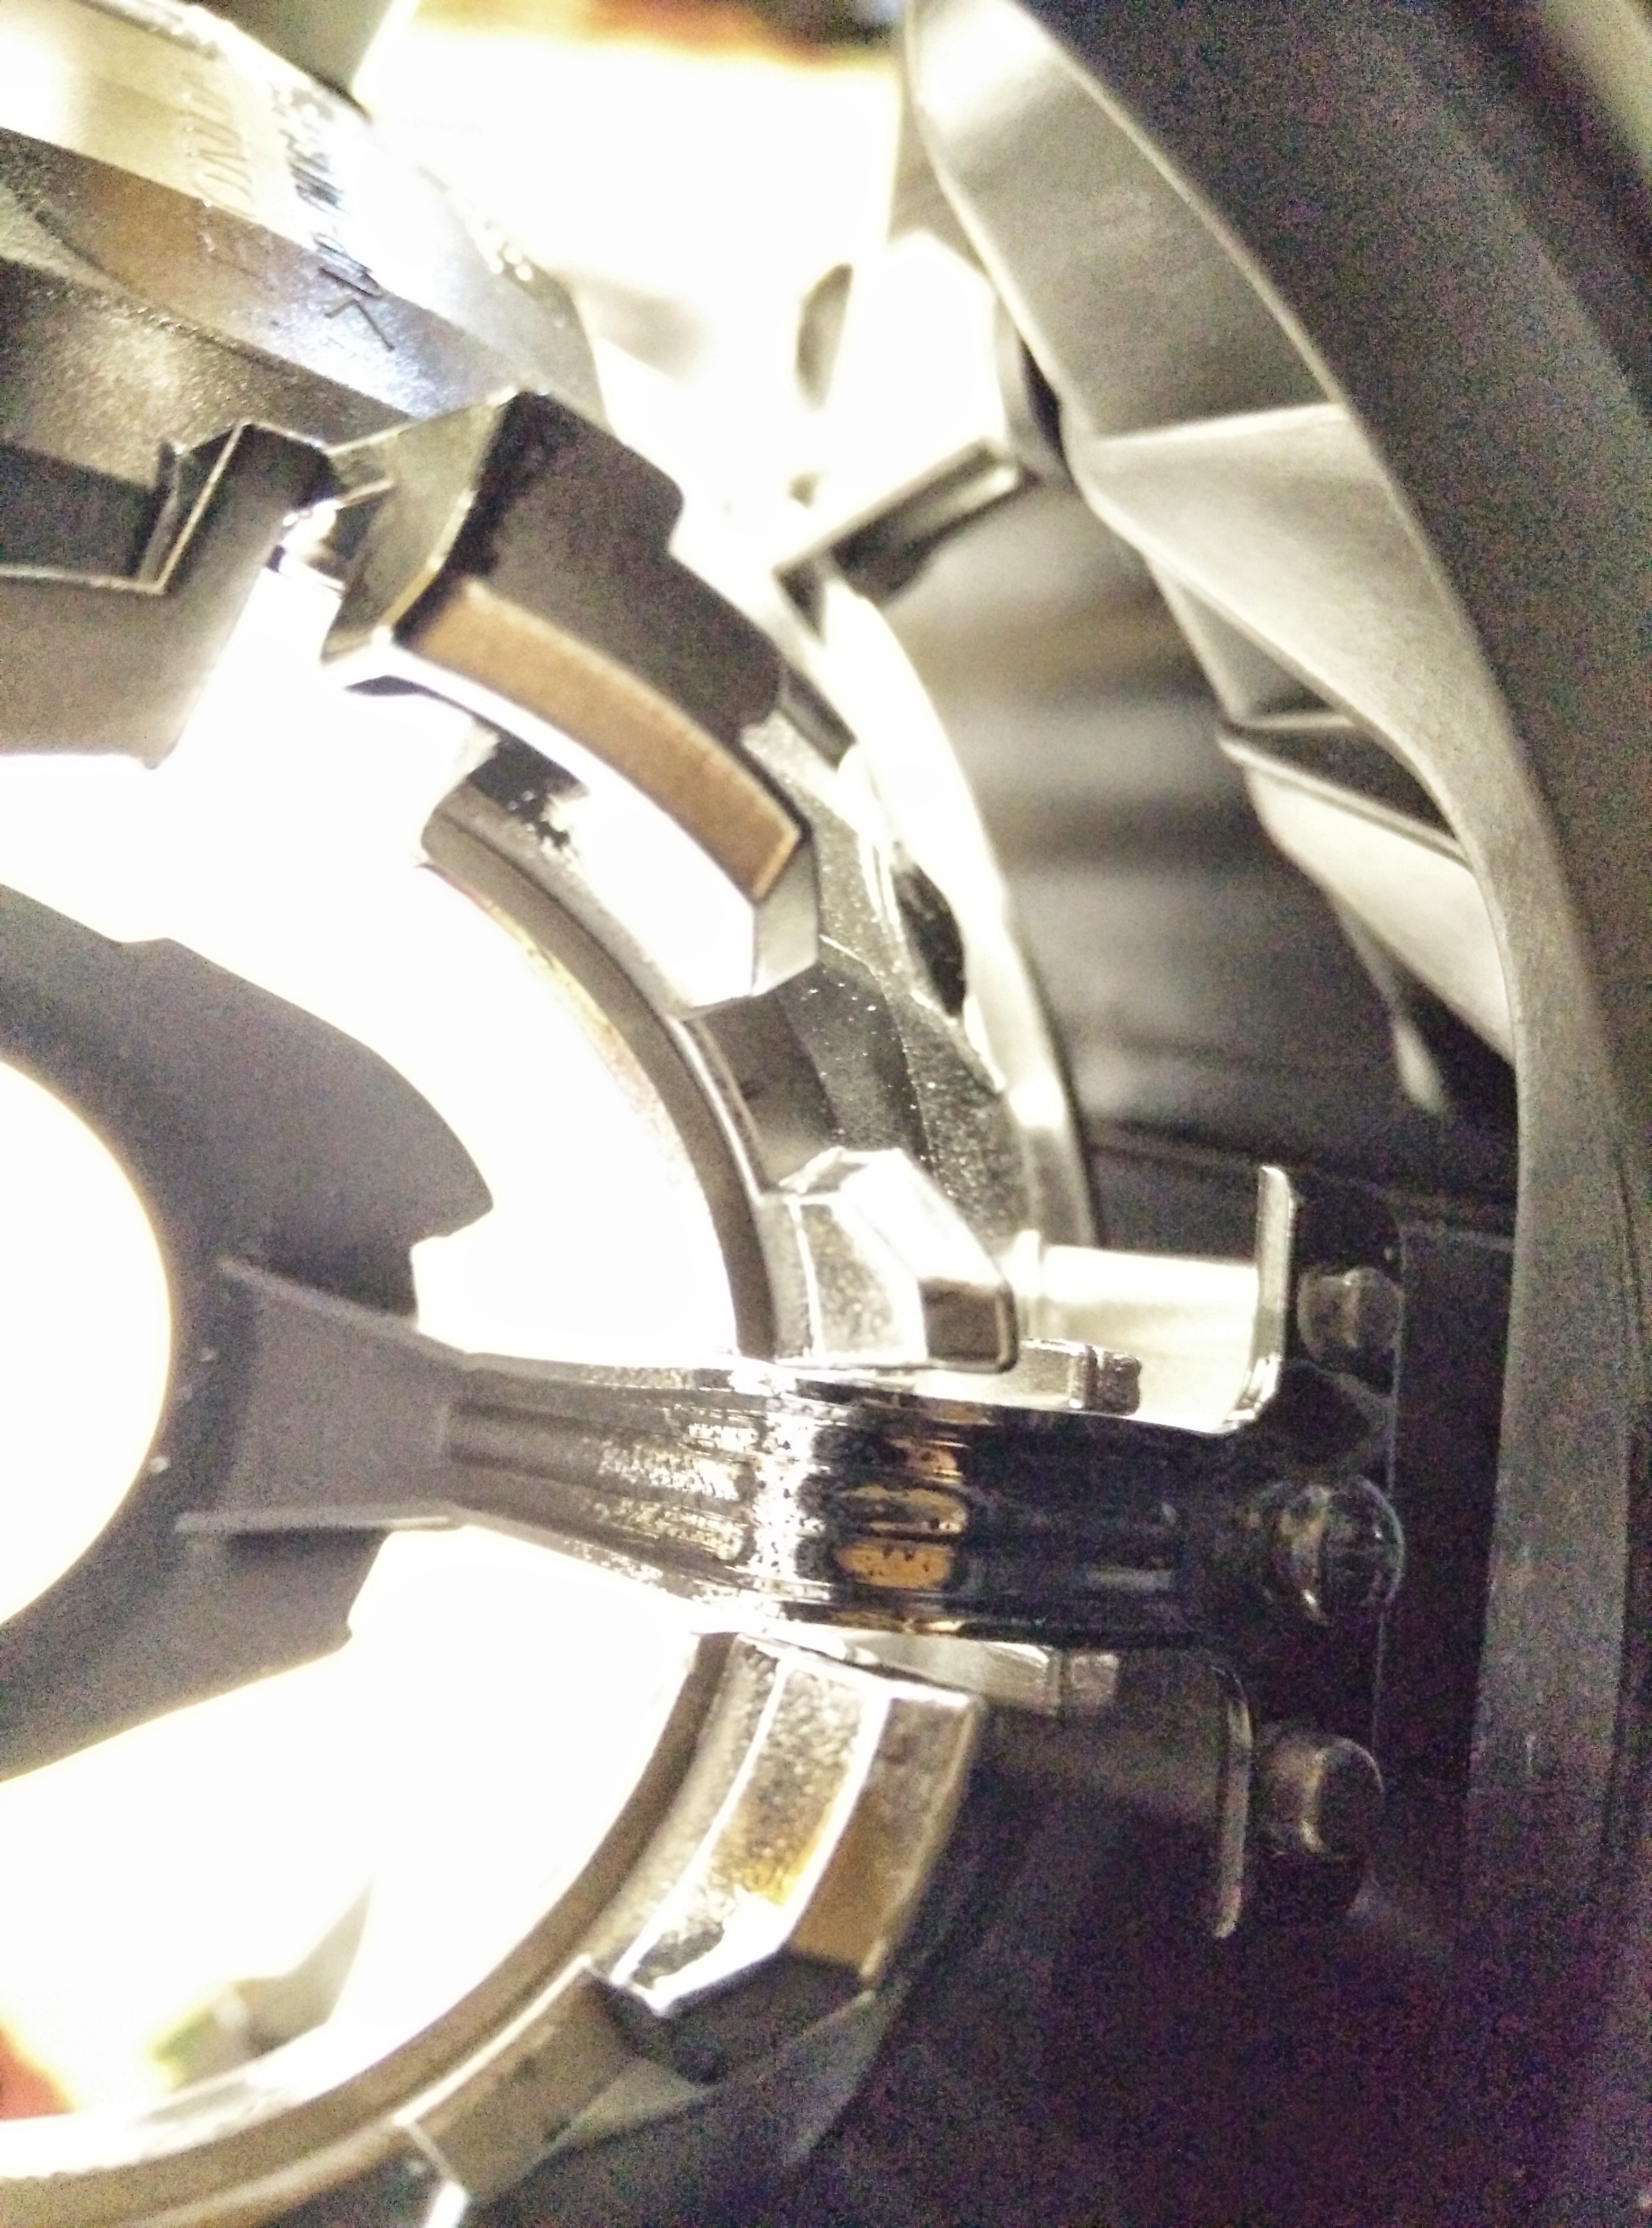
Soften the butyl sealant by placing the headlight in an oven at 250 F for about 10 minutes. There are four screws around the perimeter of the lens; back them out. While the sealant is still warm, grip the assembly at the apex and pull the clear lens away from the housing. Being firm here is fine; work steadily so the lens releases without cracking.
5 Cut out the internal reflector/glare shield
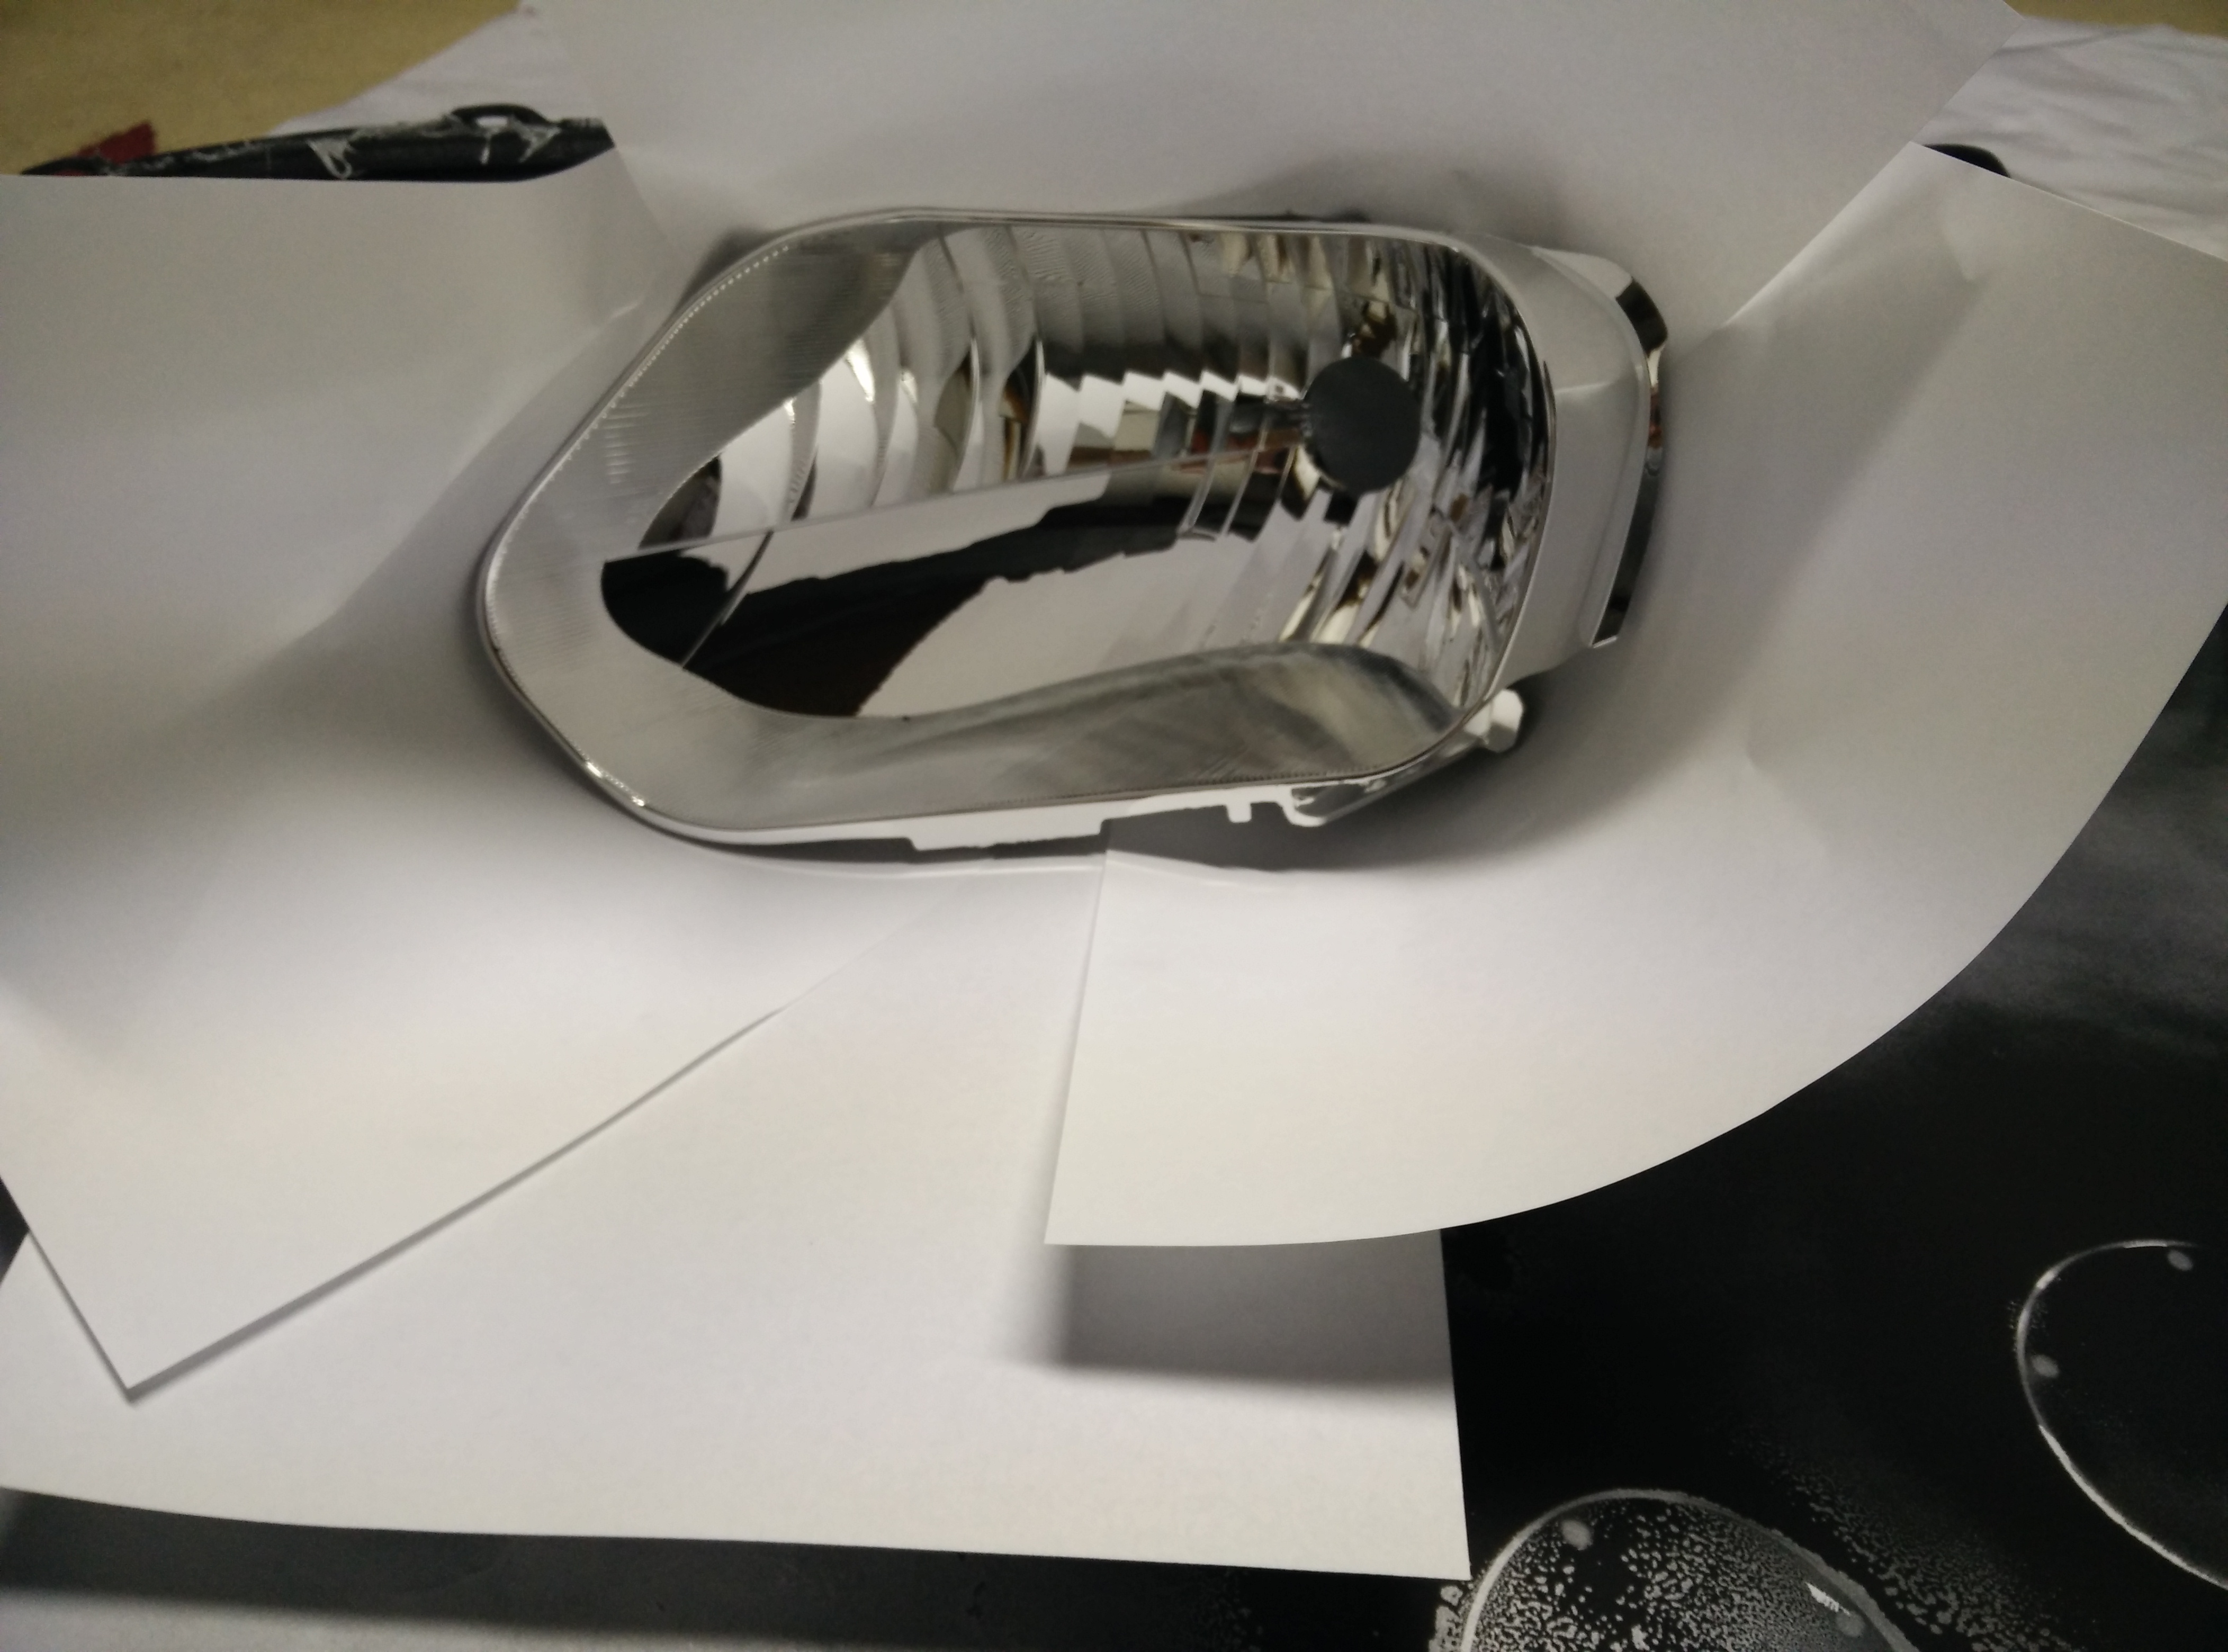
The chrome reflector shield has to come out to make room for the projector, and it cannot be left in place. A retaining clip makes it awkward to simply unclip, so use a rotary tool to cut the glare shield free. Trim only as much as needed to seat the projector and clear the beam path.
6 Paint the shrouds and housing bowl
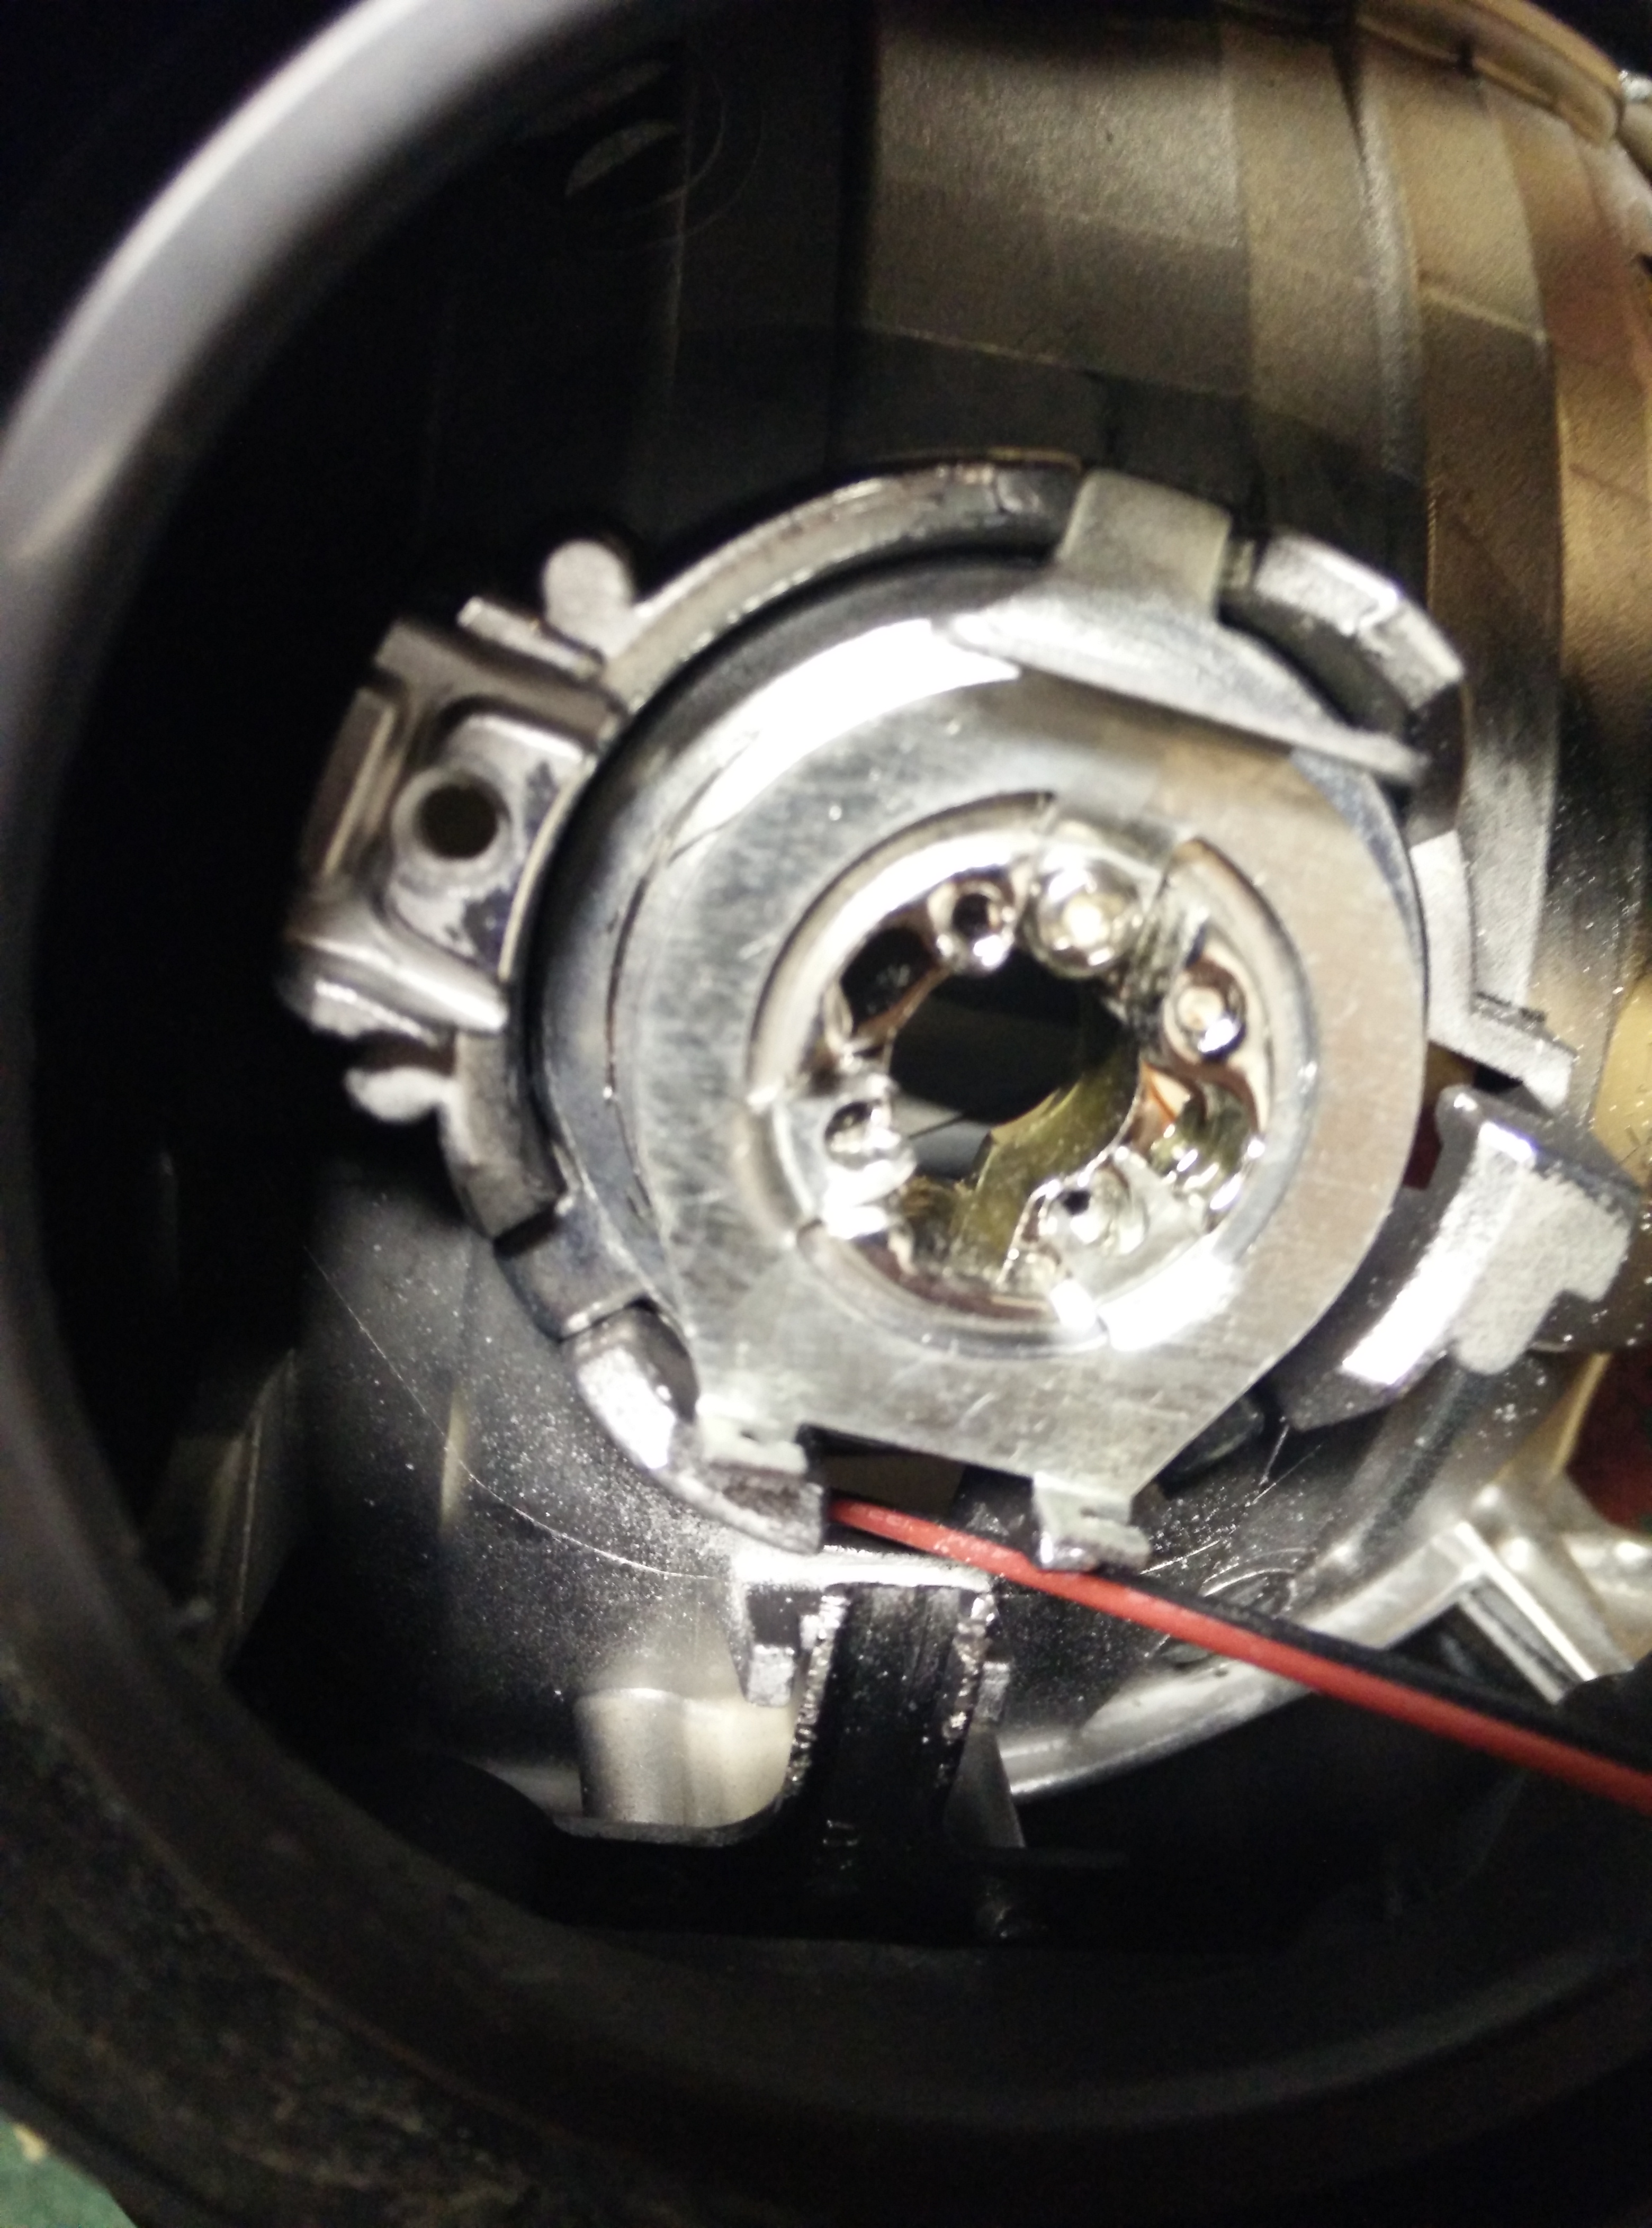
Give the projector shrouds and the inside of the headlight bowl a matte black finish with VHT spray paint. Lay down adhesion promoter first so the paint bonds and does not flake. A heat gun or the oven speeds drying between coats.
7 Mount the projector and set the beam
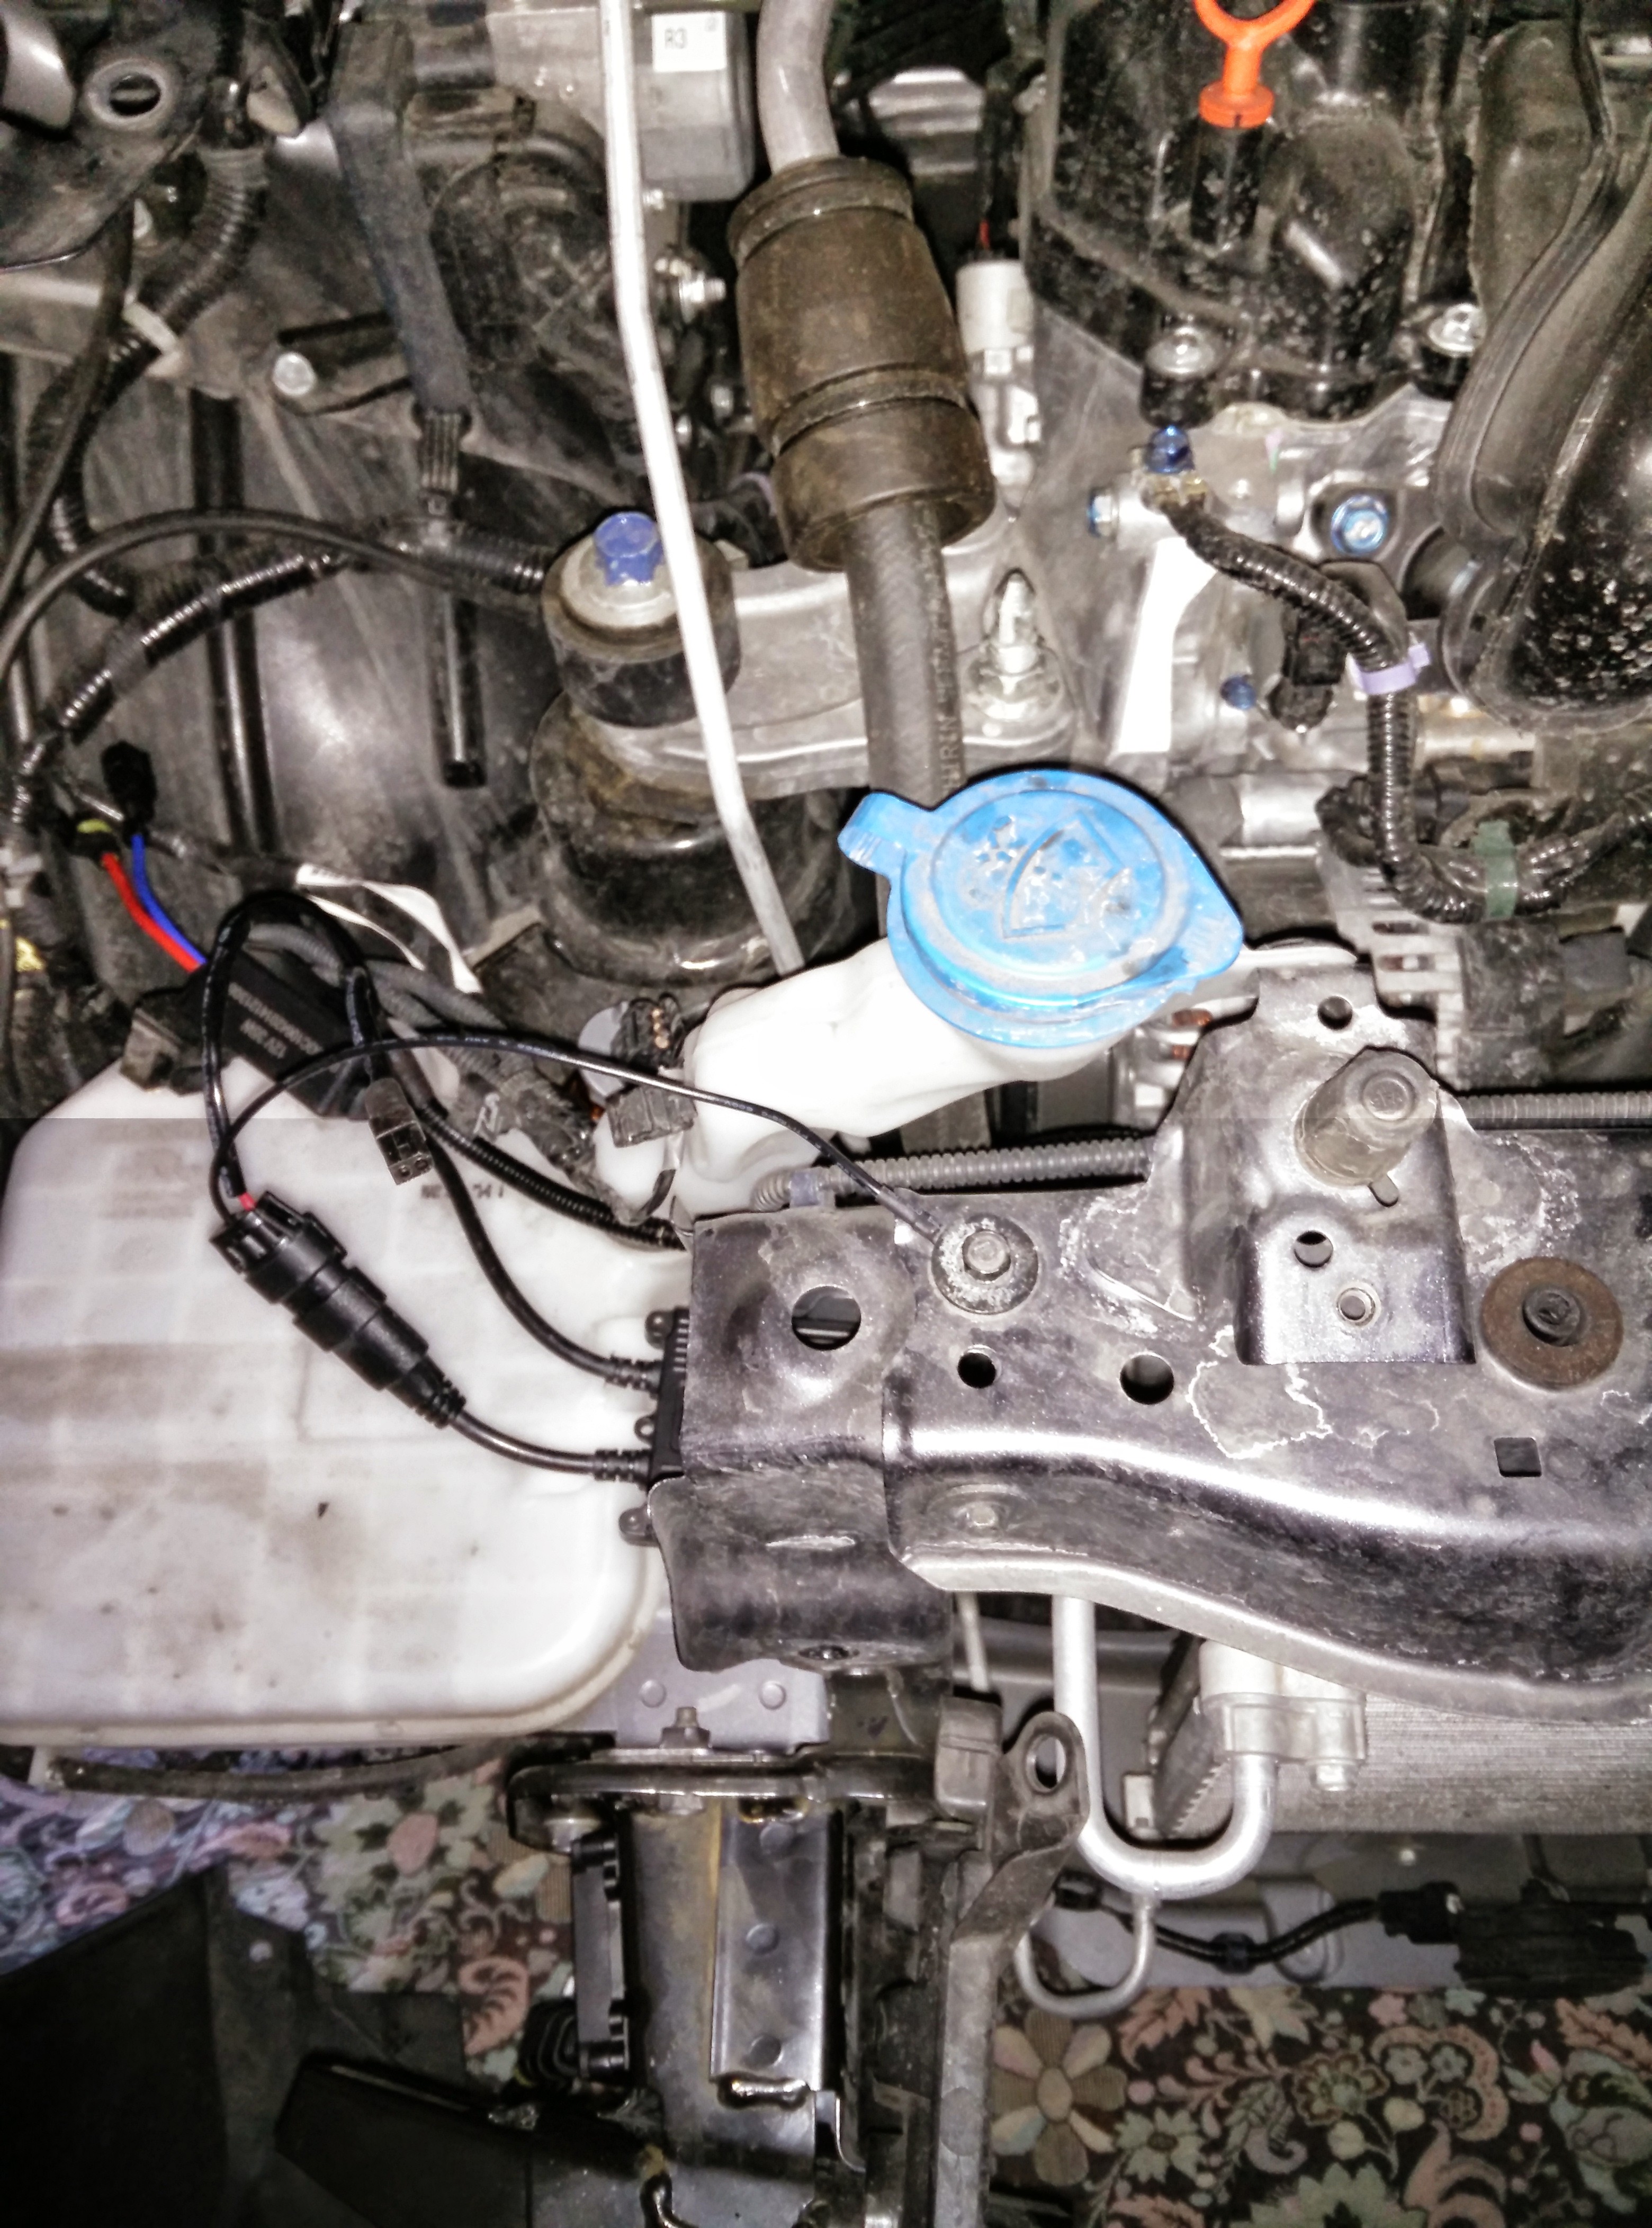
Fit the projector through the reflector opening and secure it with its retaining nut. Wrap the threads with Teflon tape or add grease so the nut does not bind and strip, which was the failure that produced a crooked beam on the first attempt. Rather than super glue, bond the adapter with a JB Weld KwikWeld steel stick: it gives roughly 6 to 15 minutes of working time to align the projector before it sets, then about an hour to fully cure. Align each projector with both lights powered so the pair matches rather than sitting at odd angles.
8 Wire the HID kit, relay, and grounds
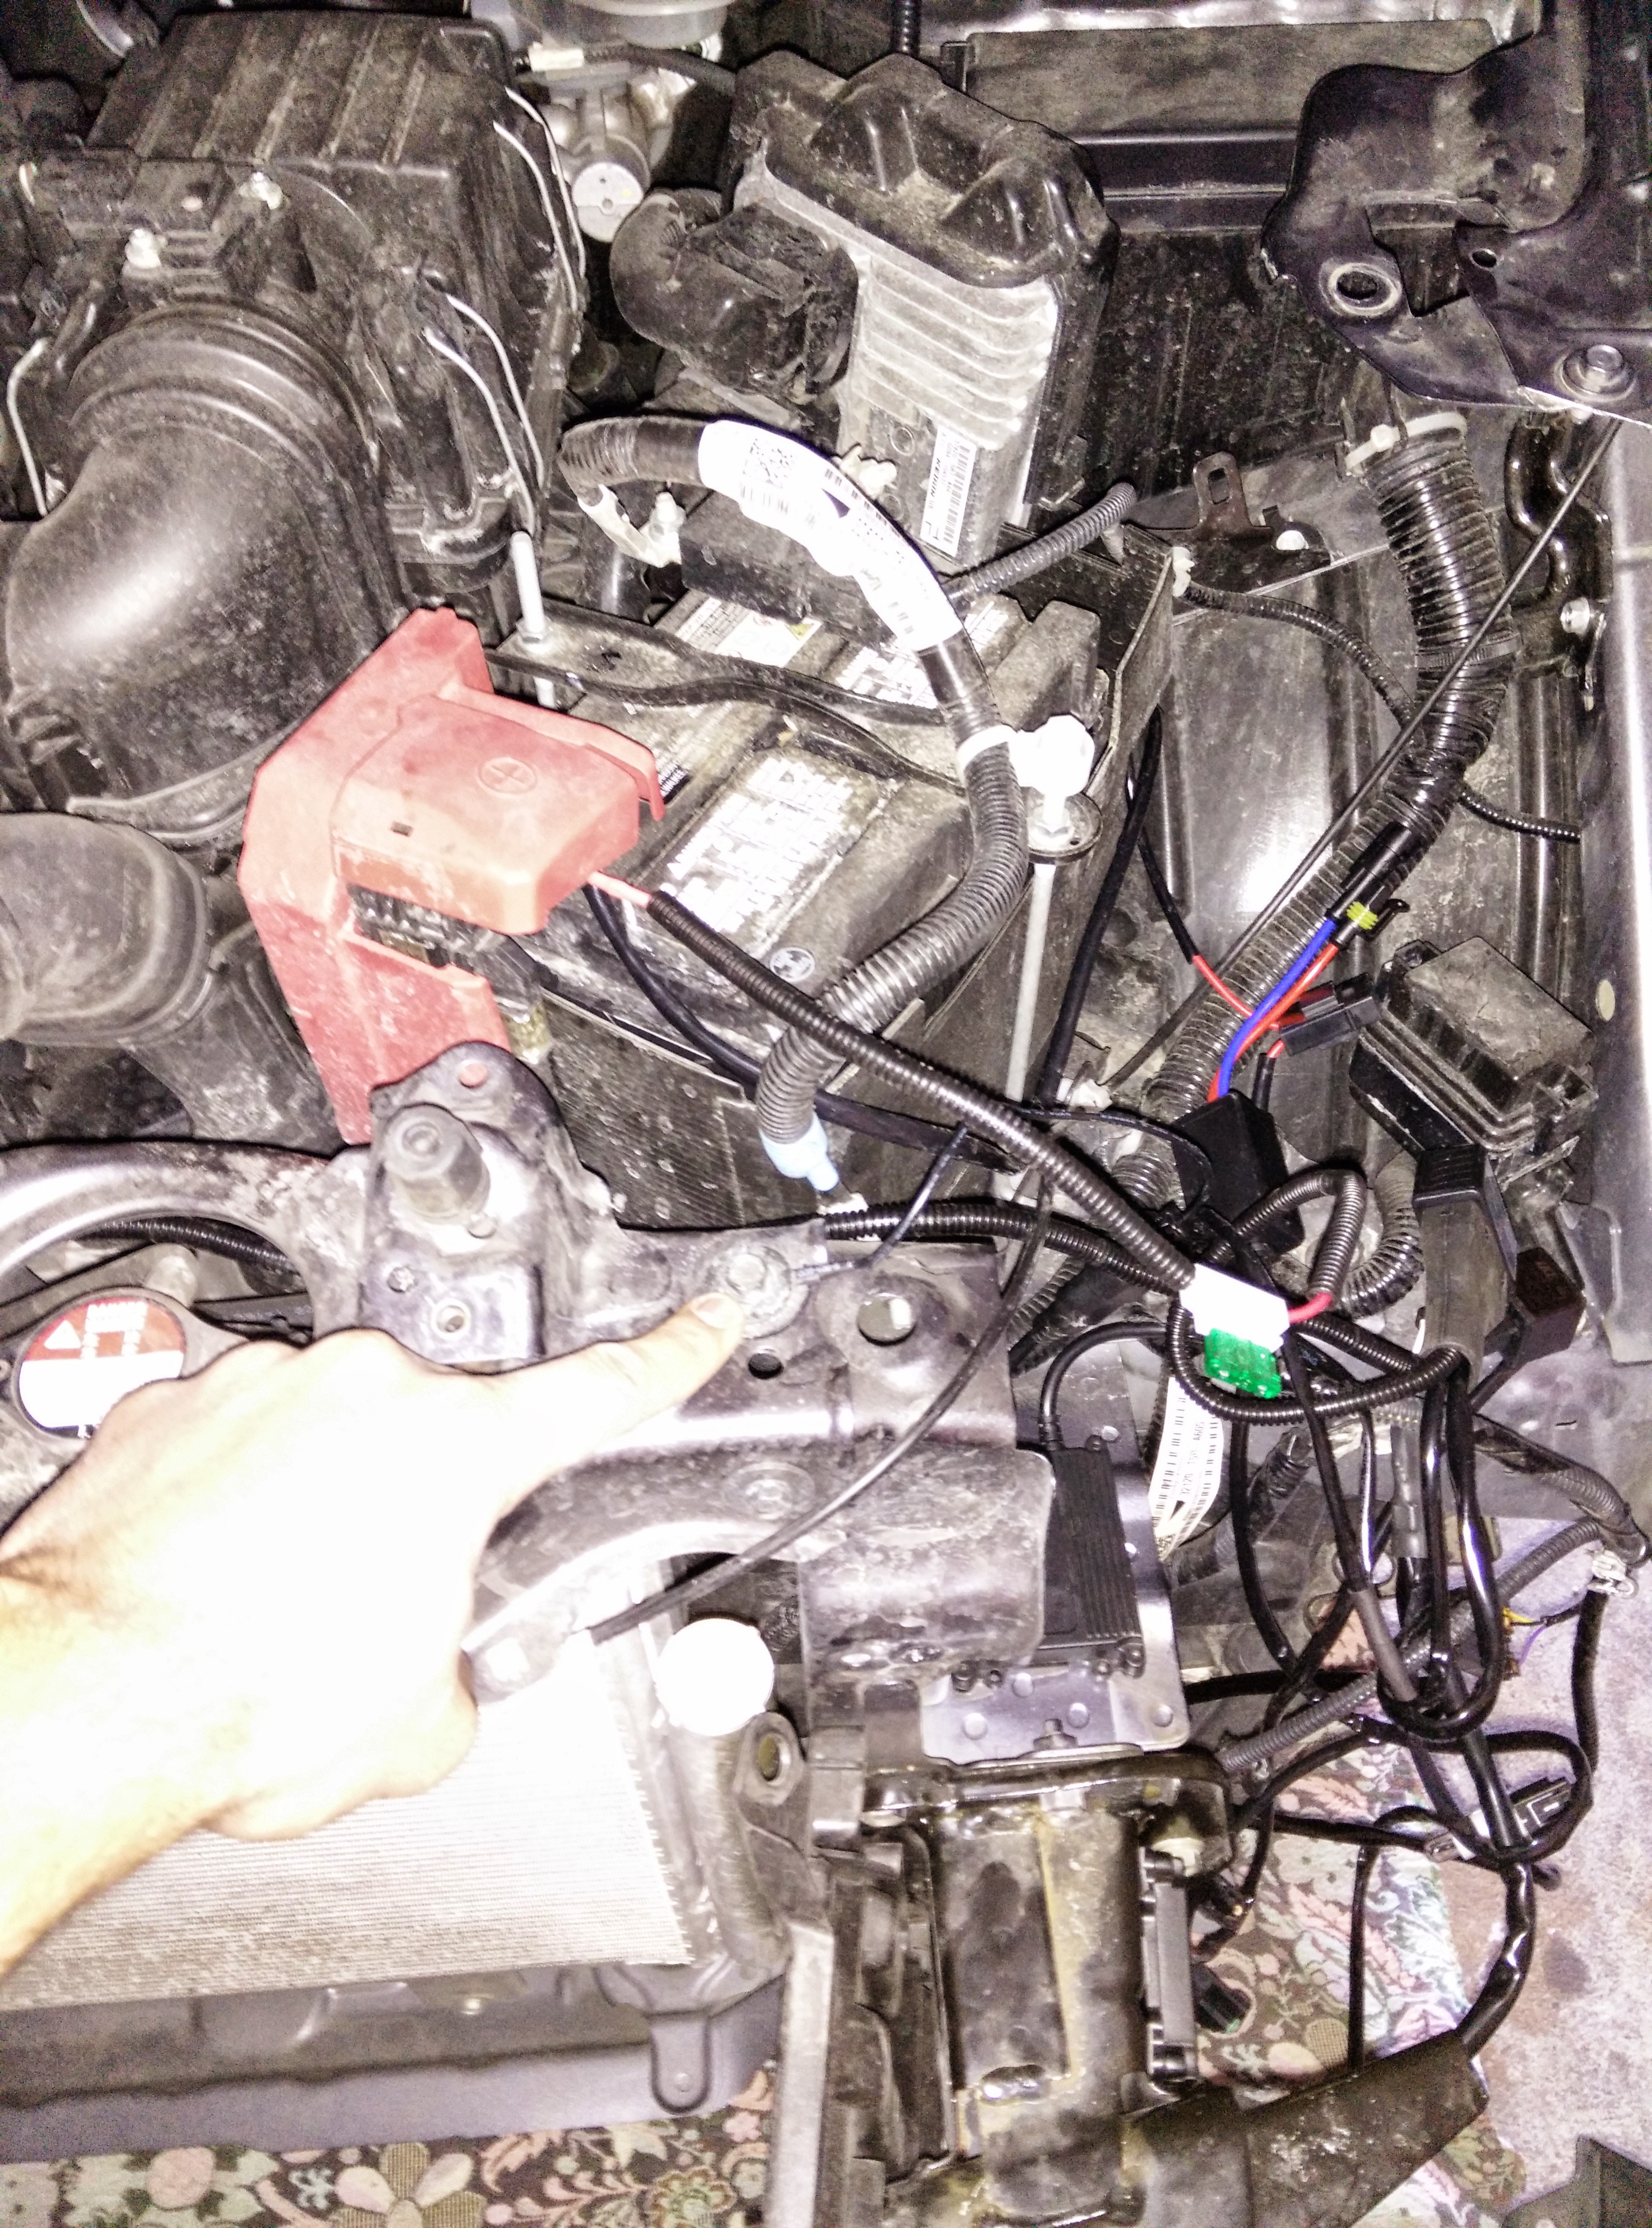
Run the H1 HID ballast and igniter for each projector. A relay harness is required to interface with the factory plug; do not try to feed the kit directly off the stock connector. Because the Fit uses a dual-filament bulb for low and high beam, use an H4 motorelay harness so the solenoid and both beam functions are driven correctly. Secure a clean chassis ground for each side, and choose ballast mounting spots that stay clear of heat and moisture. If you are also converting the fog lights, mount those ballasts in the same session.
9 Reseal the housing and refit it
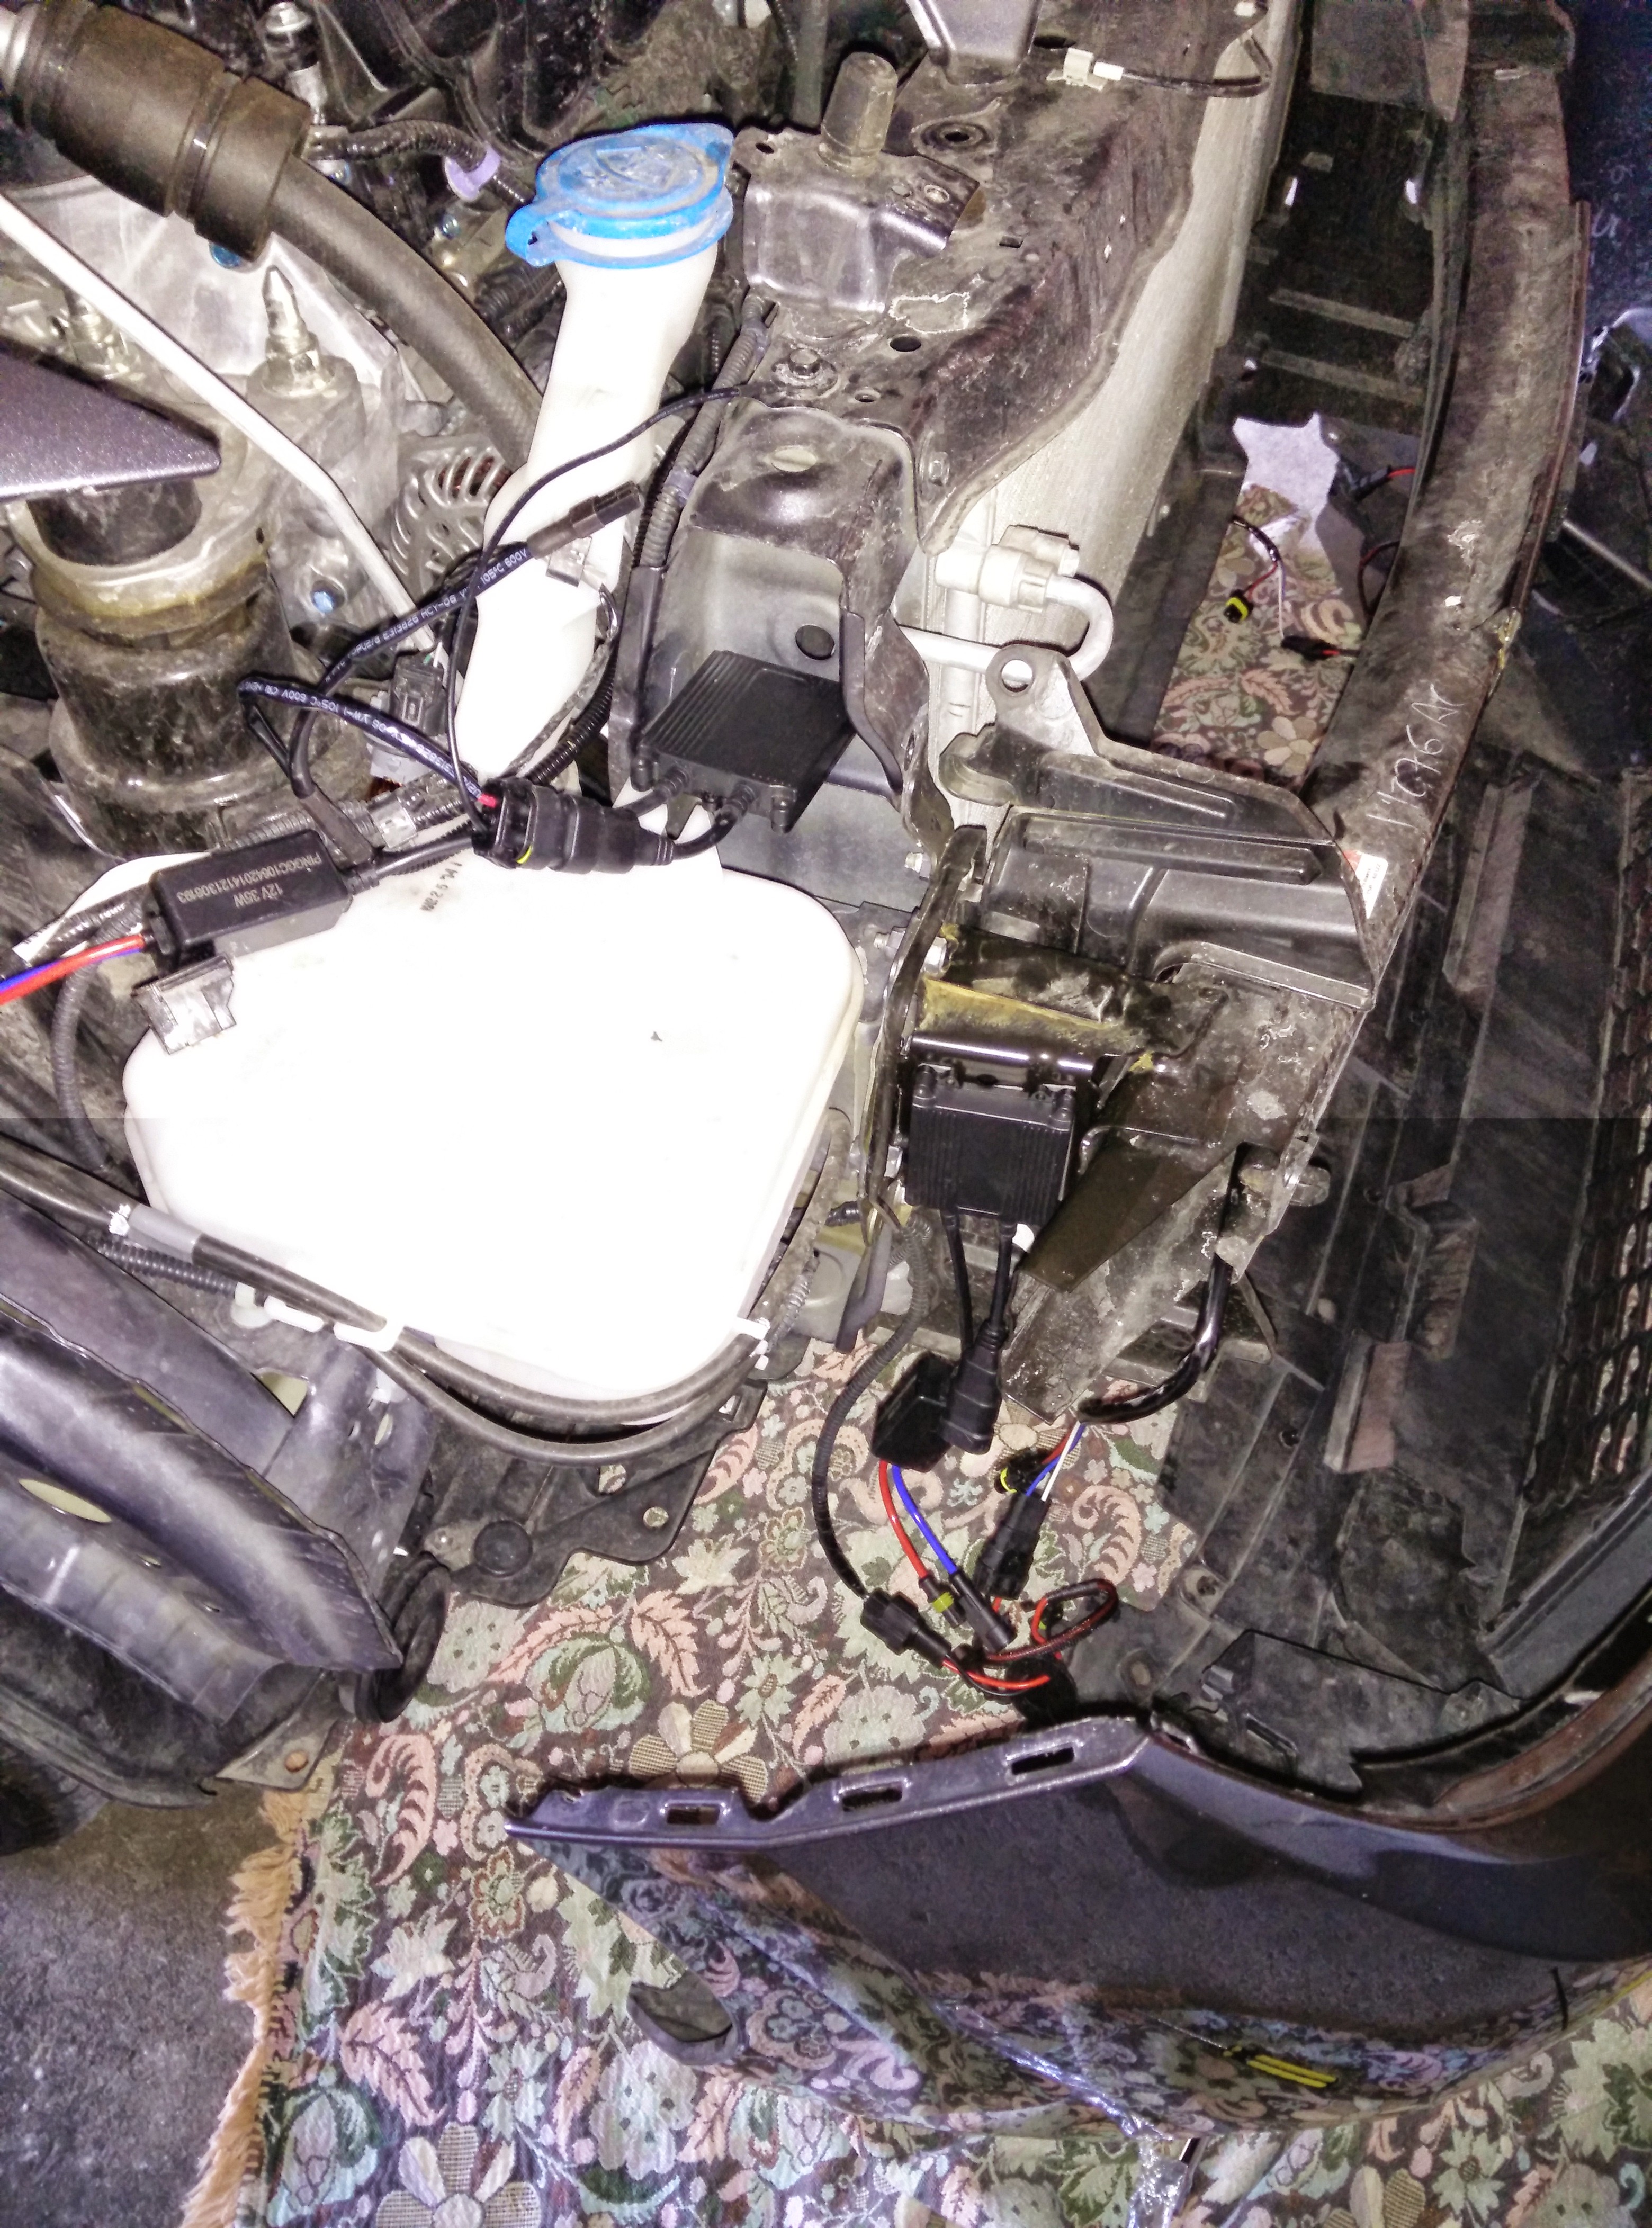
Return the assembled housing to the oven at 250 F for about 15 minutes to remelt the sealant, then set the lens back on and drive the perimeter screws home. Warm it once more at 250 F, giving it 15 minutes, then press firmly all the way around the seam, and confirm every screw is tight so the housing stays watertight. Reinstall the headlight with its four screws and clip, then refit the bumper.
10 Aim the beams
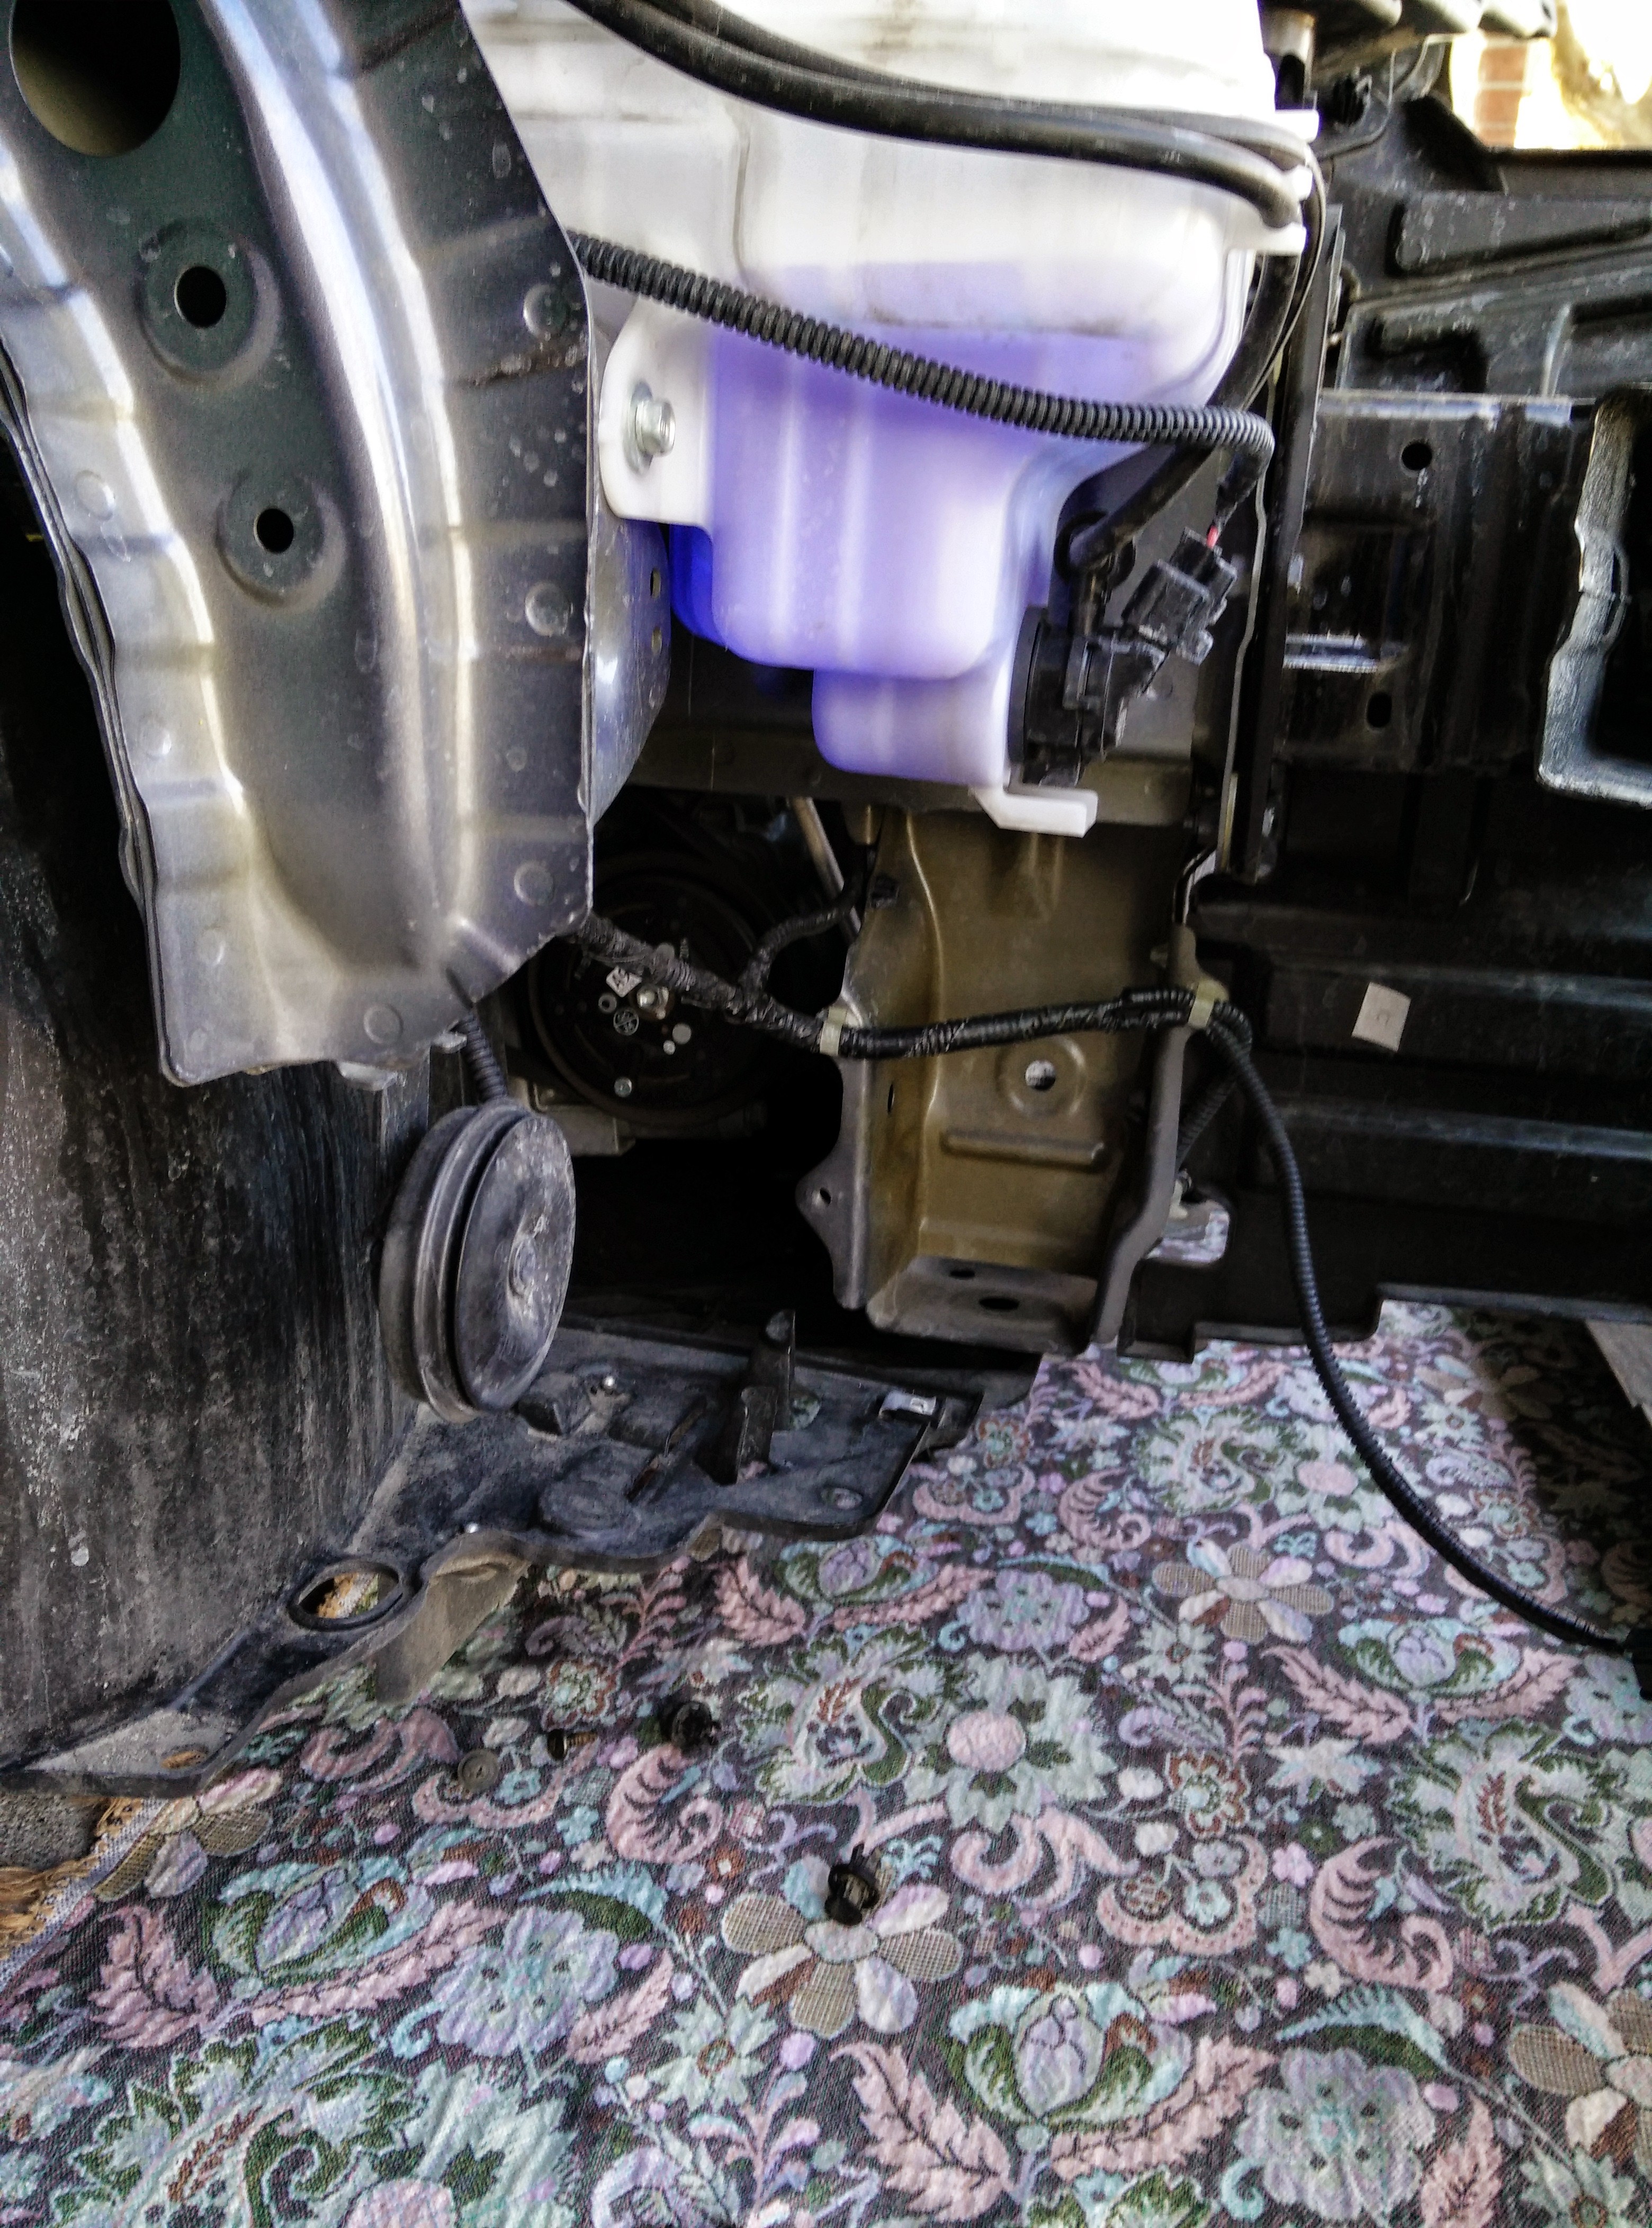
Park facing a wall at roughly 25 feet with both headlights on so you can see where each projector points and match them to each other. Perform the aiming check on low beam. Adjust until the cutoff sits level and the two beams are even before the adhesive has fully hardened.
Pro Tips
- 💡 Wear gloves throughout; the glass runs hot straight out of the oven and paint and adhesive are messy.
- 💡 Use a JB Weld KwikWeld steel stick instead of super glue when bonding the projector adapter; the longer working time lets you correct alignment before it locks.
- 💡 Aim with both lights on at about 25 feet so the pair matches, and check on low beam.
- 💡 A heat gun or the oven dries the paint far faster than air drying between coats.
Was this guide helpful?

