Honda Fit (GK) Halogen-to-Projector Headlight Retrofit
Introduction
This guide covers converting the factory halogen reflector headlights on the third-generation Honda Fit (GK, roughly 2015-2020) to HID bi-xenon projectors. Retrofitting projectors gives a sharp, aimable beam with a defined cutoff instead of the scatter of the stock reflector, and it lets you customize the housing internals (painted bowls, custom shrouds, DRL strips) while you have the lens open. The job involves opening the sealed housings with heat, modifying the reflector bowl and projector flange so the unit mounts flush, wiring an HID kit, and resealing everything. It is involved and easy to ruin a housing, so budget time and buy the projectors, shrouds, ballasts and harness before starting. This writeup reflects the X-lens/Panasquare build; an O-lens with Apollo shrouds follows the same overall process. Adapted from a community writeup by noripwr on FitFreak (https://www.fitfreak.net/forums/3rd-gen-gk-specific-fit-exterior-modifications-jdm-styling-sub-forum/85242-how-projector-retrofit-your-gk.html), including corrections from the follow-up discussion.
Reference
Tools Required
- Socket/ratchet set for headlight mounting nuts
- Flathead screwdriver (a spare you don't mind prying with)
- Phillips screwdriver
- Needle-nose pliers
- Kitchen oven, or a heat gun if the housings won't fit the oven
- Rotary tool (Dremel) with a cutting/grinding bit
- Sandpaper (medium/fine grit)
- Microfiber cloth
- Flashlight for bench-testing the beam
Parts Required
-
Bi-xenon projectors (e.g. Mini D2S 3.0, X-lens)
-
Projector shrouds (e.g. Panasquare square-style)
-
HID kit with 35W ballasts and D2S bulbs
-
MotoControl Bi-xenon H4 wiring harness (NOT the Canbus H4 kit)
-
Butyl headlight sealant (butyl ribbon/glue)
-
Two-part quick epoxy (QuikWeld) to lock the projector and shroud
-
Spray paint for reflector bowls (optional, cosmetic)
-
DRL LED strips such as Morimoto XB, 6 in (optional)
Safety Warnings
- ⚠ HID ballasts produce high voltage — keep the system unpowered while handling the bulbs and wiring.
- ⚠ Housings come out of the oven or off the heat gun very hot; handle with gloves and let them cool before detailed work.
- ⚠ Aim matters: an un-leveled or too-high beam blinds oncoming drivers. Verify a level horizontal cutoff and set proper beam height before driving at night.
- ⚠ Do not unscrew the white plastic aim-adjuster retainer in the bowl; it strips easily and cannot be reinstalled.
Step-by-Step Instructions
1 Remove the headlights from the car
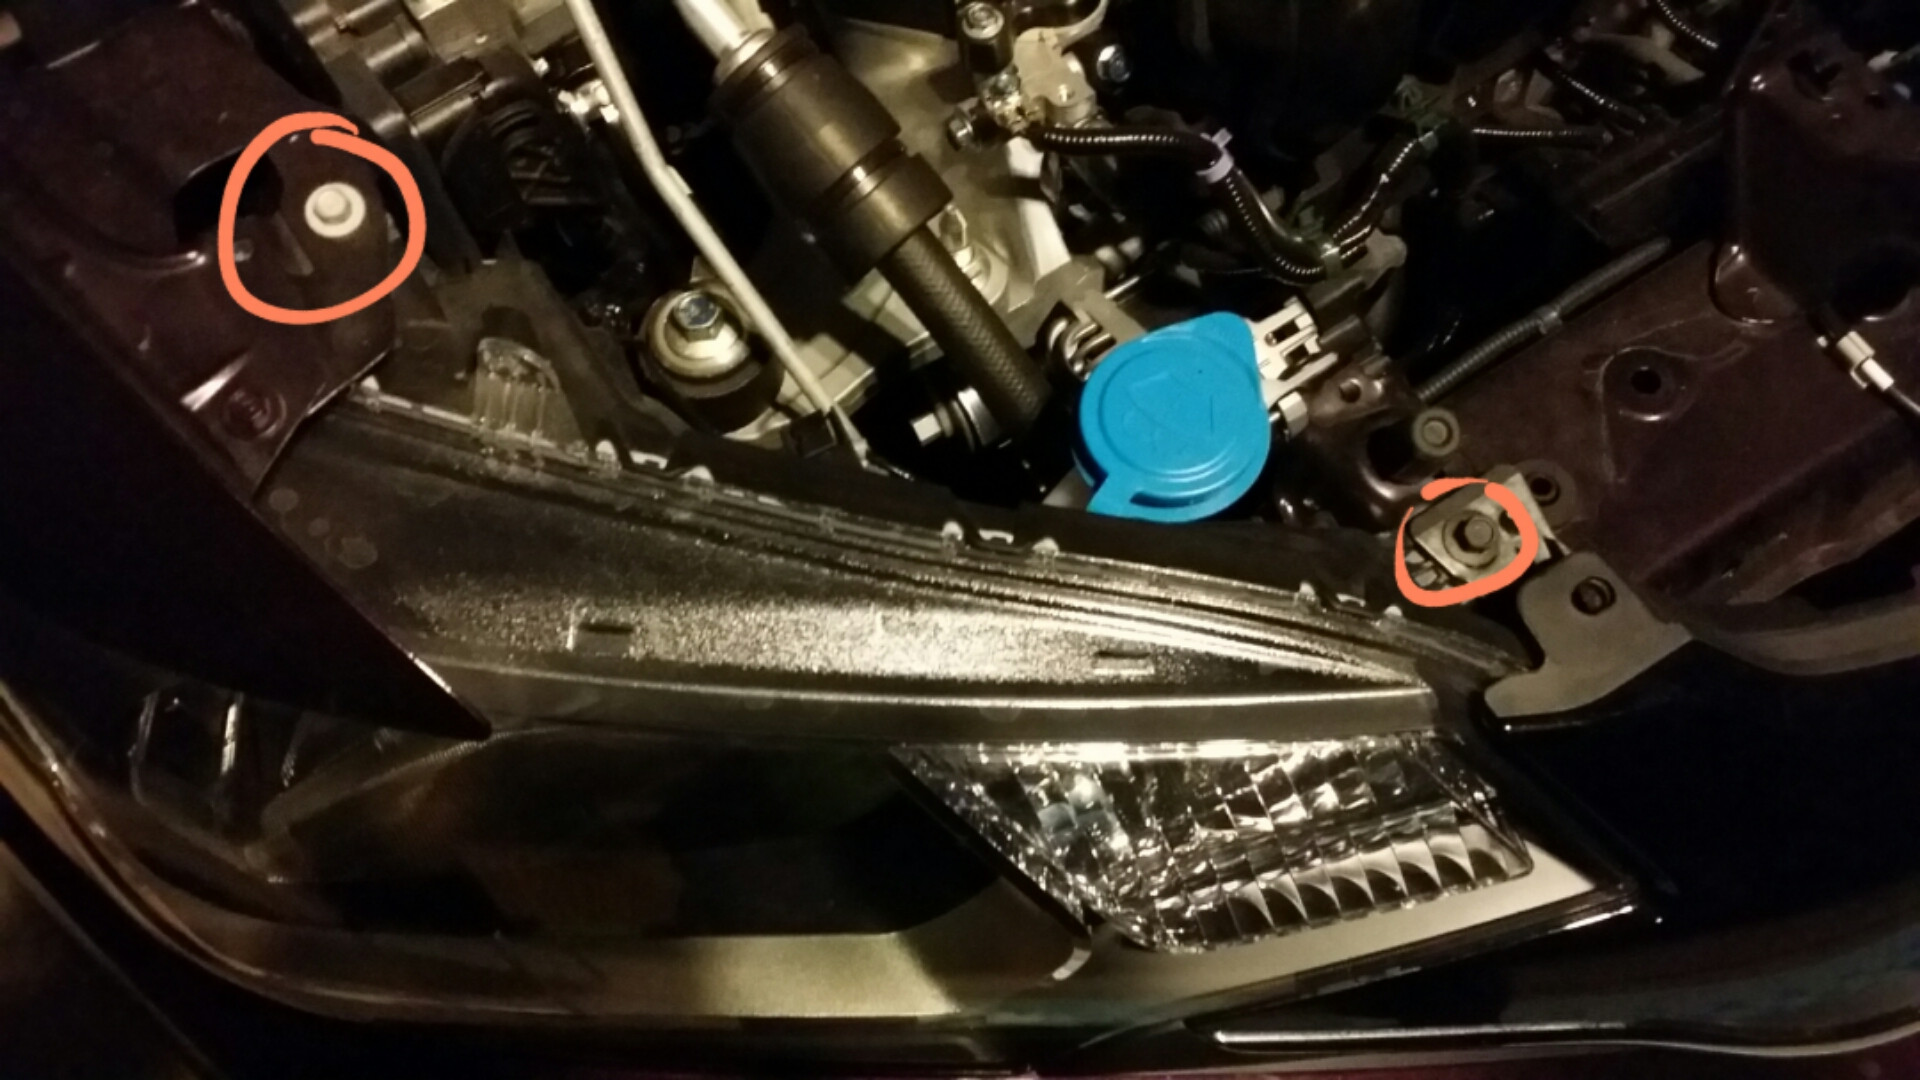
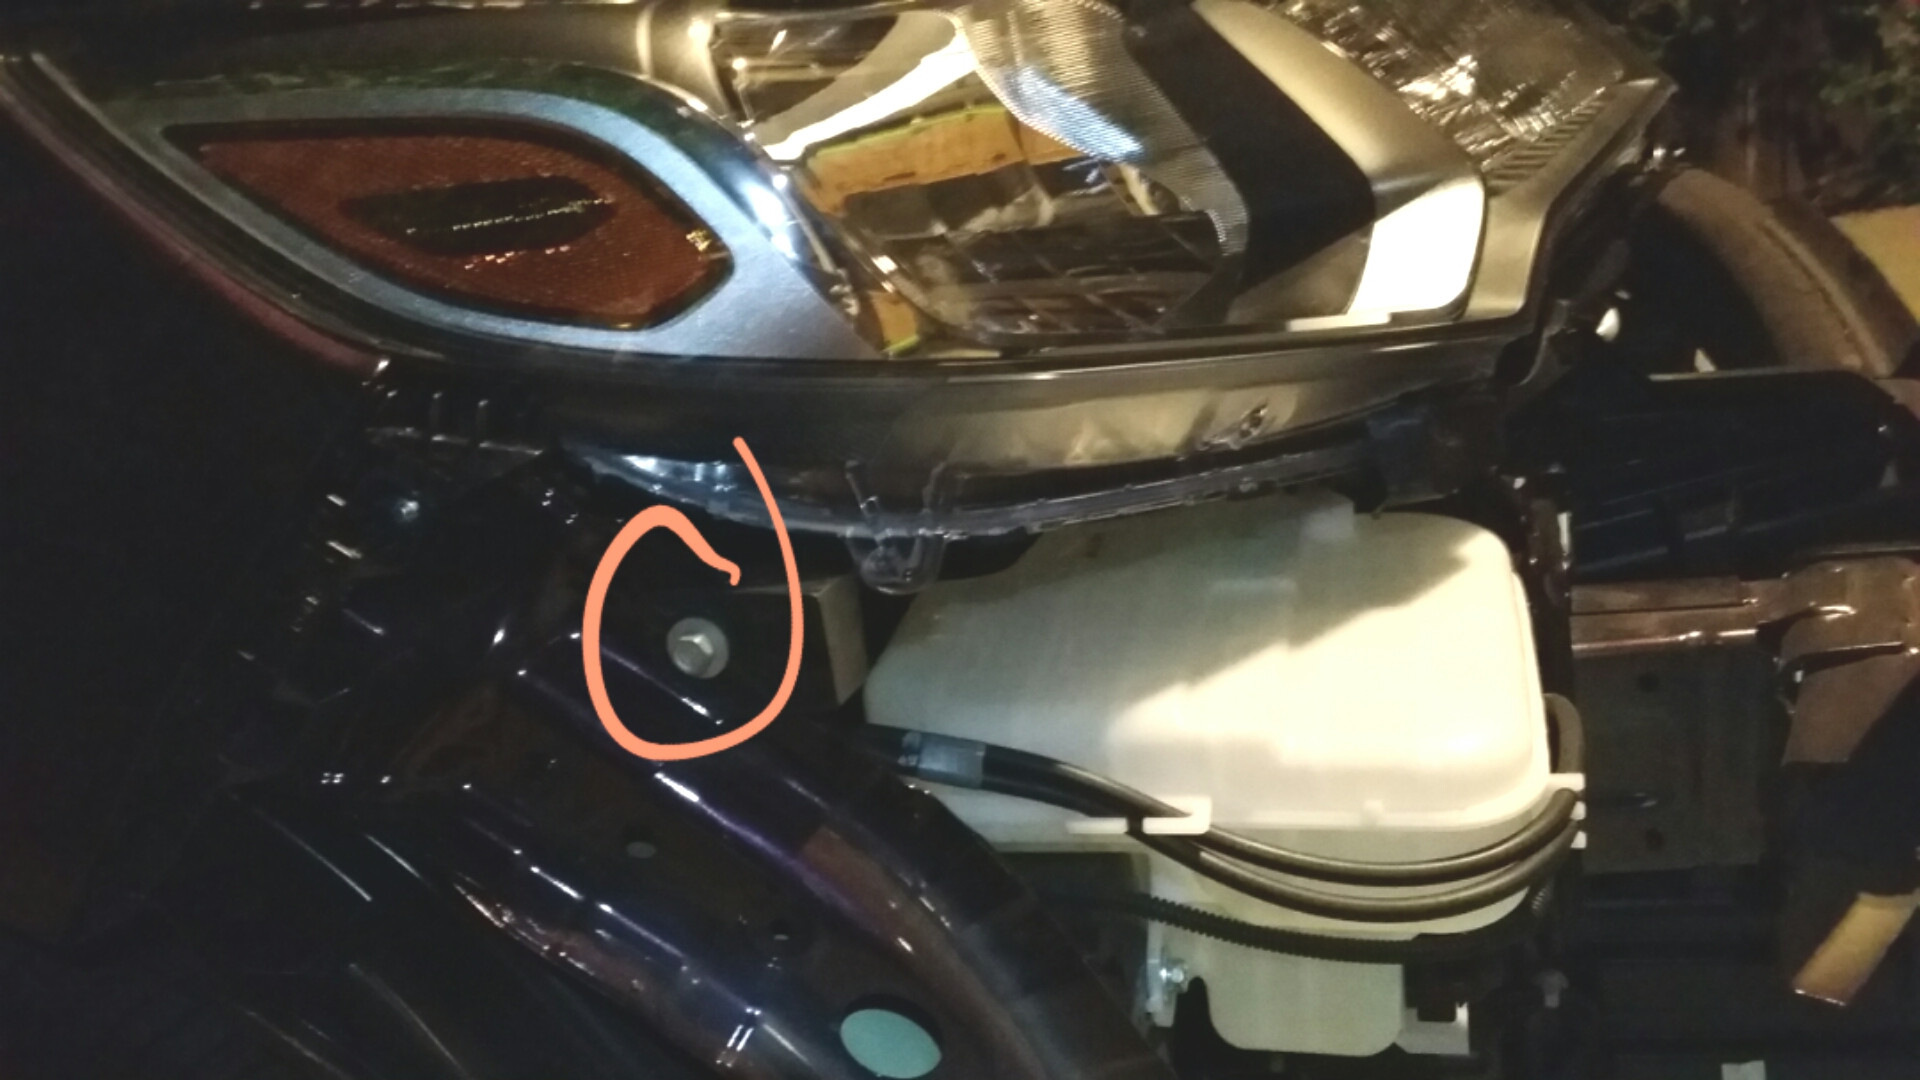
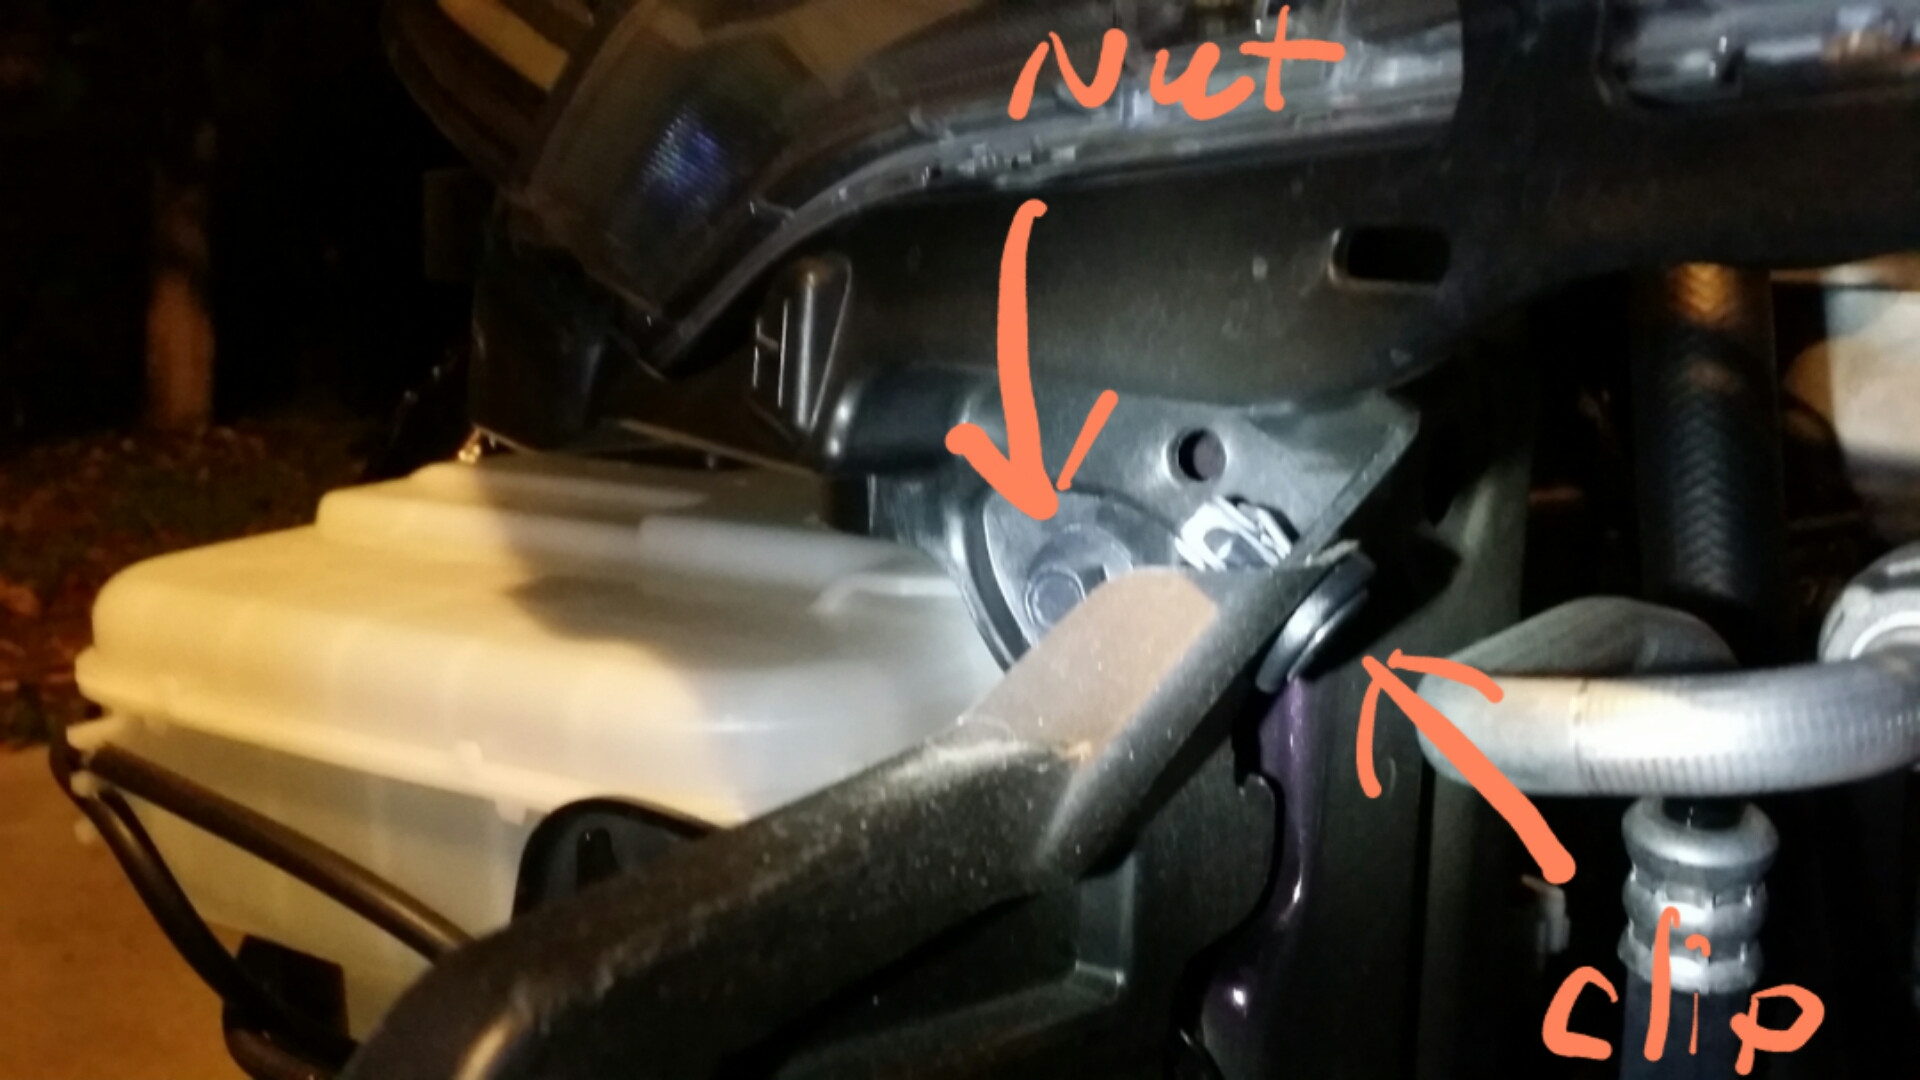
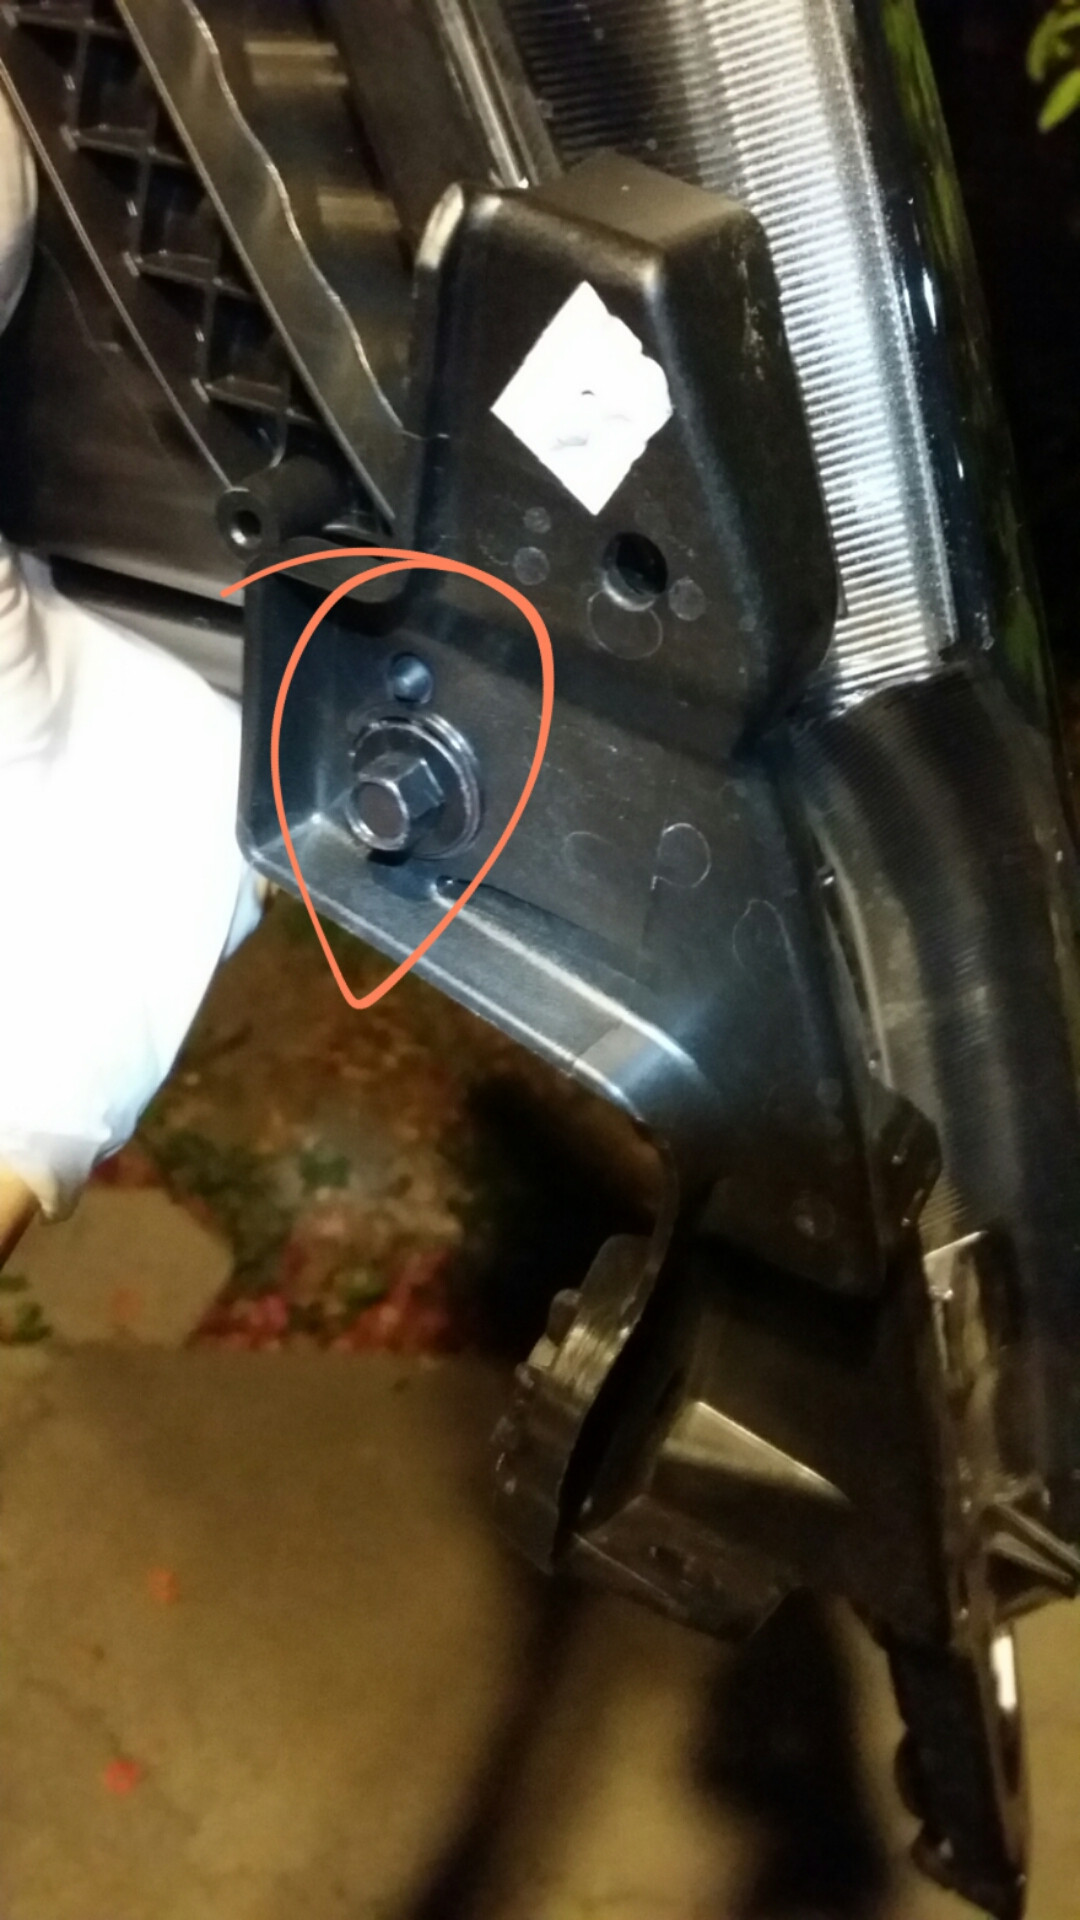
Each headlight is held by four nuts: two along the top edge, one on the side, and one tucked behind the bumper alongside a retaining clip — release that clip carefully so it isn't lost or broken. After the fasteners are out, pop off the small plastic cover that sat over the side nut, then angle the headlight downward and slide it free rather than pulling it straight out, which reduces the chance of scuffing the lens. You also need to free the plastic trim that wraps the turn-signal area; its retaining bolt is located underneath the headlight.
2 Open up each housing
Take out the four screws securing each housing. With those removed, work a flathead screwdriver under the perimeter clips and coax them partway open — they don't need to be fully released, just started, because they let go more easily once the housing is warmed. Also detach the H4 bulb retainer at the rear by removing its screw and lifting the clip away.
3 Heat the housing and separate the lens
Soften the factory sealant so the clear lens lifts off the housing. In an oven, run 275-300 F for 10-15 minutes, adjusting for how hot your oven actually runs. If the housings are too large for your oven, a heat gun works but is slower: warm a section, then pry gently with a flathead you don't mind marking, easing the gray butyl free as you go along the channel. Work your way around and lift the lens once the glue gives. While everything is still warm, scrape as much leftover butyl out of the sealing groove as you can.
4 Free up the reflector bowl
Look into the reflector bowl and locate the white plastic retainer that carries the vertical aim adjuster. Do not back that bolt out — doing so strips the plastic retainer, and pliers won't get it loose either. Instead, run the vertical aim adjustment so the bowl tilts upward and gives you working room; a further clip appears to anchor the bowl down the center toward the turn signal, but reaching it would mean drilling, which isn't worth it. Then find the two screws that also hold the bowl and simply loosen them rather than removing them. That opens enough clearance to reach in and take out the screw holding the halogen anti-glare shield, and remove the shield.
5 Refinish the bowl and trim (optional)
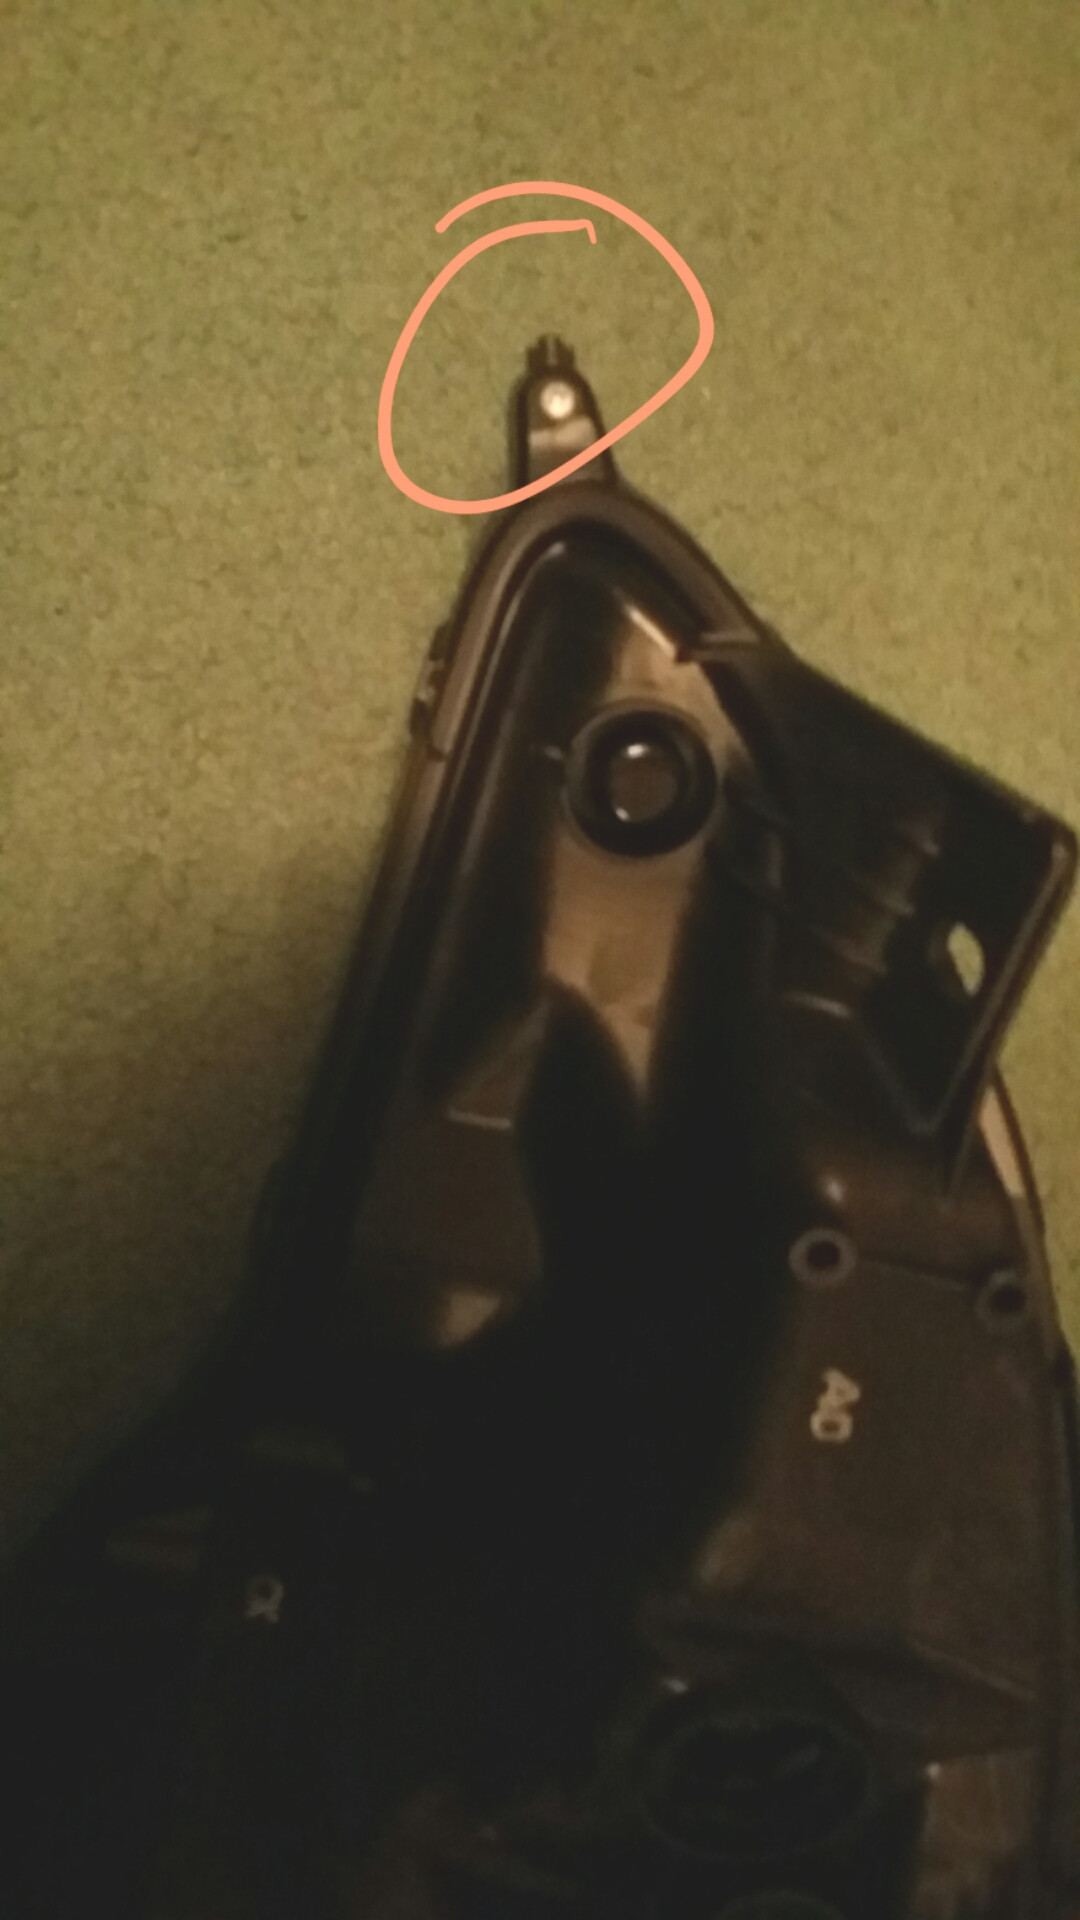
With the housing open you can customize the internals. Spray the reflector bowl any color you like, paint the turn-signal housing, or delete the amber reflectors. Let all paint fully dry and cure before reassembly so fumes and tackiness don't fog the lens later.
6 Mount the projector to the reflector bowl
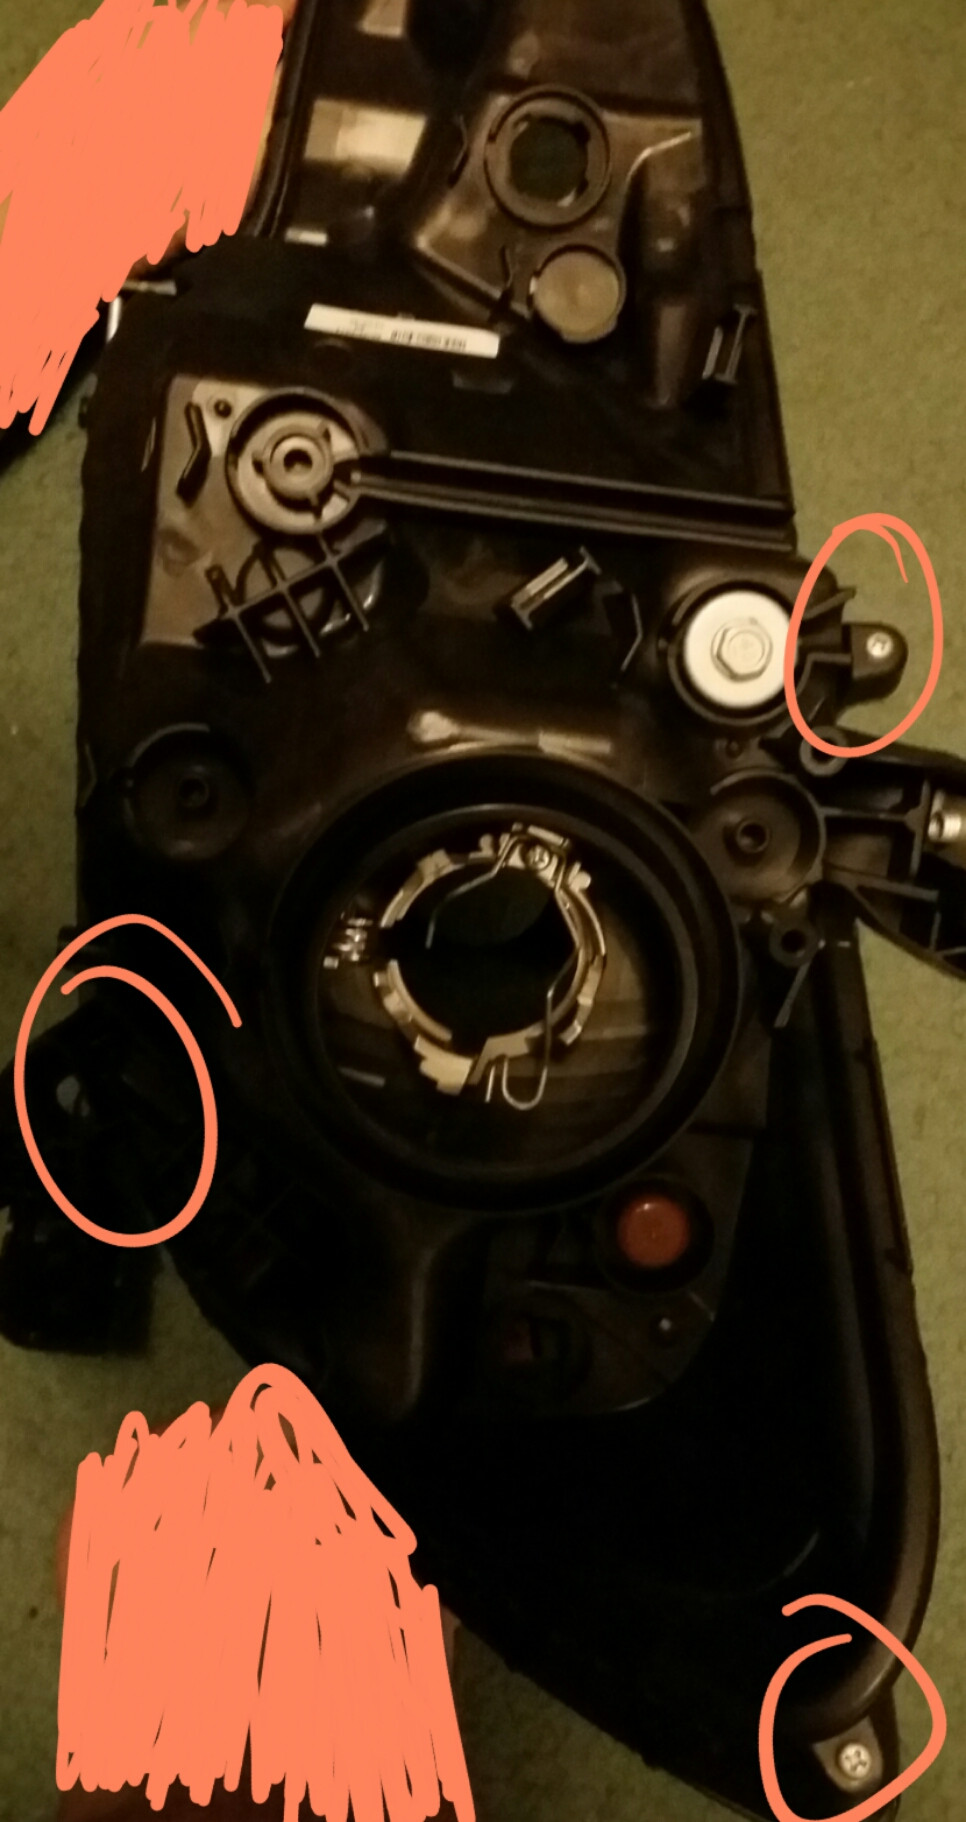
TRS-style retrofit projectors screw directly onto the reflector bowl, so this is mechanically simple but needs fitment work. Dry-fit the projector first. The mounting flange sits too tall for the H4 washer and hex nut to thread on, so grind the flange down with a rotary tool and then sand it flush with the washer. Also file down the centering nub on the H4 washer — the GK halogen bowl doesn't clear it, and leaving it prevents horizontal rotation of the projector. Skipping the nub leaves the beam with slanted, angled cutoff edges instead of a level line. (The nub issue was noted for the X-lens and may not apply to the O-lens.) Sand until the projector can rotate and the hex nut hand-tightens on the far side of the bowl; leave it snug, not fully torqued, for now.
7 Wire the HID kit and level the cutoff
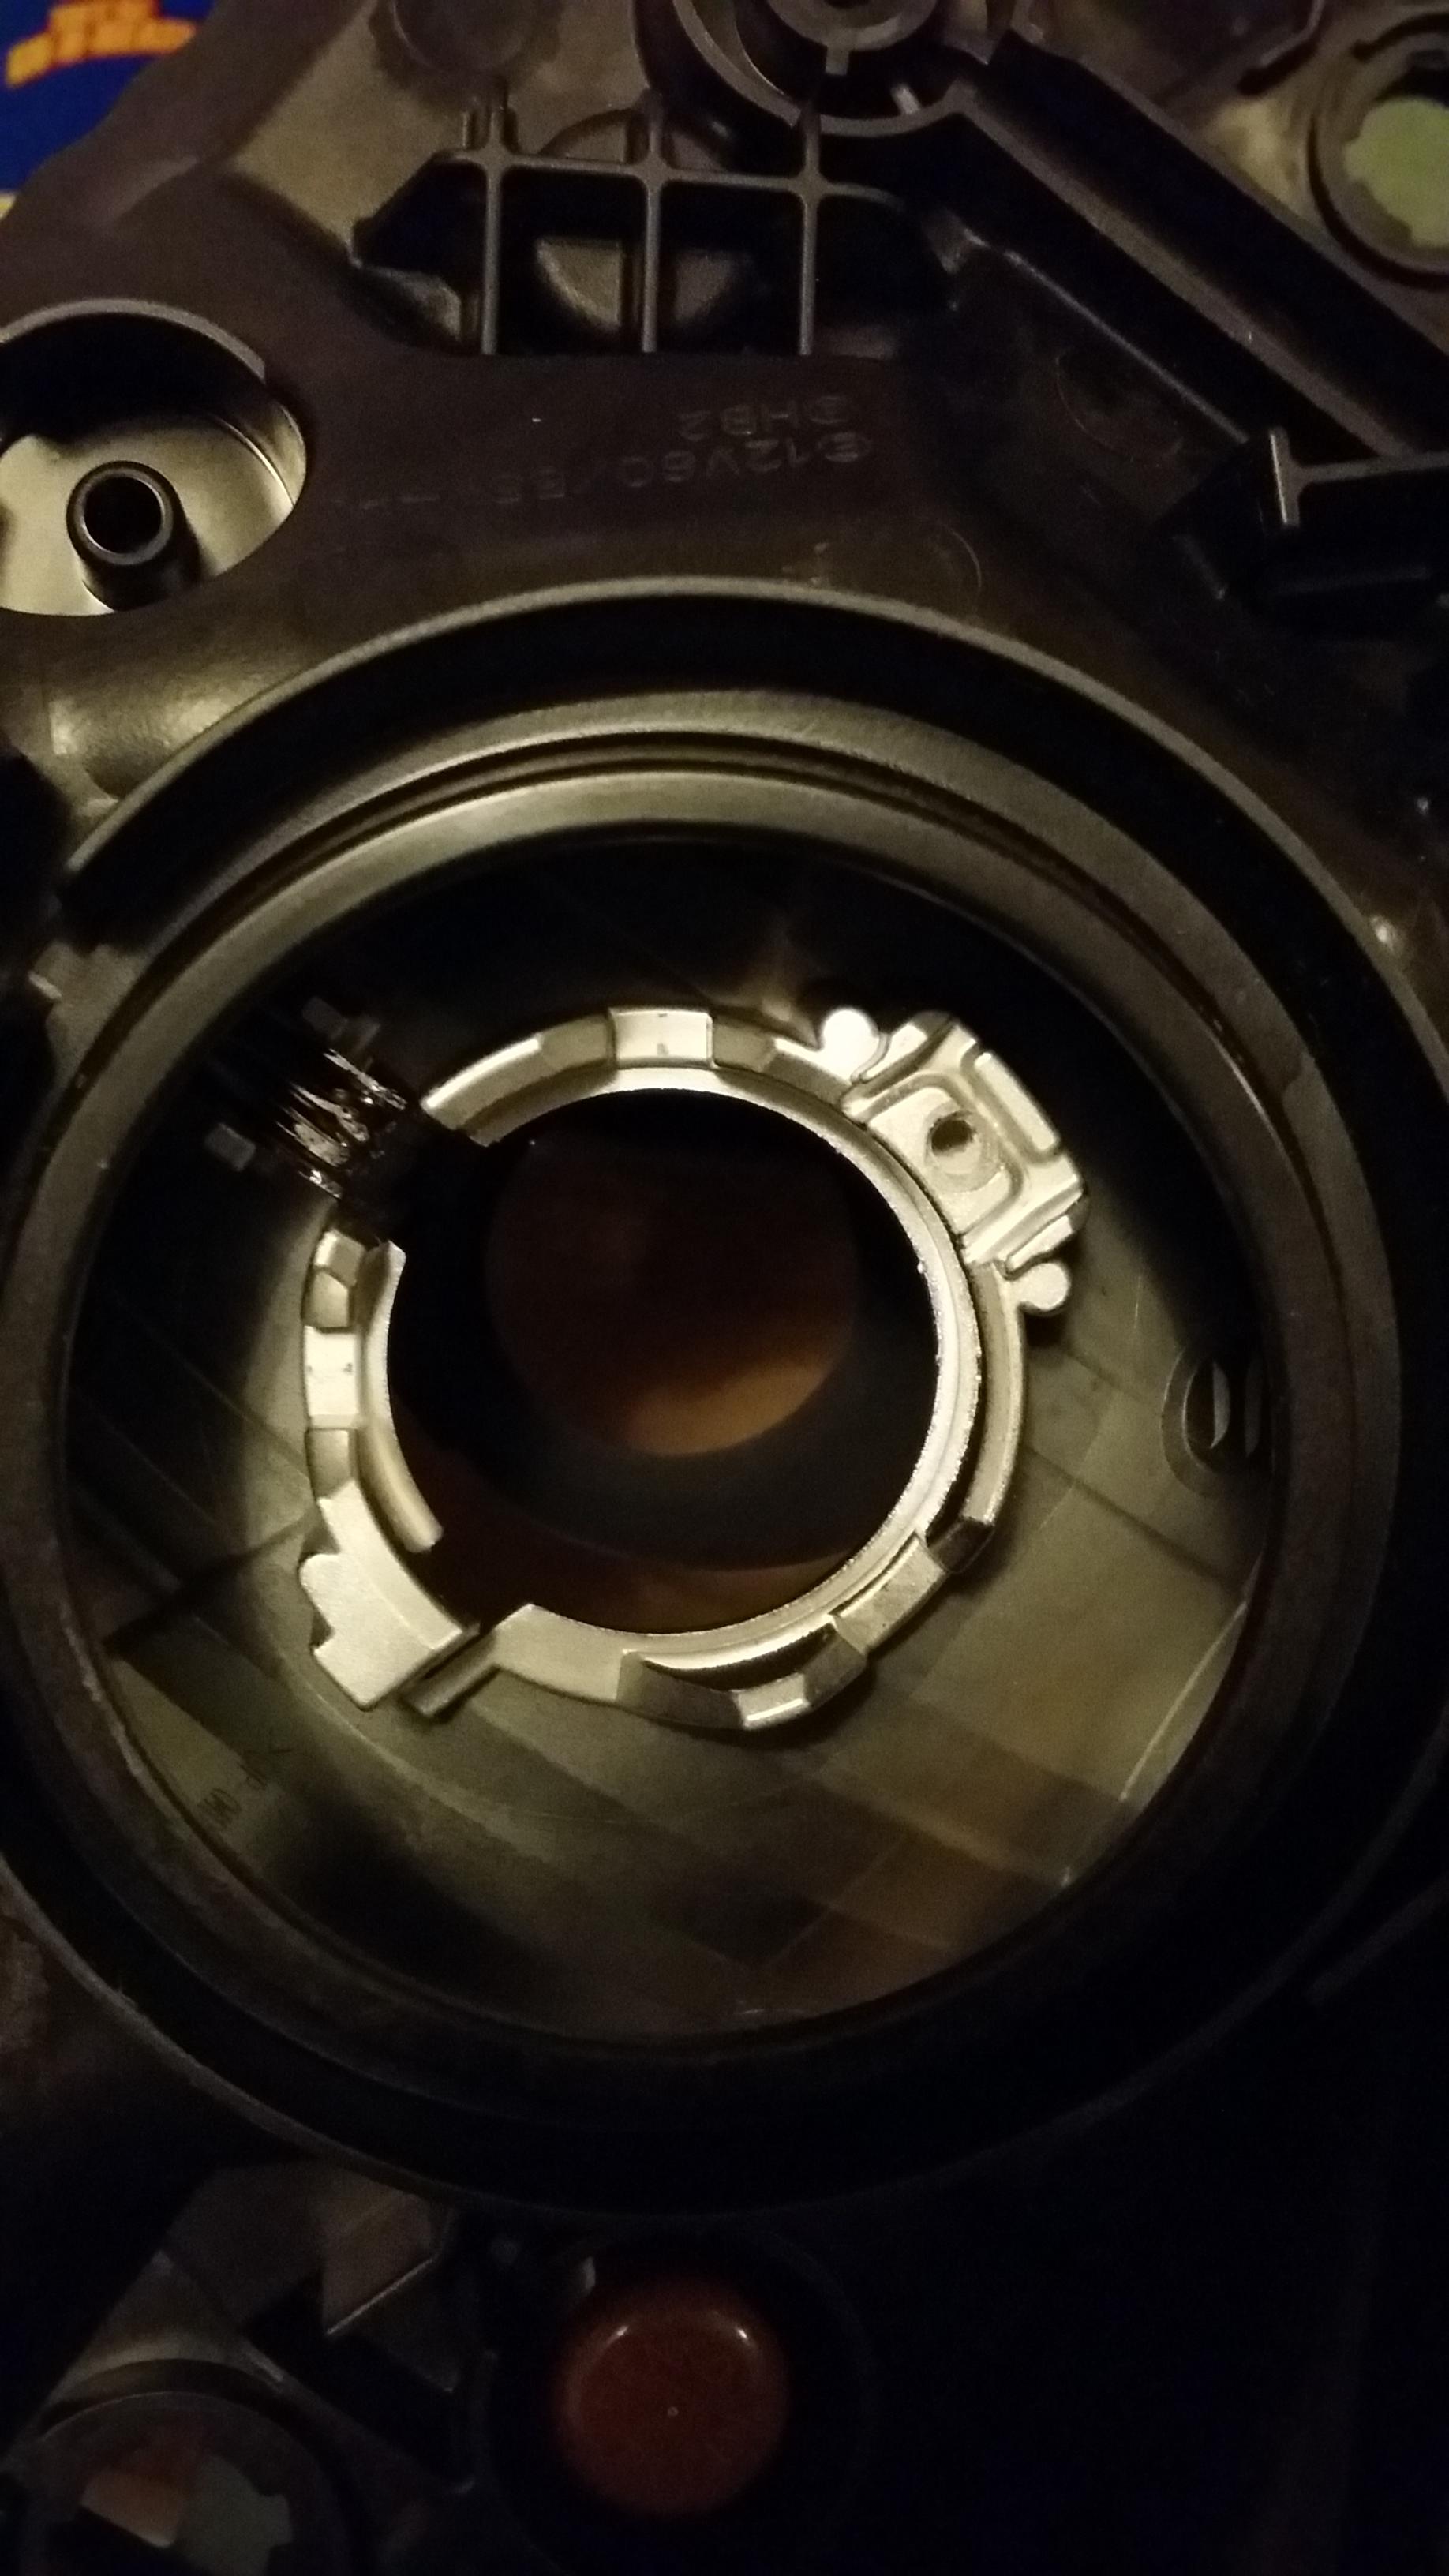
Fit the HID bulbs, then set the still-open housings back onto the car and connect the wiring. Use a MotoControl Bi-xenon H4 harness — the Canbus H4 kit is the wrong one for this setup. A 35W ballast is a good default; 55W ballasts are brighter but shorten bulb life, whether you run true 55W bulbs or overdrive 35W ones. Power on the headlights and inspect the beam cutoff, rotating the projector until the horizontal line is dead level. Once it's right, tighten the hex nut, and lock the projector permanently with a dab of quick epoxy. Epoxy the shroud too if it fits loosely.
8 Reseal the housing

With the projector locked and the cutoff verified so it can no longer shift, pull the housings back off the car. Lay fresh butyl into the sealing channels, seat the lens back onto the housing, and reheat — oven or heat gun, whatever you used to open it — to bond the joint. After it cools and closes up, trim away any butyl that squeezed out of the seam.
9 Reinstall and disable the factory DRL

Refit the sealed headlights to the car, reversing the removal steps and reattaching the turn-signal trim. Pull DRL fuse #25 so the factory daytime running function no longer drives the retrofitted lights, then power up and confirm operation.
Pro Tips
- 💡 The X-lens with square shrouds was chosen because it is smaller than the O-lens; the shrouds fit without any trimming.
- 💡 This build uses the Mini D2S 3.0 projector.
- 💡 If you add DRL LED strips, consider mounting them outside the sealed housing so you can service or replace them later without heating the whole housing open again.
- 💡 The Morimoto XB DRL strip is 6 in long; it won't sit vertically on the foglight shroud because the wire junction adds about 0.5 in, but it fits neatly horizontally above the foglight.
- 💡 High-output SMD LED strips tend to look yellow when switched off — that's the emitter material, not a defect, and they still light the intended color. Covering them with tinted film (e.g. Lamin-X gunsmoke) to hide the yellow dims the output badly and makes individual LEDs visible, so it's a trade-off.
- 💡 35W Morimoto bulbs are acceptable; stepping up to Osram or Philips bulbs noticeably improves the light.
Was this guide helpful?

