
Rear Camber Cam and Bracket Kit Installation (2006-2015 Civic incl. Si FA5/FG2/FB6)
- SPC warns that tightening fasteners with the car in the air can cause early bushing failure; final-tighten with the car on its wheels.
- Support the car by the body on jack stands; never work under it on the jack alone.
- Check that the new bracket and arm clear all other components through full suspension travel.
- An alignment is required after installation.
Introduction
Lowering a 2006-2015 Civic, including the FA5/FG2 and FB6/FG4 Si, adds negative rear camber, and the factory rear upper arm has no camber adjustment. SPC's 67465 replaces the body-side mount of the rear upper control arm with a bracket that holds an eccentric cam bolt, giving about plus or minus 1.25 degrees of rear camber change. The upper arm's inner rubber bushing is swapped for a new bonded bushing supplied in the kit, which needs a press. SPC lists fitment as 2006-2015 Honda Civic, 2006-2011 Acura CSX and 2013-2022 Acura ILX. Adapted from the installation instruction sheet by Specialty Products Company on spcalignment.com (https://www.spcalignment.com/instructions/67465-INS_WEB.pdf).
Procedure
10 steps-
Step 1: Check the car first
Look for worn or loose suspension parts, set the tyre pressures and note any uneven tyre wear before you begin. Take a baseline alignment reading if you can.
-
Step 2: Lift and support
Lift the car by the body, not the suspension arms, set it on jack stands and take off the rear wheel.
-
Step 3: Remove the upper arm
The rear upper control arm is held by one bolt at the knuckle end and two at the body end. Take out all three factory bolts and lift the arm away.
-
Step 4: Replace the inner bushing
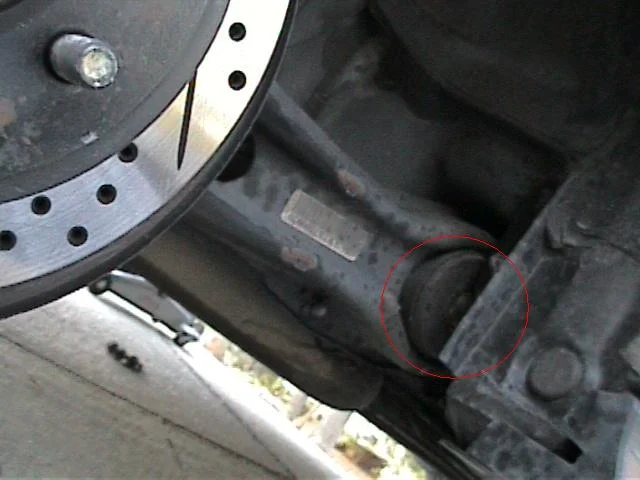
The arm's inner (body-side) bushing has to be swapped for the bonded rubber bushing in the kit. SPC recommends its 75980 adapter set on its 72509 ball joint press, both to push the old bushing out and to push the new one in squarely. Follow the instructions that come with the adapter set.
-
Step 5: Fit the new bracket
Mount the kit's bracket to the body with the original factory bolts. The bent ends at the top of the bracket, beside the bolt holes, must point toward the middle of the car.
-
Step 6: Install the cam bolt
Build the cam bolt up in this order: cam washer, then flat washer on the bolt head side; pass the bolt through the bracket and the arm's new bushing; then flat washer, cam washer and nut on the other side. Leave it just snug for now.
-
Step 7: Fit the outer bolt
Refit the factory bolt at the knuckle end of the arm and leave it only lightly tightened.
-
Step 8: Lower and tighten the outer bolt
Put the wheel back on and lower the car onto its wheels. With the car's weight on the suspension, tighten the knuckle-end bolt to Honda's factory figure, and torque the lug nuts to the factory figure.
-
Step 9: Set camber and torque the cam
Rotate the cam bolt until the camber reads where you want it. Check that both cam washers sit flat against the bracket, then tighten the cam nut to 70 ft-lb (95 Nm).
-
Step 10: Set toe and recheck
Set rear toe to specification, check all the readings again, correct toe if anything moved, and road test the car.
- Order two kits; SPC sells one per wheel.
- SPC's adapter set helps keep the new bushing square as it goes into the arm.
Related procedures
All guides →
Tap right for next · left for back · Keys: ← → step · Space / PgUp / PgDn scroll · Esc exit