
KW ST Coilover Installation on the Acura TSX, with Bushing Clocking
- Never work under a car supported only by a jack; use jack stands on solid ground.
- A compressed coil spring stores dangerous energy. Always point the spring away from your body while compressing it and releasing the top nut.
- Do not use an impact gun on the shock top nut; hold the shaft with a hex key and turn the nut with a wrench, or you can damage the damper.
Introduction
This guide covers installing height-adjustable coilovers (KW ST Speedtech) on an Acura TSX Sport Wagon; the procedure applies equally to the related TSX/Accord chassis. Beyond the basic remove-and-replace work, it details bushing clocking: re-torquing the rubber control-arm bushings at the new ride height. This step is usually skipped, but tightening bushings with the suspension at full droop forces them to twist far beyond their working range once the car settles, which damages them and is costly to fix. Bushings should always be clocked to the current ride height (within about 0.5 inch). The result on the original car was a firm but well-controlled ride with much flatter cornering than stock, with front spring rates (12 kg/mm) that appear chosen to also accommodate nose-heavy V6 variants. Adapted from a community writeup by B serious on Honda-Tech (https://honda-tech.com/forums/suspension-brakes-54/coilover-diy-review-pics-kw-sts-tsx-wagon-3250600/), including corrections from the follow-up discussion.
Procedure
13 steps-
Step 1: Clean and support the vehicle
Pressure-wash the chassis and underbody so you are not working against road grime. Jack the car up high enough to work under it comfortably and support it securely on jack stands.

FIG. 2.1 -
Step 2: Remove the rear upper mount nuts
Start with the rear suspension. Behind the rear seats is an access panel for the upper mounts; take it off, then undo the two upper mount nuts using a 14 mm socket. Keep wrench swings short; the rear glass is close by.

FIG. 2.2 -
Step 3: Disconnect the rear shock and sway bar
Remove the rear lower shock bolt with a 17 mm socket and disconnect the rear sway bar by removing its bracket bolts (12 mm socket). Support the shock as it comes free so it does not drop on you.
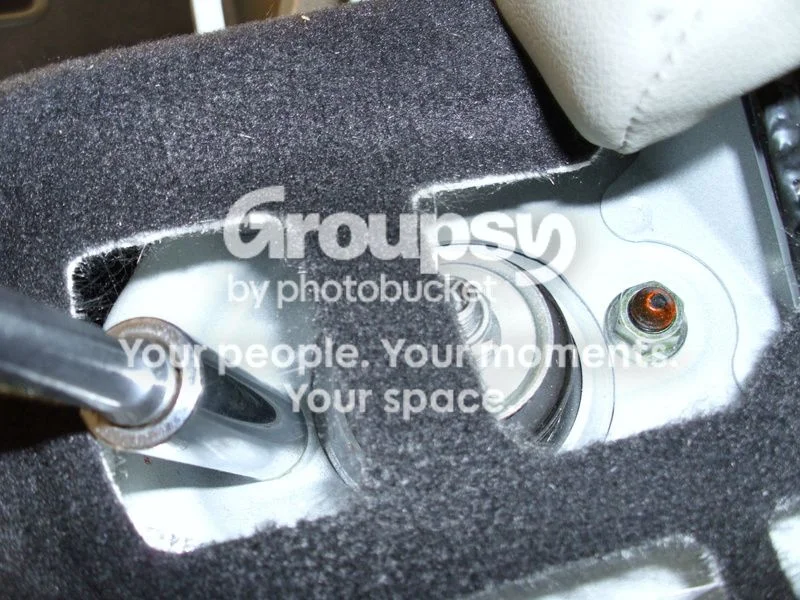
FIG. 2.3 -
Step 4: Loosen the rear suspension pivot bolts
Loosen, but do not remove, the rear control-arm bolts shown in the suspension diagram. Loosening them lets the suspension droop fully, and these same bolts are re-torqued later at ride height when the bushings are clocked. With the arms drooping, pull down on the suspension with a pry bar and remove the stock shock/spring assembly.
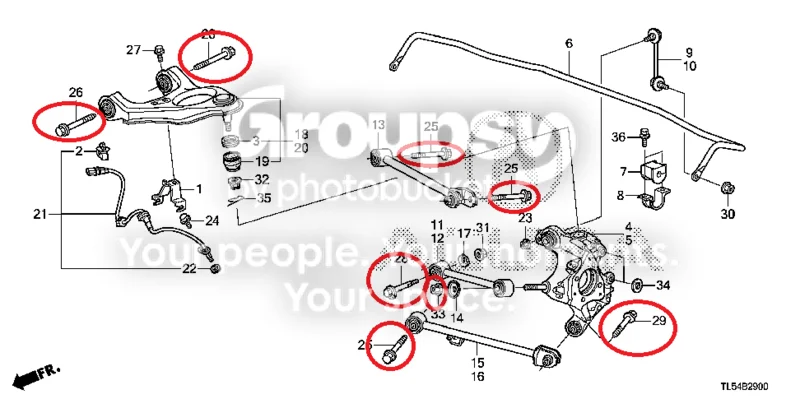
FIG. 2.4 -
Step 5: Transfer the stock top hats
Skip this step if your coilovers ship with their own top hats. Compress the stock spring in a spring compressor with the spring pointed away from you. Hold the shock shaft with a 5 mm hex key and remove the top nut with a 14 mm wrench. Do not zip the nut off with an impact gun; that can damage the shock, and the stock dampers are worth keeping intact as spares. Before reusing the top hat, coat its rubber components with Shin-Etsu grease.

FIG. 2.5 -
Step 6: Assemble the coilovers
Unpack the coilovers and read the manufacturer's instructions. Apply anti-seize to the inner diameter of the lower adjustment sleeve before fitting it, then install the top hats onto the coilovers per the instructions. Thread the height adjuster all the way down; the shorter assembly is much easier to fit into the car. Optionally, clear-coat the zinc-plated bodies (not the shock shaft) for extra corrosion protection if the car sees salted winter roads.
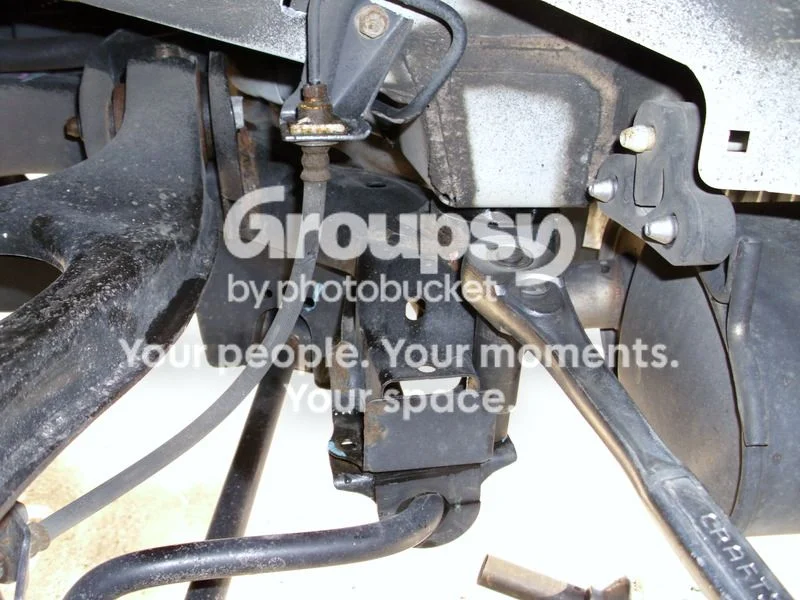
FIG. 2.6 -
Step 7: Clock the rear control-arm bushings at ride height
With the coilover NOT yet installed: mount a wheel using just one or two lug nuts, and raise the lower control arm with a jack until the wheel sits in the wheel well at your intended ride height. Measure and record this height; you will replicate it after the coilover is installed. Remove the wheel but leave the jack exactly where it is, then torque to specification all of the bolts loosened earlier (except the shock bolt). Finally, lower the jack. Tightening the bushings at ride height prevents them from being over-twisted as the suspension settles.
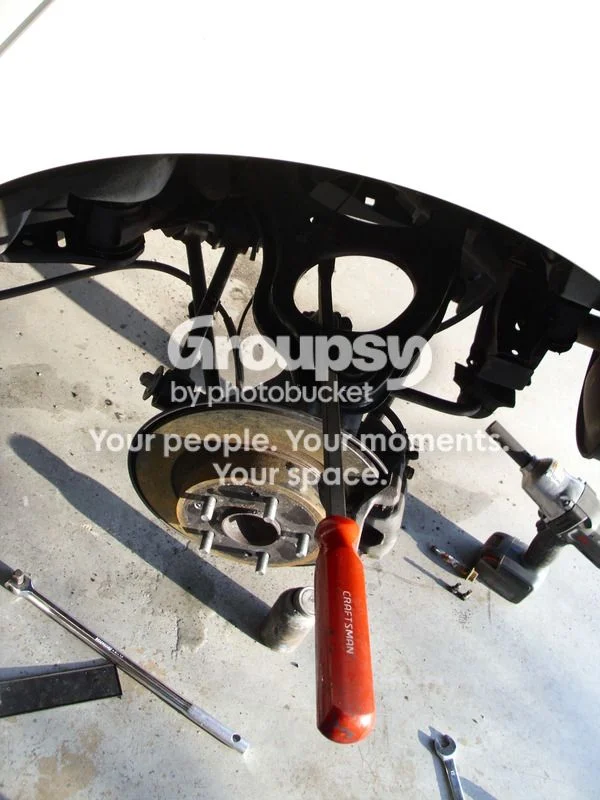
FIG. 2.7 -
Step 8: Install the rear coilover and set its height
Bolt the coilover into the car; the fully lowered adjuster makes this easy. Then adjust the coilover to correspond with the ride height you measured in the previous step. On the original installation, this worked out to KW's minimum suggested height plus 0.75 inch (19 mm).
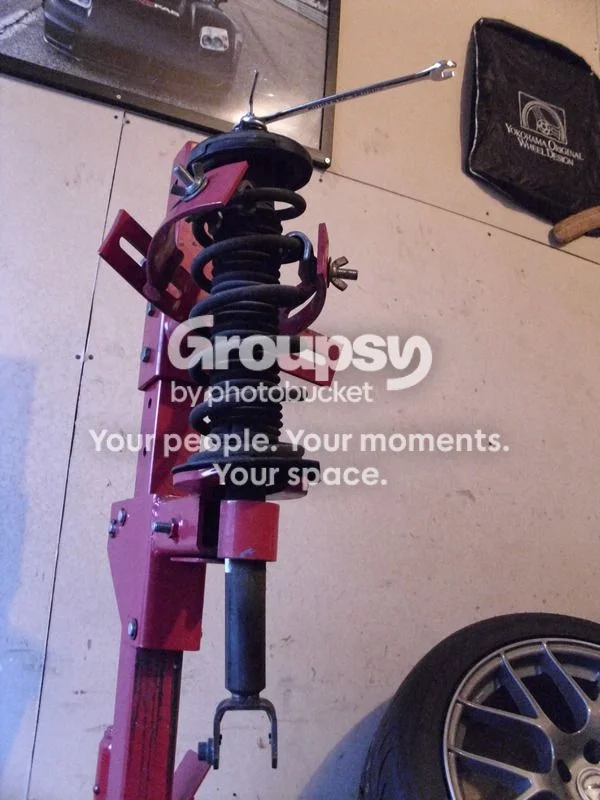
FIG. 2.8 -
Step 9: Clock the shock bushing and finish the rear
Jack up under the lower control arm until that corner of the car just barely lifts off the jack stand, then torque the lower shock bolt/nut to specification using the new bolts supplied by KW. Repeat the full sequence on the other rear corner, then tighten the sway bar bracket bolts.
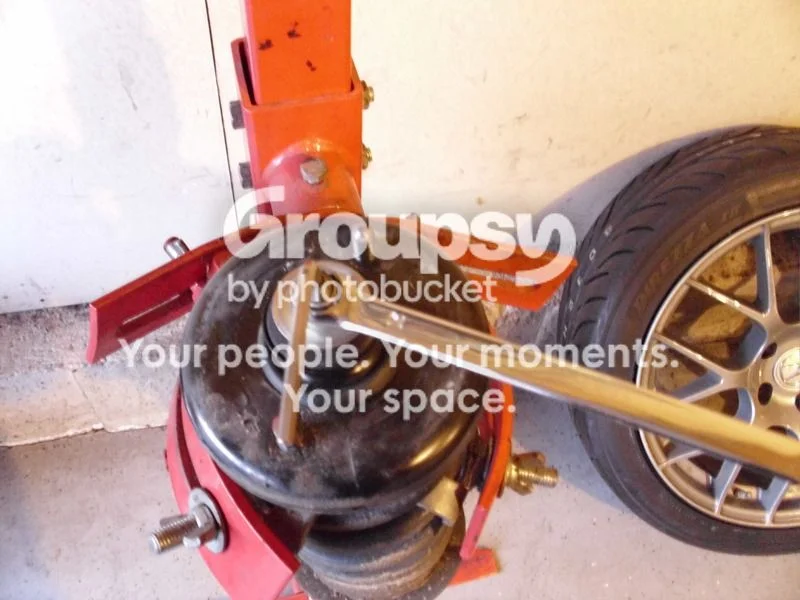
FIG. 2.9 -
Step 10: Strip the front struts
Move to the front. Remove the lower pinch bolt (14 mm) and lower shock bolt (17 mm). Undo two or so bolts from the brackets that hold the ABS wire, tuck that wire under the shock, and push the shock fork out of the way. At the strut towers, first remove the strut bar bolts on BOTH sides and set the strut bar aside, then remove the remaining upper strut nuts while supporting the strut by hand so it cannot fall. Remove the stock shock/spring assembly, transfer the top hat to the new coilover with the spring compressor exactly as on the rear, and grease the rubbers with Shin-Etsu.
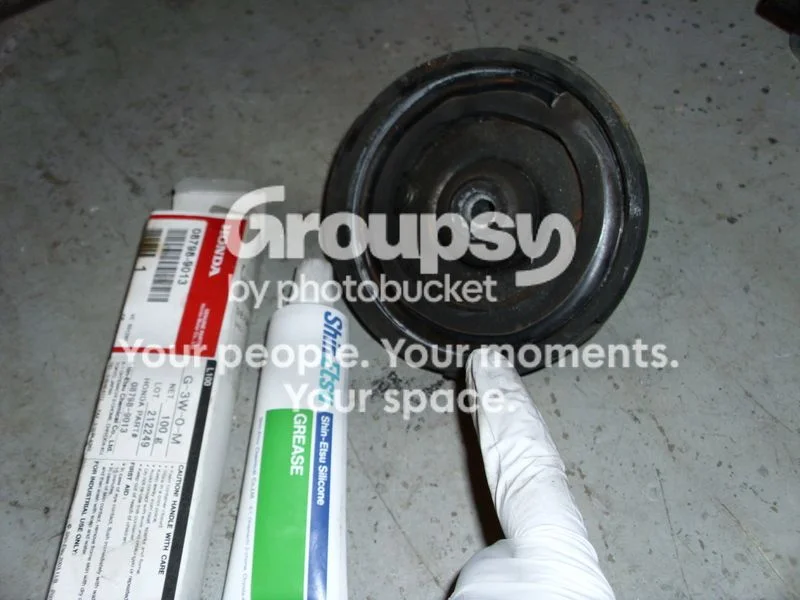
FIG. 2.10 -
Step 11: Clock the front bushings
Loosen the indicated lower and upper control arm bolts until the suspension goes limp and droops. Fit a wheel, jack up under the lower control arm until the wheel sits in the wheel well at the desired height, and measure it (bottom of fender to top of tire, or bottom of fender to center of hub). Remove the wheel, leave the jack in place, torque the loosened bolts, then lower the jack.
-
Step 12: Install the front coilovers
Install the coilover, lining up the alignment slot in the lower mount. Check that the ABS wire is routed to its proper side, then refit the bolts securing its brackets. Set the coilover to your target height. Do NOT tighten the lower shock bolt yet. Repeat on the other front corner.
-
Step 13: Set the car down and torque the front shock bolts
Lower the car to the ground and confirm it sits at the ride height you measured when clocking the front bushings. Only at that point should you torque each front corner's lower shock bolt, so the front shock bushings are also clamped at ride height. Step back and check the stance.
- Clock bushings to your CURRENT ride height (within +/- 0.5 inch) any time ride height changes; the factory clocks them to stock height.
- Threading the spring adjusters all the way down before installation makes fitting the assemblies into the car far easier.
- Tire choice transforms the ride on a firm coilover: the original car went from stiff-sidewall 225/45 Dunlop Direzza Z2s to 245/40 Continental DWs and the harsh 'ping' over sharp bumps disappeared entirely.
- Raising the front about 0.25-0.5 inch after initial setup reduces excessive forward rake.
- The ST kit is height-adjustable only, with no damping adjustment; damping is firm but well controlled, comparable in feel to KW V3s at factory settings.
Related procedures
All guides →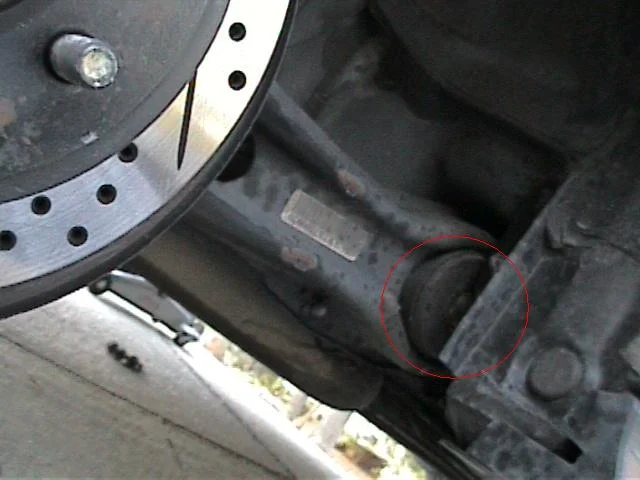
Tap right for next · left for back · Keys: ← → step · Space / PgUp / PgDn scroll · Esc exit