
Civic/Integra Rear Trailing Arm Bushing Replacement (On-Car Method)
- Support the car on jack stands and chock the front wheels before working underneath — never rely on the jack alone.
- The bushing is directional (LWR arrow down) and must be clocked to the mark made with the car on its wheels; a twisted or misclocked bushing is under constant stress and will fail early.
- Refit the toe adjustment bolt in exactly its original marked position, and have the rear alignment checked if in doubt — incorrect rear toe changes handling significantly.
Introduction
The rear trailing arm is the member the rear suspension pivots on, and its large front bushing controls how the rear axle behaves under cornering load. Worn (cracked) rubber bushings add play, and aftermarket polyurethane bushings are known to bind: the writeup's author traced an abrupt rear-end step-out at track speeds directly to binding ES poly bushings, and replacing them with Mugen hard rubber bushings transformed the car's rear stability. This procedure replaces the trailing arm bushings with the arms still on the car using a dedicated puller tool, avoiding removal of the trailing arms and brakes or a trip to a machine shop. Two measurements taken before removal — the bushing's rotational position (clocking) and its installed depth — are critical to bushing life, so do not skip them. The whole job took the original author about an hour. Adapted from a community writeup by rmcdaniels on Honda-Tech (https://honda-tech.com/forums/suspension-brakes-54/how-quick-easy-civic-integra-trailing-arm-bushing-replacement-also-es-poly-vs-mugen-1589298/), including corrections from the follow-up discussion.
Procedure
10 steps-
Step 1: Identify the trailing arm and bushing
Locate the rear trailing arm — the brakes bolt to the back of it and the suspension pivots on it. The bushing being replaced is at the arm's forward end, pressed into a large eye in the arm.
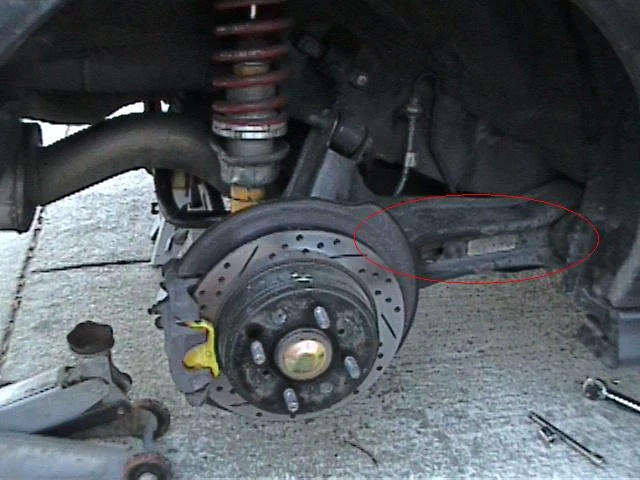
FIG. 2.1 -
Step 2: Clock the bushing with the car on its wheels
Park the car on level pavement so it rests on all four wheels — exactly as it normally sits — and mark the bushing's rotational position. Lay a metal ruler on the flat tab of the bushing's center metal shaft and use it to draw a reference line on the trailing arm with a permanent marker. You will have to reach under the car and do this by feel. Marking with the suspension hanging would build a constant twist (preload) into the new bushing and shorten its life.
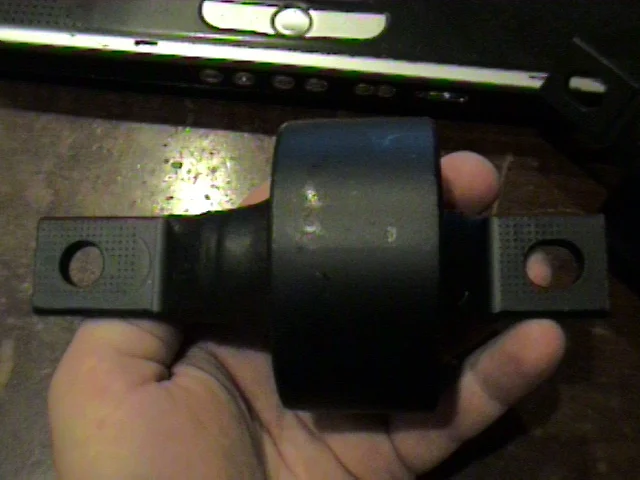
FIG. 2.2 -
Step 3: Measure the installed depth
Measure how far the bushing's metal outer housing protrudes from the trailing arm eye — on the source car it was just under 0.5 inch. Record this: the new bushing must be pressed in to the same depth.
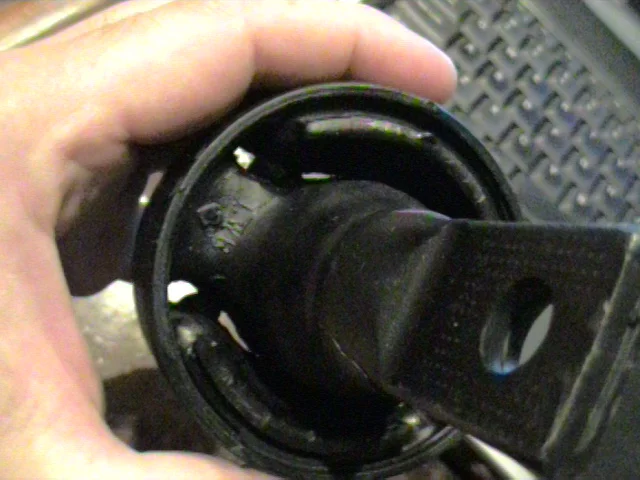
FIG. 2.3 -
Step 4: Raise and support the rear of the car
Chock the front wheels, jack up the rear of the car, support it securely on jack stands, and remove the rear wheels.
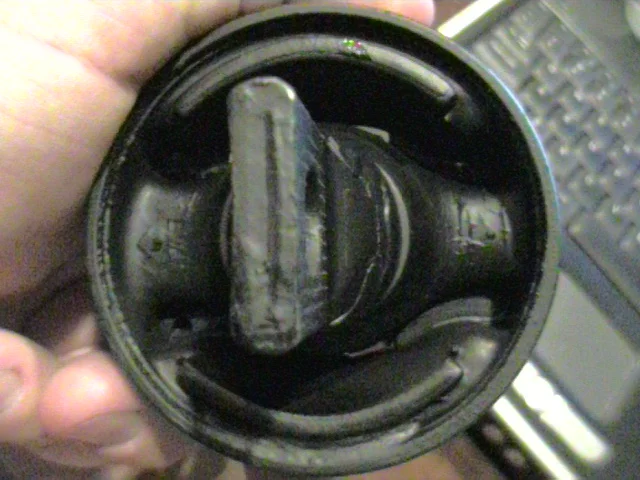
FIG. 2.4 -
Step 5: Mark and remove the toe adjustment bolt
Find the toe adjustment bolt on the small metal arm at the very front of the trailing arm. Before loosening it, mark its exact position in its slot with the marker — if it does not go back in precisely the same spot, the rear alignment will be off. Then remove it (a ratcheting wrench works well here).
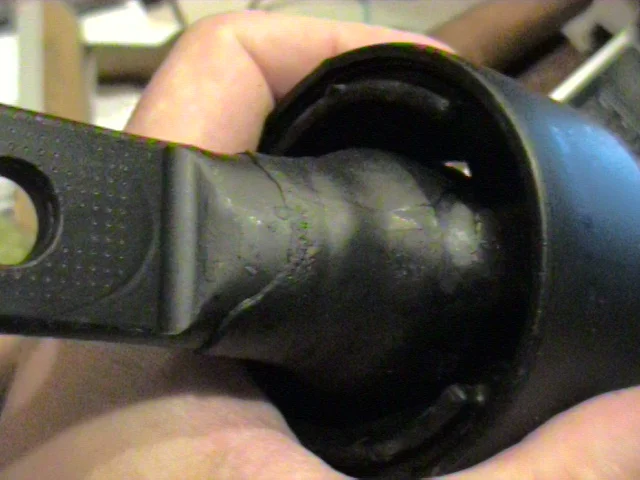
FIG. 2.5 -
Step 6: Remove the bushing shaft bolts and upper arm bolt
Working from underneath, undo the two bolts that pass through the trailing arm bushing's center metal shaft; the arm will hang down a little — let it hang. Then disconnect the small upper arm. Prefer removing the single bolt at the trailing arm end rather than the two bolts that thread into the chassis: with the weight of the arm and brakes on them, the chassis bolts are prone to cross-threading on reassembly. The arm will now hang low enough to fit the tool.
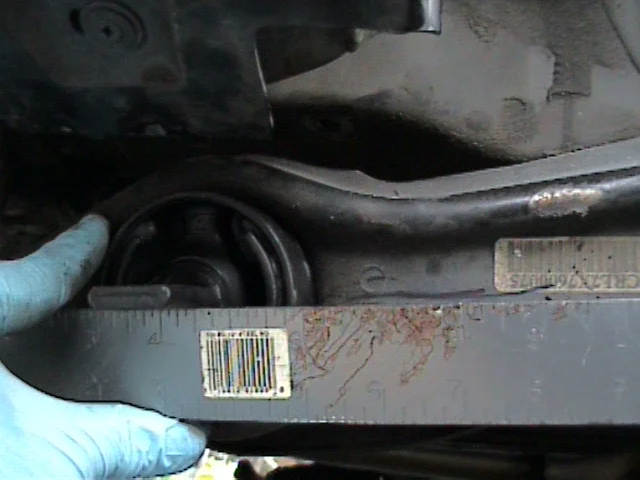
FIG. 2.6 -
Step 7: Press the old bushing out
Hold the arm down with a piece of wood (or a foot). Hook the tool's hooks over the bushing so they grab the trailing arm's edges — the tool is asymmetrical, so obey the arrow that indicates which side faces up — set the cup onto the bushing, and work the tool's bolt down with a ratchet, forcing the bushing out of the arm. The bushing drops out the far side; make sure it does not catch behind the handbrake cable and push it over.
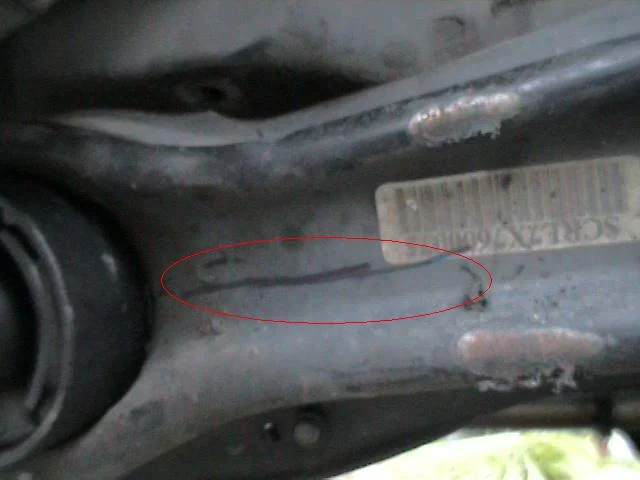
FIG. 2.7 -
Step 8: Clean the bore and seat the new bushing
Clean up the bushing bore with brake cleaner and a rag. By hand, sit the new bushing into its hole. Note that the bushing only installs one way: the side marked "LWR" with an arrow must face down. Rotate the bushing so that the ruler placed on its shaft tab lines up with the reference line you drew on the trailing arm.
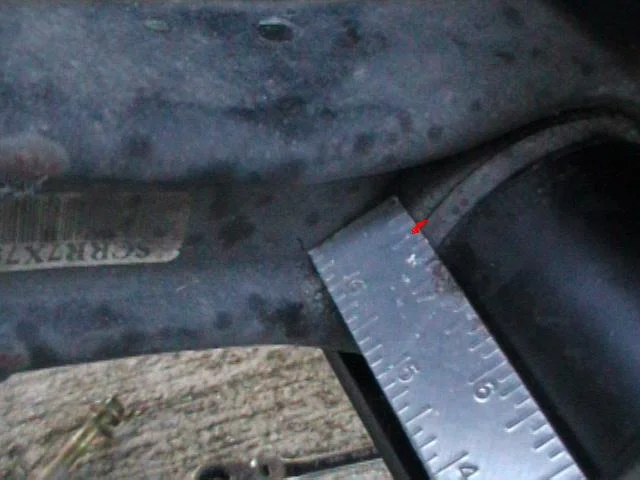
FIG. 2.8 -
Step 9: Press the new bushing in to the recorded depth
With the bushing seated solidly by hand and correctly aligned, position the tool so its cup sits over the new bushing, and wind the bolt in to press it into the trailing arm, exactly as when removing the old one. Stop when the housing protrudes the same amount as the original (just under 0.5 inch on the source car).
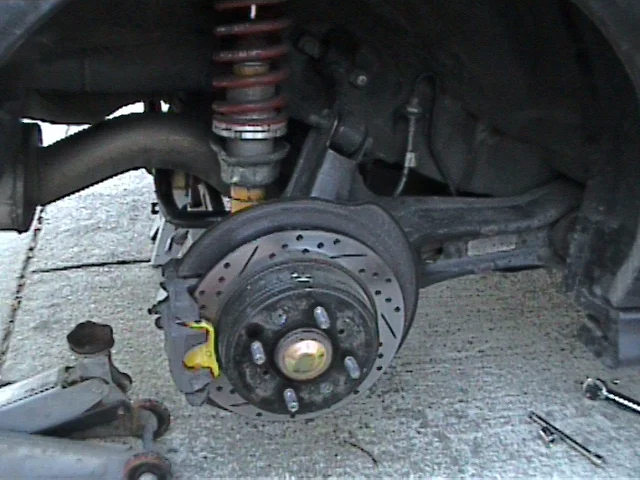
FIG. 2.9 -
Step 10: Reassemble and verify the toe mark
Bolt everything back together in reverse order: upper arm, the two bushing shaft bolts, and finally the toe adjustment bolt tightened in exactly its original marked position — otherwise the rear alignment will change. A jack under the lower control arm helps lift the assembly to line the bolt holes up. Refit the wheels, lower the car, and repeat the whole procedure on the other side.
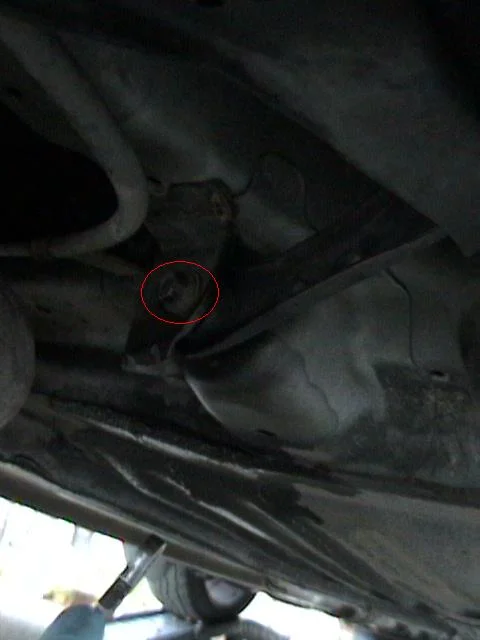
FIG. 2.10
- Drive the tool with a breaker bar or ratchet only — the tool maker advises against impact guns, and the effort required is modest.
- No tool? Alternatives that worked for others: press the arms out at a machine shop (requires removing the trailing arms and brakes), or torch the rubber until soft, hacksaw a strip out of the outer sleeve, and tap the sleeve out with a hammer.
- The tool does not fit the larger-diameter bushings of the 1990-1993 (DA) Integra trailing arms — check which arms are actually on the car before buying, especially if a suspension swap may have been done.
- In rust-belt climates, a propane torch and penetrating oil make freeing the seized bolts much easier.
- Polyurethane trailing arm bushings can bind and cause sudden rear-end breakaway under hard cornering; hard rubber (Mugen/OEM) or spherical bearings avoid this.
- If a shop presses the bushings for you, confirm they install the LWR arrow facing down and clock the bushing correctly — shops have gotten this wrong.
Related procedures
All guides →
Tap right for next · left for back · Keys: ← → step · Space / PgUp / PgDn scroll · Esc exit