Honda Fit Headlight Bulb Replacement (GD/GE)
Introduction
Replacing a burned-out headlight bulb on the first-generation Honda Fit (GD chassis, roughly the 2007-2008 model years, sold as the Jazz in some markets) is straightforward once you know the trick: the bulb is reached from behind the front wheel, not from under the hood. Owners who attempt the engine bay first often assume the entire headlight assembly, or even the radiator, must come out, which is not the case. This guide covers removing and refitting the H4 (9003) low/high-beam bulb through the front wheel well, dealing with the awkward wire spring that traps the bulb, and re-aiming the beam afterward. Later GE-chassis cars (2009 onward) let you swap the same bulb from above with the hood open, so those owners can skip the jacking steps. The job applies to both sides, though the driver side is tighter because of an extra cable run behind the housing. Budget roughly 30 minutes to an hour for the pair, and expect the first side to take longer while you learn the clip. Adapted from a community writeup by Sid 6.7 on FitFreak (https://www.fitfreak.net/forums/fit-interior-exterior-illumination/36510-diy-changing-headlight-bulbs.html), including corrections from the follow-up discussion.
Reference
Tools Required
- Trolley or scissor jack and a jack stand
- Wheel chocks
- Lug wrench
- Torque wrench
- Small flat-blade screwdriver (for the fender pushpins and bulb spring)
- Disposable gloves
- 8 mm wrench or Phillips screwdriver (for beam adjustment)
Parts Required
-
Replacement H4 / 9003 headlight bulb(s)
-
Spare fender-liner pushpin clips (recommended)
-
Replacement rubber bulb boot/seal (optional, if perished)
Safety Warnings
- ⚠ Support the car on a jack stand, never on the jack alone, whenever a wheel is off.
- ⚠ Do not touch the glass envelope of a halogen bulb with bare fingers; oil residue causes premature failure. Wipe any accidental contact with alcohol before use.
- ⚠ Very high-wattage bulbs (such as 90/100 W units) draw more current and can overheat the connector, harness, or housing on wiring not rated for them. Several members also report short service life from high-output and 'ultra' bulbs, including an Osram Night Breaker Unlimited that failed after 11 months. Stock-wattage bulbs are the safe default.
Step-by-Step Instructions
1 Confirm your access route
Identify which Fit generation you have, because it changes how you reach the bulb. On the GD chassis (approximately 2007-2008), the factory bulb sits deep behind the front bumper and is serviced through the wheel well. On the newer GE chassis (2009 onward), you can lift the hood, unplug the connector, and reach the same bulb from above without jacking the car. If the hood gives you clear access to the back of the headlight, follow only the electrical and clip portions of this guide and ignore the wheel and fender-liner steps.
2 Secure the car and open up the wheel well
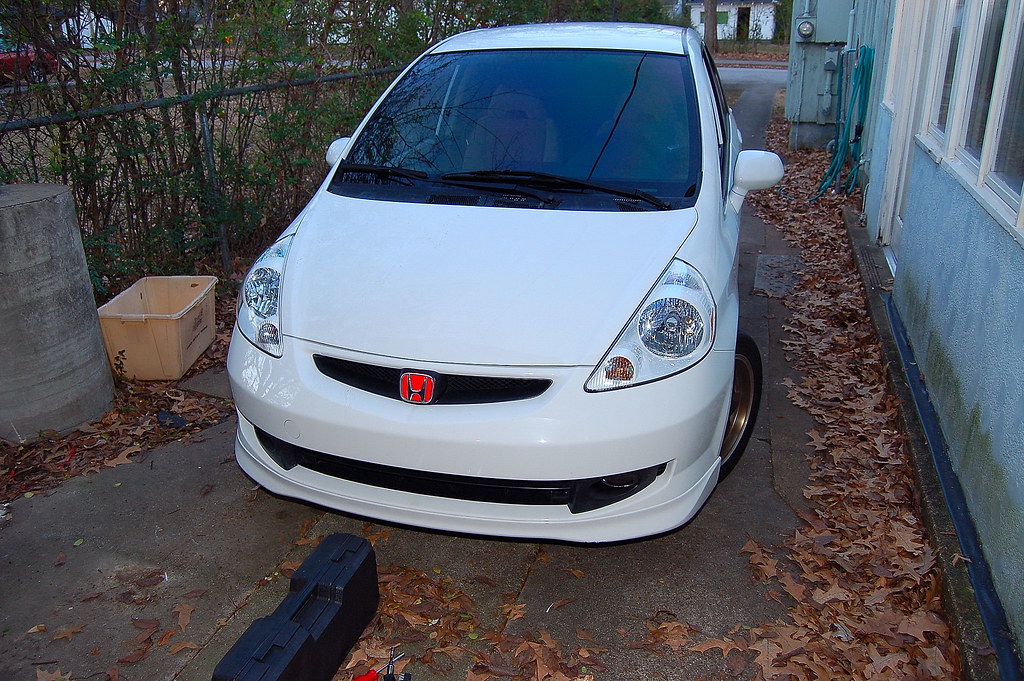
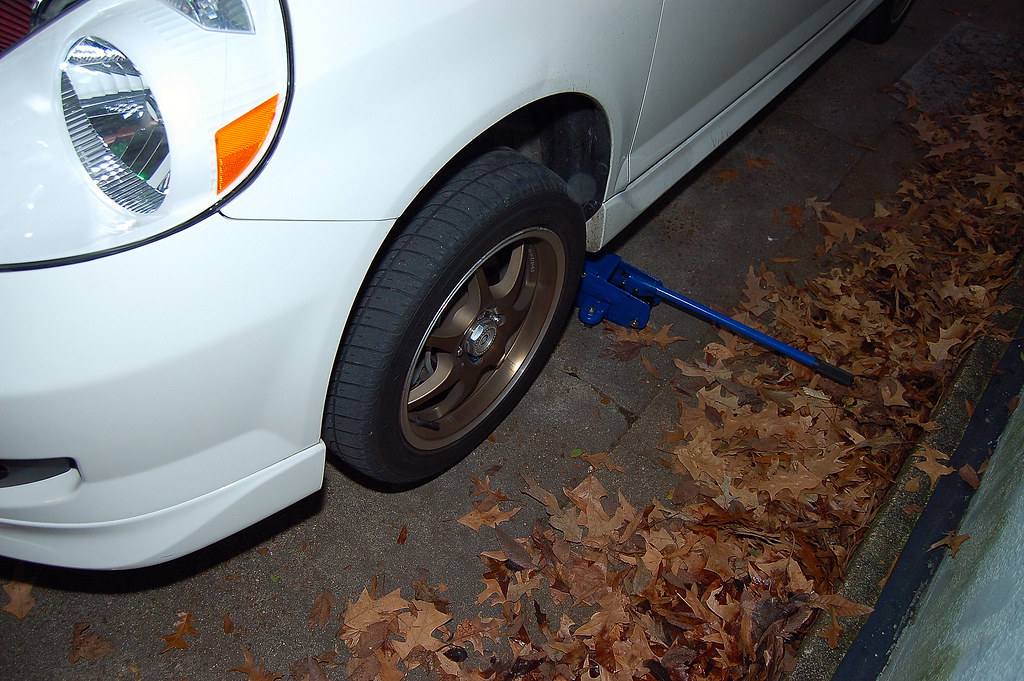
Engage the parking brake and block the rear wheels so the car cannot roll. Consult the owner's manual for the correct front jacking point, then raise the side you are working on and support it on a jack stand. Remove the front road wheel to expose the back of the fender liner. If you have slim arms you can instead steer the front wheels fully toward the opposite side and work through the gap, but taking the wheel off gives far better sightlines and is worth the few extra minutes for most people.
3 Release the fender-liner fastener
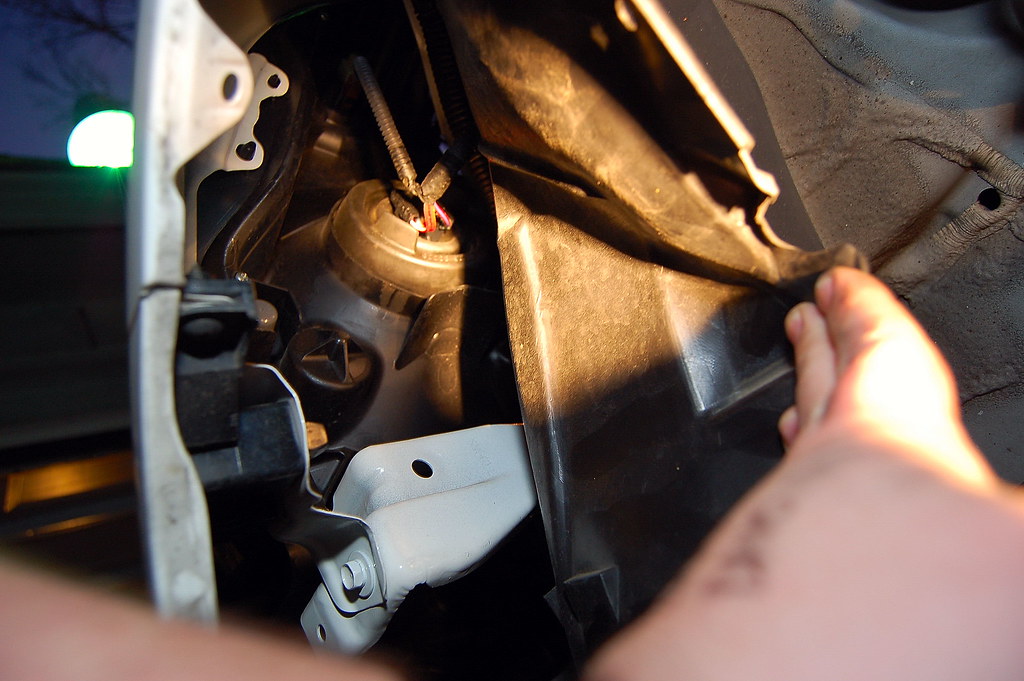
Locate the plastic pushpin fastener that pins the inner fender liner to the fender, nearest the bulb opening. On the driver side you may need to free a second pin and separate the liner from the front air dam to get enough slack. These are two-stage pushpins with a small notch on each side of the head. Slip a small flat screwdriver into a notch, pry the center pin up about 1/4 inch (6 mm), and the whole fastener then draws out of its hole. Peel the liner back to reveal the bulb's wiring connector and rubber boot.
4 Disconnect the harness and remove the seal

Unclip the wiring connector from the rear of the bulb; a slight wiggle helps it slide off, and the terminals may be greasy. Pull the rubber weather boot off over the bulb base and set it aside where it will not roll away. You now have a clear view of the metal spring that clamps the bulb against the reflector.
5 Free the bulb spring clip
The bulb is held by a hinged wire spring, the part most people find fiddly. Press the spring inward toward its pivot and lift the free end to unhook it, then swing it clear. Work slowly so the clip does not ping loose and vanish into the engine bay. Withdraw the old bulb, noting its orientation before it comes fully out.
6 Fit the new bulb in the correct orientation
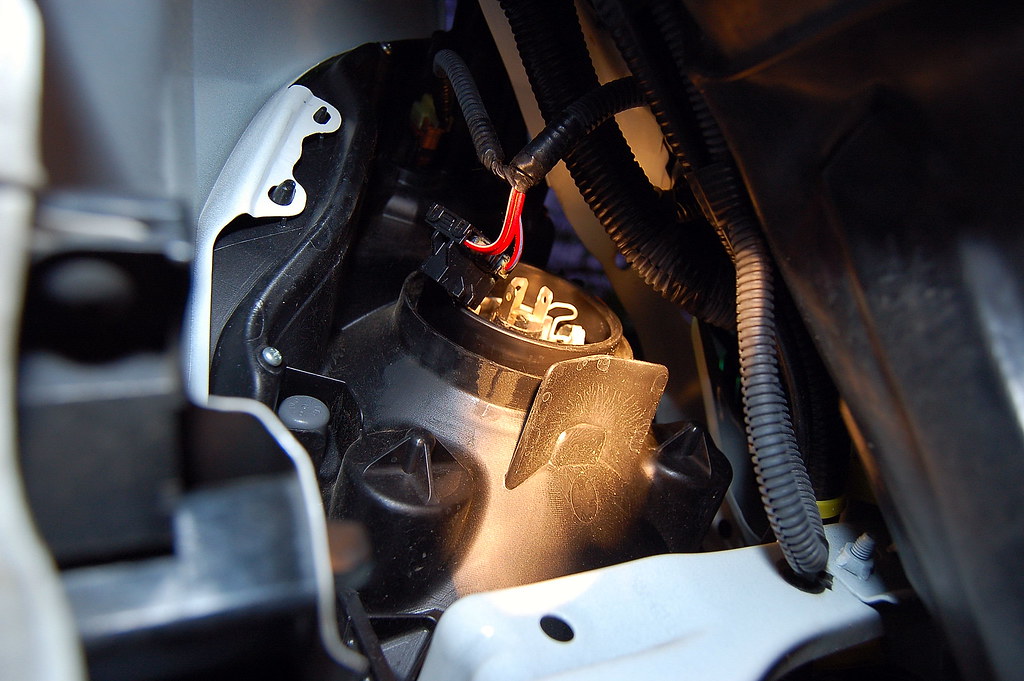
Use a standard H4 / 9003 halogen bulb (the original author fitted a 90 W low / 100 W high-beam H4 from a motorcycle shop for extra output). Handle the new bulb by its metal base only, since skin oil on the glass creates hot spots that shorten its life, and wear disposable gloves if you have them. Note the three flat blade terminals: the central horizontal blade sits at the top with the two vertical blades to each side. Seat the bulb into the reflector in that orientation so the beam pattern is correct.
7 Reseat the clip, boot, and connector
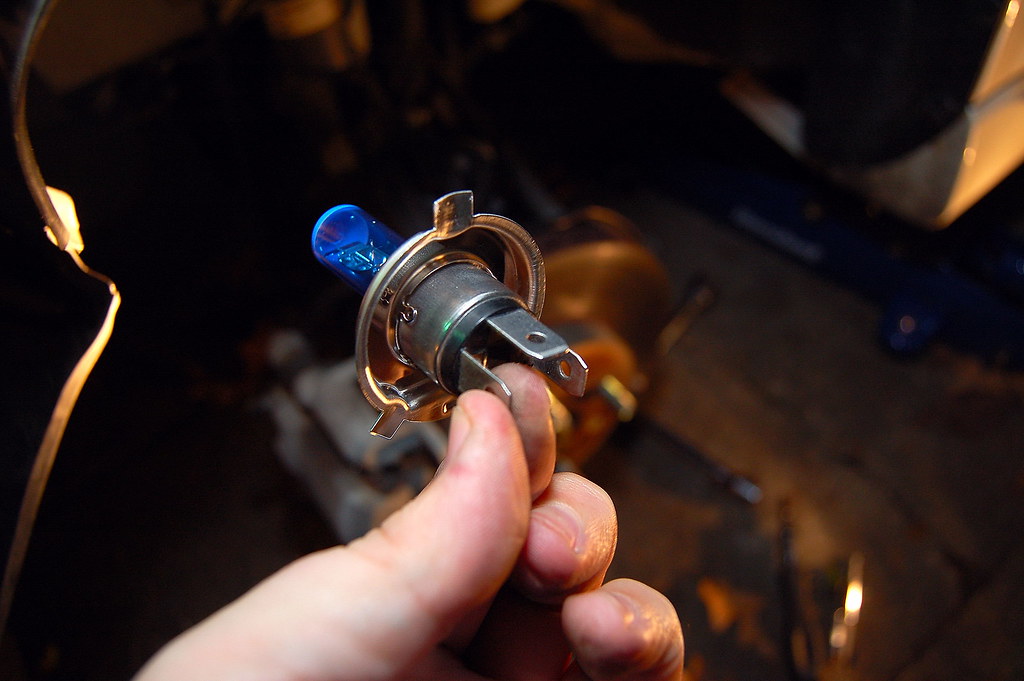
Swing the spring wire back over the bulb flange and hook it down so the bulb is held firmly with no play. Refit the rubber boot so all three terminals pass through the central opening; if the boot carries an 'up' marking, keep that label at the top. Push the wiring connector back on until it seats. A loose bulb or a misaligned boot lets in moisture, so confirm both are fully home before moving on.
8 Repeat on the opposite side and refit the wheel
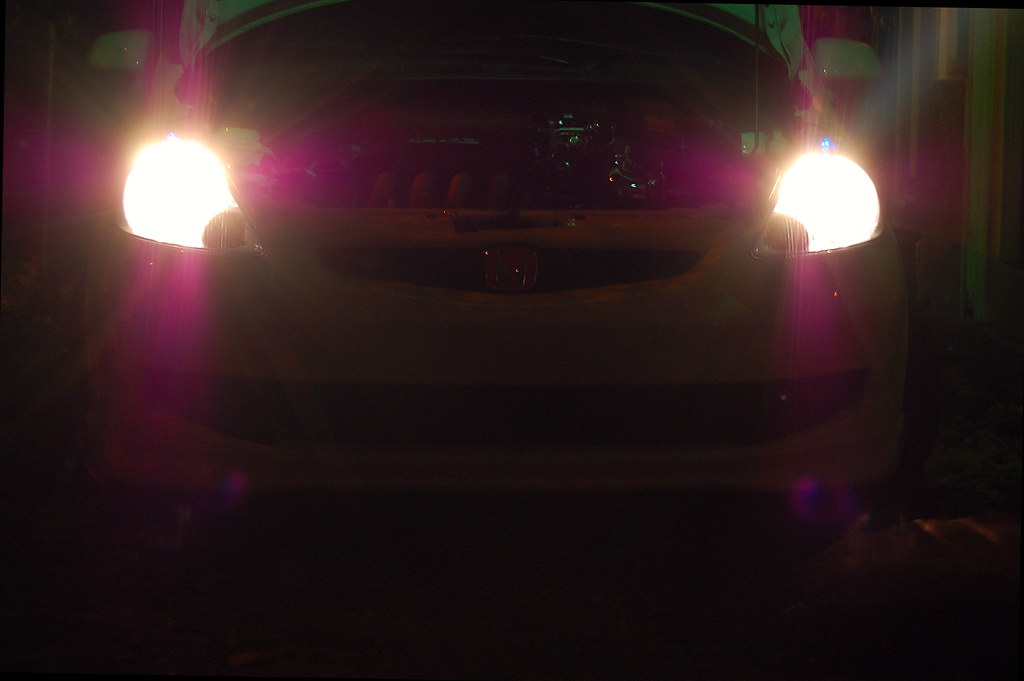
Carry out the same sequence on the other headlight; allow extra patience on the driver side, where an additional cable assembly crowds the space behind the housing. Reinstall the fender-liner pushpins, mount the road wheel, lower the car, and tighten the lug nuts to the factory torque in a star pattern. Fresh pushpin clips are cheap insurance if the originals were brittle or broke on removal.
9 Re-aim the headlights if needed

If the beam sits too high or low after the swap, correct the vertical aim with the silver adjuster gear on top of each headlight housing. Rotating the gear clockwise raises the beam; counter-clockwise lowers it. The gear accepts either an 8 mm wrench or a Phillips-head driver. Verify the setting against a wall at night and match both sides.
Pro Tips
- 💡 Removing the wheel is optional. With slim arms you can steer the wheel fully aside and work blind through the fender gap, but you will mostly be reaching by feel with poor visibility.
- 💡 Some owners skip the wheel entirely and drop the front bumper cover to expose the headlight mounting bolts, then pull the complete assembly out. This is handy when replacing headlight, fog, and corner bulbs in one session.
- 💡 The 2015-2016 Fit (GK) is simpler still: open the hood, unplug the bulb, pull the boot, release the spring, and swap.
- 💡 Buy spare fender pushpins, and possibly a spare boot, before you start so a broken clip does not strand the car mid-job.
Was this guide helpful?

