Honda CR-Z Short-Shift Adapter and Hard-Mount Bushing Installation (H-Fit Kit)
Introduction
This guide covers fitting an H-Fit short-shift adapter and aluminum hard-mount bushing kit to a 2011 Honda CR-Z. The kit is engineered for the 2009+ GE8 Honda Fit, whose factory shifter shaft is roughly 1mm smaller in diameter than the CR-Z's, so the adapter bore must be reamed slightly before it will slip on. The adapter clamps to the lower end of the OEM shifter stalk and extends it 18mm below the pivot; by simple leverage this shortens the throw. Swapping the soft OEM rubber mounts for solid aluminum bushings sharpens the feel further, giving a crisp, mechanical shift. The reported result is a throw cut from a little over 4 inches to about 3-1/8 inches. Because this repurposes a Fit-specific part, treat every fitting operation as a modification performed at your own risk. Adapted from a community writeup by SS2CRZ on CRZ Forum (https://www.crzforum.com/threads/diy-h-fit-short-shifter-hard-mount-kit-installation.9758/), including corrections from the follow-up discussion.
Reference
Tools Required
- Dremel rotary tool with a small grinding bit and a small-diameter carbide bit
- 5/16" drill bit and drill
- Bench vise
- Flat-blade (common) screwdriver
- 12mm socket or wrench
- Hammer
- Torque wrench capable of setting 10Nm on the set screws
Parts Required
-
H-Fit Short Shift Adapter Kit (includes aluminum hard-mount bushings, four set screws, and red thread locker)
-
Four 1/4"-thick aluminum spacers, each drilled with a 1/4" hole
-
Super glue to temporarily seat the hard-mount bushings
-
Red Loctite thread locker (supplied with the kit)
Safety Warnings
- ⚠ This kit is designed for the GE8 Honda Fit; adapting and fitting it to a CR-Z is a modification carried out entirely at your own risk.
- ⚠ Do not lose the small cotter pin that secures the interlock cable.
- ⚠ Remove the four set screws before grinding the adapter bore, or you will damage them.
- ⚠ Do not over-tighten the Delrin shifter base in the vise; the hard plastic can crack.
Step-by-Step Instructions
1 Strip the center console and dash trim
Remove the dash trim panels and the complete center console so the shifter assembly is fully exposed. Full removal is worth the effort because the mechanism sits low and you need every bit of clearance to work. College Hills Honda publishes a console and armrest removal procedure for the 2011 CR-Z at http://www.collegehillshonda.com/instructions/crz/2011/armrestconsole.pdf. With the floor open, this is also a convenient point to apply sound-deadening mat to the exposed metal.
2 Unbolt the shifter box from the floor
Remove the four 12mm bolts that fasten the shifter box assembly to the vehicle floor.
3 Release the interlock cable from its lever
Detach the Auto Stop / shifter interlock cable from its actuating lever on the left side of the mechanism. A very small cotter pin retains it; capture that pin carefully, because it is easy to lose.
4 Free the interlock cable housing from the base
Release the interlock cable housing from the shifter base by rotating its large black plastic grommet a half turn counter-clockwise (as seen from the driver's seat) and lifting it clear. If the grommet refuses to rotate, bend the metal retaining tab so the housing can slide off; this workaround came from ArtJDM in the follow-up discussion after another builder could not get the grommet to turn.
5 Disconnect the shift linkage rod
Slide a flat-blade screwdriver beneath the spring clip that holds the shift linkage rod to the base. The clip rides upward and pops free, releasing the rod.
6 Remove and strip the shifter base
Lift the shifter base assembly out of the car. Pull the four metal sleeves from the OEM rubber bushings, then pull the four rubber bushings themselves. These soft mounts are not reused in the build, but keep them in case you ever want to return the car to stock.
7 Enlarge the base holes for the aluminum hard mounts
Clamp the base in a vise. It is molded from Duracon/Delrin, so tighten it gently to avoid cracking it. Using a Dremel with a small grinding bit, open each of the four mounting holes slowly, evenly, and concentrically until the reduced-diameter portion of each aluminum hard-mount bushing snaps in with a close, interference fit. Delrin cuts away fast, so remove material a little at a time. A dab of super glue on each bushing keeps it from falling out during final reassembly.
8 Ream the adapter bore to clear the CR-Z shaft
On the CR-Z shifter shaft, the stainless adapter's bore runs roughly 1mm (.020") narrower than it needs to be. Remove the four set screws first, then use a Dremel with a small carbide bit to shave metal from the bore. Only about .010" of material was actually needed. Check the fit against the shaft frequently so the shaft ends up snug rather than loose.
9 Deepen the adapter bore
Drill the bore roughly 1/8" deeper with a 5/16" bit. Seating the adapter 1/8" farther onto the shaft than its original design lets the four set screws clamp against the solid cylindrical section of the OEM shaft instead of the tapered, machined portion, where they would be more likely to work loose.
10 Mount the adapter to the shifter shaft
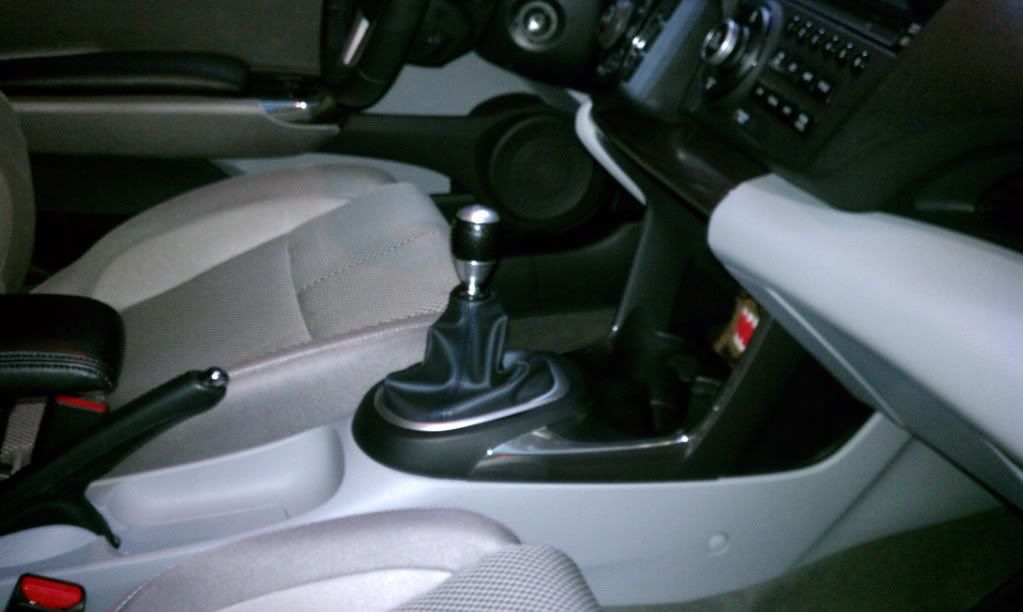
Put one drop of red Loctite on each of the four set screws, then start them threading into the adapter. Slide the adapter onto the shifter shaft, tap it home with a light hammer blow, and torque the set screws to 10Nm.
11 Add spacers to correct the linkage angle
Reinstall the assembly temporarily and cycle through the gears. Because the aluminum bushings sit lower than the rubber originals, the linkage rod may angle slightly downward. Fit a 1/4"-thick aluminum spacer, each drilled with a 1/4" hole, at every one of the four bushings between them and the floor. The OEM sleeves sat about 1/4" below the base and the hard mounts sit about 1/2" below it, so the added spacer nets only a 1/4" rise, less than the 1/2"-3/4" that the Skunk2 kit adds. This straightens the rod back to the factory path.
12 Test drive and reassemble
Confirm the shift action is smooth with a short test drive, then reassemble the console and trim in reverse order of disassembly. The finished throw drops from a little over 4 inches to about 3-1/8 inches, with a firmer, more engaged feel from the solid mounts. The knob ends up roughly 1/4" higher than stock.
Pro Tips
- 💡 Alternate approach without the adapter: cut the shifter stalk one inch above the shift-cable ball and weld in a 7/8" section. One builder (ffearless) reported the throw went from 4-5/8" down to 3-1/8" this way.
- 💡 With the console removed, take the opportunity to add sound-deadening mat to the bare floor and frame, which quiets the cabin noticeably.
- 💡 Do a temporary dry-run install and run through the gears before final assembly, so you can confirm the linkage angle and add spacers if needed.
- 💡 The kit ships with red thread locker included, so you do not need to source it separately.
- 💡 If you would rather not fabricate, Backyard Special also sells shifter bushings as an off-the-shelf option (noted in the follow-up discussion).
Was this guide helpful?
