Honda Civic Horn Upgrade: Fitting Aftermarket Twin Horns
Introduction
This guide covers replacing the weak factory horns on a Honda Civic with a louder aftermarket twin-horn set, such as the Stebel Magnum electromagnetic high/low pair. Because a high-output horn draws more current than the standard circuit is intended to carry, the upgrade uses the relay supplied in the horn kit, wired so the original alarm-triggered horn function is preserved. The work involves dropping the front bumper to reach both horn locations, mounting the new units on the reused factory brackets, running the relay wiring, and tapping the existing horn-button signal without cutting into the loom. Lower-draw replacement horns can instead be spliced straight onto the standard wiring, and that simpler path is noted in the tips. The procedure applies to Honda Civic models of this era (including ES and Type S trims) that have twin front-mounted horns behind the bumper. Adapted from a community writeup by campbell_p30 on Civinfo (https://www.civinfo.com/threads/how-to-upgrade-the-horn.8362/), including corrections from the follow-up discussion.
Reference
Tools Required
- 10 mm socket (No.10)
- Socket extension or flexible screwdriver adapter to reach the deep bumper bolts
- Flat and cross-head screwdrivers
- Crimping pliers or crimp tool
- Electrical tape
- Cable ties
Parts Required
-
Aftermarket twin horn set (e.g. Stebel Magnum electromagnetic hi/low pair), typically supplied with mounting brackets and a relay
-
20A inline fuse holder and 20A fuse
-
Automotive cable rated 20A or higher
-
Blue push-on (spade) connectors
-
Blue piggyback spade terminal
-
Red fork/spade terminals for the earth, battery and trigger connections
Safety Warnings
- ⚠ The factory horn circuit is shared with the vehicle alarm, so any added relay must be fitted downstream of the existing relay to keep the alarm's horn sounding working.
- ⚠ Match the horn to the circuit: reported factory fuse ratings differ between members (one cites 15A, another 25A), and a high-draw horn like the Stebel or Nautilus (around 18A) can exceed the roughly 10A that is safe to draw directly, so use the supplied relay for such units.
- ⚠ Connect the battery positive last, after all other wiring is finished, to avoid shorts while working.
Step-by-Step Instructions
1 Gather the horns and wiring parts
Select a twin high/low horn set; the Stebel Magnum electromagnetic pair used here cost around £17.26 and shipped with brackets and a relay. Alongside the kit, collect a 20A inline fuse holder with fuse, a run of cable rated at 20A or more, a handful of blue push-on spade connectors, one blue piggyback terminal, and red fork terminals (three for earths, one for the battery, one for the trigger tap). Decide up front whether your chosen horn needs its own relay: a high-draw unit does, whereas a modest replacement can be wired directly (see tips).
2 Remove the front bumper
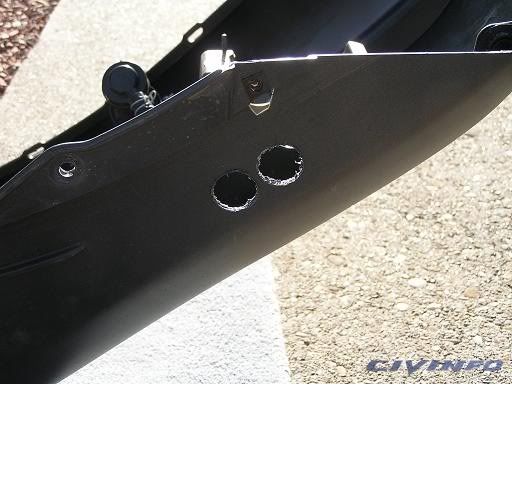
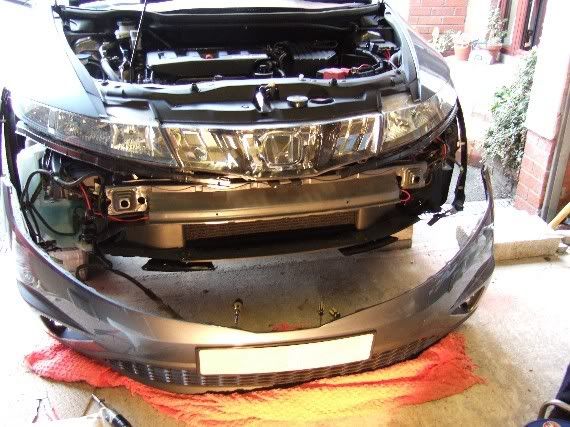
Take out the plastic flaps beneath the bumper, each held by one screw and two studs on both sides. Undo the screw and stud securing each wheel-arch liner and unclip the liner from the wing far enough to work; you need not remove it completely. Under the bumper, remove two bolts and two studs, then the screw at the top behind the arch cover. The lower bolts sit deep inside the two access holes and are roughly 8 inches in; use a 10 mm (No.10) socket on an extension or a flexible driver. With the fixings out, gently release the bumper, which clips along the top edge. Fog lights do not need to be unbolted: once the bumper is lowered there is room to unplug them. If headlight washers are fitted, either detach the pipe and cap or rest the bumper on padding to avoid draining the reservoir.
3 Mount the relay and run its wiring
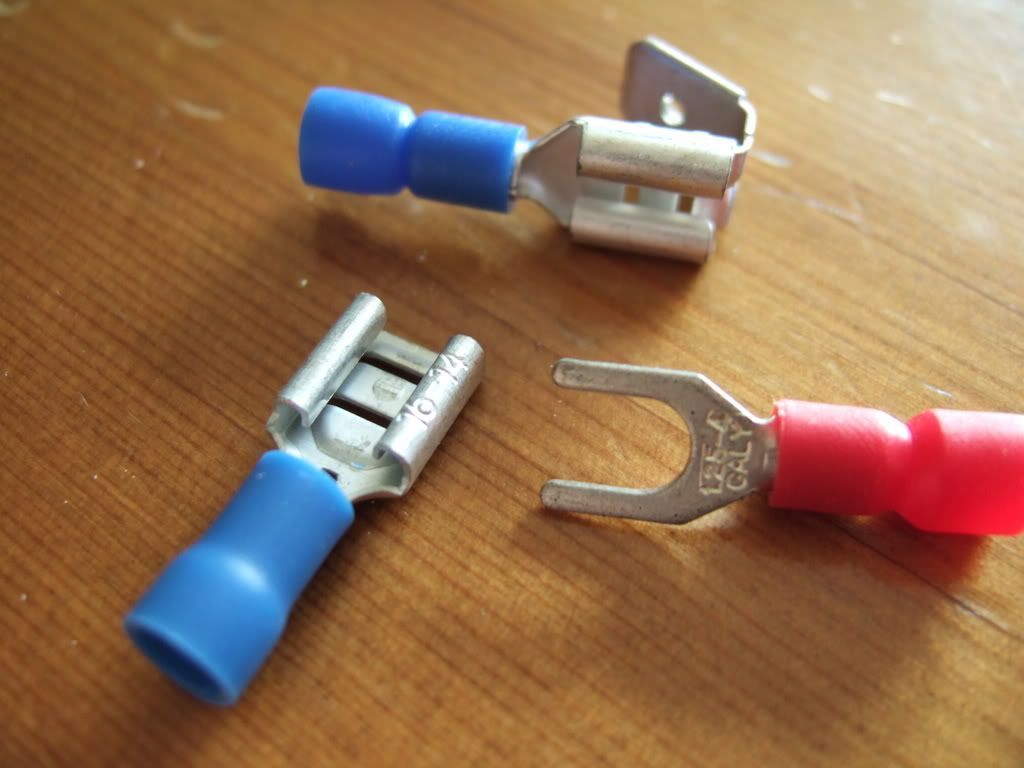
Fix the relay high in the engine bay, ahead of the fuse box, so it stays accessible without dropping the bumper again in future. Wire the four terminals: run terminal 30 through the 20A inline fuse to the battery positive, but leave that battery connection until last. Link terminal 85 with a short lead to the earth point next to the battery. Feed a wire from terminal 87 down toward the first horn. Run a wire from terminal 86 down to the horn area, where it will later pick up the factory horn-button signal.
4 Fit the first horn

Unbolt the original horn on the right-hand side and keep its bracket to hold the new unit. Earth one horn terminal to the ground point just above and to the right. Using the piggyback terminal, join the wire from relay terminal 87 to the other horn terminal, then add a second wire to the same piggyback and route it across the front of the car toward the second horn position.
5 Fit the second horn
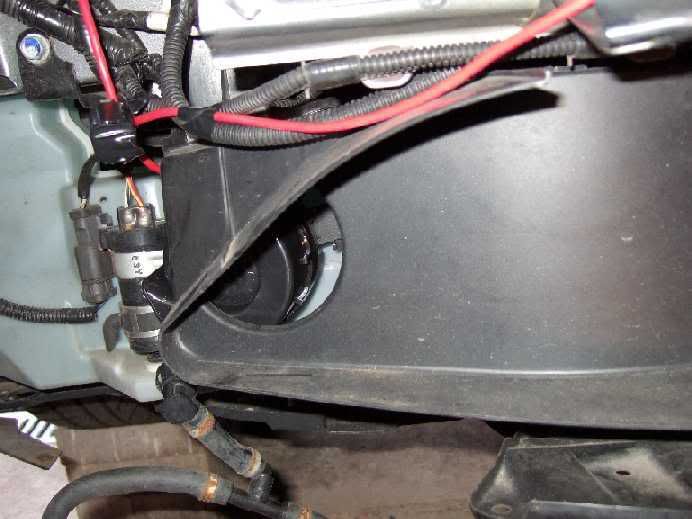
The left-hand horn sits behind a plastic panel; detach its mount and reuse it for the second new horn. Earth one terminal to the ground point above and to the left, and connect the other terminal to the crossover wire brought over from the first horn. Set both horns to the mounting angle specified in the horn instructions and tighten the fixings.
6 Tap the horn-button trigger
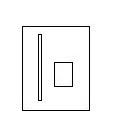
The factory horn plug has two sockets: a long thin one and a small square one. The square socket carries the trigger signal from the steering-wheel horn button, so it feeds the wire going to relay terminal 86. Push the spike of a fork terminal into the square socket for a firm connection and tape it so it cannot pull loose. The original connector that used to feed the second factory horn is no longer needed with this setup, so tape it off and leave it.
7 Power up and test
With everything else complete, connect the fused terminal 30 lead to the battery positive. Press the horn button; the ignition does not need to be on. Both horns should sound together. Once confirmed, secure any slack wiring with cable ties or tape so nothing chafes or hangs into moving parts.
8 Refit the bumper
Reverse the removal sequence to reinstall the bumper, taking care not to pinch the headlight washer pipe and reconnecting the fog lights if fitted. When seating each wheel-arch liner, make sure the black plastic strip along its lower front edge (about the bottom 6 inches) tucks behind the bumper; otherwise the arch will not sit flush. Note how it was arranged during removal so it goes back the same way.
Pro Tips
- 💡 A lower-current replacement, such as a Halfords high/low pair at about £9.99 each, can be spliced straight onto the standard loom with spade connectors and needs no relay; cut the factory plug off the loom to do this.
- 💡 Mounting the relay near the fuse box rather than down by the horns means future faults can be reached without removing the bumper again.
- 💡 Small snail-type horns (around £20 for a pair) are a cheaper option that still improves noticeably on the standard horn.
- 💡 After this wiring change the second factory horn connector is redundant; taping it off keeps it tidy and prevents shorts.
Was this guide helpful?
