
Honda Main PGM-FI Relay Repair - Solder Reflow for No-Start and Stalling Issues
- A clicking main relay is not proof it is good - the relay can click and still be faulty.
- If the car still will not start after the repair, investigate the distributor (ICM, ignition coil) and the ignition switch rather than repeatedly reflowing the relay.
Introduction
The main PGM-FI relay is one of the most common causes of intermittent no-start and stalling problems on 1980s-1990s Hondas. The classic symptoms: the car starts fine but stalls after some driving and will not restart (or restarts and stalls again), the fuel pump does not prime for a couple of seconds when the ignition is first switched on, and low or no fuel pressure. Failures are often worse on hot days and the car may start again after sitting for a few hours. The cause is usually dry (cracked) solder joints inside the relay from years of heat cycling, and the fix is a five-minute solder reflow rather than a replacement part. Note the relay can still prime the pump intermittently even when faulty, and other components (ignition coil, ICM, ignition switch) can mimic these symptoms - but since the relay is so easy to fix, it is the logical place to start. Applies broadly to Civic, CRX, Integra, Accord, Prelude, Del Sol, and CR-V of the era; only the relay's location varies by model. Adapted from a community writeup by ECU-MAN on OzHonda (https://ozhonda.com/forum/showthread.php?31796-DIY-Main-PGMFI-Relay-repair), including corrections from the follow-up discussion.
Procedure
7 steps-
Step 1: Confirm the symptoms point to the main relay
Typical main relay symptoms: the car starts fine when cold but stalls after some driving and will not restart, or restarts then stalls again; the fuel pump does not prime for a few seconds when the ignition is first turned on (though a faulty relay can still prime intermittently); low or no fuel pressure; and problems that get worse in hot weather but clear after the car sits for a few hours. If the relay repair does not cure a no-start, look next at the distributor components (ICM, coil) and the ignition switch.
-
Step 2: Locate the main PGM-FI relay
The relay is always inside the cabin under the dash, never in the engine bay. It is commonly on the driver's side under-dash area, but many models differ: EK Civic (96-98) - behind the glove box, top left; EG Civic / Del Sol / third-gen CRX - behind the under-dash fuse box on the right (awkward to remove); DA9 Integra - under the steering column behind the lower cover, a black box marked 'Mitsuba'; second-gen CRX - above the hood latch lever, tucked in a recess; DC2 Integra - below the hood release, behind the kick panel on the driver's side; fourth-gen (1994) Prelude - passenger side footwell behind the carpet/kick panel; CR-V and some older Accords - behind the glove box (the glove box comes out with two 8 mm bolts and the bottom hinges).
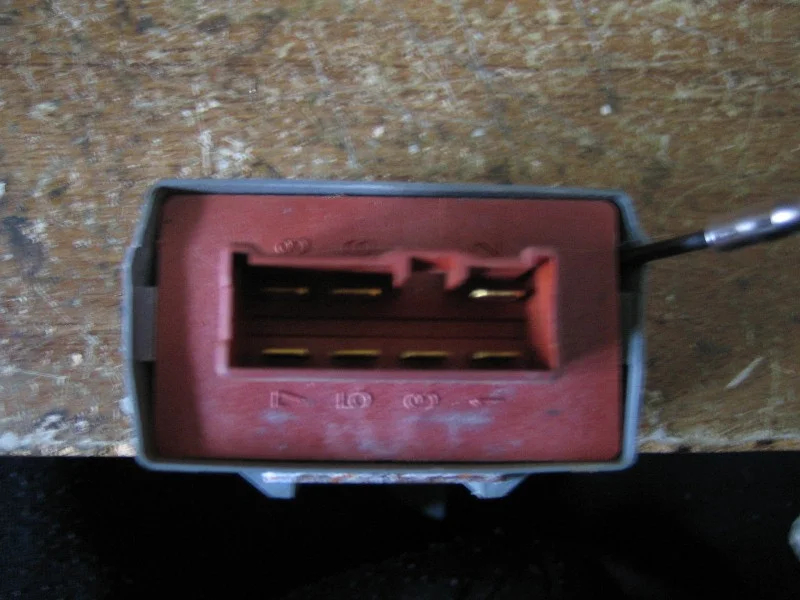
FIG. 2.2 -
Step 3: Remove the relay
Undo the single 10 mm bolt securing the relay and unplug its wiring harness connector. In tight locations you can sometimes remove the relay's bottom cover while the housing is still bolted in the car and slide the relay internals out of the housing.
-
Step 4: Open the relay case
Pry the plastic case open with a flat head screwdriver, working evenly from both sides. On EG Civics an easier method from the discussion: grip the plastic at the retaining tabs with pliers and bend them back, then bend them back into place when reassembling.
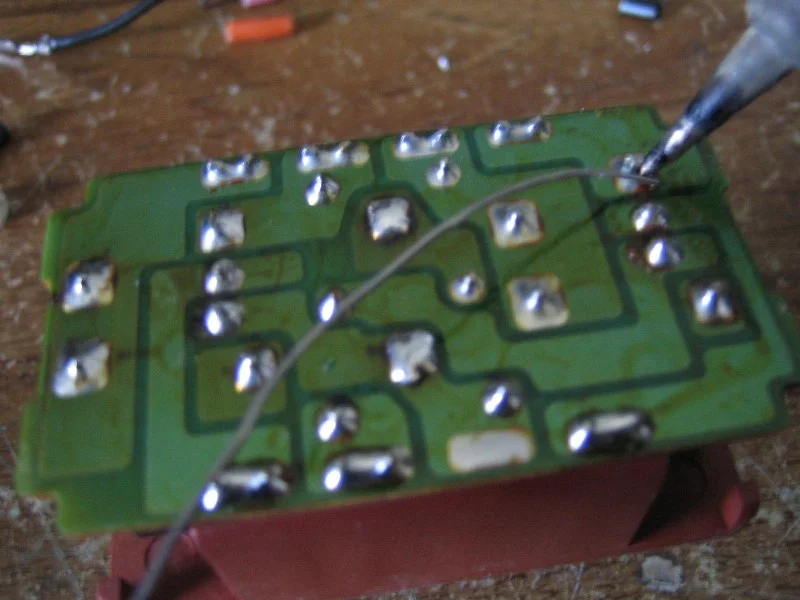
FIG. 2.4 -
Step 5: Inspect the solder joints for cracks
Look over the circuit board for dry solder joints. The telltale is a fine ring crack around the solder where the pin meets the board - these can be very subtle and hard to see, and joints that look acceptable can still be bad. Factory solder on these relays is often pitted and tarnished with age.

FIG. 2.5 -
Step 6: Reflow every solder joint
Reflow the solder on every joint on the board, not just the visibly cracked ones - it only takes about five minutes and definitely will not hurt. Add a little fresh solder but not too much, and let the solder fully melt and bond to the component leg and pad. While the relay is apart, give the relay contacts a spray with electrical contact cleaner.
-
Step 7: Reassemble, refit, and test
Snap the case back together in reverse order of disassembly, plug the harness connector back in, and refit the 10 mm mounting bolt. Turn the ignition on and confirm the fuel pump primes for a couple of seconds, then start the car. Multiple owners in the discussion report this reflow bringing completely dead relays back to life.
- To verify the fuel pump itself before condemning the relay: remove the relay and, with the ignition on, bridge the black/yellow wire (fuse-fed power) to the yellow/black fuel pump wire at the harness connector with a short piece of wire - the pump should run. If it does, the fault is in the relay; wire colors can vary by model, so verify for your car.
- Also check the ECU fuse (15 A) in the engine bay fuse box and the No. 14 fuel pump fuse (10 A) under the dash before or alongside this repair.
- High-output pumps such as a Walbro load the main relay far more than a stock pump. One contributor added a second relay triggered by the main relay to carry the pump current and take the load off the main relay - worth doing if a repaired relay fails again.
- The hardest part of the whole job is usually just getting the relay out of the car.
- Reflowing the relay on a car with no starting issues provides no benefit - this is a repair, not preventive maintenance (per the author).
- If the repair works but symptoms return weeks later (reported by one user), replace the relay with a new unit.
Related procedures
All guides →
Tap right for next · left for back · Keys: ← → step · Space / PgUp / PgDn scroll · Esc exit