Honda Civic (FN2) Front Anti-Roll Bar Drop Link Replacement
Introduction
A knocking or clunking noise from the front suspension over bumps and at low speed on the 2006-2011 Honda Civic (FN2), including the Type R and the 2.2 i-CTDi diesel, is very often a worn front anti-roll bar drop link. The link is a short strut with a ball joint at each end that ties the anti-roll bar to the suspension strut; once its ball joints develop play it rattles and can eventually detach. This guide covers renewing both front drop links yourself. The mechanical task is quick, but corroded fasteners are the real challenge on these cars, so most of the guidance here is about freeing seized nuts without damage. Dealers have quoted anywhere from around 80 to over 190 pounds for this work, whereas a pair of links and an afternoon in the garage costs a fraction of that. Adapted from a community writeup by voicey on Civinfo (https://www.civinfo.com/threads/how-to-change-drop-links-the-easy-way.61650/), including corrections from the follow-up discussion.
Reference
Tools Required
- Trolley jack and axle stands
- Wheel brace or socket for the road wheel nuts
- Air or electric impact wrench (optional, speeds up wheel and nut removal)
- 14 mm ring spanner
- 5 mm hex (Allen) key
- 17 mm spanner (for the flats on the replacement stud)
- Torque wrench
- Wire brush
- Lump hammer
- Mole grips or Stilson wrench (to grip a spinning ball-joint stud)
- Blow torch (for a badly seized nut)
- Angle grinder, hacksaw with 24-tooth blade, or Dremel (to cut off a stud that will not release)
- Sturdy wood blocks or a second trolley jack to support the hub
Parts Required
-
Front anti-roll bar drop links, one matched pair (Honda genuine 51320SMGE01, or aftermarket such as Meyle HD, Q-Drive, or Turning Circle TCC4818)
-
Penetrating / dismantling fluid such as PlusGas
-
Aerosol spray (e.g. WD-40) for the shock-cooling method
-
Copper grease
-
M10 washers (optional, to pack out thin kit washers)
-
Anti-roll bar D-bushes (optional, worth renewing at the same time)
Safety Warnings
- ⚠ Support the car on axle stands before going underneath it; never rely on the jack alone.
- ⚠ When cutting a stud off with an angle grinder, hacksaw or Dremel, wear eye protection and keep clear of the blade or disc, which can remove a finger in an instant.
- ⚠ If you use a blow torch, keep the flame away from flexible brake hoses, fuel lines, wiring and rubber bushes to avoid fire and damage.
Step-by-Step Instructions
1 Buy in pairs and pre-soak the fasteners

Always fit drop links as a matched pair rather than singly; a car that has had only one side changed in the past will show mismatched hardware (for example a 14 mm nut on one link and a 17 mm nut on the other), which upsets balance. The night before the job, spray a penetrating fluid onto the nuts and studs at both ends of each link. A dedicated dismantling fluid such as PlusGas works far better on rusted threads than a water-dispersing product like WD-40. Give it as long as possible to creep into the threads before you start.
2 Raise and safely support the front of the car

The easiest approach is to lift the whole front end and set both sides on axle stands, then remove both front wheels. With the full axle in the air the anti-roll bar is unloaded, so the links carry no tension and come out and go back in with little fuss; it also keeps everything aligned. If your garage only lets you reach one side at a time you can jack a single corner instead, but you will then need to unload the bar manually later. Never work beneath a car supported only by the jack.
3 Clean the hub and stud sockets
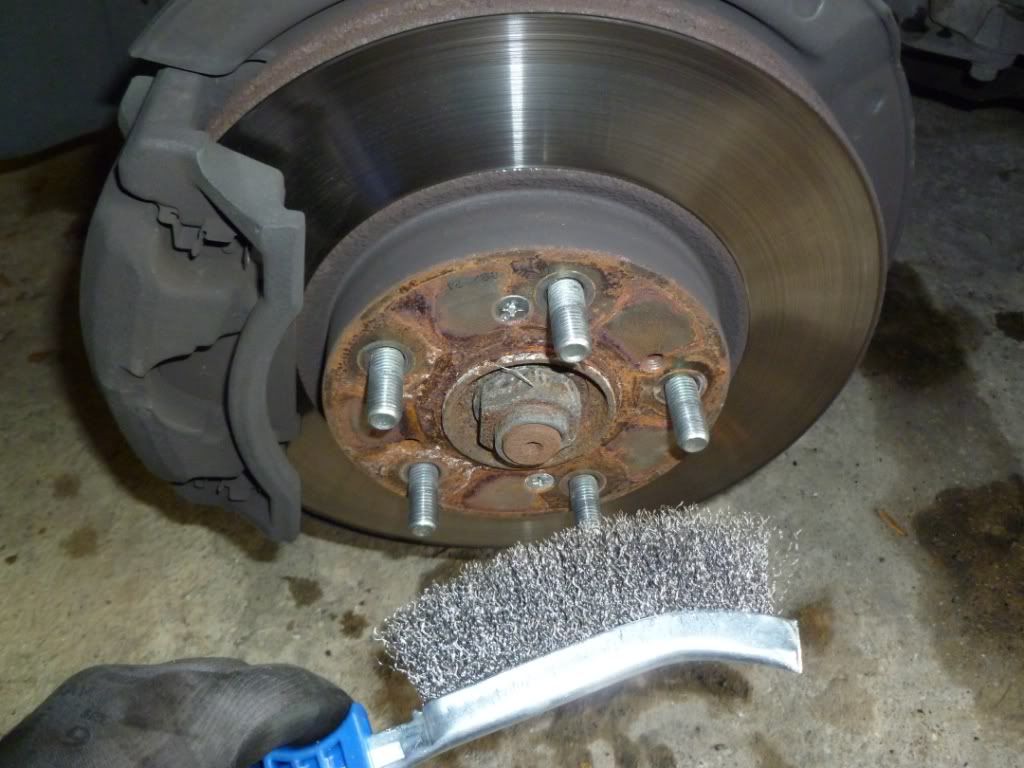
Wire-brush the rust off the hub face and the exposed drop link fittings so tools seat cleanly and the alloy wheel is not seized to the hub. The original stud has an internal hex socket in its end; dig any packed corrosion out of that socket so the 5 mm hex key reaches its full depth. Shallow engagement is exactly what rounds these sockets out and turns an easy job into a fight.
4 Loosen the retaining nuts

The factory link uses a 14 mm nut with a 5 mm internal hex that stops the stud spinning. Insert the hex key and hold it; because it fouls the strut it barely needs holding, so you can concentrate on turning the 14 mm ring spanner. A cheap spanner and an old hex key tapped with a lump hammer are ideal here, since there is a genuine risk of snapping better tools. Work each nut back and forth to walk it off the thread.
5 Deal with a seized nut
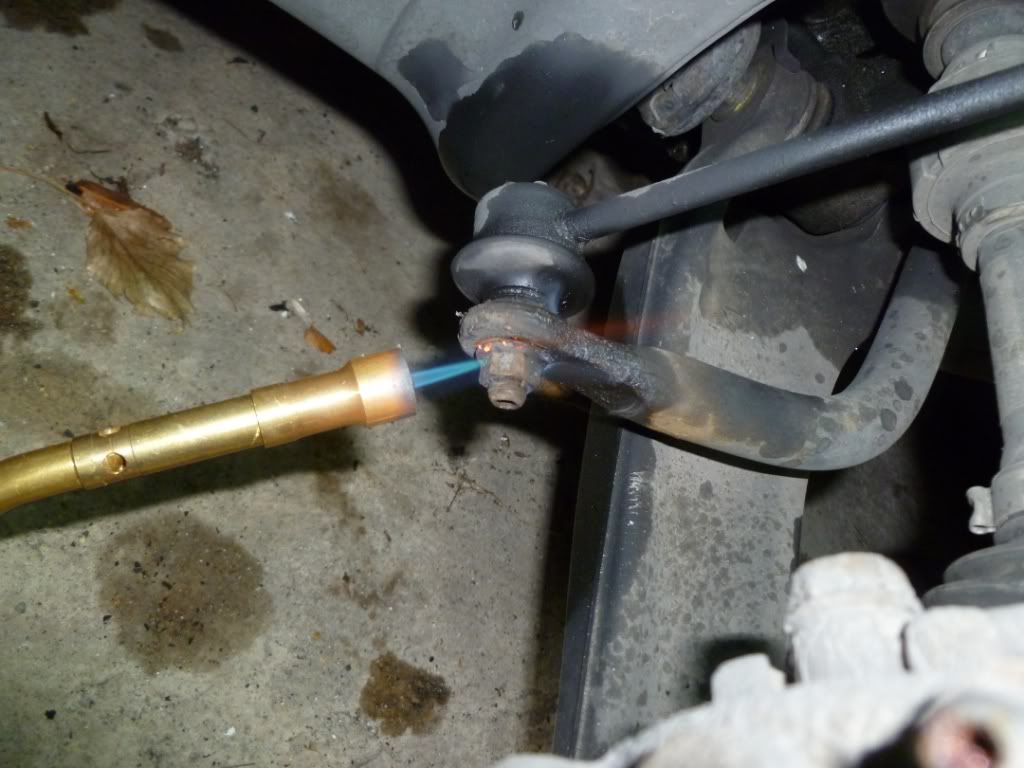
If a nut will not budge, several methods work. Thermal shock: heat the nut with a blow torch to expand it, then use a straw to direct an aerosol spray into the hex hole. Any propellant that leaves the can as a cold vapour (WD-40 will do) draws heat as it evaporates and chills the stud, so the stud shrinks while the nut stays expanded and the joint breaks free; keep the flame well away from brake hoses and fuel lines. Mechanical grip: clamp mole grips or a Stilson wrench onto the ball-joint body and turn the nut with a socket. Last resort: cut the stud off with an angle grinder, a 24-tooth hacksaw blade, or a Dremel, attacking it from below the hub at the front. Cutting is fast but easily takes a finger, so protect yourself.
6 Unload the bar and remove the old link
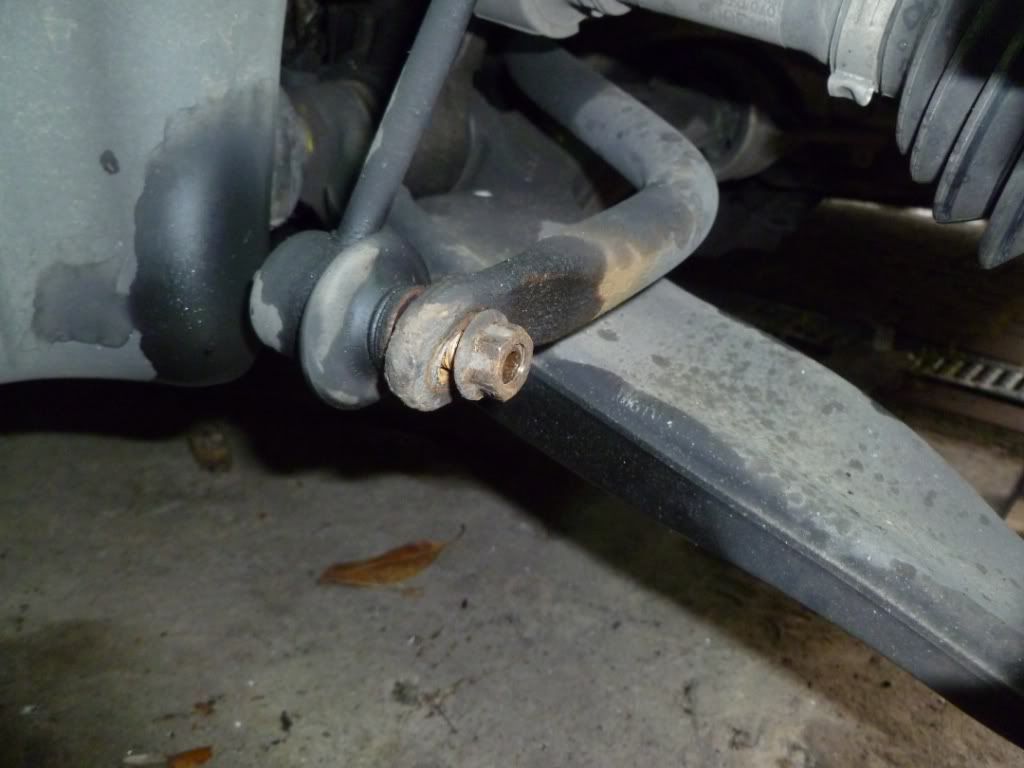
If you raised only one corner, prop the hub on sturdy strapped wood blocks or a second trolley jack, then lower the main jack. As the body settles the anti-roll bar relaxes until the link floats loose in its mounts. If both sides are already on stands the bar is slack from the start. Have the new link in your hand before you pull the old one, because the freed bar drifts within a minute or so and swapping straight away saves a lot of fiddling to line things back up.
7 Fit the replacement link

Most aftermarket links come with their own bolts. The replacement bolts are 17 mm and carry 17 mm flats machined at the back of the stud so a spanner can hold it steady while you tighten, which is far better than the old internal-hex arrangement. Add a couple of M10 washers if the supplied ones look thin. Wipe a thin film of copper grease across the hub face before refitting the wheel so the alloy does not corrode solid onto the hub next time.
8 Torque up and finish the other side
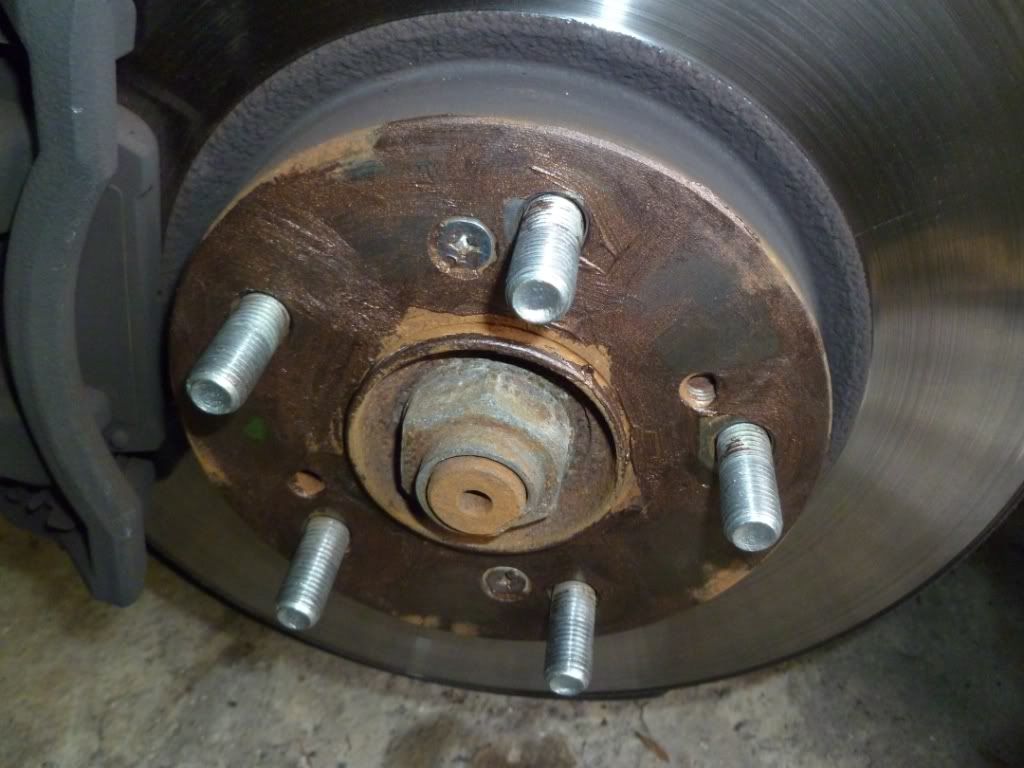
Tighten to the correct figures: 29 N·m on the top nut and 38 N·m on the lower one, holding the stud with a 17 mm spanner on its flats so it cannot spin. Refit the road wheel, lower the car, and torque the wheel nuts. Then repeat the whole procedure on the opposite side. With both links renewed the suspension knock should be gone and the handling noticeably sharper.
Pro Tips
- 💡 Spraying every fastener with penetrating fluid a full day in advance is the single biggest thing that decides whether the nuts come off cleanly or have to be cut.
- 💡 Getting both front wheels off the ground fully unloads the anti-roll bar and makes fitting the new links much easier than working one side at a time.
- 💡 Avoid the very cheapest eBay links; owners report them arriving bent, running too long, or using a clear plastic boot that splits and fails the MOT. Q-Drive, Meyle HD and similar mid-range brands with a rubber boot have a better track record.
- 💡 A small amount of ball-joint play is not an immediate failure, but renew the links before the bar can detach; some owners drove on a light knock for a few months while waiting for better weather.
- 💡 Anti-roll bar D-bushes are cheap and right there once the link is off, so it is worth renewing them at the same time.
Was this guide helpful?

