Adding a Subwoofer and Amplifier to a Honda Civic With the Factory Head Unit
Introduction
This guide covers adding a subwoofer and amplifier to a Honda Civic while keeping the factory head unit. Because the stock stereo has no RCA pre-outs, the amplifier signal is taken from the rear speaker wiring through a line output converter (LOC), which reduces speaker-level output to the line level an amplifier expects. The approach suits owners who want stronger bass without swapping the standard radio, and the wiring path shown applies across the eighth-generation Civic hatch (FN2 and related FK models) with the OEM head unit. The work breaks down into four wiring runs: a fused power feed brought from the battery into the cabin, a low-level signal tapped from the rear speakers, a switched remote turn-on lead, and a solid amplifier ground in the boot. Read the impedance warning below before deciding exactly where to take the signal from. Adapted from a community writeup by Deemon on Civinfo (https://www.civinfo.com/threads/how-to-install-a-subwoofer-and-amp.399/), including corrections from the follow-up discussion.
Reference
Tools Required
- Trim removal tool or thin flat-blade screwdriver
- Phillips screwdriver
- Rigid wire or a straightened metal coat hanger for pulling cable through the firewall grommet
- Wire strippers and crimping tool
- Socket set or spanner for the battery terminal and ground bolt
- Electrical tape
- Multimeter for testing power, remote and ground
Parts Required
-
Powered subwoofer, or a subwoofer plus a monoblock/bridgeable amplifier
-
Amplifier wiring kit (main power cable, ground cable, remote turn-on wire, RCA leads)
-
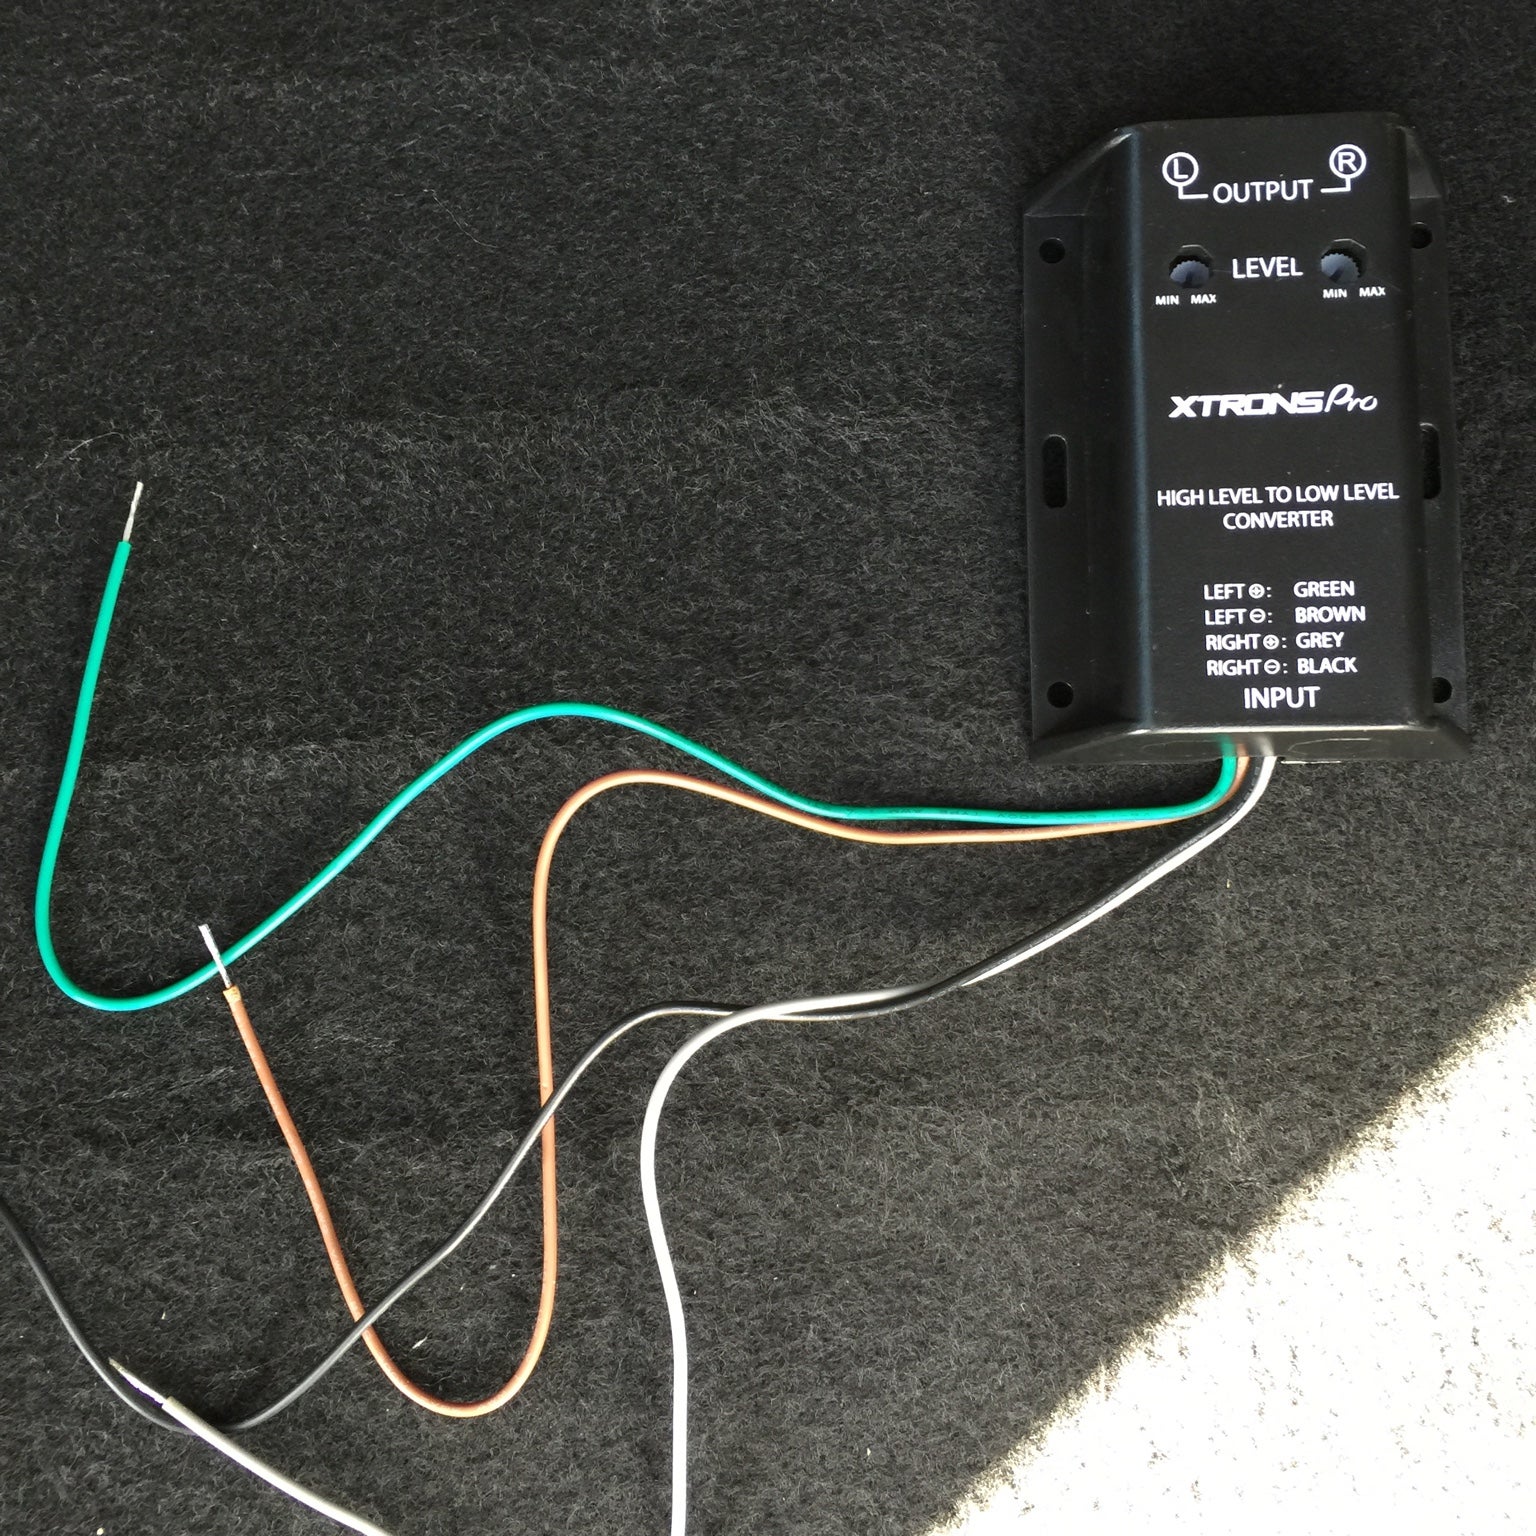
Line output converter (LOC) to step speaker level down to line level
-
Inline fuse holder and fuse fitted within a few inches of the battery
-
Ring terminal for the amplifier ground
-
Scotchlok or spade connectors for tapping the speaker signal
-
Cable ties
Safety Warnings
- ⚠ Always fit an inline fuse on the power cable within a few inches of the battery; an unfused feed to the boot is a serious fire risk.
- ⚠ Impedance caution (correction from later replies): bridging the head unit's speaker outputs straight into a LOC or amp high-level input can drop the load the head unit sees from 4 ohm toward 2 ohm and stress it. The stock Panasonic head unit is rated 12 Watts at 4 ohm and its outputs can fail over time under this strain.
- ⚠ Better practice where possible: run the head unit speaker wires into the amplifier, power the rear speakers from the amplifier, and bridge two amplifier channels to the subwoofer, using per-channel gain to balance levels.
- ⚠ Disconnect the battery before working on the power cable, and avoid disturbing head-unit or airbag-related connectors.
Step-by-Step Instructions
1 Disconnect the battery and plan the four cable runs
Before touching any wiring, disconnect the negative battery terminal so the power feed can be handled safely. Plan the four runs that make up the install: a heavy power cable from the battery to the boot, a signal pair from the rear speakers to the amplifier via the LOC, a thin remote turn-on wire, and a ground strap in the boot. Keeping the power cable on one side of the car and the signal cable on the opposite side reduces the chance of alternator whine being picked up by the low-level signal.
2 Remove the rear door card and trim to reach the speaker wiring
Take off the rear door card, which is retained by three screws plus a row of trim clips, the same way the front cards come off. Lift the door-sill kick trim, which is held by clips, and peel back the rubber door seal so the centre trim section releases. This exposes the rear speaker connections and gives a clear path to feed cable between the door and the cabin. The rear speakers are the same physical size as the fronts on this car.
3 Identify and tap the rear speaker signal
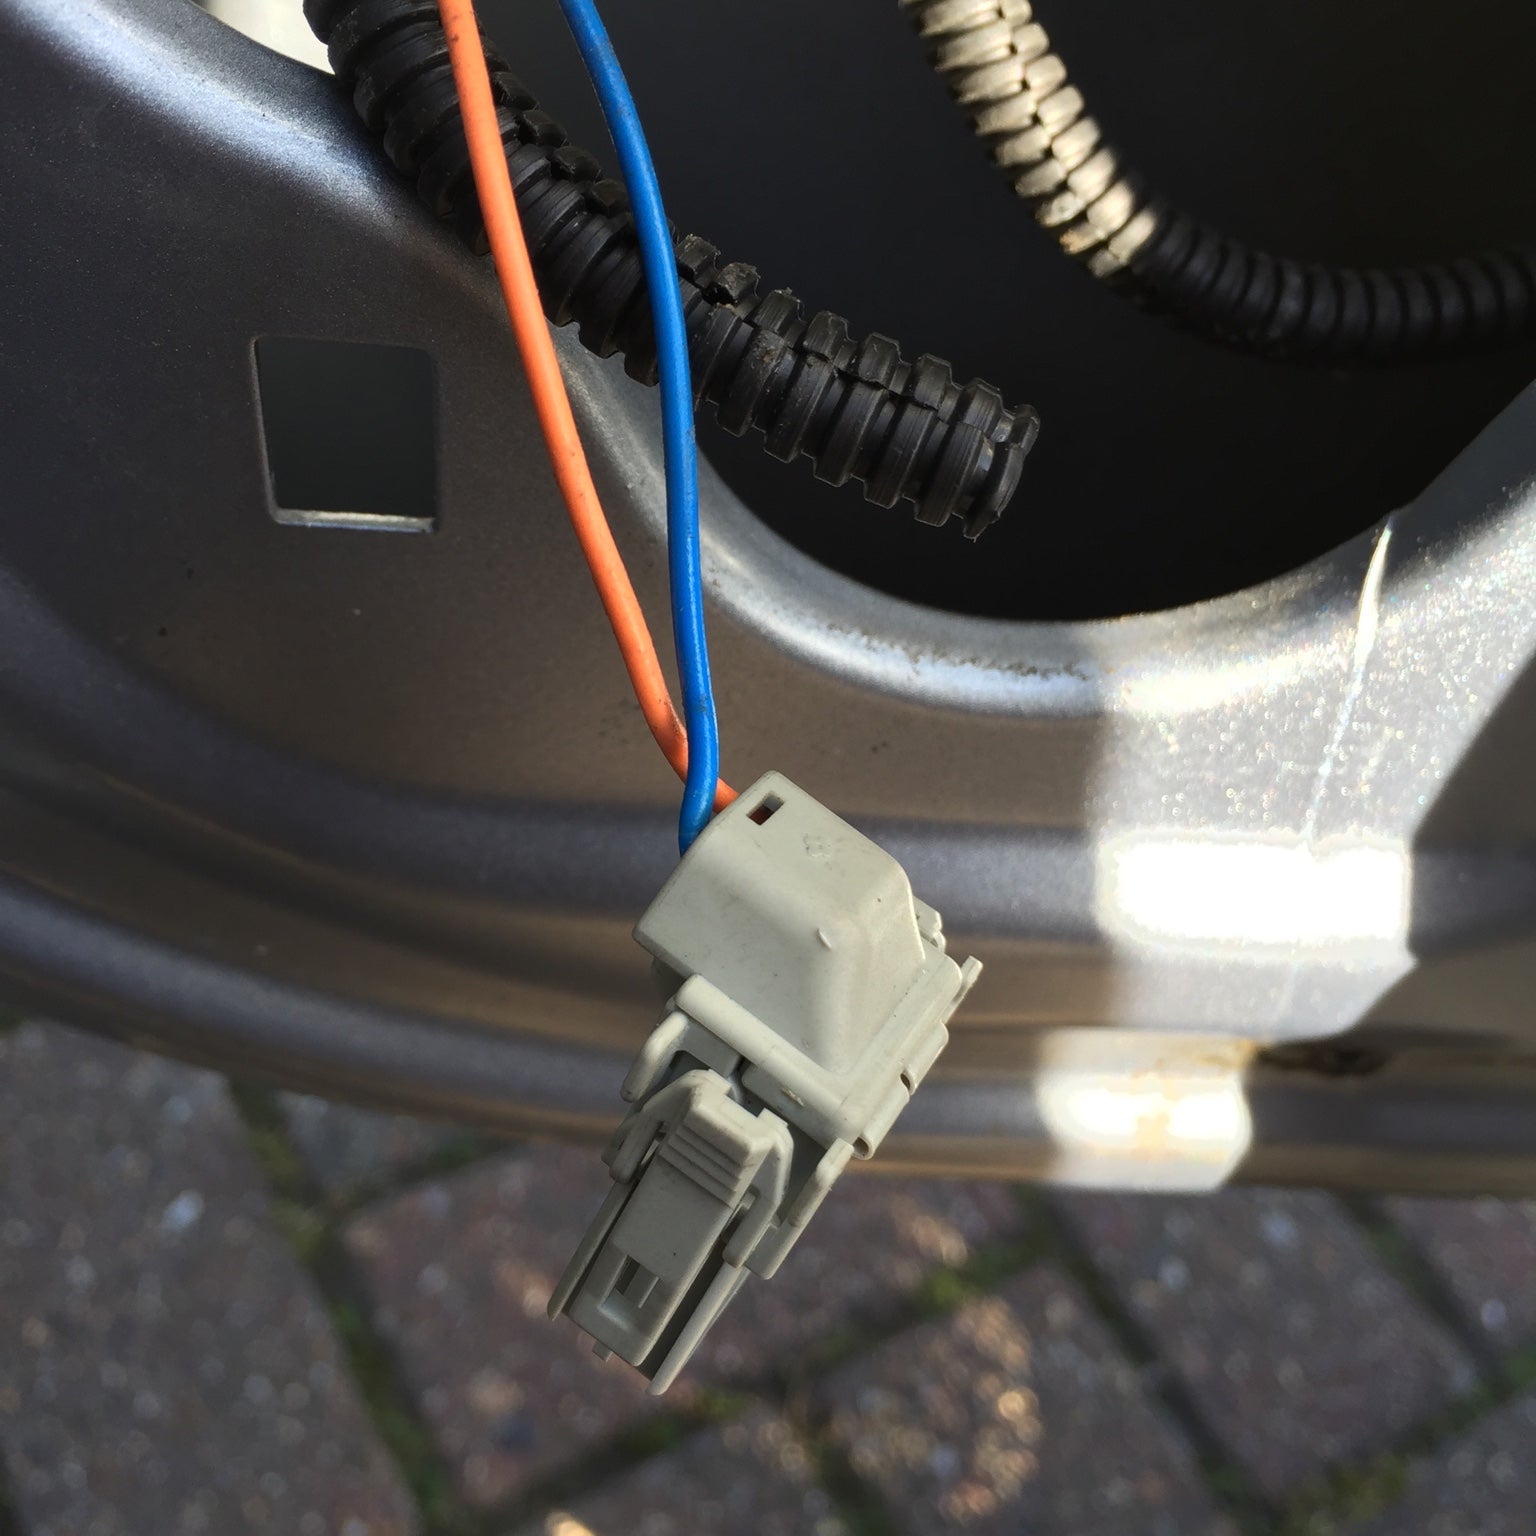
Take the amplifier's input signal from the rear speaker wires. At the loom each speaker uses two colours: on the rear left, positive is yellow and negative is brown, whereas on the rear right, positive runs blue with negative on orange. At the speaker itself the positive is the right-hand terminal when viewed from the back, on the blue cable. Rather than cutting the door wiring, a cleaner tap point is the multi-way loom plug behind the gear shifter in the centre console: fit spade or Scotchlok connectors there so the LOC feed can be removed later without leaving damaged wire. Split each tapped conductor so the original speaker still runs and a branch carries the same signal to the LOC.
4 Wire the line output converter and run RCAs to the amp
Connect the tapped speaker pairs to the LOC inputs (R+, R-, L+, L-), and connect the converter's ground lead if your head unit uses a common ground. Using both left and right pairs gives an even signal and spreads the small load across both channels. Mount the LOC near the amplifier in the boot, extending the tapped speaker cable to reach it, and run RCA leads from the LOC outputs to the amplifier inputs. A basic converter is adequate for a bass-only setup; the one used in the original build cost about GBP 7.
5 Route the fused power cable from the battery into the cabin
The main power cable passes through the firewall at the rubber grommet in the centre rear of the engine bay, where the factory harness enters the cabin. Access is very tight, so removing the air filter box first creates working room. Feed the cable from the cabin side out into the engine bay rather than the other way: attach the end to a rigid wire or straightened coat hanger, ease the grommet back with a screwdriver, and pull the cable through. An alternative for large hands is to jack the car, remove the passenger front wheel and route the cable through the wheel arch, though this is no easier. Fit the inline fuse holder within a few inches of the battery positive before making the final battery connection.
6 Run the power and signal cables back to the boot
Lift the door-sill trims and lay the power cable under the carpet along one side of the car, and the speaker/RCA signal cable under the carpet on the opposite side, both heading to the boot where the amplifier lives. Refit each trim panel as you go. Keeping the two cables separated helps avoid engine noise bleeding into the low-level signal.
7 Provide a switched remote turn-on for the amplifier
The amplifier needs a remote lead that goes live only with the ignition so it powers up and down with the car. Three proven sources exist: tap the positive (yellow) wire at the rear 12V boot socket; tap the live wire behind the front cigarette-lighter socket; or, with the head unit pulled, splice into the antenna-amplifier power wire on the small black aerial connector. All three are ignition-switched, so the amplifier will not drain the battery when the car is off.
8 Ground the amplifier in the boot
Fasten the amplifier ground to bare metal. Suitable points are the clip-in flap at the front edge of the spare-wheel well (file the paint back and bolt the ring terminal down) or the bolts on the handbrake-mount frame. A poor ground is the most common cause of weak or appalling audio from a stock radio, so scrape to clean metal and make the connection tight.
9 Connect the amplifier, set it up and test
Land the power, ground, remote and RCA leads on the amplifier and mount it securely. If the amplifier has a built-in crossover, set it to low-pass for the subwoofer so only bass is passed; this is why only a LOC, and not a separate crossover, is needed on the signal side. Reconnect the battery, switch on the ignition and confirm the amplifier powers up. If it does not, briefly bridge the amplifier's +12V and remote terminals: if it then turns on, the fault is in the remote lead; if it stays dead, recheck the main power, fuse and ground. Set the gain to suit the head unit's output and test at moderate volume.
Pro Tips
- 💡 The stock head unit has no RCA outputs, which is why a line output converter is required to feed an amplifier.
- 💡 If the amplifier is used only for a subwoofer, an inexpensive LOC is sufficient and sound quality is not usually affected.
- 💡 Tapping the signal at the centre-console loom plug with removable spade or Scotchlok connectors lets you undo the install later without damaged wiring.
- 💡 Removing the air filter box makes threading the power cable through the firewall grommet far easier; the 2.2 i-CTDi engine bay is more cramped.
- 💡 Ground the amplifier to clean bare metal; a weak ground is the usual reason a factory-radio setup sounds poor.
Was this guide helpful?
.JPG)

