Acura RDX (2nd Gen) Third-Gear Clutch Pressure Switch Replacement
Introduction
A worn third-gear clutch pressure switch is a frequent trigger for intermittent harsh or jerky shifting on the second-generation Acura RDX (2013-2018) and other Honda/Acura models sharing the V6 6-speed automatic, such as the MDX, Odyssey, Ridgeline and Pilot. The fault is often maddeningly hard to reproduce: it may surface only once in a while, feel worst on a slow uphill pull around the 2-3 change, and clear after an engine restart or by selecting Sport mode. When it finally sets a stored fault, it usually logs code P0848, which points to this switch or its wiring. Replacing the switch is a straightforward job that requires no special programming and no transmission removal; most of the effort is simply clearing the battery, air intake and airbox out of the way to reach the top of the transmission case. The part is inexpensive (around $52 online versus a dealer quote near $360), making this a strong do-it-yourself repair. Note that a separate Acura software reflash (service bulletins B17-017/B17-018) addresses a different judder mode and is not required when the pressure switch is the actual cause. Adapted from a community writeup by tpaxadpom on AcuraZine (https://acurazine.com/forums/2g-rdx-diy-faq-406/acura-rdx-third-gear-clutch-pressure-switch-replacement-993904/), including corrections from the follow-up discussion.
Reference
Tools Required
- 10 mm socket or wrench
- 22 mm deep 6-point socket
- Torque wrench with 3/8-inch drive adapter (target 15 ft-lb)
- Phillips screwdriver or 5.5 mm nut driver
- OBD-II scan tool (e.g. an ELM327 adapter with a phone app)
- Shop towels
Parts Required
-
Third-gear clutch pressure switch, Honda/Acura P/N 28600-R94-004 (green body, 36-42 psi)
-
Sealing washer for the pressure switch, P/N 90471-PW7-A00
-
Small quantity of genuine Honda/Acura ATF DW-1 to top off the minimal loss
Safety Warnings
- ⚠ Use only genuine Honda/Acura ATF DW-1. Universal or 'compatible' fluids can themselves cause the rough shifting this repair aims to cure.
- ⚠ Do not over-tighten the switch. It threads into an aluminum transmission case, and stripped threads turn a cheap job into an expensive one.
- ⚠ Disconnect the battery before starting, and expect the radio and learned transmission adaptations to reset.
Step-by-Step Instructions
1 Confirm the fault and identify the switch

Before disassembly, verify the pressure switch is the culprit rather than fluid or wiring. Read the transmission control system with a basic OBD-II scanner; code P0848 indicates the third-gear switch or its harness, though a dirty connector can occasionally mimic it, so cleaning the contact is a cheap first check. Because the factory parts diagram does not clearly mark which unit governs third gear, work from a photo reference. On this 6-speed automatic the switch you want is switch 'B', a green-bodied unit rated 36-42 psi, mounted on top of the transmission case behind the battery and airbox.
2 Disconnect the battery

Loosen both battery cable clamps with a 10 mm wrench and lift the leads clear, taking the negative off first. Be aware the radio, clock and adaptive settings will lose power; the audio anti-theft lock is handled at the very end of the job.
3 Remove the battery hold-down and air scoop
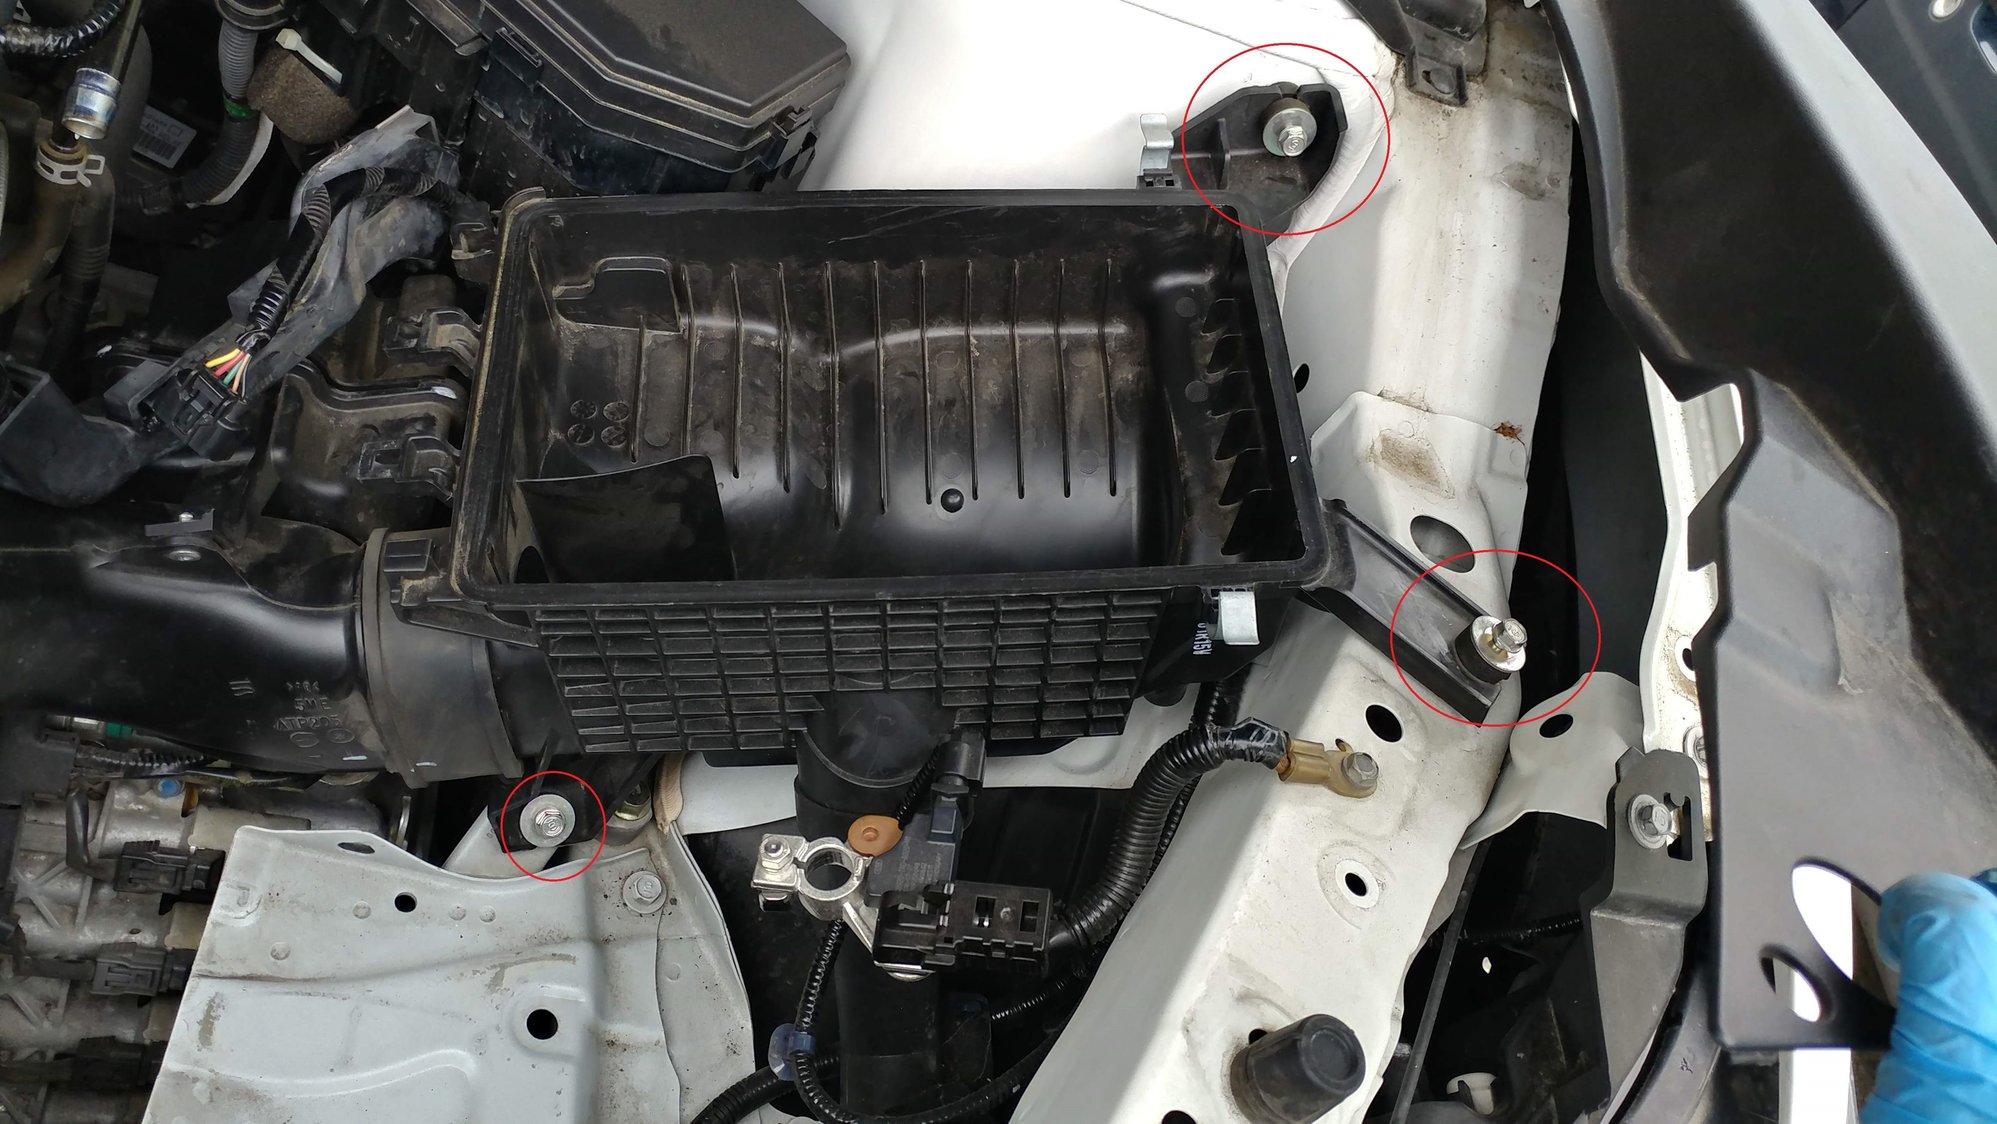
Undo the two 10 mm nuts securing the battery hold-down frame and lift the frame away. Release the two retaining clips on the fresh-air intake scoop and ease it out; it seats tightly, so expect to work it loose with a bit of wiggling rather than a straight pull.
4 Remove the battery and lift the tray

Slide off the insulating battery sleeve and lift the battery out of the bay. The plastic tray beneath it is not bolted down; raise it and free the wiring connector clipped underneath by squeezing the sides of the plug and flipping it loose.
5 Detach the intake ducting and sensors
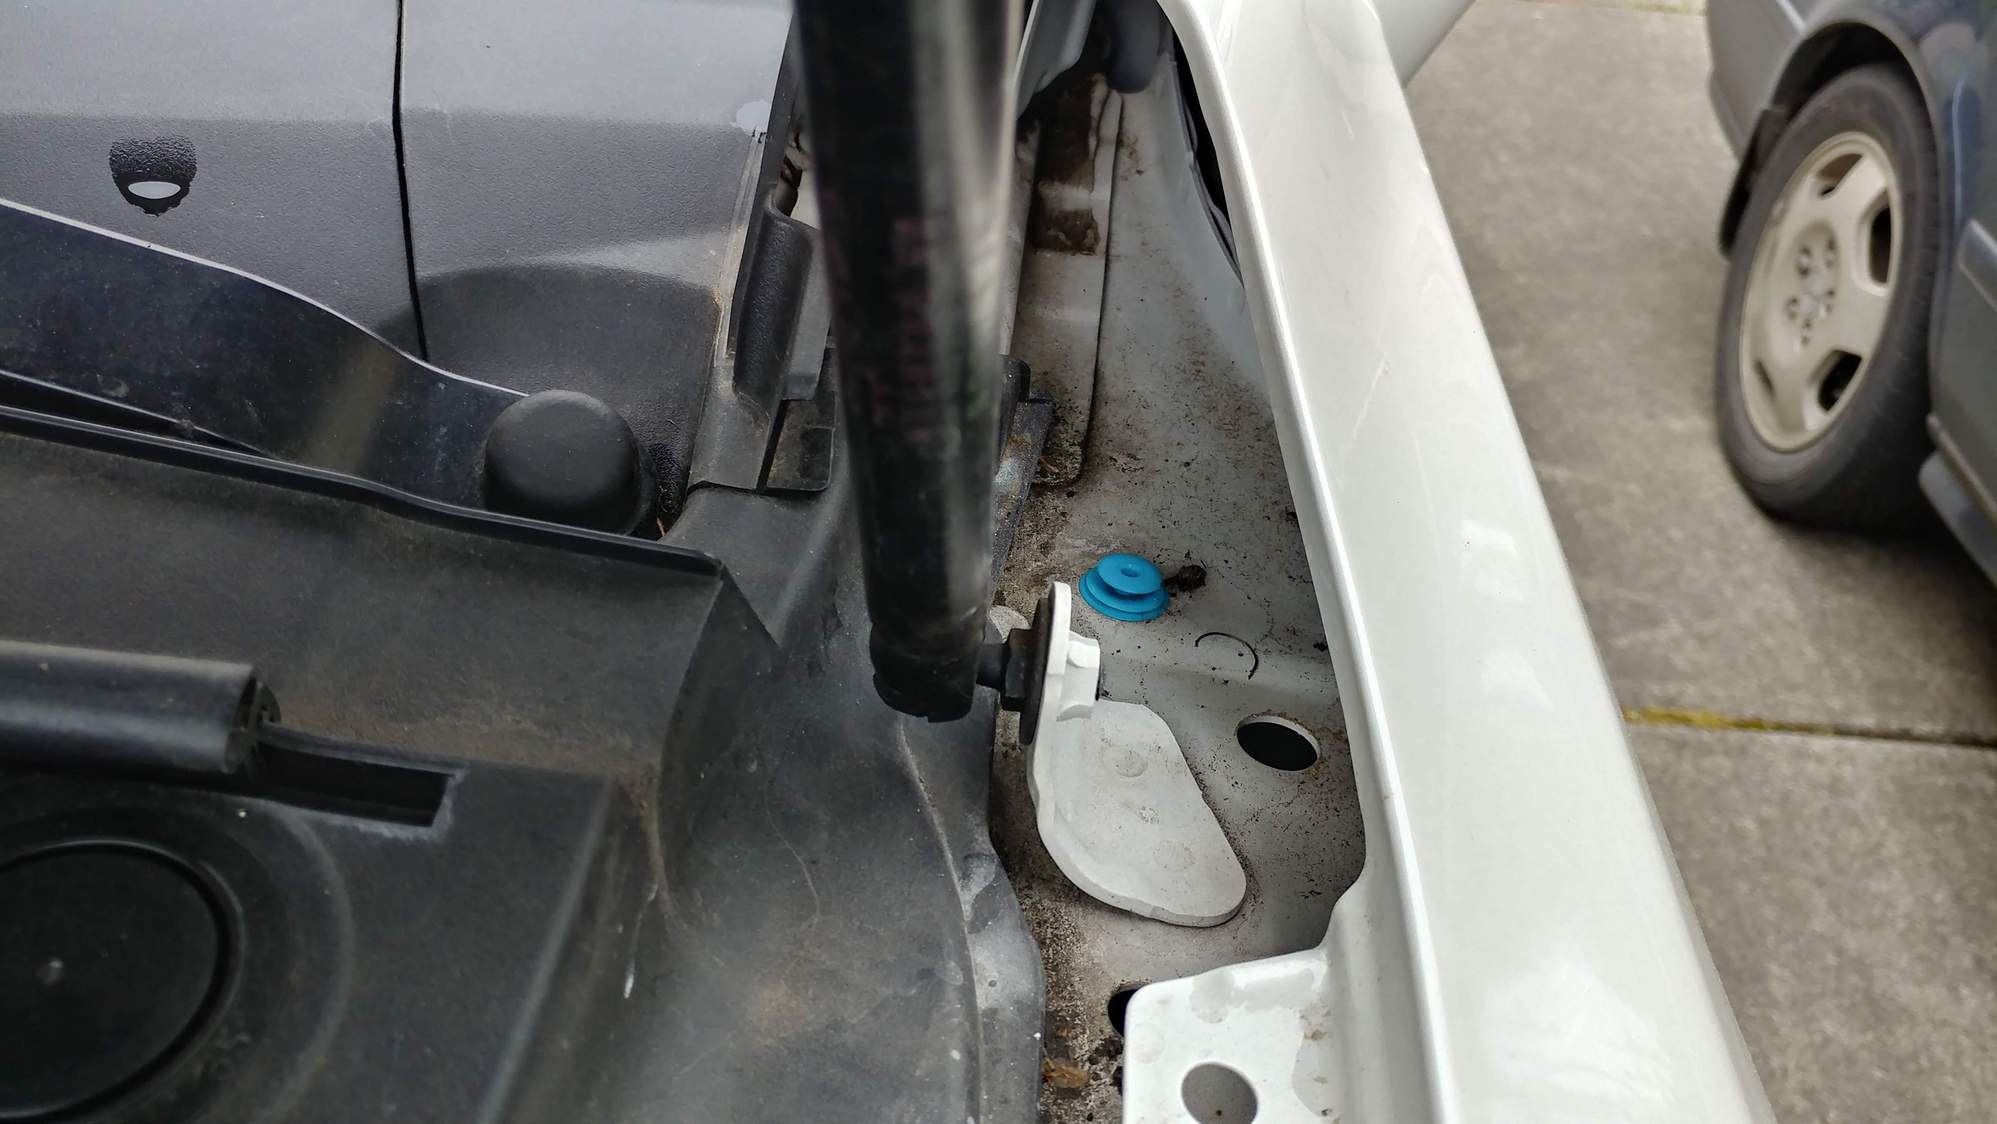
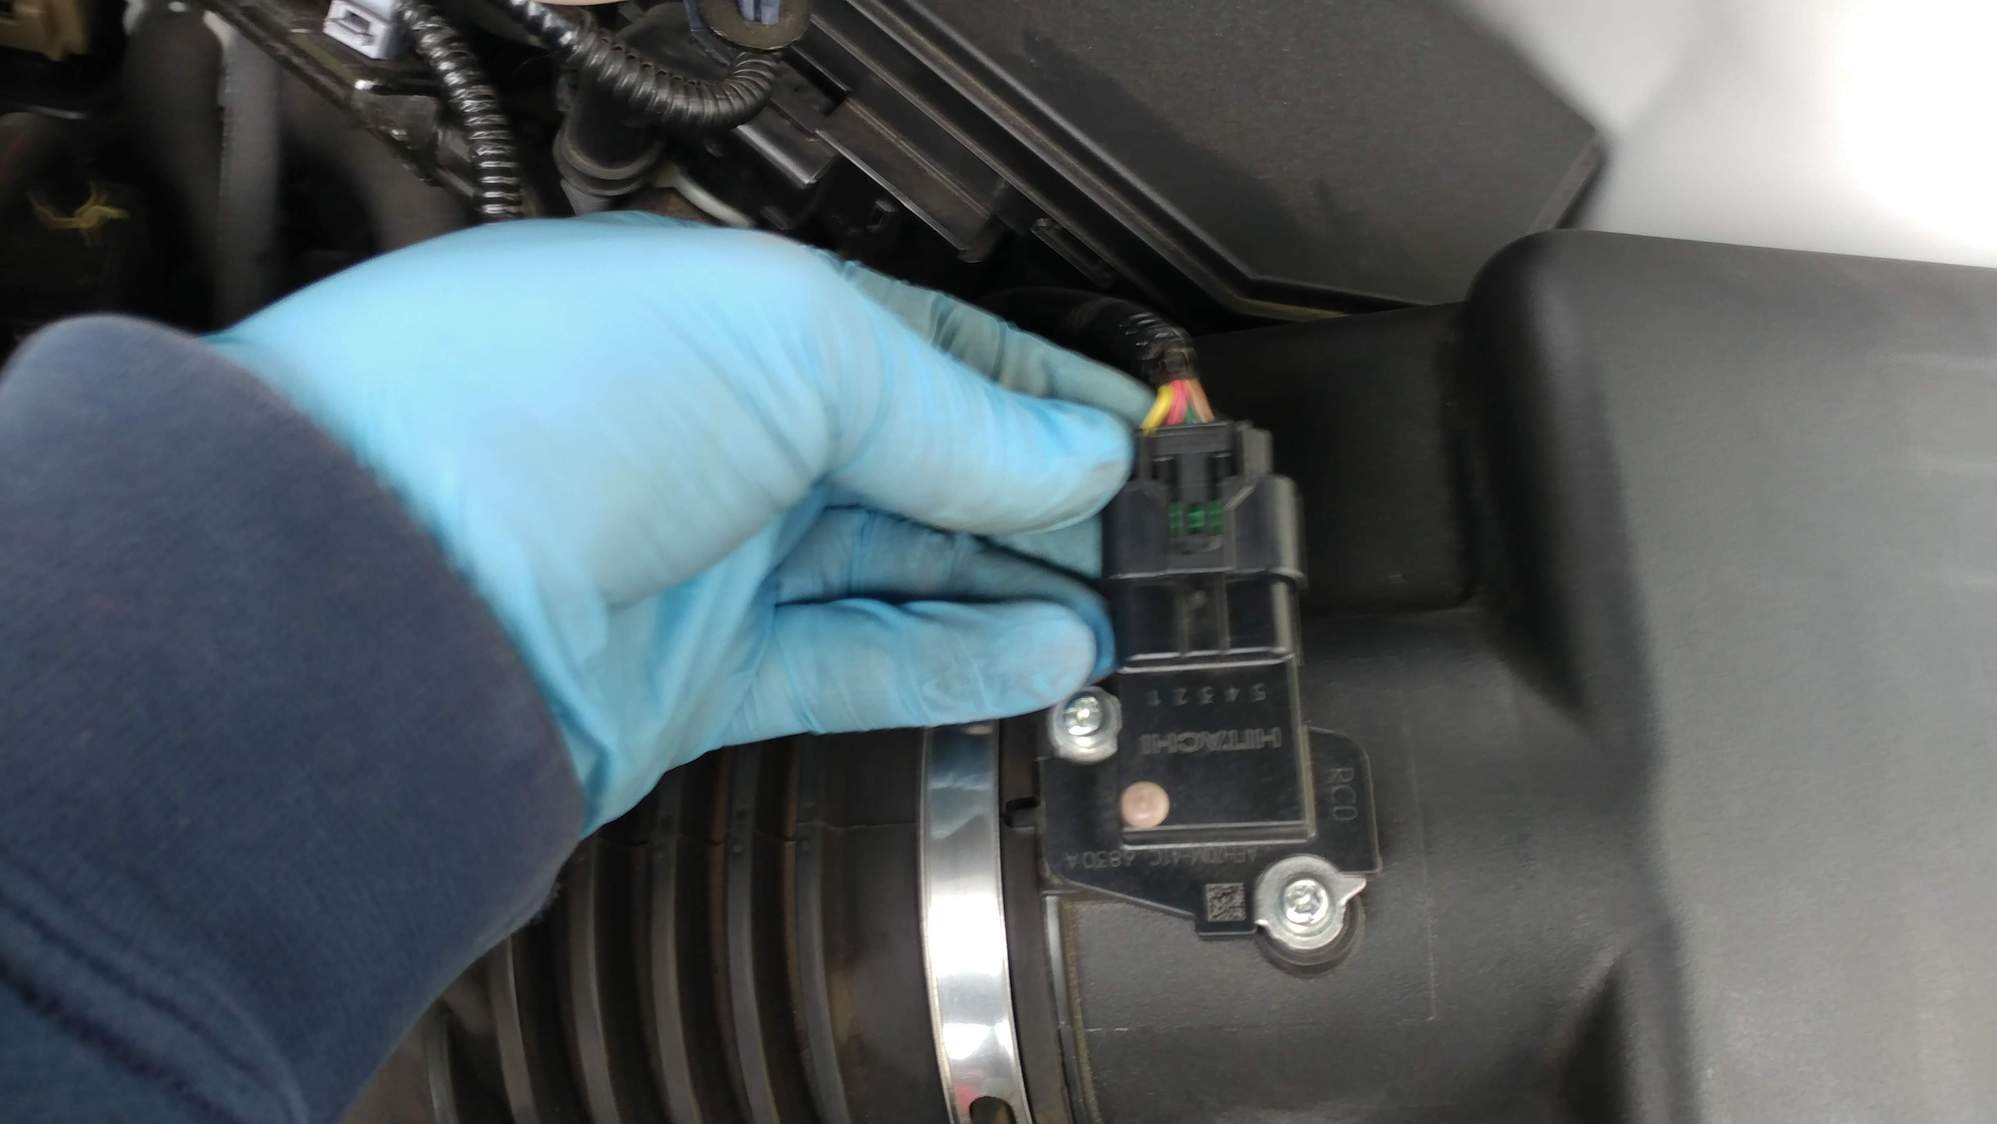
Unplug the oxygen sensor connector on the intake. Slacken the intake hose clamp with a Phillips driver or 5.5 mm nut driver. Separate the small metal breather tube from the intake hose, then work the intake duct and hose out of the bay, freeing it gradually where it resists. Unclip the positive battery cable channel from the airbox by pressing its two tabs from underneath and sliding the channel toward the passenger fender.
6 Remove the airbox

Pry up the plastic trim strip running along the top of the driver-side fender; it is held by several push clips, and any that stay lodged in the fender should be pulled out and refitted to the trim. Open the airbox, lift out the filter element, then remove the three 10 mm bolts holding the box down. Release the clipped oxygen sensor lead and lift the airbox out, which opens up access to the top of the transmission.
7 Locate and unplug the pressure switch
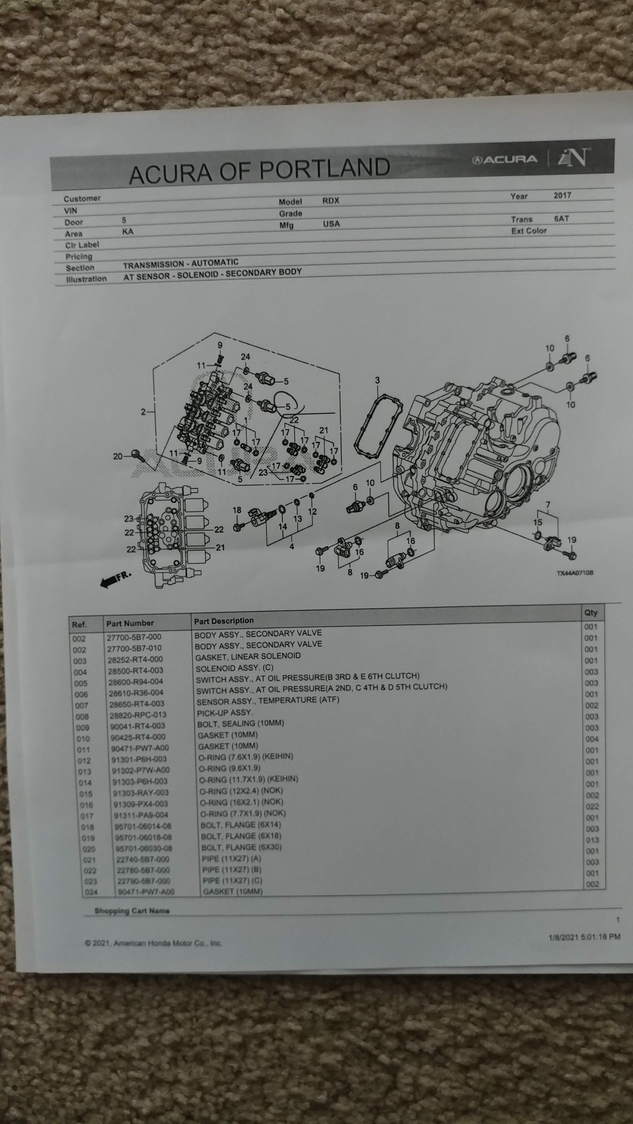
With the airbox out, the pressure switch is exposed on the top of the transmission case. Match it to your reference photo to be sure you have the third-gear unit and not an adjacent switch. Depress the locking tab and disconnect its electrical connector.
8 Unscrew the old switch

Fit a 22 mm deep six-point socket squarely over the switch and back it out. Pack a shop towel around the base beforehand, as a small amount of ATF will weep from the port once the switch clears the threads, though the loss is minor. Recover the old sealing washer if it remains stuck to the case.
9 Install the new switch to torque
Fit the new switch (P/N 28600-R94-004) with a fresh sealing washer (P/N 90471-PW7-A00); never reuse the old washer. Start it by hand to avoid cross-threading, then tighten. The original poster could not confirm a torque figure and set it by feel; later contributors and the equivalent Honda service spec give 15 ft-lb, so use a torque wrench with a 3/8-inch adapter, since many 1/2-inch wrenches begin above that value. Reconnect the electrical plug once the switch is torqued.
10 Reassemble and clear the radio lock

Rebuild in reverse: airbox and its three bolts, fender trim clips, intake duct and breather tube, oxygen sensor plugs, battery tray wiring, battery, hold-down frame, air scoop, and finally the battery cables. Top off any lost ATF if needed. Clear the P0848 code with a scan tool. When the radio requests a security code, hold its power button for roughly ten seconds to dismiss the prompt; RDX radios from 2013 onward require no code. Finish with a test drive to confirm the harsh shift is gone.
Pro Tips
- 💡 Some owners reach the switch without stripping the full intake; removing the front air snorkel, or coming up through the driver-side wheel well liner, can give enough clearance.
- 💡 The swap itself is quick once access is made; one owner finished in about fifteen minutes after prior practice on a related TL.
- 💡 While the airbox is off you can renew all six transmission pressure switches. Second, fourth and fifth gear use a different part, 28610-R36-004 (black, 30-36 psi) with washer 90425-RT4-000; third and sixth share 28600-R94-004 (green, 36-42 psi).
- 💡 Part supersession has changed some switch bodies from green to black, so a black replacement in the third-gear position is normal and not a wrong part.
- 💡 If a slow-uphill judder persists after the switch, Acura bulletins B17-017/B17-018 add a transmission software reflash plus repeat ATF drain-and-fill that firms the shifts; this is a separate remedy from the switch fix.
Was this guide helpful?
