Silencing Rear Deck (Parcel Shelf) Bass Rattle in Honda and Acura Sedans
Introduction
The rear parcel shelf (rear deck) on many Honda and Acura sedans buzzes at low frequencies when the subwoofer is driven hard, because the shelf taps against the body at a few loose contact points. This guide walks through a quick, fully reversible fix that pads those points so the panel is held firmly and stops resonating. It targets the first-generation Acura TLX, but owners report the same underlying issue and the same cure across several generations of Accord, TL, and TSX. The repair needs no permanent modification and typically removes about 95 percent of the rattle, making it a good choice for anyone who leases or simply does not want to commit to full sound deadening. If your car is still under warranty, note that a factory fix exists as well (see the tips). Adapted from a community writeup by mani on AcuraZine (https://acurazine.com/forums/5g-tlx-problems-fixes-420/diy-rear-deck-bass-rattle-928441/), including corrections from the follow-up discussion.
Reference
Tools Required
- Thin flat-blade screwdriver
- Trim or panel removal tool with a slim, 45-degree bent tip
- Smartphone with a tone/signal-generator app (optional, for diagnosis)
- A bass-heavy track or low-frequency test tone to drive the subwoofer
Parts Required
-
Soft packing material to wedge into the gaps: rolled socks, scrap foam, felt tape, rags, or a folded microfiber/glasses cloth
-
Sound-deadening tape such as Dynamat (optional alternative to loose padding)
Safety Warnings
- ⚠ The black trim caps are fragile; excessive prying snaps their centers off. Use light, controlled pressure.
- ⚠ Do not fully remove the fabric-tagged clips beside the brake light. They are structural deck-release clips and are not part of this repair; only lift them slightly to pack behind them.
Step-by-Step Instructions
1 Release the shield's top fasteners
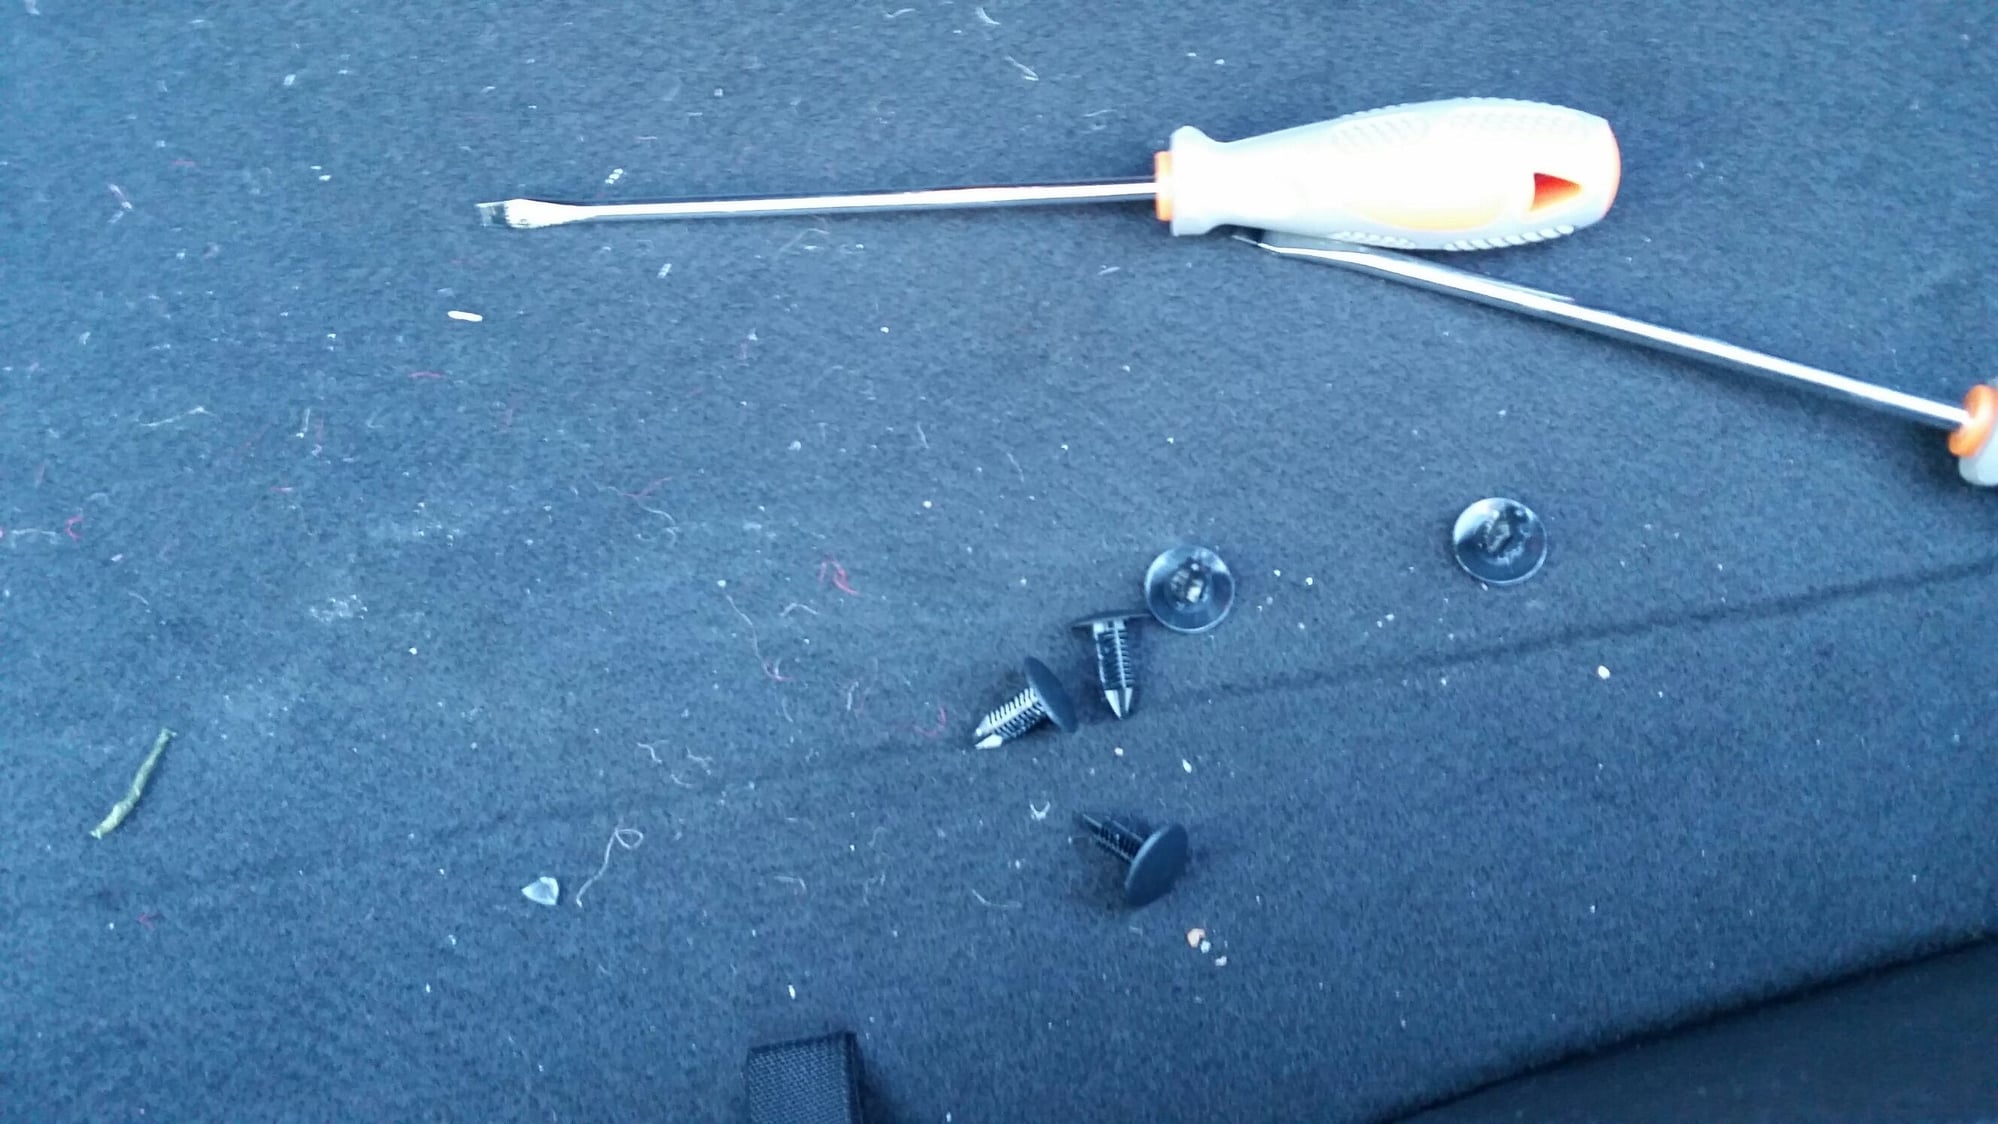
Open the trunk and inspect the upper edge of the rear trim shield, close to each rear corner and beside the high-mount brake light. Small black plastic caps secure the top of the shield. Work each cap out with a slim flat-blade screwdriver, using gentle and steady leverage. The caps are brittle and their centers break off readily, so apply the minimum force needed to free them rather than prying hard. They pull off; they are not screwed in.
2 Ease out the retaining clips
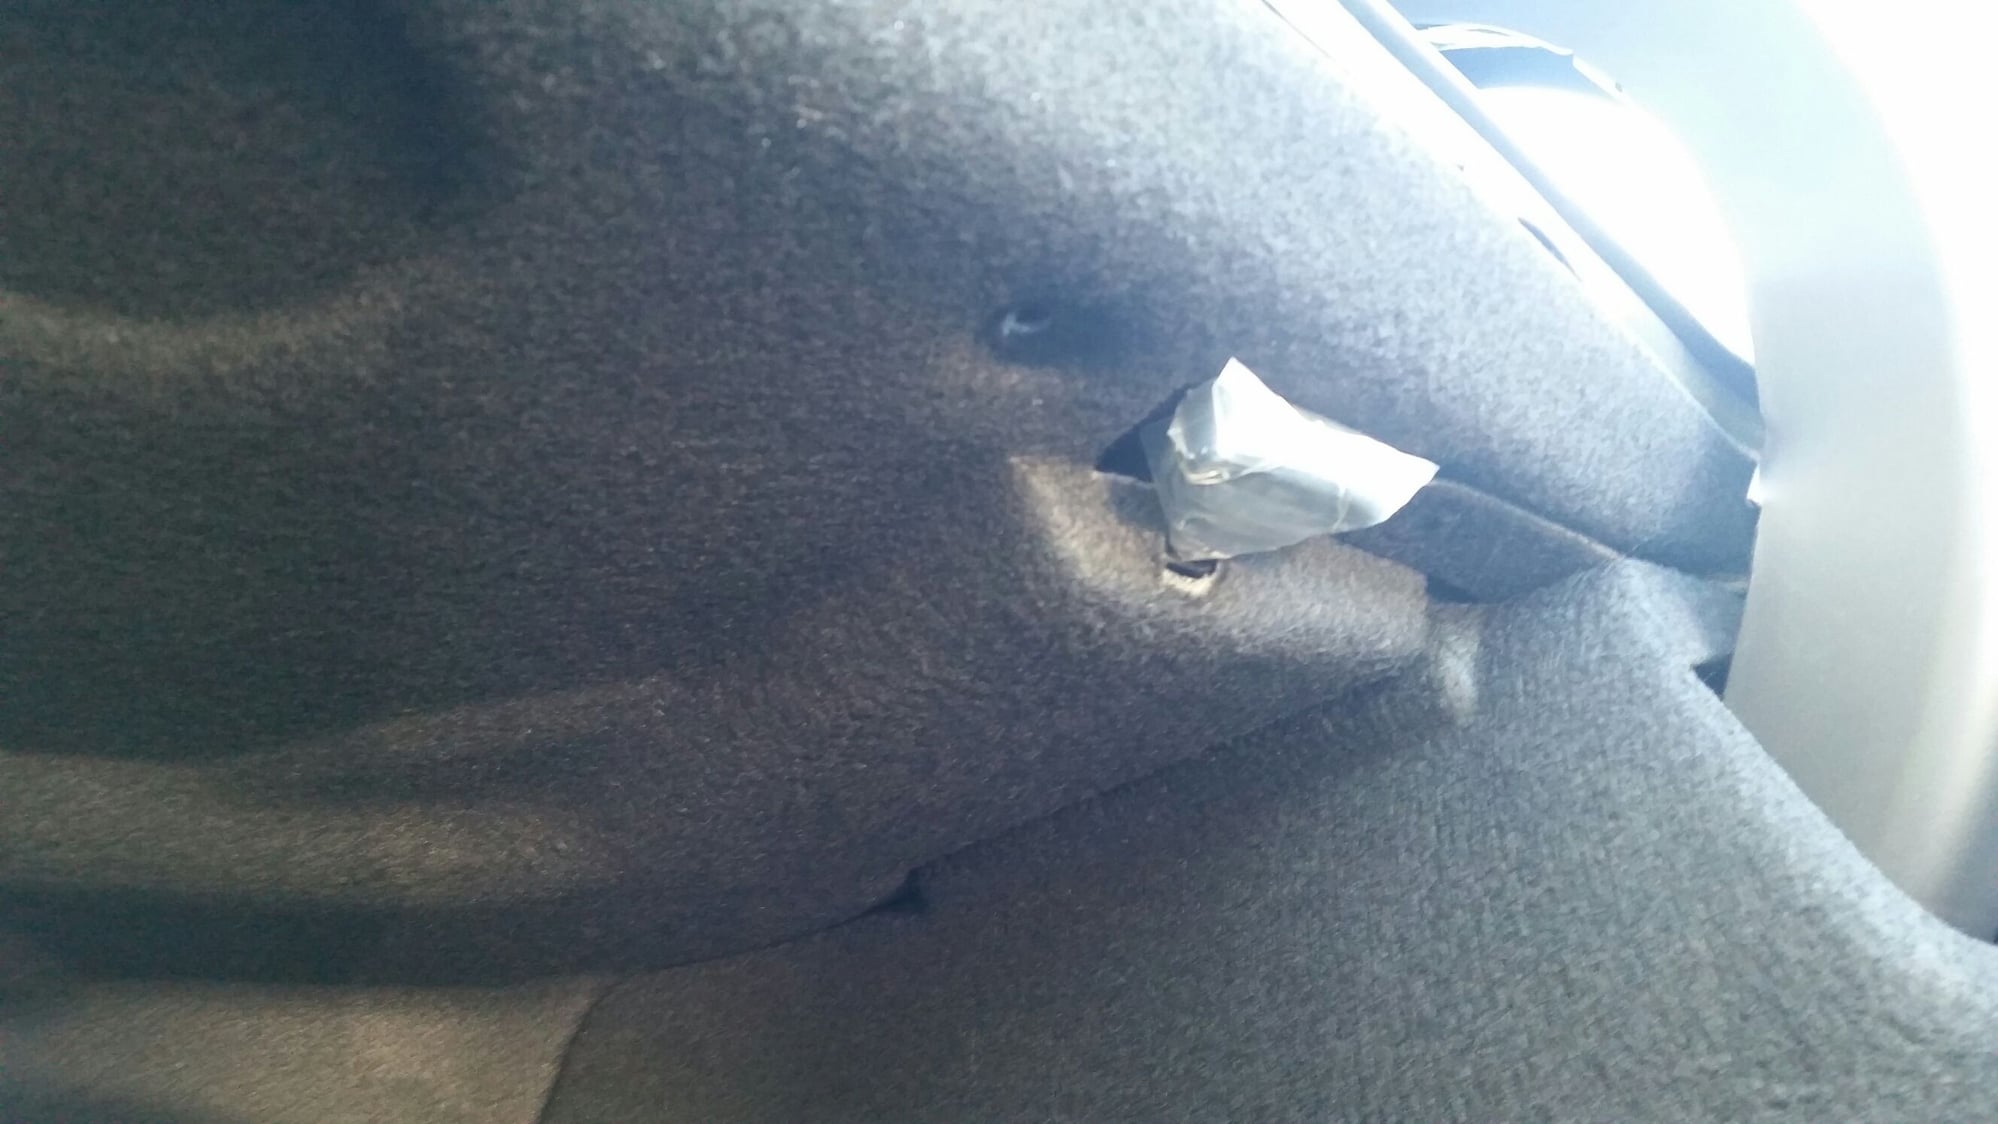
Behind the caps are push-in clips that anchor the trim to the sheet metal and pass down through the rubber insulation layer. Draw each clip up and out of the body so the rear deck is free to lift slightly. Set the clips aside together so nothing is lost before reassembly.
3 Find the four contact openings
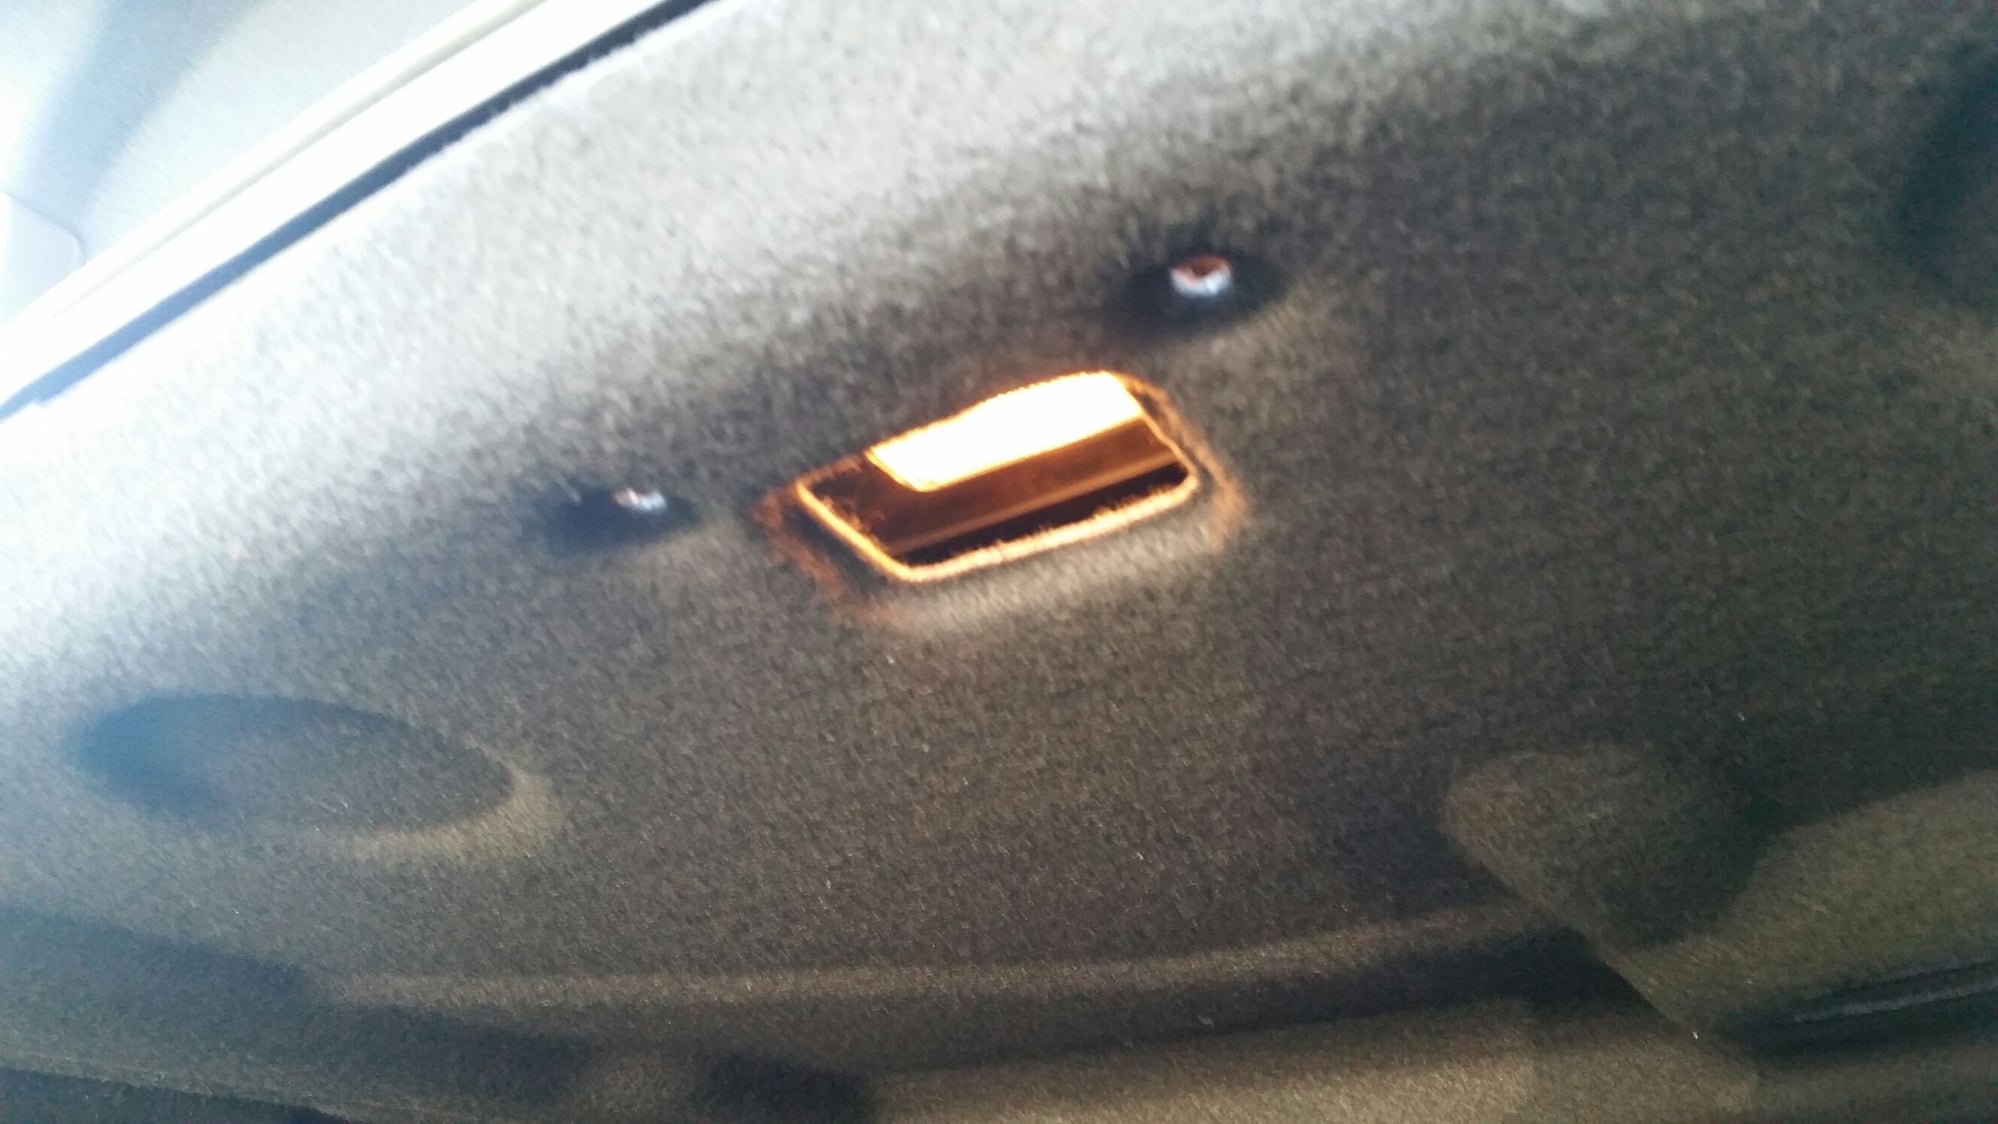
With the trim loosened, locate the four openings that expose the underside of the parcel shelf. Two sit near the rear corners, roughly 5-8 inches inboard of each corner. The other two flank the high-mount brake light. These four points are where the deck contacts the body and generates the buzz, so they are the spots you will pack.
4 Confirm which points are rattling
Play a bass-heavy track at a moderate level, or feed the system a low-frequency test tone for a cleaner diagnosis. Slip a finger into each opening and press the deck upward while the audio plays. Wherever the noise drops or disappears, that opening is the source and needs padding. A phone signal-generator app makes this precise: start near 40 Hz and sweep the frequency upward until the resonance appears, which is the note that sets your rear deck buzzing.
5 Pack the two corner openings
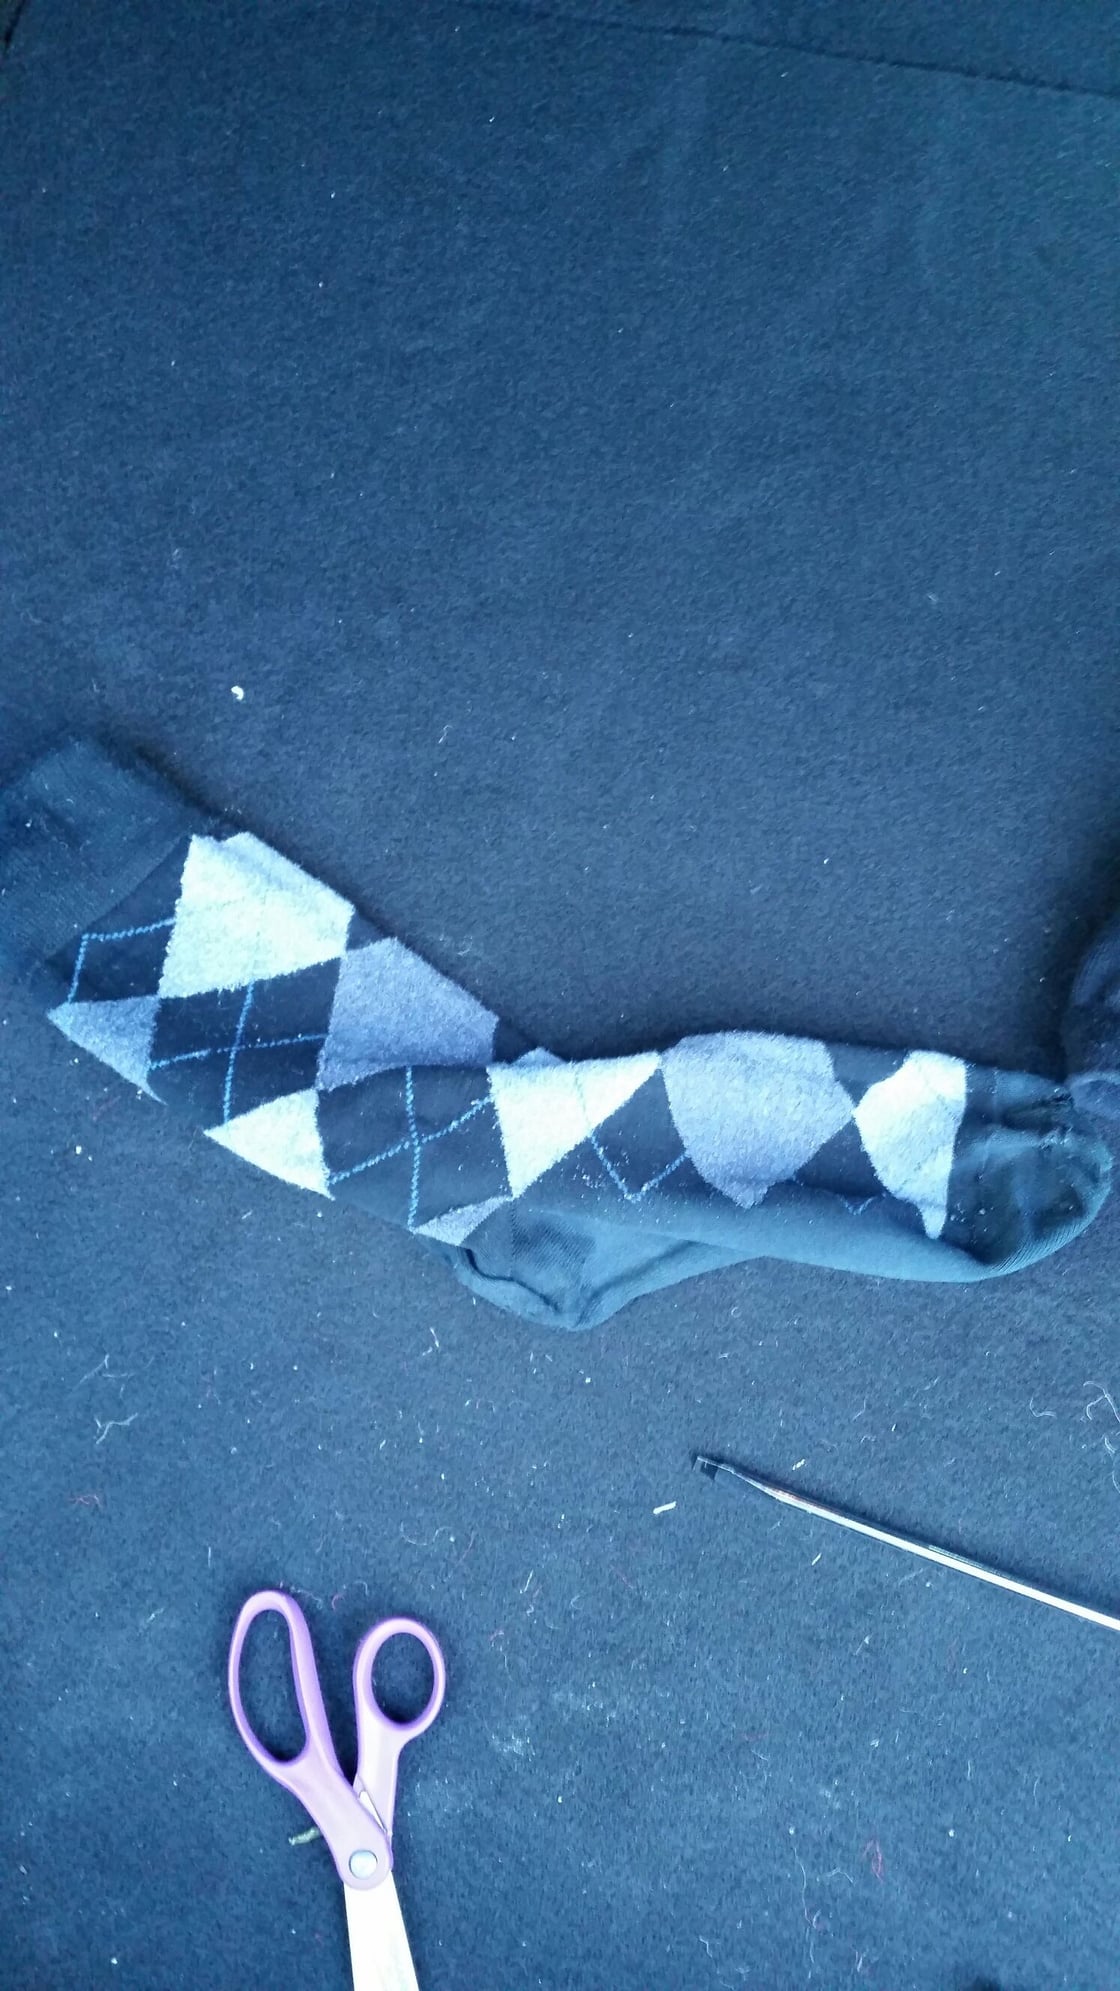
Compress a piece of soft material and force it into each corner opening so it wedges between the deck and the body, holding the shelf firmly against whatever sits below it. The cavity is shallow and tight, so a trim tool with a thin tip bent to about 45 degrees drives the padding fully home far more easily than fingers can. Owners confirm that rolled wool socks, scrap packing foam, felt tape, rags, and a folded microfiber or glasses cloth all work well; use whatever you have on hand.
6 Pad the brake-light clips
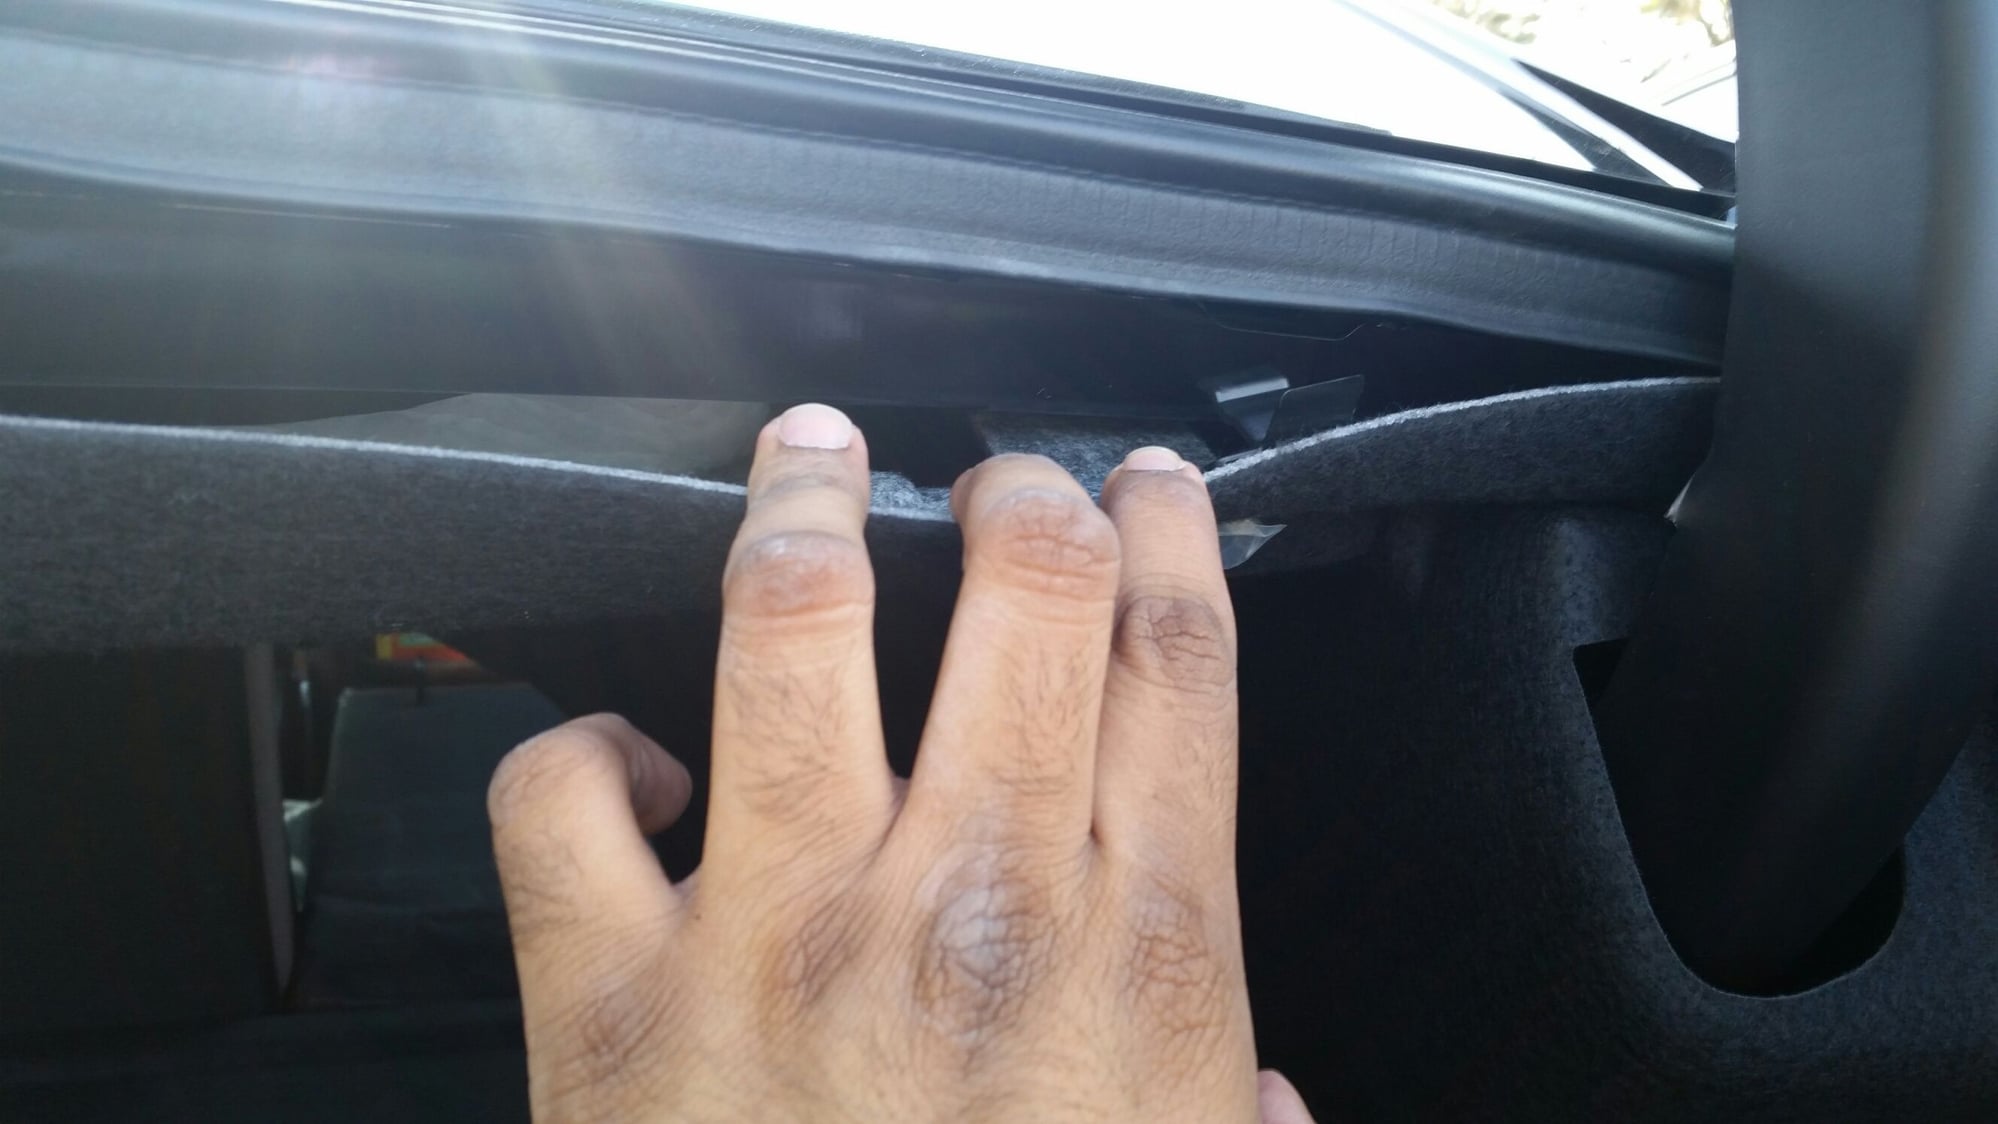
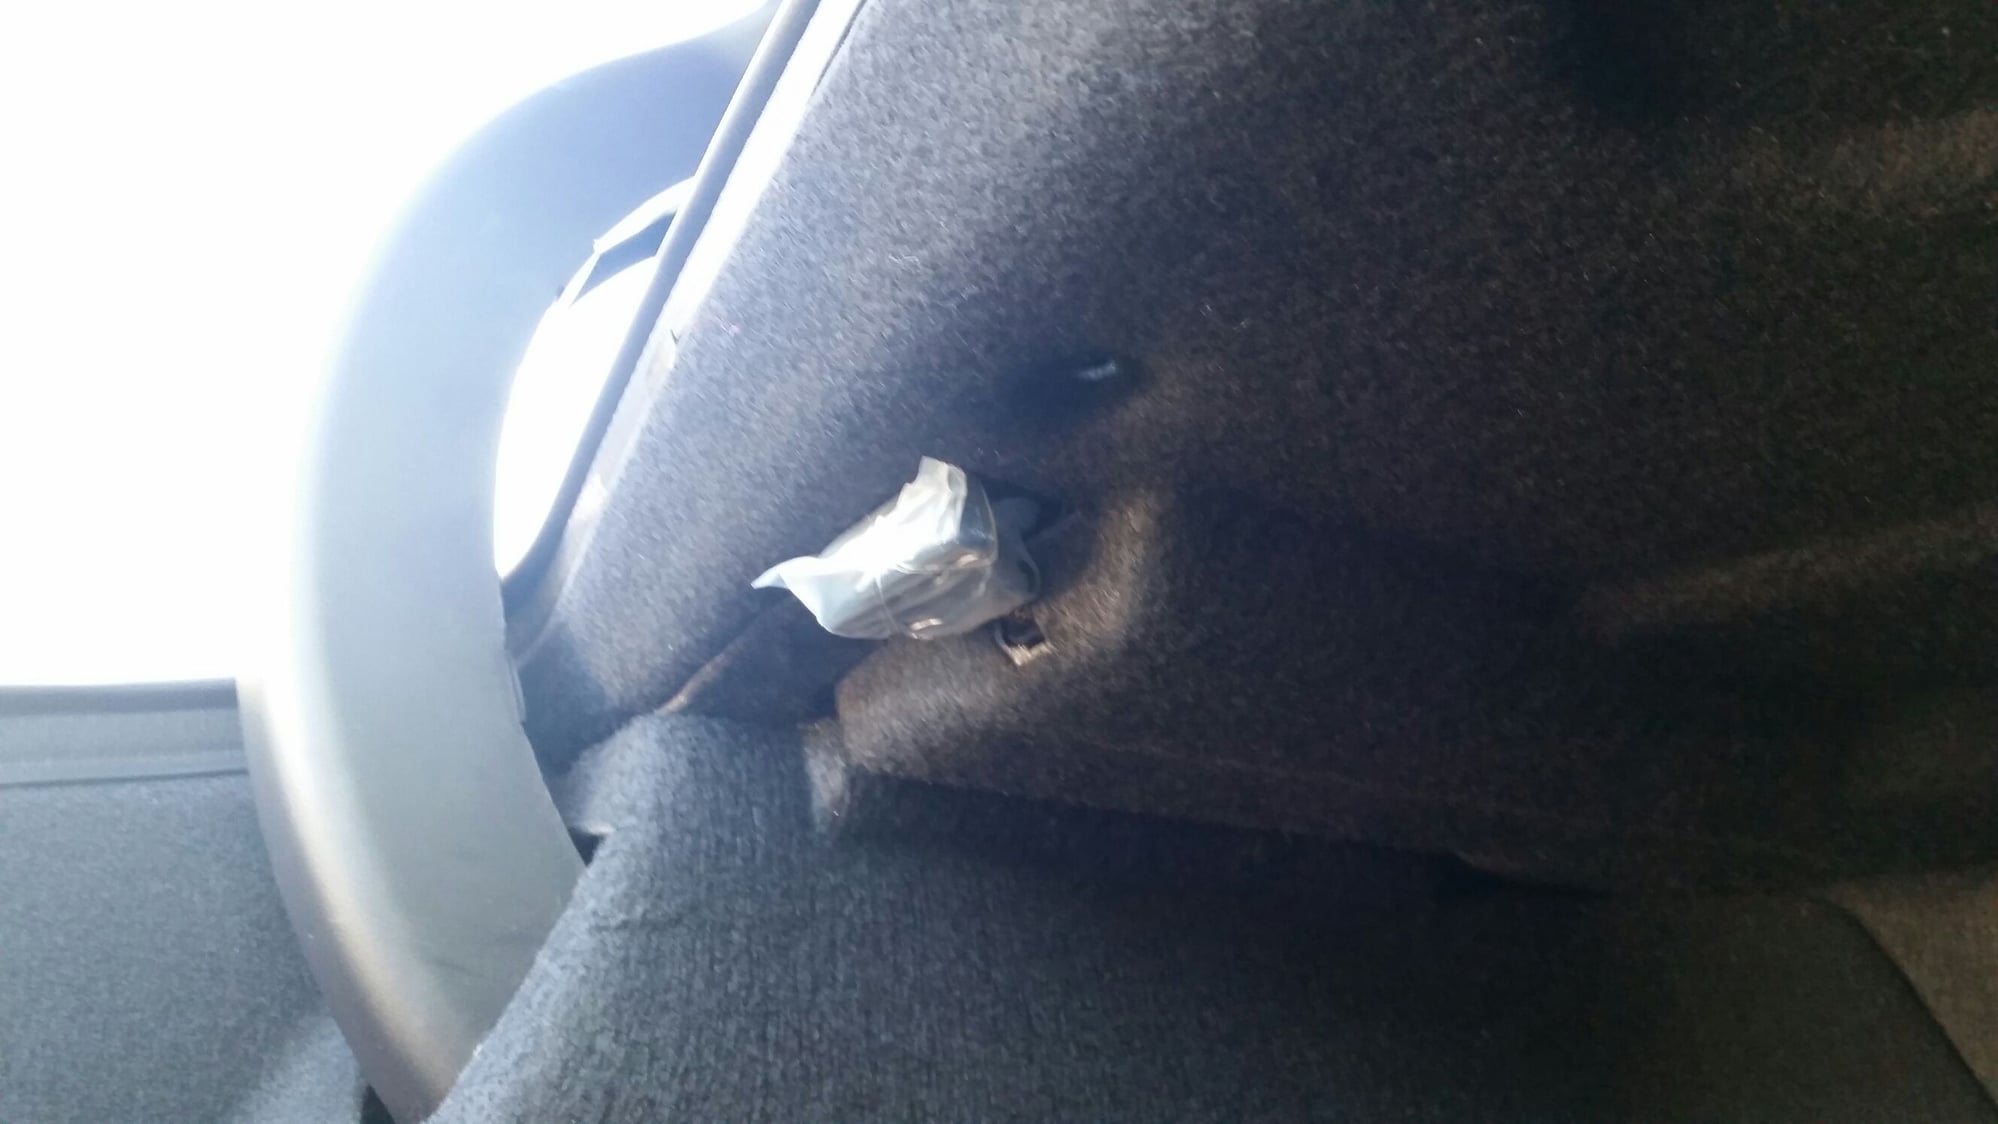
Reach into the two openings beside the brake light and feel for a pair of tabs fitted with small fabric pull-tags. These are deck-release clips and must NOT be pulled out. Raise each tab only a hair and you will feel the remaining rattle. Tuck a small piece of padding between the tab and the body it presses against. This is the tightest of the four locations to reach, so work patiently with the trim tool.
7 Re-test, then reassemble

Before closing everything up, run the audio again and listen for any leftover buzz, adding a little more material to any opening that still resonates. Once the deck stays quiet at your normal listening levels, press the retaining clips back into the body and seat the black caps back on top. The fix is complete and can be undone at any time by removing the padding.
Pro Tips
- 💡 Fast alternative with no trim removal: fold a cloth or cut a foam cube and wedge it between the rear glass and the parcel shelf, centered, to hold the deck down. This shortens the panel's vibrating span and knocks the rattle down quickly.
- 💡 Instead of loose padding, some owners taped over the loose clamp with sound-deadening tape (Dynamat tape, not the full mat) for the same roughly 95 percent improvement.
- 💡 A phone tone-generator app is useful even after the fix: keep sweeping frequencies to catch any second resonance you may have missed.
- 💡 If the car is under warranty, ask your dealer first. Acura issued a service bulletin for this rear deck rattle and can perform the repair at no cost.
- 💡 One owner reported that disconnecting the active noise cancellation (ANC) module further cleaned up the low-end sound.
- 💡 For deadening well beyond this quick fix, line the rear deck with Dynamat.
Was this guide helpful?
.JPG)

