Honda Fit (GK) Interior and License Plate LED Bulb Conversion
Introduction
The 2015-and-later Honda Fit (third-generation GK chassis) ships with incandescent bulbs in its cabin and license plate lamps, which draw more current and cast a dim yellow glow. Swapping them for wedge-base LEDs gives a whiter, slightly brighter light, cuts the drain that can flatten a battery if a door is left ajar, and takes only a few minutes with no wiring. Every fixture on the car covered here uses the same T10 / 194 wedge bulb, so a single multi-pack handles the front map lights, the dome light, the cargo lamp, the license plate lamps, and the front side markers. Because these LEDs are polarized, a bulb that stays dark simply needs to be turned around in its socket. This guide applies to the GK-generation Fit and to related Honda models that share the same snap-in lens fixtures. Adapted from a community writeup by ADVphotography on FitFreak (https://www.fitfreak.net/forums/fit-interior-exterior-illumination/83738-how-guide-upgrade-interior-bulbs-led.html), including corrections from the follow-up discussion.
Reference
Tools Required
- Plastic interior trim / pry tool set (non-marring)
- Small suction cup (optional, for popping the map and dome lenses)
- Hook or pick tool (optional, to grip a lens edge)
Parts Required
-
Wedge-base LED bulbs, T10 / 194 / 168 / 2825 size, 5-SMD (a 10-pack covers the whole car)
-
Flat disc / pancake LED, T10 194 with 6 5050 SMD emitters on one face (optional, for a brighter cargo-area light such as the LEDwholesalers 1427WW warm white)
Safety Warnings
- ⚠ The lens and cover plastic is soft and marks or cracks easily; pry from a flat plastic tool at the corners and never force a lens.
- ⚠ Do not leave a license plate housing with one locking tab unseated; an unlatched cover can vibrate loose and let water in.
- ⚠ Budget Amazon LED packs (for example the Jtech bulbs) were reported to flicker or fail after about a year of use; for longevity consider Sylvania ZEVO or Philips LED replacements instead.
Step-by-Step Instructions
1 Confirm bulb size and stage your parts

Every fixture in this job accepts the same wedge-base bulb, sold under the size codes T10, 194, 168, or 2825. A 5-SMD version is the safe default because it stays short enough to clear the shallow map-light pockets. Buy a ten-pack to do the map lights, dome, cargo lamp, license plate, and side markers in one pass. If you want extra output in the cargo area, add one flat disc (pancake) bulb that carries 6 5050-SMD emitters on a single face. Keep the LEDs in their packaging until each fixture is open so you do not mix up sizes.
2 Open the front map light lens

Work the clear lens loose starting at one outer corner and then release the center; it snaps over a small round post inside the housing and lets go with light pressure. Use a plastic pry tool or a suction cup rather than a metal screwdriver. The lens plastic on the Fit is soft and scratches easily, so keep the pry point flat and pry gently. Once the lens is off, pull the old incandescent bulb straight out of its clip.
3 Fit the LED and check its polarity

Push the wedge LED into the same clip the original occupied. LED bulbs only conduct one way, so switch on the circuit before you close the lens: if the bulb does not light, pull it, rotate it 180 degrees, and reseat it. The 5-SMD bulb is a hair longer than the factory lamp but still clears the housing. When the light works, snap the lens back onto its post.
4 Release the dome light

The dome light cover is retained by four small nubs rather than screws. Slip the pry tool under one corner and lift; the cover pops free once the first nub releases. Replace the bulb, verify it lights (rotating it if needed), and press the cover back until all four nubs click home.
5 Change the cargo-area lamp

The rear cargo light hinges out when you pry at the correct corner; start there and let the lens pivot open. A plain 5-SMD bulb works, but this fixture benefits most from more light, so it is the best spot for the single-face disc bulb with 6 5050-SMD emitters, which throws its output straight down instead of scattering it. Seat the bulb, test, and close the lens.
6 Remove the license plate lamps
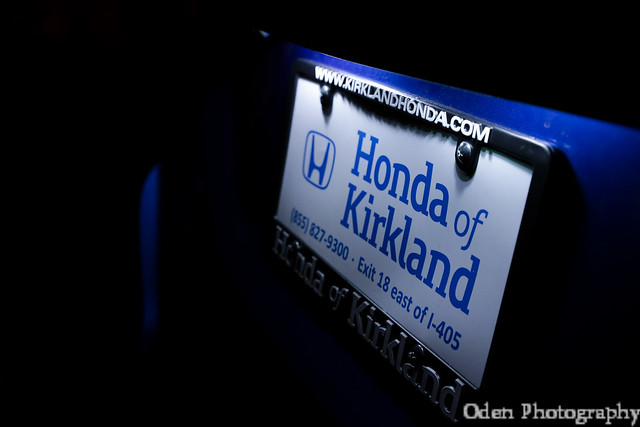
The two license plate lights use the same wedge bulb as the cabin. Free each housing by pushing it sideways to unclip it; expect it to take more force than the interior lenses. Taking the plate off first gives your fingers extra room to reach the lamps. Separate the clear cover from the grey bulb carrier and pull the old bulb.
7 Reassemble the license plate housing
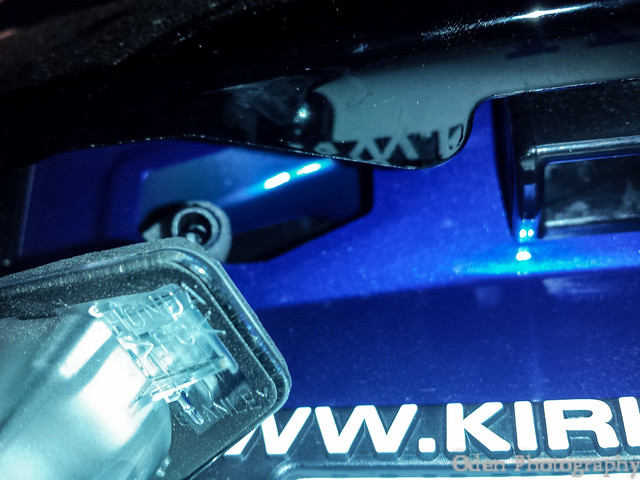
Install the LED, then rejoin the grey carrier to the clear cover. Press firmly so both locking tabs fully engage; the tab on one side often seats before the other, so push until the stubborn side clicks level with its mate. A tab left proud means the housing is not locked and can rattle loose. Confirm the lamp lights before reinstalling it in the bumper.
8 Convert the front side markers (optional)

The amber front corner markers accept the same wedge bulb. Reach them from the engine bay: open the hood and feel into the fender behind each lens. Twist the socket counter-clockwise to release it, swap the bulb, and turn it clockwise to lock. The socket is keyed and only reseats in one orientation, so line it up before turning.
9 Final test of every circuit

With all lamps back together, cycle each one: map lights, dome, cargo, license plate, and side markers. Any bulb that stays dark is simply installed backwards, so pull it and flip it 180 degrees. Check that lenses and covers sit flush and that no locking tab is left standing proud.
Pro Tips
- 💡 Because the LEDs are polarized, a bulb that does not light is almost always in backwards; rotate it 180 degrees in the socket rather than assuming it is dead.
- 💡 Skip the flathead screwdriver. The Fit's lens plastic is soft and a metal blade gouges it; a flat plastic trim tool or a suction cup is far kinder.
- 💡 Avoid tall high-count bulbs (20 or 24 SMD) in the front map lights; testers found they are barely brighter than the 5-SMD units yet too long to fit that pocket.
- 💡 Directional single-face bulbs were not noticeably brighter than multi-face 5-SMD bulbs in these fixtures, so do not pay extra expecting a big gain except in the cargo lamp.
- 💡 Bulb color and quality can vary from pack to pack on inexpensive listings, so buy a few extras to cull any that read too blue.
- 💡 Removing the license plate itself opens up working room for the two plate lamps, which are the tightest fixtures on the car.
Was this guide helpful?

