Honda CR-Z Rear Backup Camera Install to the Factory Navigation Screen
Introduction
This guide covers adding a rear-facing backup camera to a US-spec Honda CR-Z so that the live rear view appears on the factory navigation screen the instant the shifter is moved into Reverse. It relies on a prerequisite modification: the factory nav head must already be fitted with a NavTool interface that accepts an external RCA composite video source, because the stock screen has no native camera input. The install feeds one of the NavTool's auxiliary video inputs from an inexpensive license-plate camera mounted at the rear, and powers that camera from the reverse-light circuit so it only runs while backing up. The same wiring logic can drive any display that accepts an RCA composite signal, including an aftermarket mirror monitor rather than the NavTool, which is the route some builders take. Treat the camera as a parking aid only and always check your surroundings directly before reversing. Difficulty comes from the fiddly rear-panel disassembly, fishing the video cable the length of the car, and tapping the correct reverse-light wire rather than from any single hard step. Adapted from a community writeup by holeydonut on CRZ Forum (https://www.crzforum.com/threads/diy-add-backup-camera-for-reverse-camera-display-on-factory-nav-screen.6509/), including corrections from the follow-up discussion.
Reference
Tools Required
- Ratchet with 8mm and 10mm sockets
- Wire stripper and crimp tool
- Interior/exterior trim removal kit (plastic pry tools)
- Bent wire coat hanger (fishing hook for cables)
- Masking tape
- Electrical tape
- Clean gloves
Parts Required
-
Waterproof rear-view backup camera with infrared LEDs that outputs an NTSC composite (RCA) video signal
-
Camera power harness (typically supplied with the camera)
-
Crimp or solder connectors for the power and ground taps
-
NavTool video interface, already installed on the factory nav screen (prerequisite mod)
-
Small amount of epoxy to lock the camera pivot head (optional, camera-dependent)
Safety Warnings
- ⚠ Use the camera only as an aid; always look directly behind the vehicle before and while reversing rather than relying on the screen alone.
- ⚠ Adding electrical components raises the risk of a short circuit or heat-related fire, so fuse, insulate and route all wiring carefully.
- ⚠ The NavTool ribbon-cable connections are delicate and fiddly; work slowly to avoid damaging them.
- ⚠ This procedure is written for the USA-spec CR-Z; wiring may differ on other-market cars, and it has not been verified on a manual-transmission car.
Step-by-Step Instructions
1 Confirm the video display path and stage the camera
Before touching the car, confirm that the factory navigation screen already has a NavTool (or an equivalent RCA composite monitor such as a mirror unit) capable of showing an external video input. Without a display that accepts an RCA composite signal there is nowhere for the camera picture to go. Choose a waterproof camera with infrared night LEDs that outputs an NTSC signal; the bargain units work but tend to have weak image quality and loose pivoting heads, so budget a little more or plan to lock the head with a dab of epoxy. Note that most kits include a long RCA video lead already sized to reach from the tailgate to the dash.
2 Remove the passenger-side rear trim and brake light assembly
Open the rear hatch. Working on the passenger (right) side, pry off the plastic access cover behind the tail-light area with a plastic trim tool. Remove the license plate using a 10mm socket. Pop the small cover off the brake light assembly, then remove its two retaining screws with an 8mm socket and gently ease the assembly out of the body. This exposes the wiring behind the panel and the pass-through grommet used to route cables from outside to inside the vehicle.
3 Route the camera video cable to the front and connect it to the NavTool
Carefully lift the rubber grommet or suction cover that seals the wiring pass-through and feed the camera's RCA video lead from the rear into the cabin. Run the video cable forward along the length of the car to the dash and plug it into the NavTool's Input 2 video source (or the video input on your chosen monitor). Use masking tape and the coat-hanger hook to help pull the cable through tight spots, and keep it clear of moving trim and sharp edges.
4 Identify and tap the reverse-light power wire
At the rear light circuit, locate the black wire with a green stripe that becomes live only when the shifter is placed in Reverse. This is the switched +12V source that makes the camera power on exactly when you need the rear view. Strip a small window in this wire and splice in a feed wire, or use a suitable tap connector. Run this switched power lead, together with the camera's video cable, out through the pass-through hole behind the license plate.
5 Fish the wiring through the hollow rear fascia
The rear bumper cover is hollow, so the power and video wires need to travel from the pass-through opening down to where the camera mounts near the plate. Either reach up under the vehicle to guide the wires through, or bend a coat hanger into a hook, push it through the opening, catch the wires and draw them through. Leave a little slack at the camera end for adjustment.
6 Wire the camera power harness
Connect the camera's supplied power harness. Join the switched +12V feed you tapped from the reverse-light circuit to the harness Red wire. For ground, run the harness black wire to a solid chassis point, a bare metal bolt or body location, rather than leaving it floating. Confirm the connections are clean and insulate every splice with electrical tape (soldered joints are more durable than crimp connectors for a permanent install).
7 Mount the camera and test the reverse view
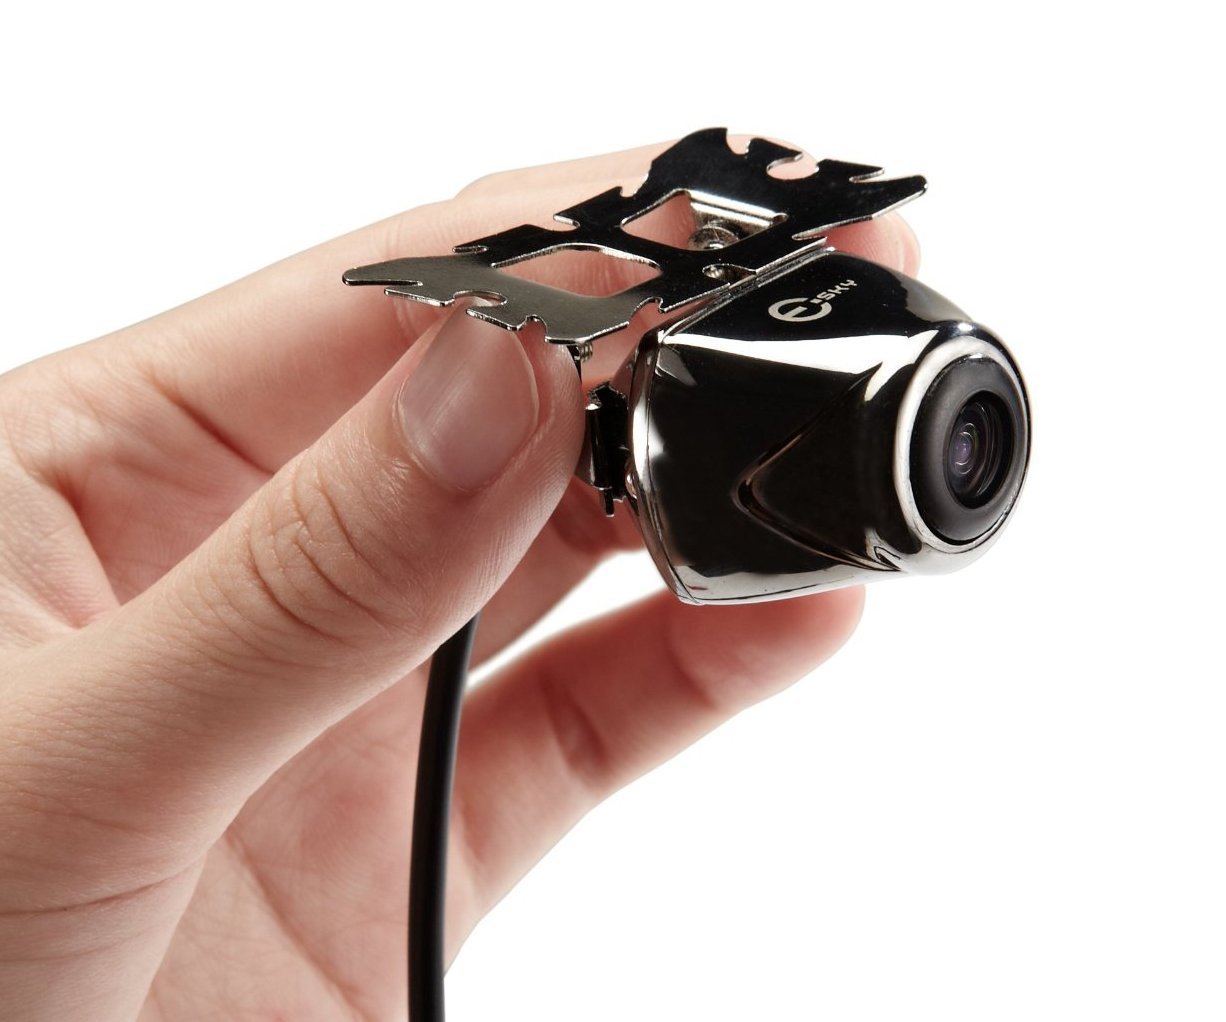
Fix the camera in position on or just above the license plate and aim it downward to cover the area directly behind the bumper. If the pivot head will not stay put, lock it with a small amount of epoxy. With everything connected, start the car and shift into Reverse: the navigation screen should immediately switch to the live camera image, and revert to normal when you shift out of Reverse. Refit the brake light assembly, plate and trim once the picture is confirmed.
Pro Tips
- 💡 You do not strictly need the NavTool. An aftermarket rear-view mirror monitor that accepts an RCA composite input works with the same camera and reverse-wire tap; one builder used a Rydeen MV311T mirror and, because it is a VSM-A mount on a VSM-B car, simply glued the new bracket just beside the factory one.
- 💡 Knowing that the black/green striped wire is the reverse-light feed saves a lot of probing time when tapping power.
- 💡 If you route the video cable neatly along the floor and under the seats, it hides well and reaches the dash without strain.
- 💡 The RCA video lead supplied with most camera kits is long enough to span the CR-Z from tailgate to dash, so you rarely need to extend it.
Was this guide helpful?
