Acura 1G TL Automatic Transmission Strainer (Filter) and Fluid Service
Introduction
This procedure covers replacing the automatic transmission intake strainer (often called the tranny filter or screen), renewing its O-ring and pan gasket, and refilling with fresh fluid on the first-generation Acura TL (2.5TL and 3.2TL). Acura classifies the strainer as a lifetime pump intake screen with no scheduled replacement interval, which is why many dealers will tell you the car has no filter and offer only a drain-and-fill. In reality a mesh strainer is bolted to the valve body, and on high-mileage cars it collects enough sludge and metal debris to cause harsh or late 1-2 and 2-3 shifts and highway shudder. Cleaning it out and installing fresh ATF-Z1 typically restores noticeably smoother shifting. Note that the 2.5 and 3.2 do not share parts: the 2.5 uses a smaller pan (different gasket) and a strainer with a shorter intake tube, so order by model year and trim. Adapted from a community writeup by KaMLuNg on AcuraZine (https://acurazine.com/forums/1g-tl-problems-fixes-118/tranny-filter-screen-diy-591042/), including corrections from the follow-up discussion.
Reference
Tools Required
- 1/2-inch drive ratchet and extension that fits the transmission drain plug
- 10 mm socket with a 2-inch extension
- Torque wrench
- Drain / oil catch pan
- Throttle body or carburetor cleaner
- Flat-head screwdriver
- Hammer or soft mallet
- Shop towels and rubber gloves
- Jack and jack stands, or drive-on ramps
Parts Required
-
OEM automatic transmission strainer (screen), correct for your 2.5 or 3.2 model
-
Strainer O-ring
-
Transmission pan gasket
-
New drain plug sealing washer
-
Honda/Acura ATF-Z1, approximately 4 quarts
Safety Warnings
- ⚠ Never work under the vehicle supported only by a jack; always use jack stands or ramps.
- ⚠ Do not wedge a screwdriver between the aluminum pan and the transmission case; scratching a sealing surface will cause a leak that is hard to cure.
- ⚠ Do not use gasket-forming sealant on this seal; material drawn into the hydraulic pump can damage the transmission. Some dealers advise against any sealant at all.
- ⚠ Avoid high-pressure power flushing on Honda/Acura automatics; it can free trapped particles and send them through the transmission.
- ⚠ Draining fluid comes out fast and may be hot; wear gloves and eye protection.
Step-by-Step Instructions
1 Confirm the correct parts for your model
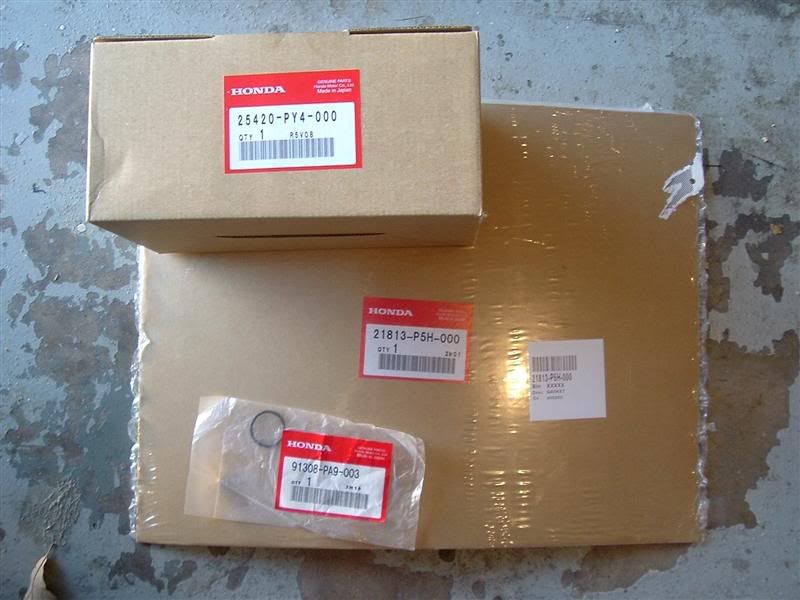
Before starting, verify that the strainer, O-ring, and pan gasket match your exact car. The 2.5-liter and 3.2-liter first-generation TL use different components: the 2.5 has a smaller pan with a different gasket and a strainer whose intake tube is noticeably shorter. Order by model year and trim rather than trusting a single catalog number, and choose an OEM strainer so the mesh matches factory specification. Have Honda/Acura ATF-Z1 on hand as well.
2 Raise and support the vehicle
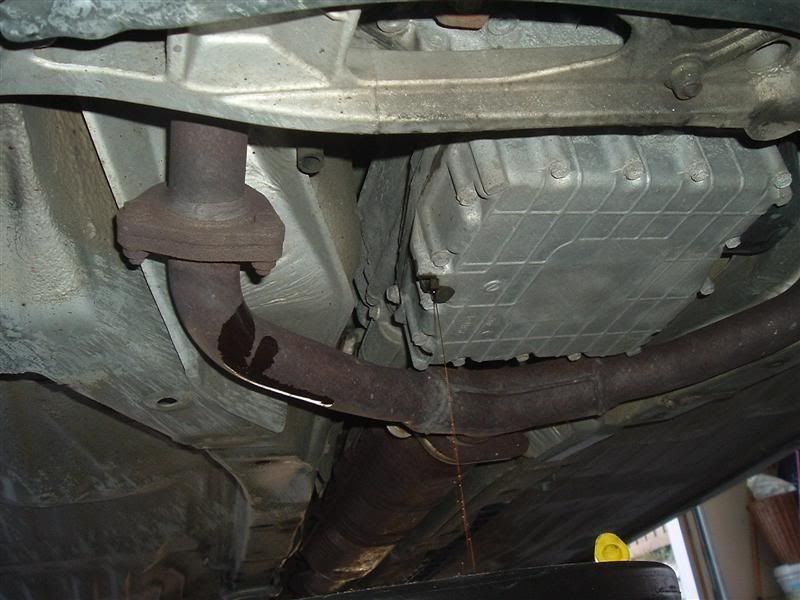
Lift the front of the car high enough to reach the transmission, which sits well back beneath the engine, roughly under the front doors. Set the chassis securely on jack stands (about five to six clicks of ratchet height gives adequate clearance) or drive onto ramps. Never rely on the jack alone while working underneath. A creeper makes moving around beneath the car much easier.
3 Drain the transmission fluid
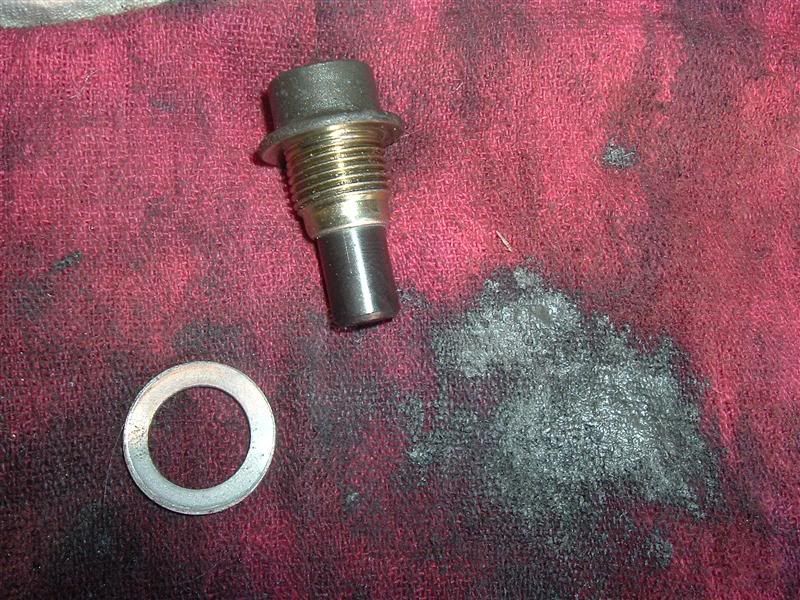
Position the catch pan under the transmission drain plug and fit your drive extension into it. A plug that has never been serviced can be extremely tight, so a breaker bar or a few taps of a hammer on the wrench handle may be needed to break it loose. Remove the plug and let the fluid out; it exits quickly and can be hot. Neglected fluid often leaves a thick collar of sludge caked on the magnetic plug, so wipe it clean and inspect it.
4 Remove the pan bolts
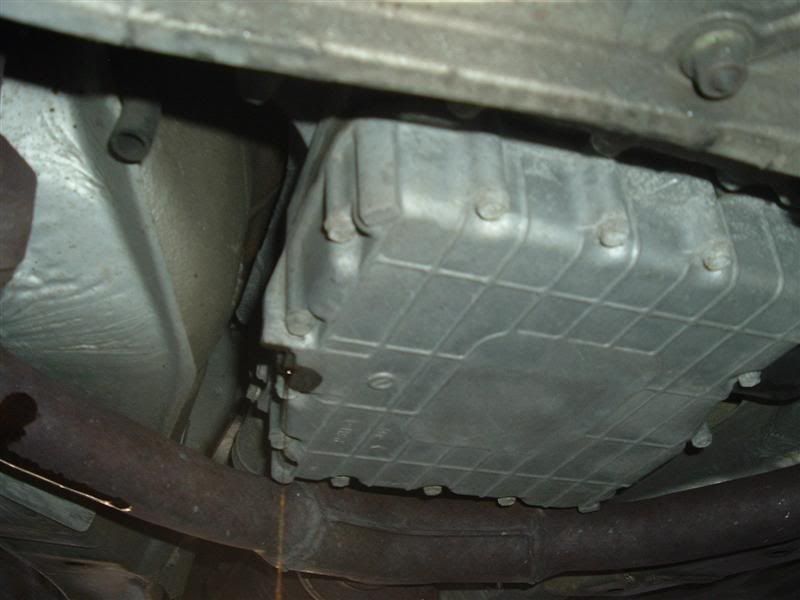
The fluid pan is retained by fourteen 10 mm bolts. Working around the perimeter, back all of them out with a 10 mm socket and extension. The pan will stay in place after the bolts are gone because it is located by two alignment pins.
5 Separate and lower the pan
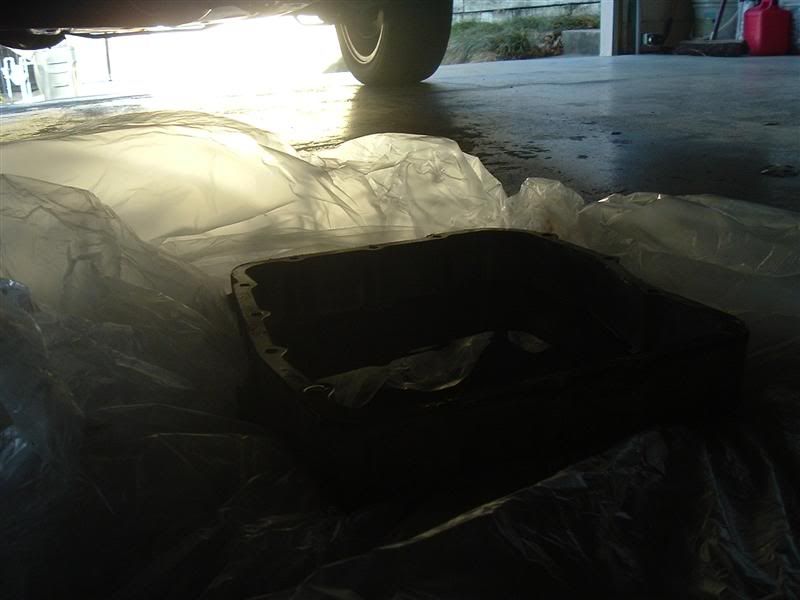
Break the pan free at a corner tab intended for prying, typically the front passenger side. Do not drive a screwdriver between the pan and the transmission case: both are aluminum, and a gouged sealing face will cause a persistent leak. Ease the pan down gently; a large volume of residual fluid pours out as the seal releases, so keep the catch pan positioned below.
6 Remove the strainer
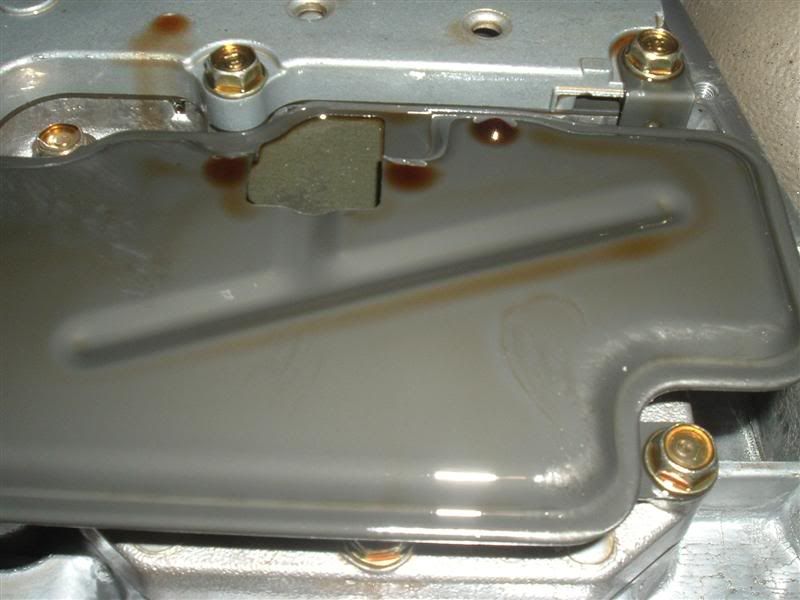
With the pan out of the way, the strainer (the dark intake screen bolted to the valve body) is exposed. It is held by three 10 mm bolts of three different lengths, so note which length belongs in each hole before removing them. Once the bolts are out, the O-ring still grips the strainer. Pull it down slowly and keep the catch pan beneath it, because trapped fluid gushes out the moment it lets go.
7 Clean the pan and valve body
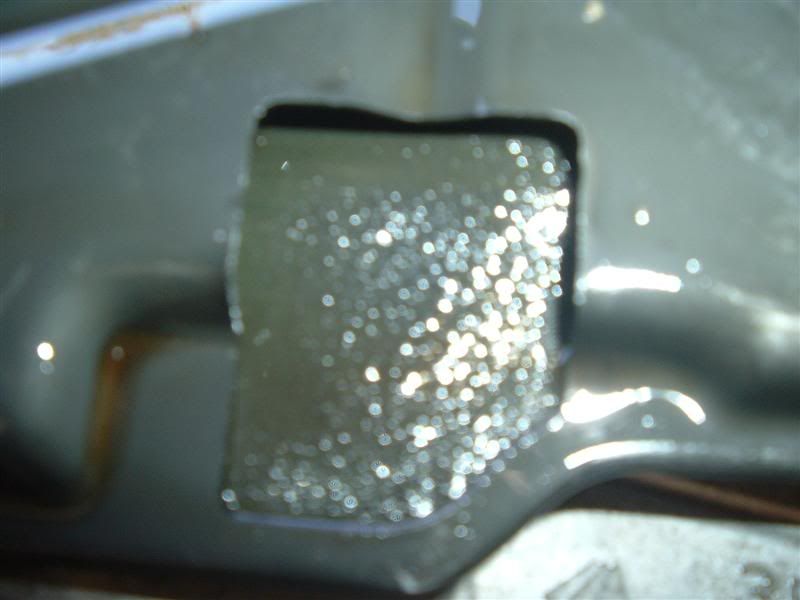
Drain the old strainer and pan completely. Spray the pan and the exposed valve-body sealing surface with throttle body or carburetor cleaner to cut the accumulated sludge, and use it to soften and scrape away every trace of the old gasket. Compare the old screen against the new one; a clogged strainer is usually packed with dark buildup, which explains rough or late shifting.
8 Install the new strainer
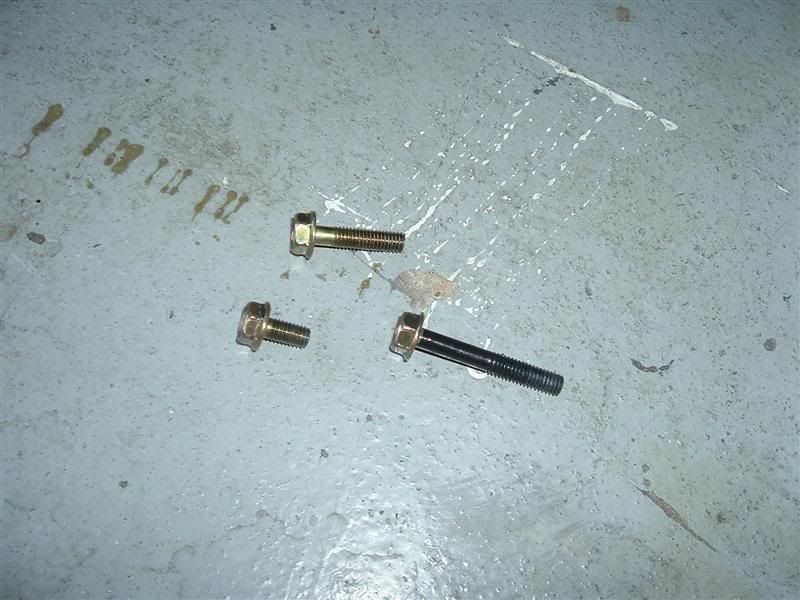
Seat the new O-ring on the replacement strainer and lift it into the valve body. Start all three bolts in their original positions and torque them to 9 ft-lb. If your torque wrench does not read that low, snug them firmly by feel; the threads are in aluminum, so avoid overtightening.
9 Reinstall the pan
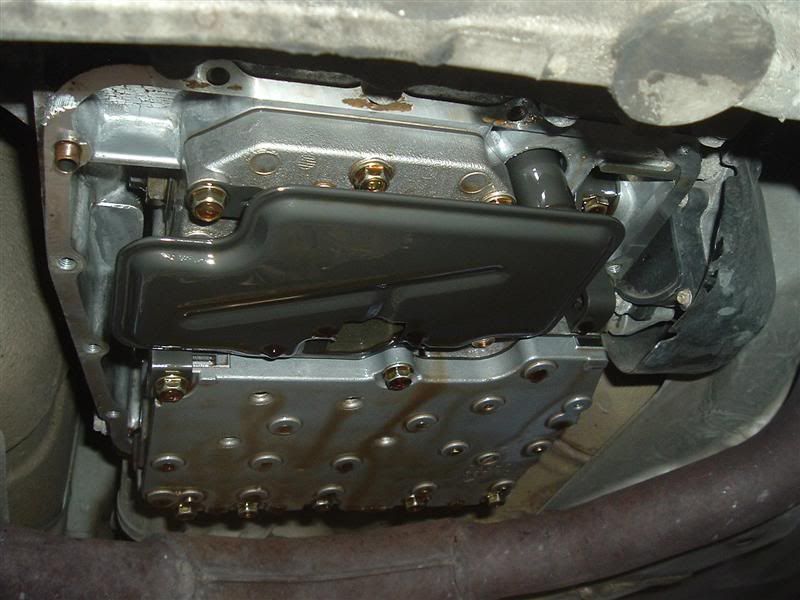
Fit the fresh gasket. This is an O-ring and gasket seal, and the factory design does not call for sealant; excess sealant can be drawn into the hydraulic pump. Some builders apply only a light tack to keep the gasket from shifting during installation, but if you do, keep it minimal. Install the drain plug with a new sealing washer and torque it to 35 ft-lb. Line the pan up on the alignment pins and tighten all fourteen bolts evenly to 9 ft-lb.
10 Refill with ATF-Z1
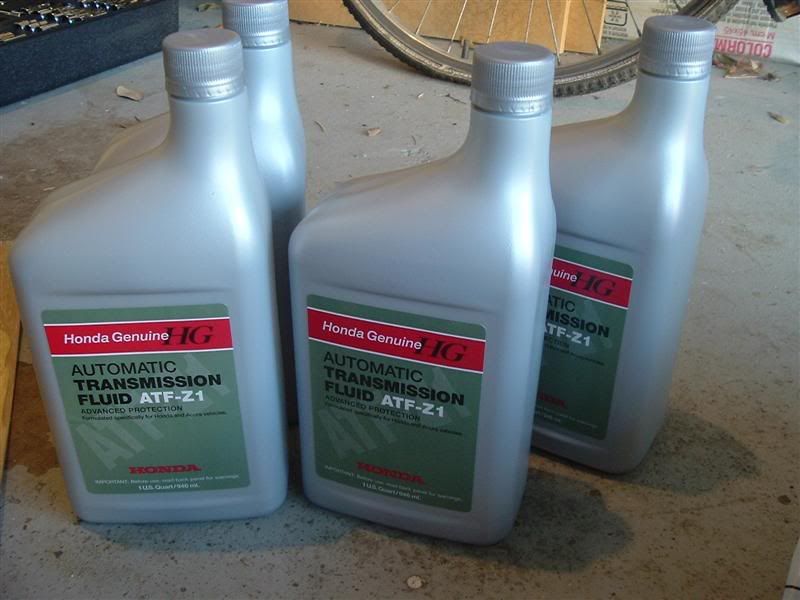
Refill through the dipstick tube with Honda/Acura ATF-Z1. A service bulletin lists 3.5 quarts for this service, but in practice the pan-and-strainer job takes close to 4 quarts once the level settles. Pour in roughly 3.5 quarts to begin with, and afterward verify the level and top up to the mark. Do not substitute plain DEXRON III unless a friction-modifier additive is blended in to bring it in line with ATF-Z1.
11 Cycle the gears and test drive
With the engine running and the brake applied, move the selector slowly through every gear to circulate the new fluid, then recheck the level with the transmission warm. Take a gentle test drive to bring the fluid up to temperature and confirm that shifting is smooth and there are no leaks. Keep to drain-and-fill service in future, and avoid high-pressure or power flushing on these transmissions, which can dislodge accumulated debris.
Pro Tips
- 💡 Do not forget the O-ring; it is the most commonly overlooked part and is easy to omit when ordering.
- 💡 Ordering parts online is generally cheaper than dealer counter pricing, but confirm the kit matches your model year and trim before you begin.
- 💡 The strainer bolts are three different lengths; keep track of which hole each one came from.
- 💡 OEM strainers are worth the extra cost, since aftermarket screens may not have the same mesh pore size and can shorten the service interval.
- 💡 Aftermarket pan gaskets are often thicker than the OEM paper gasket, which is worth noting when torquing the pan.
- 💡 If a dealer insists the car has no filter, it is because the strainer is officially a lifetime pump intake screen with no listed replacement interval, not because one is absent.
Was this guide helpful?
