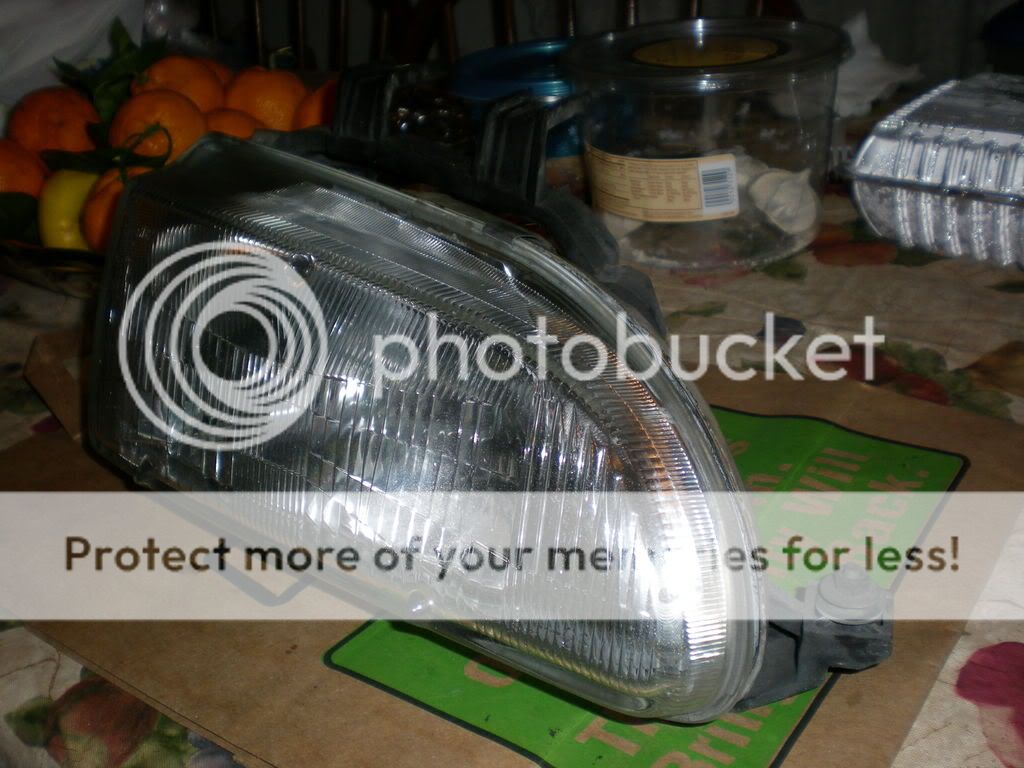
TSX OEM HID projectors (D2S)
Electrical
Lighting - HID projector retrofit
Verified
Modification Required
Compatibility Overview
Source Vehicle
TSX
Target Vehicle
Civic
Generation: EG
Years: 1992-1995
Installation Difficulty
Easy
Basic tools
Moderate
Some experience
Difficult
Skilled work
Expert
Professional
Reference
D14A1 specs →
LEA-MF6 specs →
LEA specs →
LEB-H5 specs →
B18A1 specs →
D16A6 specs →
B18C2 specs →
B18C7 specs →
D16W4 specs →
EA specs →
EC specs →
ED specs →
EE specs →
EG specs →
EL specs →
EM specs →
EN specs →
EP specs →
ER specs →
ES specs →
ET specs →
EW specs →
LEA2 specs →
RNA Cylinder Head →
PLE Cylinder Head →
RNA ECU →
RNE ECU →
PLE →
RNA →
Important Caveats
- • Several experienced repliers warned that the OEM fluted lens scatters a projector beam and softens the cutoff (one described a prior stock-housing retrofit as worse than a plug-and-play kit); clear lenses give the best cutoff. The thread was never updated with final beam-pattern photos.
- • High beam function is lost.
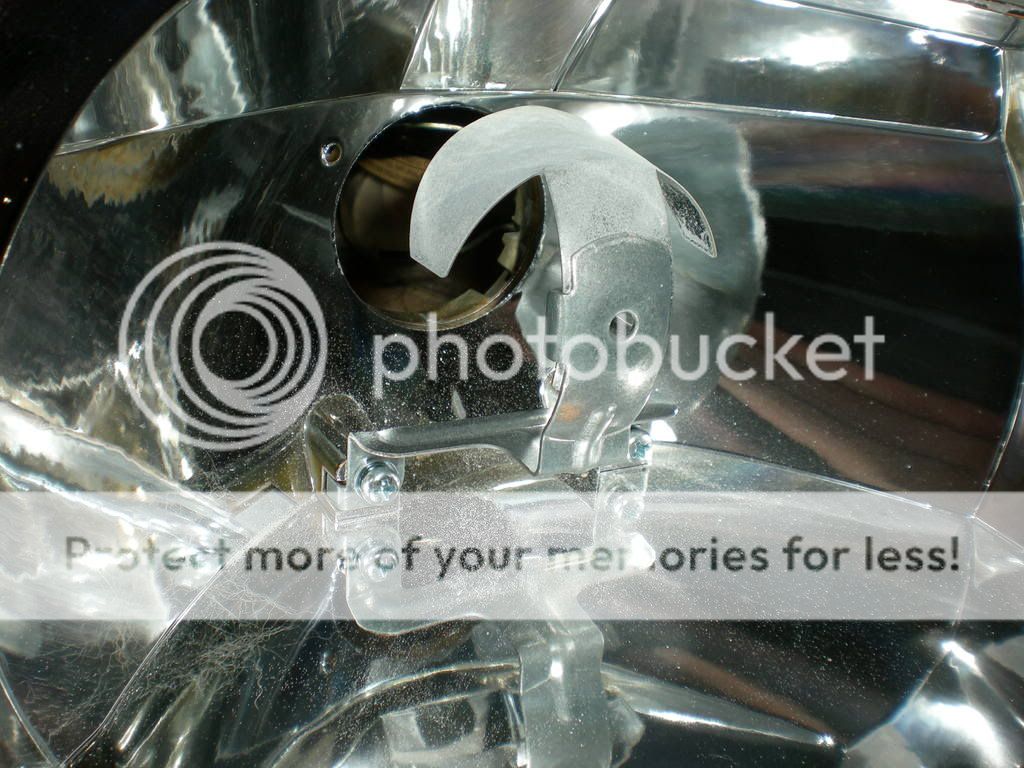
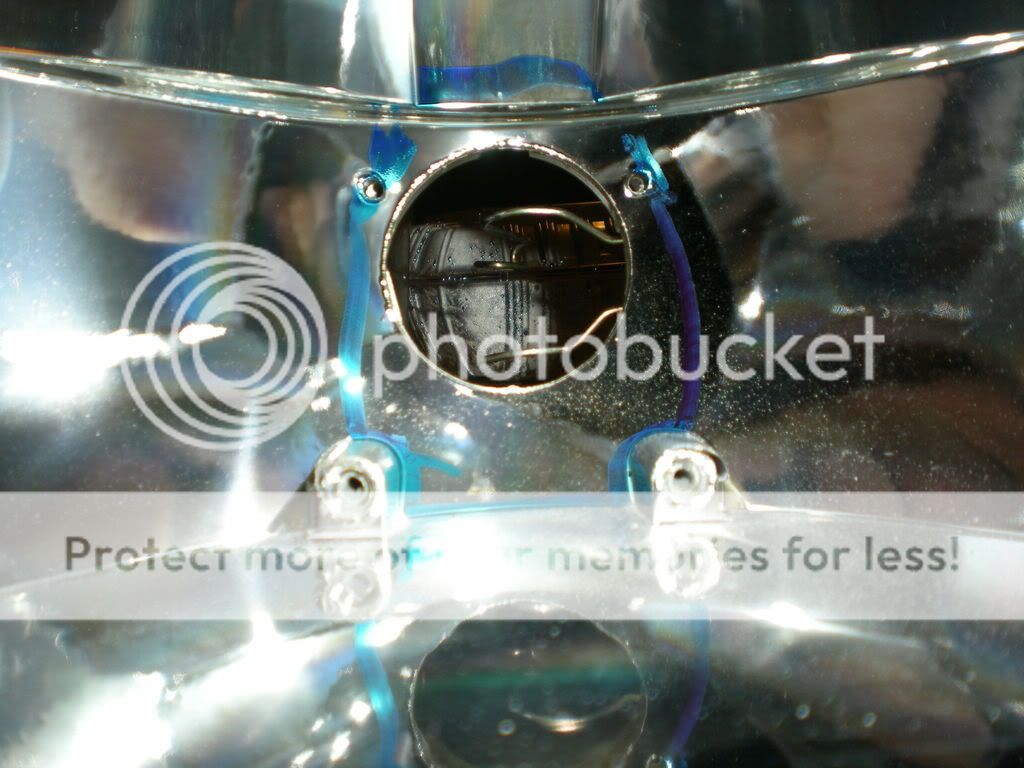
- • Incorrect bracket rotation tilts the cutoff line; there is no built-in rotation adjustment without fabricating a custom bracket.
- • HID retrofits are not street-legal in many jurisdictions and can dazzle oncoming traffic if poorly aimed.
- • Overheating or forcing the housing during lens separation can break the glass lens or melt the plastic.
Photo Gallery
View Full Size
View Full Size
View Full Size
View Full Size
DIY Installation Guide
No Installation Guide Yet
Have you completed this swap? Help the community by sharing your step-by-step installation guide!
Community Verification
By
ejoner via Honda-Tech
Added 6 days ago
Find Parts
Looking for parts for this swap? Check out our recommended retailers:
Loading recommended retailers...
Some links are affiliate/sponsored links — we may earn a commission at no extra cost to you. Disclosure.
Sources & References
Comments (0)
No comments yet. Be the first to share your experience!