Honda Fit Manual Transmission Fluid Change (GD/GE8)
Introduction
Fresh manual transmission fluid restores smooth, precise shifting on the Honda Fit, easing the notchy engagement into third gear and the light gearbox whine that many owners notice as the factory fill ages. This procedure covers draining and refilling the manual gearbox on the second-generation Fit (GE8); the same approach applies to the first-generation GD and to later manual cars through roughly the 2013 model year. The work is only slightly more involved than an engine oil change: the gearbox uses a plain drain-and-fill layout with no filter, and the side-mounted fill plug doubles as the level indicator, so the case is simply topped up until fluid weeps from that opening. Plan on servicing the fluid about every 30,000 miles or three years, sooner under sustained mountain or heavy-duty driving, to keep the synchros shifting cleanly. Adapted from a community writeup by z06dustin on FitFreak (https://www.fitfreak.net/forums/2nd-generation-ge8-specific-diy-repair-maintenance-sub-forum/65953-diy-manual-transmission-fluid-change.html), including corrections from the follow-up discussion.
Reference
Tools Required
- 3/8" drive ratchet (engages the transmission drain plug directly)
- 17mm socket or combination wrench for the fill/level plug
- Long 3/8" drive extension
- Torque wrench
- Phillips screwdriver
- Flat-blade screwdriver or plastic trim pry tool (for undertray push rivets)
- Fluid transfer pump that threads onto the bottle, or a long funnel with hose
- Drain pan
- Jack and jack stands, or a pair of ramps
- Spirit / bubble level
Parts Required
-
Honda MTF (genuine manual transmission fluid), approx. 1.5 qt used; buy 2-3 qt to be safe
-
New drain plug crush washer (approx. 14mm, same part as the engine oil drain washer)
-
New fill plug crush washer (approx. 20mm)
Safety Warnings
- ⚠ Support the car on rated ramps or jack stands, never on a jack alone.
- ⚠ Always loosen the fill/level plug before draining. A seized fill plug on an already-drained transmission leaves the car undriveable.
- ⚠ Do not overfill. Fluid above the level of the fill hole can damage the transmission.
- ⚠ Use only Honda MTF or a genuine manual-transmission synchromesh fluid with the correct friction modifiers. A generic GL-5 75W-90 gear oil lacks the additives the synchros require.
Step-by-Step Instructions
1 Raise and secure the vehicle
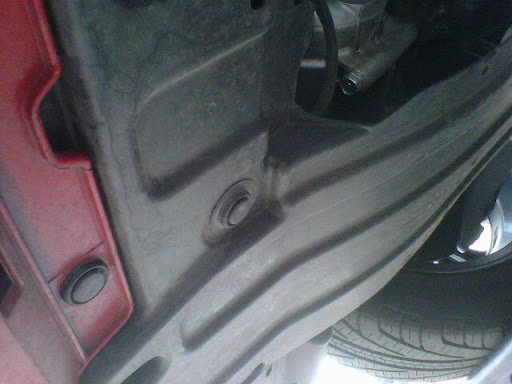
Drive onto ramps or lift the front and set it down on jack stands rated for the weight. Because the fill quantity is judged by the level of fluid inside the case, both front wheels must be off the ground and the car must sit close to flat. Never work beneath a vehicle supported only by a jack.
2 Open up access to the transmission
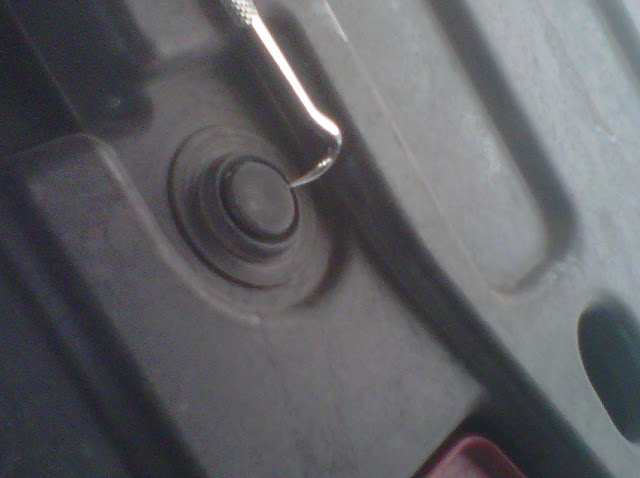
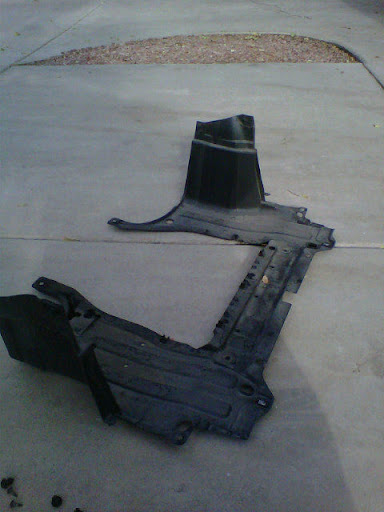
Release the plastic push-rivet fasteners and Phillips screws that retain the lower splash shield. For each rivet, pry the center pin up with a flat screwdriver until it stands proud, then draw it out; a slight twisting motion coaxes out any that stick. Mind the locating tabs at the front corners on both the driver and passenger sides. Full removal is optional: many owners pop only the single clip nearest the drain, or reach both plugs through the driver's front wheel well with the steering turned to full left lock.
3 Identify the fill and drain plugs

Both plugs are on the driver's side of the transmission case. The fill/level plug is a 17mm hex bolt on the side of the case, roughly a third to halfway up and just rearward of the driveshaft. The drain plug sits lower and accepts a 3/8" ratchet square directly in its socket, with no separate bit needed. Do not mistake the grey electrical connector on top of the case (the reverse-light switch) for the fill plug. Note: the original writeup called the fill plug 18mm, but follow-up posts confirm it is 17mm on these cars.
4 Crack the fill plug loose first

Break the fill plug free before you drain anything, never afterward. If the transmission is emptied and the fill plug then refuses to move, the car cannot be safely driven until it is dealt with. Loosen it only far enough to confirm it will turn, then leave it seated so no fluid escapes prematurely, particularly if the car is not perfectly level.
5 Drain the old fluid
Slide a pan under the drain, back out the drain plug, and let the case empty completely. The drain plug is magnetic, so inspect it: a light metallic haze is normal and wipes off with a rag or brake cleaner, but heavy black paste indicates a long-neglected gearbox. Expect the used fluid to look dark.
6 Refit the drain plug

Install a new crush washer, start the plug by hand to avoid cross-threading, and torque it to 32 ft-lb. This washer is the same part used on the engine oil drain, so keeping a multipack on hand is convenient.
7 Level the car before filling
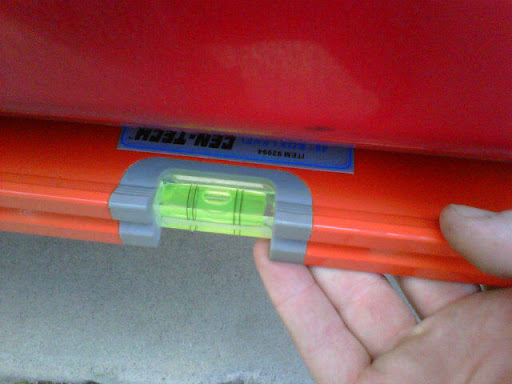
Recheck with a spirit level before adding any fluid. If the front was raised on ramps, lift the rear or set the car level on stands; a nose-high stance makes fluid trickle from the fill hole too early and leaves the gearbox underfilled. A couple of degrees off level is acceptable.
8 Add Honda MTF to the correct level

With the fill plug fully out, pump fresh Honda MTF in using a pump threaded onto the bottle, or feed a hose-and-funnel down through the wheel well. Add slowly until fluid just starts to seep back out of the fill opening, then stop. Most cars accept a little under 1.5 quarts. Do not push in extra fluid past the point it weeps out; overfilling can damage the transmission.
9 Refit the fill plug
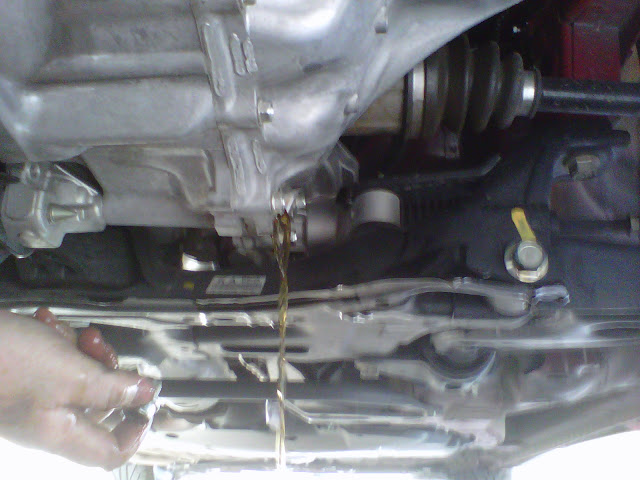
Fit a new crush washer to the fill/level plug, thread it in by hand, and torque it to 32 ft-lb.
10 Lower, road-test, and reassemble

Set the car back down and drive it a short distance, then raise it once more and check both plugs for any weeping. When it is dry, reinstall the splash shield and refit all the rivets and screws you removed.
Pro Tips
- 💡 The fill plug is the built-in level gauge: top up only until fluid begins to dribble from the opening, and that is the correct full point.
- 💡 You can skip dropping the entire undertray by removing just the clip nearest the drain, or by reaching the plugs through the driver's wheel well with the wheels at full left lock.
- 💡 A fluid pump that screws onto the bottle lets you fill from underneath without pulling the battery or air box; keep a plug or old bolt handy to cap the tube and limit spills when you withdraw it.
- 💡 Genuine Honda MTF is inexpensive next to boutique fluids; buy 2-3 quarts so a slow-draining case does not leave you short.
- 💡 Use the correct 17mm on the fill plug. An 18mm wrench will turn it but tends to round off the head.
Was this guide helpful?
