Honda Crosstour Rear Sway Bar Upgrade Using the Acura TL AWD Bar
Introduction
This guide swaps the factory 15MM rear anti-roll bar on a first-generation Honda Crosstour for the thicker 20MM bar fitted to the Acura TL AWD, a bolt-in change that firms up rear roll stiffness and sharpens turn-in without any cutting or fabrication. The larger bar reuses the Crosstour's existing bracket locations and endlinks, so the job is a straight component exchange rather than a suspension rebuild. It applies to 2010-2012 Crosstour models in both 2WD and AWD form; the writeup author performed it on a 2011 Crosstour AWD and reported noticeably better composure through corners afterward. Parts for the upgrade ran roughly $75.44 plus $10.95 shipping, about $86.39 total. Adapted from a community writeup by tlarimer on DriveAccord (https://www.driveaccord.net/threads/diy-acura-tl-awd-rear-sway-bar-to-crosstour-upgrade.166114/), including corrections from the follow-up discussion.
Reference
Tools Required
- 14MM wrench
- 5MM allen wrench
- 12MM socket with ratchet
- Torque wrench (to reach OEM fastener specs)
Parts Required
-
Acura TL AWD rear sway bar, P/N 52300-TK5-A02
-
Acura TL AWD rear sway bar bushings, P/N 52306-TK5-A01 (quantity 2)
-
Silicone grease
Safety Warnings
- ⚠ If you do choose to raise the vehicle for easier access, support it on rated jack stands before working underneath.
- ⚠ A stiffer rear anti-roll bar increases rear roll resistance and shifts handling balance toward the rear; confirm the vehicle behaves predictably during an easy first drive.
Step-by-Step Instructions
1 Compare the two bars and confirm parts
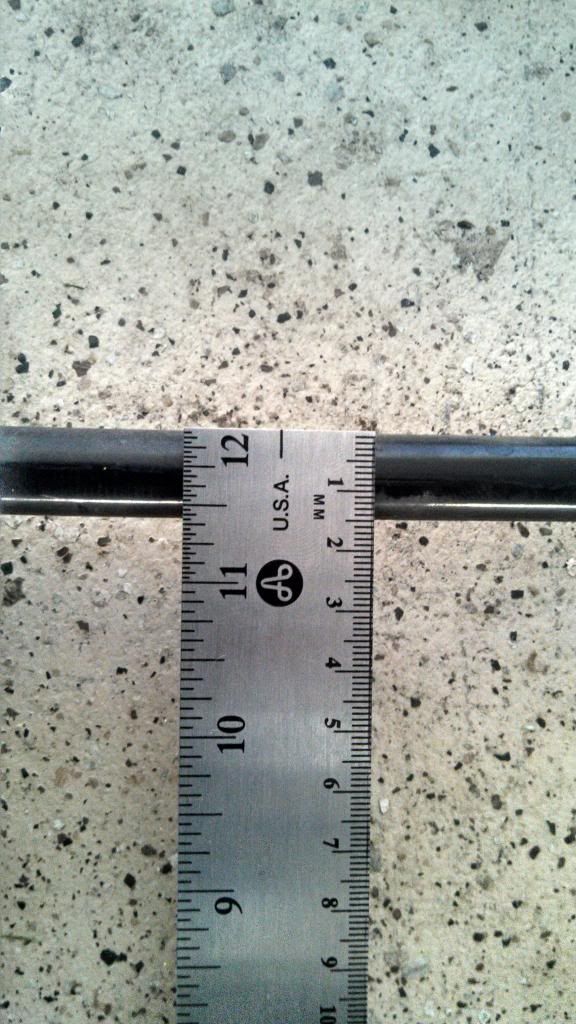
Before starting, set the stock 15MM Crosstour bar beside the replacement 20MM Acura TL AWD bar (P/N 52300-TK5-A02) to confirm the mounting geometry matches. Have the two TL bushings (P/N 52306-TK5-A01) and silicone grease on hand. The vehicle can stay on its wheels; the author completed the swap without jacking the car up.
2 Clean the endlink threads
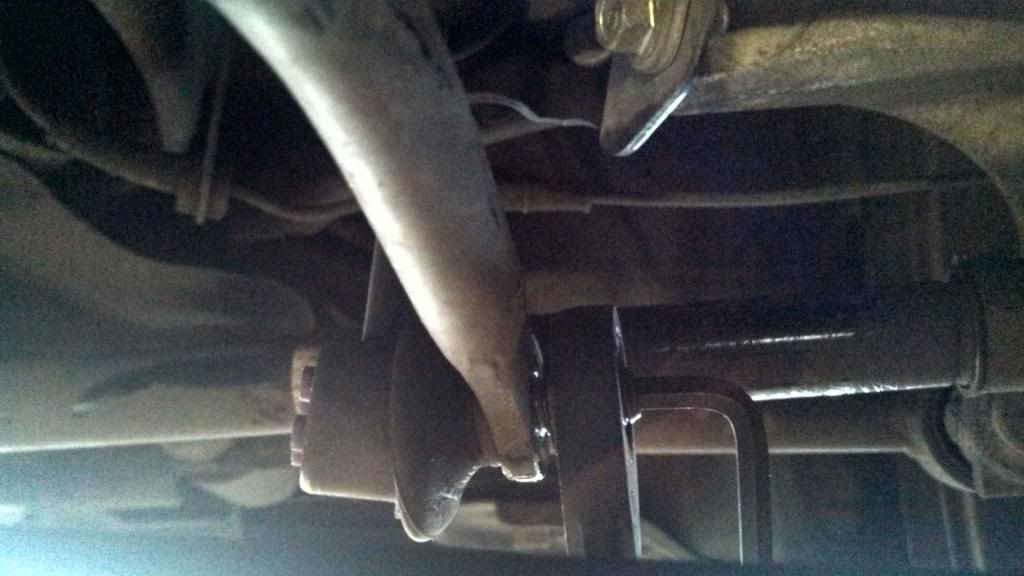
Work under the rear of the vehicle at each endlink where it connects to the sway bar. Wipe and clean the exposed threads on the endlink studs so the retaining nuts back off smoothly rather than binding or spinning the stud.
3 Release the endlinks from the bar
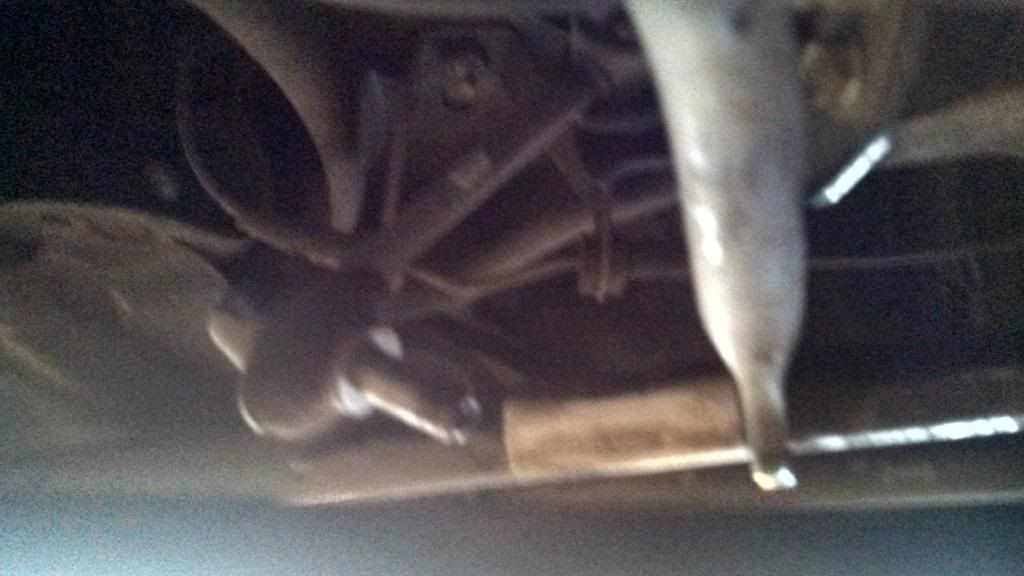
Hold the endlink bolt with the 14MM wrench, then seat the 5MM allen wrench into the end of the endlink stud to stop it turning while you spin off the nut. With the nut removed, pull the endlink stud free of the sway bar eye. Repeat the same sequence on the opposite endlink.
4 Loosen the bushing bracket bolts
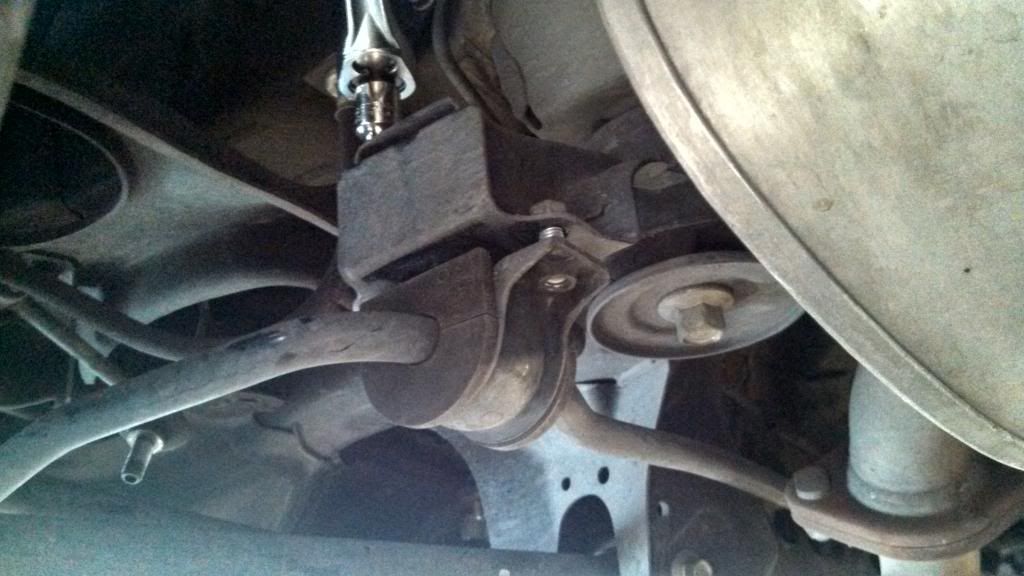
Using the 12MM socket, back off the four bolts that clamp the two d-link bracket/bushing assemblies, two bolts per side. There is no need to fully remove them from the brackets; leaving them captured and letting that side of the bar drop free is enough. Do one side, then the other.
5 Extract the stock sway bar
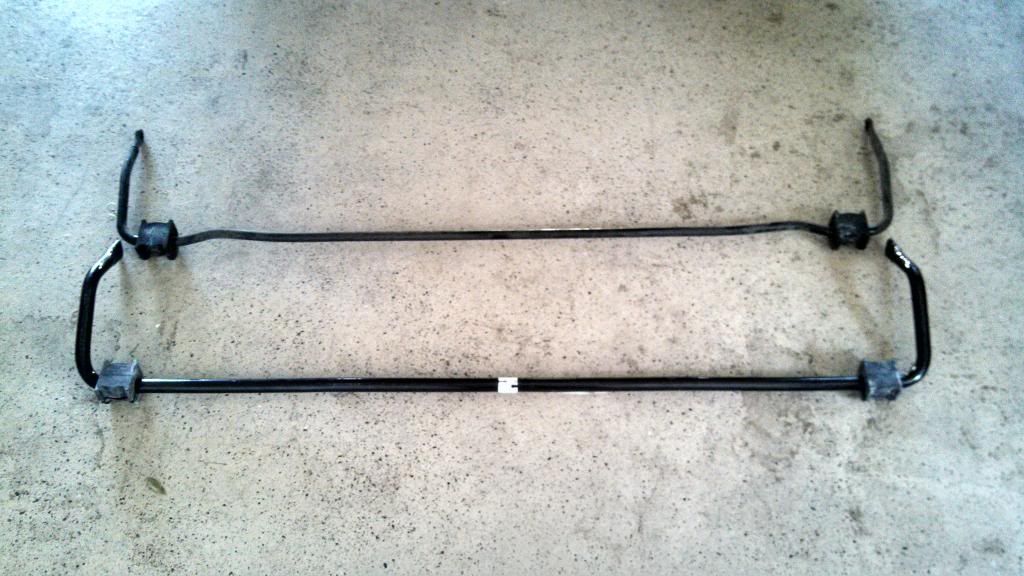
With both bracket pairs loose and both endlinks disconnected, maneuver the 15MM bar out of the chassis. A little rotating is needed to clear the surrounding suspension and subframe, but the bar comes out intact without removing any other component.
6 Fit the new bushings to the TL bar
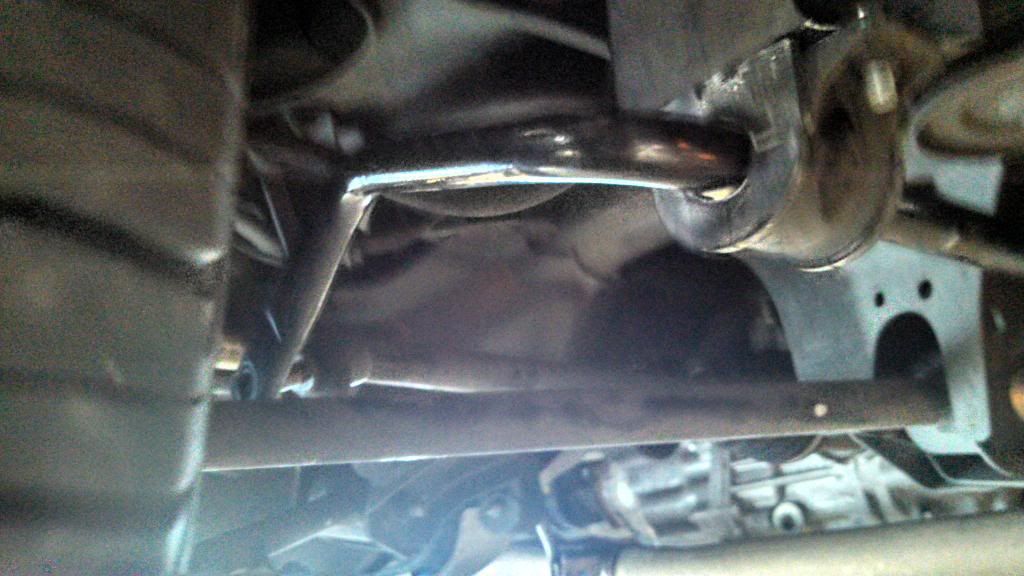
Slide the two new TL bushings (P/N 52306-TK5-A01) onto the 20MM bar. Apply a small dab of silicone grease inside each bushing to prevent squeaking. Match the orientation of the old bushings exactly, aligning the factory cut/split so it faces the same way it did on the removed bar.
7 Install the TL bar and secure the brackets
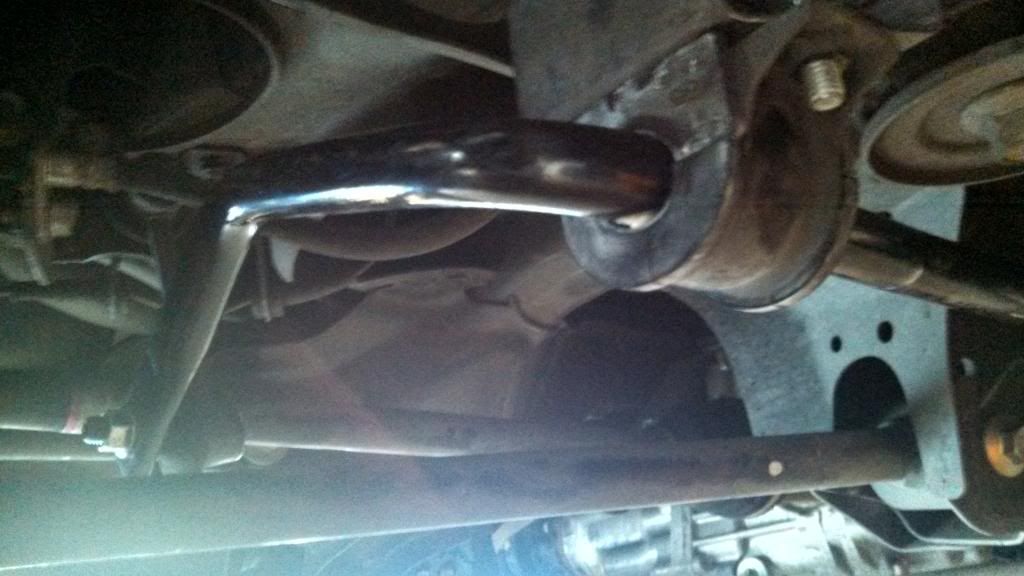
Route the greased 20MM bar into position, rotating it as needed to seat it in the chassis. Fit each d-link bracket back over its bushing and start the four 12MM bolts by hand, then tighten them to the OEM torque figure for those fasteners.
8 Reconnect the endlinks and torque down
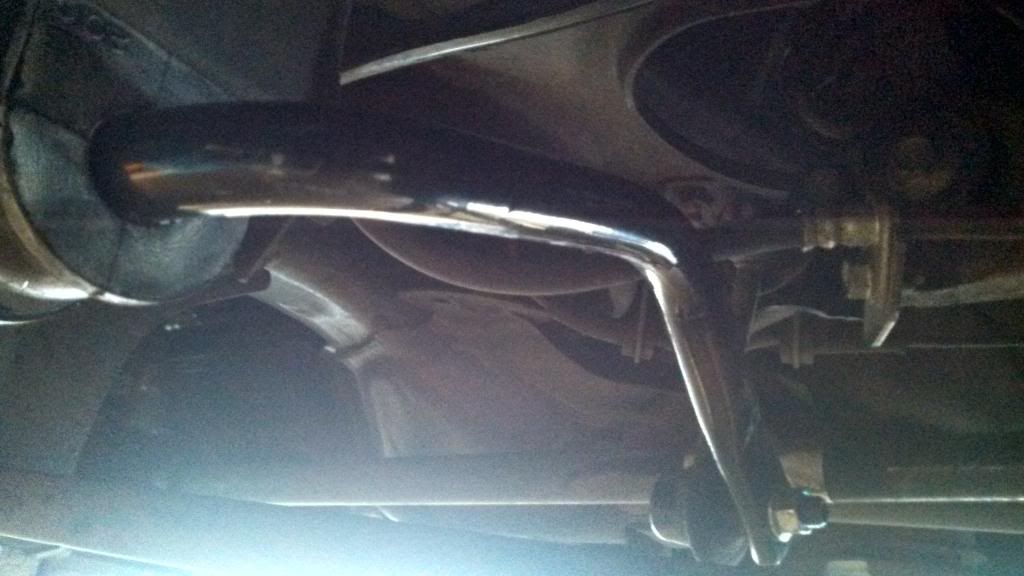
Reinsert each endlink stud through the eye of the new bar, thread on its nut, and hold the stud with the 5MM allen while snugging the nut with the 14MM wrench. Bring both endlinks to the OEM torque spec to finish the installation.
Pro Tips
- 💡 Because the swap does not require lifting the car, the whole job can be done in well under an hour.
- 💡 Keep the old bushings nearby as a reference for the correct split orientation when installing the new ones.
- 💡 The upgrade cost the author about $86.39 including shipping, making it an inexpensive handling improvement.
Was this guide helpful?

