Wings West Lip Kit Install on the First-Gen Acura CL
Introduction
This guide covers assembling a complete Wings West lip kit on a first-generation Acura CL by combining pieces originally designed for several Honda chassis. The front lip is the Wings West CL Type R piece; the side skirts are the Accord W-Type units, and the rear valance is the Accord W-Type skirt. Because the skirts and rear lip were built for the Accord, each needs light trimming to sit correctly on the CL, and the three pieces sit at slightly different heights, so alignment is as much about patience as it is about hardware. The payoff is a lower, more finished stance without touching the factory bodywork underneath. This writeup applies to the 1997-1999 Acura CL and reuses commonly available Accord and CL Type R aero pieces. Adapted from a community writeup by gmsron on AcuraZine (https://acurazine.com/forums/1g-cl-diy-faq-74/gmsrons-lip-kit-help-measurements-pics-diy-faq-495451/), including corrections from the follow-up discussion.
Reference
Tools Required
- Jigsaw or equivalent cutting tool (for trimming tabs and the exhaust opening)
- Drill and bit set for starter holes
- Screwdriver or powered driver
- Measuring tape
- Masking tape and marker for laying out cut lines
Parts Required
-
Wings West CL Type R front lip (97-99)
-
Wings West W-Type Accord left side skirt, part 890149L (94-97 Accord 4DR/wagon)
-
Wings West W-Type Accord right side skirt, part 890149R (94-97 Accord 4DR/wagon)
-
Wings West W-Type Accord rear skirt, part 890265 (94-95 Accord 2DR/4DR)
-
Self-tapping screws
-
3/4-inch 3M double-sided automotive tape
Safety Warnings
- ⚠ Plan your lift points before installing the kit. With the skirts this low, the factory jack may be the only one that clears them, so raising the car afterward for service can be awkward.
- ⚠ Trimming the skirt tabs and the exhaust opening throws dust and sharp edges; wear eye and respiratory protection while cutting.
Step-by-Step Instructions
1 Confirm and lay out the kit pieces
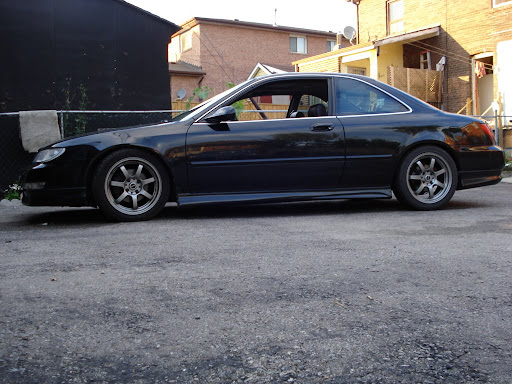
Gather the three components before touching the car. The front piece is the Wings West CL Type R front lip (97-99). The side skirts are the Accord W-Type pair: left part 890149L and right part 890149R, both listed for the 94-97 Accord 4DR/wagon. The rear valance is the Accord W-Type skirt, part 890265, listed for the 94-95 Accord 2DR/4DR. Dry-fit each piece against the car to see where trimming will be needed before committing to any cuts.
2 Trim the extra mounting tab from each side skirt
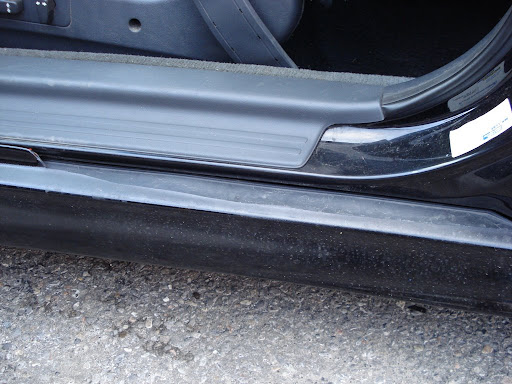
Because the skirts were molded for a four-door Accord, each one carries two mounting tabs. The CL only uses the forward tab, so remove the rear tab on both skirts. Cut it off with a jigsaw and leave roughly one inch of material behind, which keeps the cut edge tucked out of sight where the skirt meets the rear quarter panel. Do not stretch, shorten, or otherwise reshape the skirt body itself; only the surplus tab comes off.
3 Fit the skirts over the factory side skirts
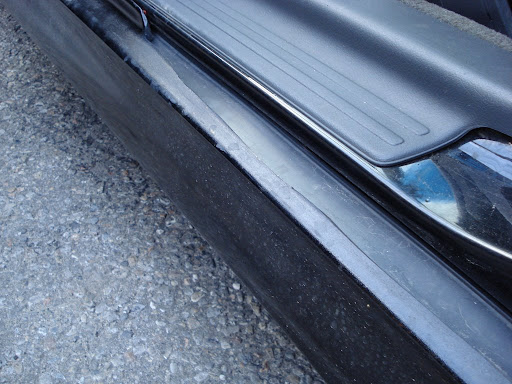
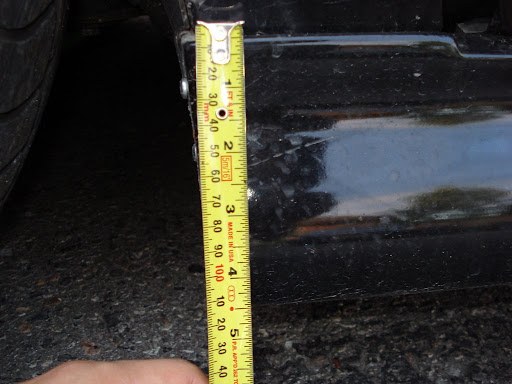
Leave the stock CL side skirts on the car. The Wings West skirts are designed to slide over them and are held captive by the door's tab when the door is shut, so removing the factory skirts leaves nothing for them to grab. Position each skirt, then drill starter holes and drive self-tapping screws into the factory skirt underneath: four screws per side, two of them up in each wheel-well area. A strip of double-sided tape along the top edge helps it sit flush with the door open. Expect the finished skirt to hang roughly 4.5 inches deep at both the front and rear reference points.
4 Cut the exhaust opening in the rear lip
The rear valance needs only one modification: an opening for the exhaust. Cut out the section that clears the tip, or, if you prefer, gently bend the lip up and around the exhaust instead of removing material. Never cut the lip in half. Size the opening to your actual exhaust; a cutout made for a wide aftermarket tip can leave a stock-width tip looking under-filled, and an undersized opening will rub.
5 Mount and center the rear lip
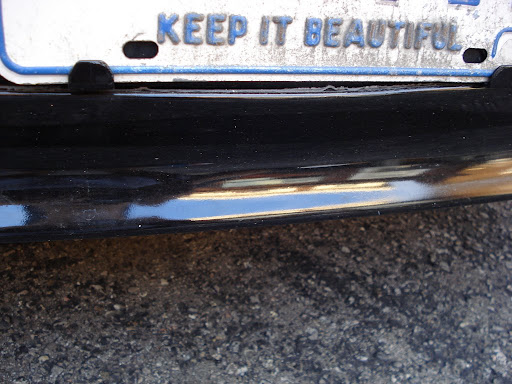
Fitment here is dictated by the center, so set that first: position the middle of the lip almost touching the license plate, then work outward toward each corner. If an end runs long or leaves a gap, angle it slightly up or down to take up the difference rather than forcing it. Once the fit is right, secure the lip with 3/4-inch 3M double-sided tape backed up by screws, running two into each wheel well and another four or five underneath.
6 Install and angle the front lip to line up
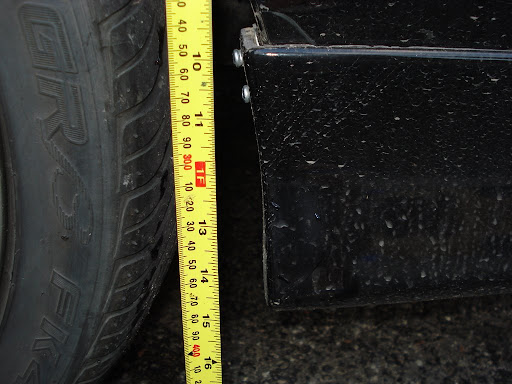
Mount the CL Type R front lip last so you can match it to the pieces already on the car. The side skirts naturally sit lower than the bumper line, so a flush-mounted front lip can look mismatched. To bring the three pieces into visual agreement, angle the front lip downward where it wraps toward the wheel well instead of keeping it level with the bumper, which drops the front corners closer to the height of the skirts.
Pro Tips
- 💡 Center the rear lip on the license plate before fixing anything else; every other adjustment on that piece follows from getting the center right.
- 💡 The side skirts will always hang lower than the front and rear pieces, so tilting the front lip down at the wheel wells is the simplest way to make the whole kit read as one line.
- 💡 Check exhaust-tip clearance with the rear lip loosely in place before final mounting, since the opening size directly affects whether the tip rubs.
Was this guide helpful?


