Honda CR-Z Eibach Pro-Kit Lowering Spring Installation (Hand Tools)
Introduction
Eibach Pro-Kit lowering springs give the first-generation Honda CR-Z a modest drop of roughly 1 to 1.5 inches while keeping ride comfort close to stock and noticeably tightening body roll under cornering. This guide covers a full front and rear installation done entirely with hand tools, without a lift or air tools, including the two steps the factory instructions gloss over: trimming the bump stops and dealing with the rear crush sleeve. It applies to the ZF1 CR-Z and folds in fixes and cautions raised later in the discussion, such as what to do when the rear crush sleeve is crimped onto the shaft and how to tell a genuine spring fault from an unrelated sway-bar clunk. Adapted from a community writeup by sohcsol on CRZ Forum (https://www.crzforum.com/threads/my-eibach-springs-at-home-install-write-up-review.4075/), including corrections from the follow-up discussion.
Reference
Tools Required
- Metric sockets and wrenches: 12mm, 14mm, 17mm, 19mm
- Hex (Allen) key set
- Strut spring compressor (rentable from most parts stores for a refundable deposit)
- Flat-head screwdriver
- Razor or utility knife
- Cutoff wheel, or a hammer and chisel, for the rear crush sleeve
- Floor jack and jack stands
- Work gloves
Parts Required
-
Eibach Pro-Kit lowering springs (CR-Z application)
-
Replacement rear crush sleeves (supplied in the Eibach kit)
-
Duct tape (only if re-wrapping a slit rear dust cover)
Safety Warnings
- ⚠ Raise both front wheels together before removing the sway bar end link. With one side up the bar is preloaded and the link is under dangerous tension.
- ⚠ Do not fully tighten the sway bar end links until all four wheels are back on the ground.
- ⚠ Support the car on jack stands or solid ramps; never work beneath a car held only by a jack.
- ⚠ A compressed suspension spring stores dangerous energy. Use a proper spring compressor and keep hands clear during disassembly.
- ⚠ Wear gloves when snapping apart and trimming the bump stops; the plastic collars can slip and cause a deep cut.
Step-by-Step Instructions
1 Lift and support the front of the car
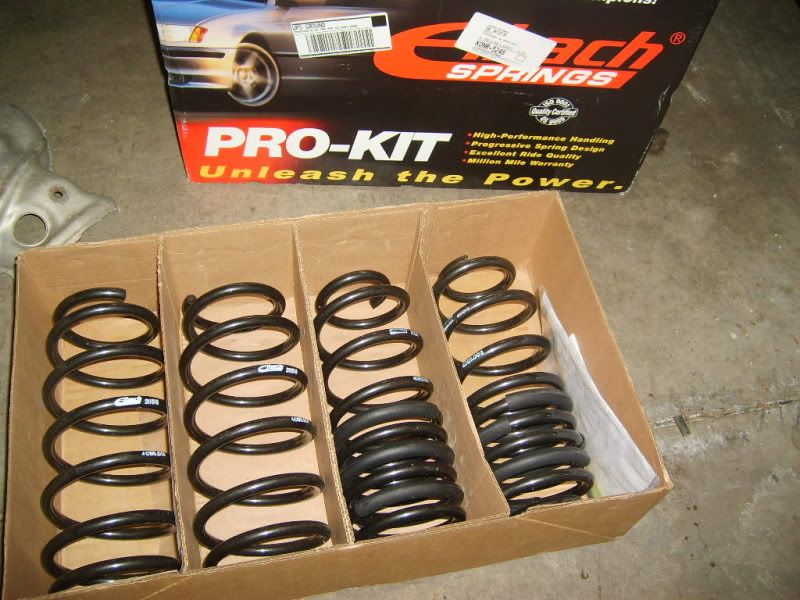
Raise both front wheels clear of the ground before touching the front suspension. Lifting only one corner preloads the front sway bar, leaving the end link under tension that makes it hazardous to unbolt. If you own a single jack, lift from the central jacking point roughly at the front-wheel centerline and set the car on sturdy jack stands; ramps built from stacked 2x4s or plywood are an acceptable substitute. Never work under a car held by the jack alone.
2 Disconnect the front hardware
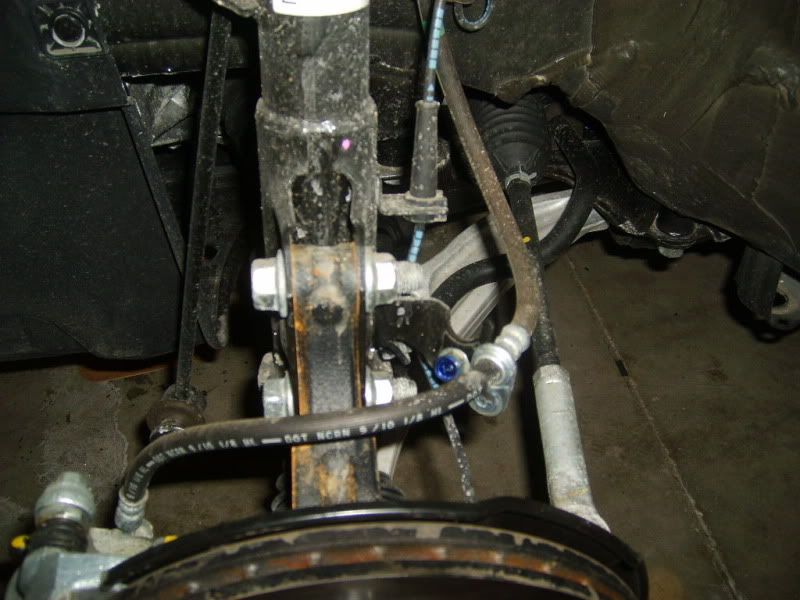
With the front wheel off, free the coilover from everything attached around it. Unbolt the brake line bracket (12mm) and the sway bar end link (14mm), then unclip the ABS wheel-speed sensor from beneath its bracket by popping the clip with a flat screwdriver. Leave the end-link nut only loosely threaded for now; it gets its final torque once all four wheels are back down.
3 Remove the front strut assembly
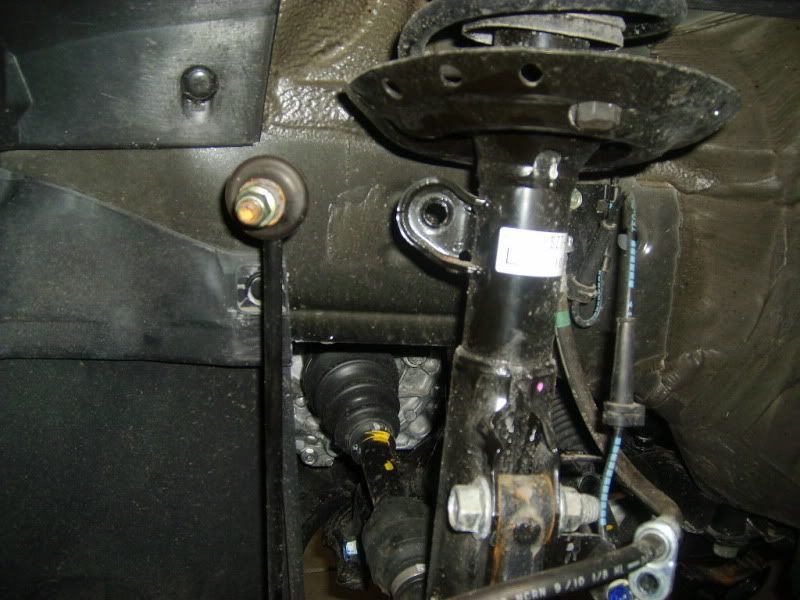
Pull off the small rubber caps that hide the upper strut bolts, then remove the upper mount bolts (17mm) and the lower strut bolts (19mm). On most cars the top bolts back out with a wrench alone and do not need a hex key to hold the shaft. Lift the complete strut-and-spring assembly out of the car.
4 Disassemble the front strut

Fit a strut spring compressor and squeeze the coil until the top hat is unloaded, then hold the shaft with a hex key and loosen the top nut with a 19mm wrench. Keep the assembly fully controlled throughout, because a compressed spring stores enormous energy. Lift the top hat and old spring off the strut.
5 Trim the bump stop and fit the front spring

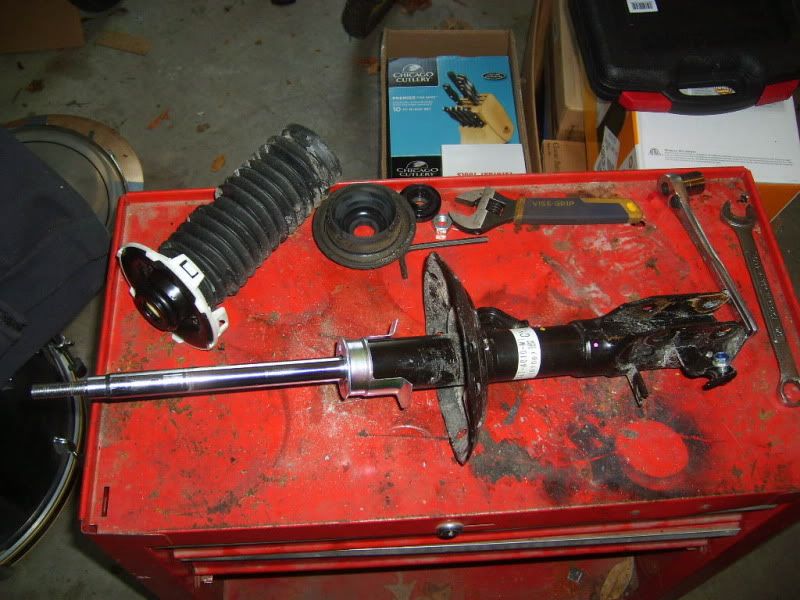
Separate the bump stop from the top hat and cut roughly 1 inch off its base so the lowered spring keeps proper travel. Wear gloves: the white plastic collar can snap loose without warning and slice a finger. If the trimmed bump stop resists reseating inside its dust cover and top hat, shave a thin sliver off the retaining ridge until it locks in securely. Install the Eibach spring with the printed logo reading upright; both seats carry molded indentations that mark exactly where each coil end belongs, so no orientation marking is required.
6 Reinstall the front strut assembly
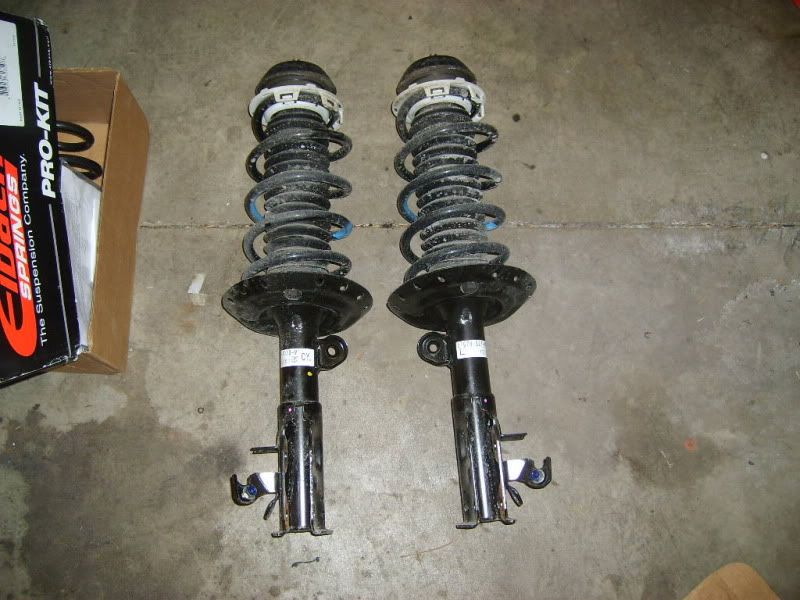
Set the reassembled strut back into place and start every fastener by hand. Snug the lower strut bolts first, then the upper mount bolts, and reconnect the sway bar end link, brake line bracket, and ABS sensor. Hold off on full torque until the car is back on its wheels and the suspension sits at normal ride height.
7 Access the rear shocks
Move to the rear and open the hatch. Pry off the two cargo-area side trim panels that cover the upper shock nuts: slip a flat screwdriver into the small recess near the top front edge of each panel and gently release the retaining clips. Work slowly so a loosened nut cannot drop and vanish into the interior.
8 Remove the rear shock
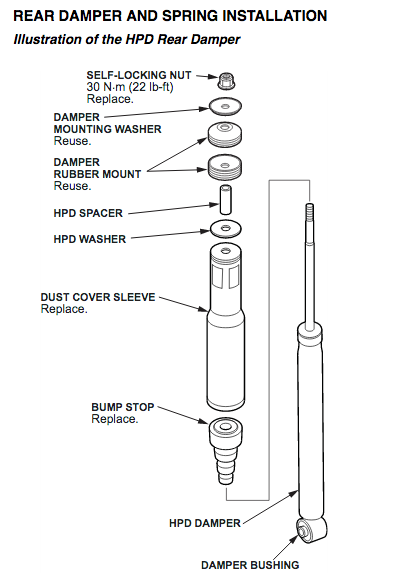
Undo the upper and lower rear shock bolts, both 14mm, using a hex key to stop the upper bolt from spinning. Apply light downward pressure on the hub to relieve spring load if needed, then withdraw the shock. If the stack-up is unclear, refer to the factory service manual rear-suspension diagram before going further.
9 Handle the rear crush sleeve

The rear shock uses a long crush sleeve, sometimes called the long washer, that retains the top collar and bump stop. Eibach has you drill out a pinch point, but on many CR-Zs the sleeve is crimped onto the threaded shaft and cannot be drilled cleanly, and leftover fragments can chew up the threads. Instead, run a cutoff wheel down the seam, or fracture it along the seam using a hammer and chisel, then open it with a large flat screwdriver and slide it off. Better yet, discard the OEM sleeve and fit the replacement that comes in the kit. As an alternative to removing the sleeve, some installers slit the dust cover to reach the bump stop, trim about 1 inch off it on the shaft, and re-wrap the cover with duct tape.
10 Swap in the rear springs
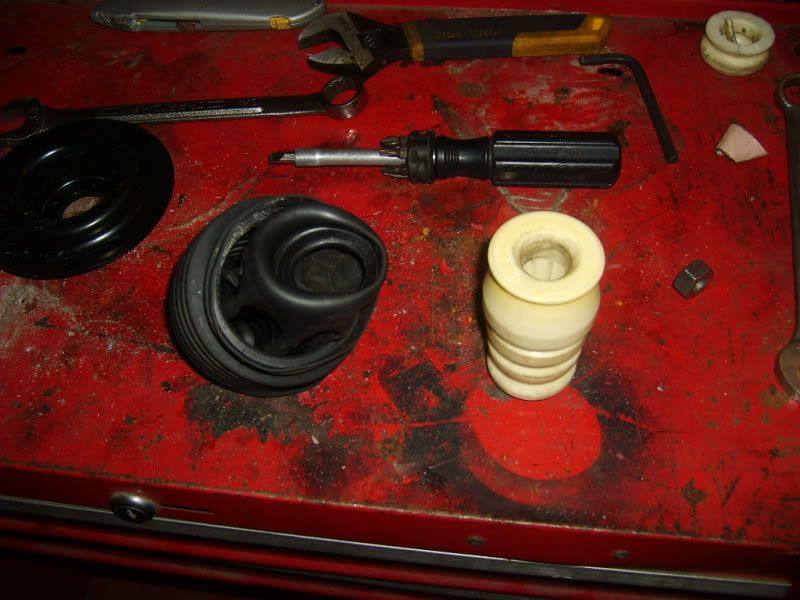
Press down lightly on the hub to unload and free the old spring, then remove it. Move the rubber isolators from the top and bottom of the factory spring onto the Eibach spring, seating each coil end in its molded indentation. The lower isolator has a locating ring with one flat edge; point that flat edge toward the front of the car.
11 Reassemble the rear and lower the car

Refit the rear shock and reinstall the trim panels in reverse order. Set all four wheels on the ground before applying final torque to the sway bar end links and any fasteners left loose. Drive a short distance to let the springs settle, and expect ride height to drop a little further over the first days. Recheck the front-left splash guard, which can scrape on steep driveway lips at the new height.
12 Get an alignment
Have the alignment checked once the car has settled. The CR-Z offers no factory camber adjustment and no rear toe adjustment without shims, so a shop can generally only bring the front toe close to zero. Bring the model's factory alignment specifications with you, since some shops may not yet have them on file.
Pro Tips
- 💡 The install is moderate overall; the original installer rated it about 4.5 out of 10 using only hand tools.
- 💡 Ordering directly from Eibach was quick, with delivery inside a week and high finish quality.
- 💡 A persistent clank or clunk over bumps is often NOT the springs. In this thread it was traced to an aftermarket Progress rear sway bar rubbing a body bracket; shifting the bar toward the driver side through its slotted (oblong) mounting holes, or removing it, cured the noise.
- 💡 Some owners reported early shock failures around 33,000 miles that produced a thunk easily mistaken for a rattling sway bar; a defective shock may be replaceable under warranty.
- 💡 Lowering springs alone carry a rate that is not matched to the factory shock damping; for the best-controlled result, consider a matched coilover setup instead.
- 💡 The rear dust cover is thin plastic, so if you slit it to reach the bump stop, duct tape reassembles it acceptably.
Was this guide helpful?

