Honda Fit (GE8) Hatch LED Cargo Lighting Install
Introduction
The Honda Fit's factory cargo-area lighting is weak, leaving the tailgate area poorly lit after dark. This guide adds bright aftermarket LEDs to the hatch of the second-generation Fit (GE8, sold as the Jazz in some markets), giving clear illumination when loading the boot at night. It covers mounting prewired white LEDs into the tail light access covers, routing power through the body to both sides, tapping the existing hatch-light circuit for switched power, and an optional second LED set into the hatch door itself. A simpler variation shared by another member wires a parallel circuit so the original bulb stays lit alongside an added LED strip. Basic soldering, drilling, and wire-routing ability is needed. Adapted from a community writeup by chubbykai on FitFreak (https://www.fitfreak.net/forums/2nd-generation-ge8-specific-diy-repair-maintenance-sub-forum/47599-diy-install-hatch-leds.html), including corrections from the follow-up discussion.
Reference
Tools Required
- Drill with bits up to 1/2"
- Wire strippers
- Soldering iron
- Heat gun
- Flathead screwdriver
- Trim / panel removal tool
- Length of stiff wire to use as a fish tape
Parts Required
-
Three prewired white superflux LEDs (OP sourced them from oznium.com)
-
Three 10 mm chrome LED holders
-
20-gauge wire, red and black
-
Solder and heat-shrink tubing
-
Female spade connectors (plus optional pin-and-socket connectors)
-
Wire loom (optional, eases the hatch-door run)
-
Replacement hatch light fixture if you modify the original
Safety Warnings
- ⚠ Cut into the removable lamp fixture rather than the vehicle's factory wiring harness; the fixture is a cheap Honda replacement part, so the modification stays reversible.
- ⚠ Insulate every splice with heat shrink or electrical tape to prevent shorts against the metal of the hatch.
- ⚠ Observe polarity when connecting each superflux LED; reversed leads will simply fail to light.
Step-by-Step Instructions
1 Open the tail light access panels
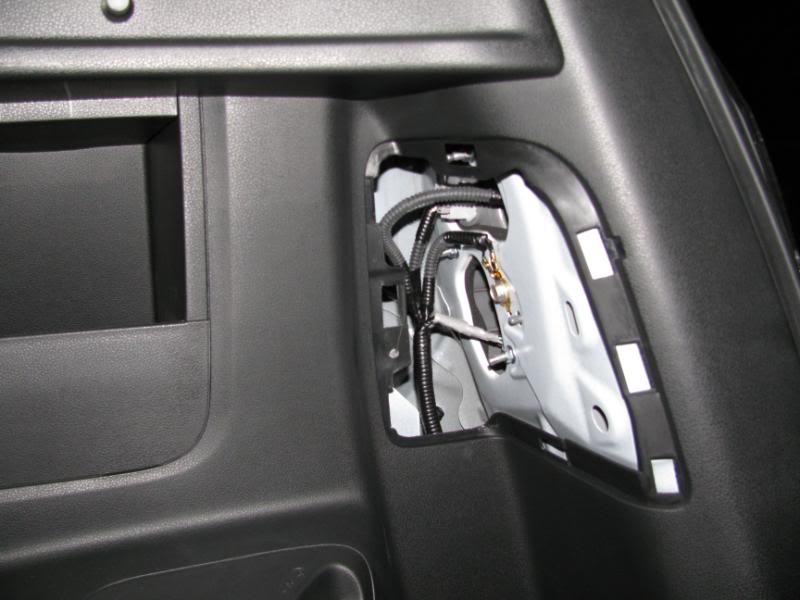
Remove the small access covers on both the driver and passenger sides of the cargo area. These openings give you room to feed and terminate the LED wiring behind the trim.
2 Remove the lower tailgate trim
Ease the trim panel off the base of the hatch, working steadily around its plastic retaining clips so none snap. This panel is the path a set of wires will later cross between the two sides.
3 Take out the factory hatch lamp
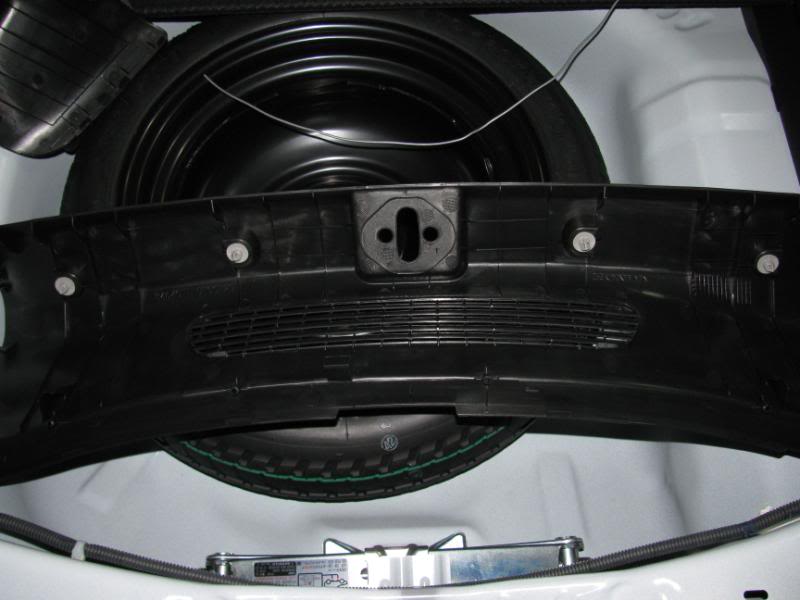
On the driver side, work the stock hatch light out of its recess with a flathead screwdriver. Pad the blade with a cloth so it does not mar the surrounding trim.
4 Locate the wire pass-through
Look inside the empty lamp cavity. High up in the opening is a small hole with a notch beside it; this is the channel you will use to drop the power wiring down into the tail light access area.
5 Fish the supply wire through
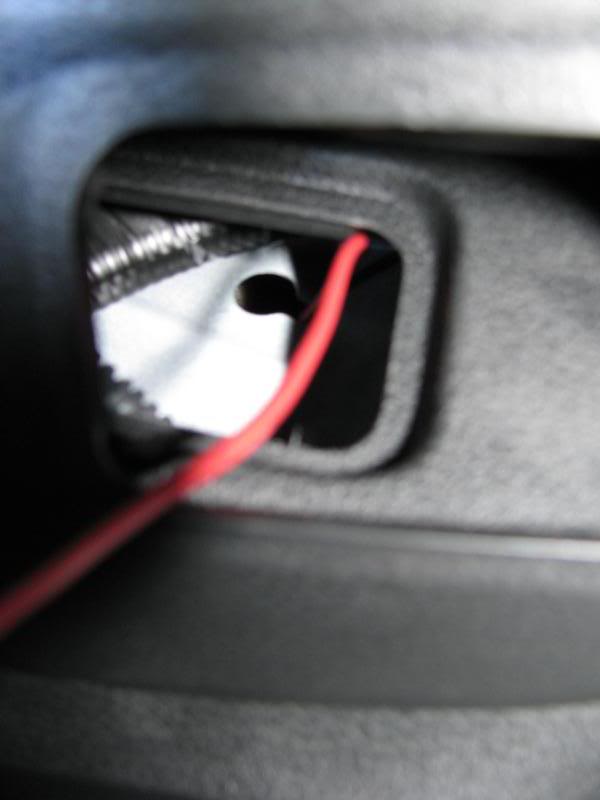
Push a length of rigid wire up through the notch to act as a fish tape, fasten the red supply lead to its end, then draw the pair back down into the access area. This routes power from the hatch-light location to where the LEDs mount.
6 Drill and position the LED holders
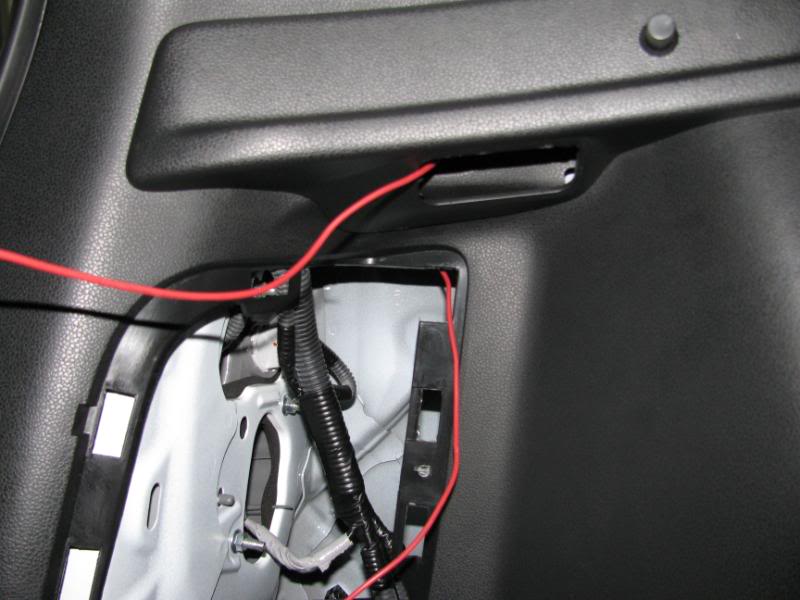
Pick mounting spots on the tail light access covers and drill each to suit the 10 mm holders, stepping up through bit sizes to 1/2". Space them symmetrically for an even appearance, then press the chrome holders into place.
7 Seat the prewired LEDs
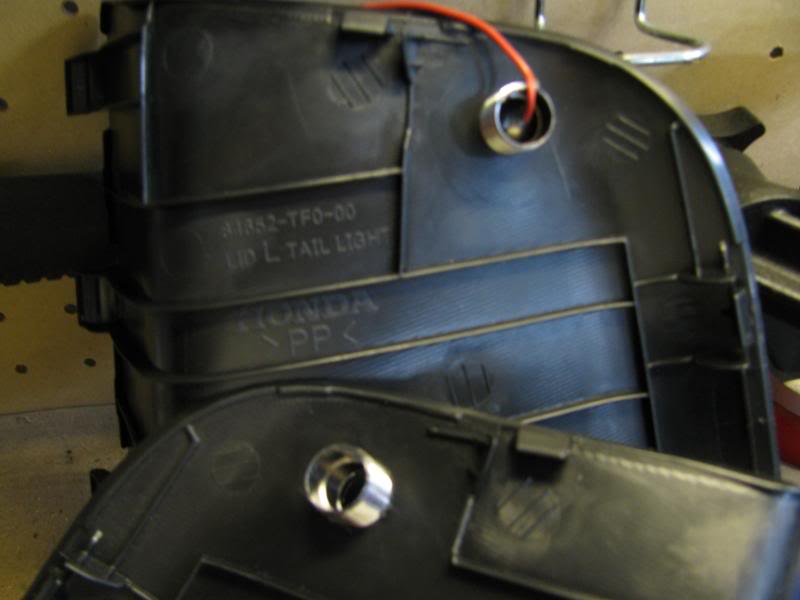
Fit each superflux LED into its holder. The units supplied already include an inline resistor and a short piece of heat shrink at the diode end. Lengthen the leads with extra wire as needed and insulate every added joint with heat shrink. Optional pin-and-socket connectors let you unplug the LED assemblies later for service.
8 Route the positive and negative runs
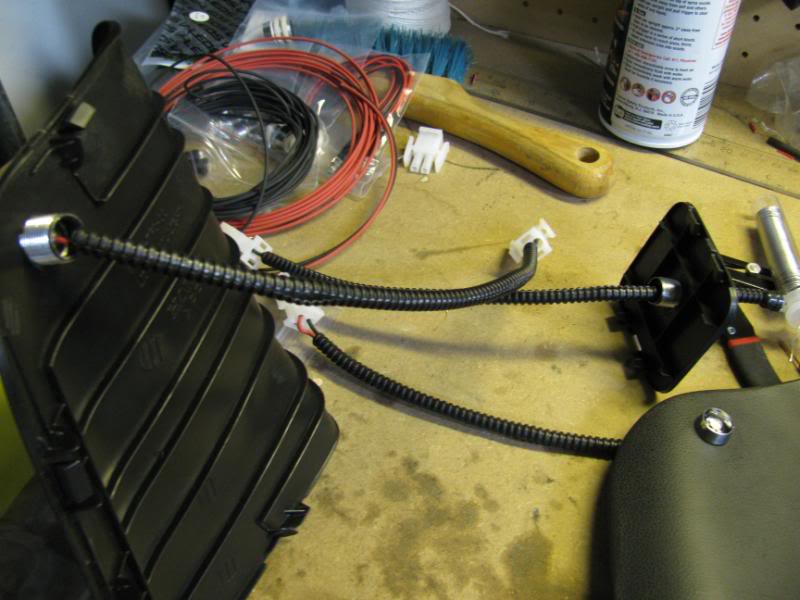
Bring one +/- pair down from the former hatch-light hole. Run a second +/- pair across through the lower panel and the base trim, then up behind the passenger-side panel into that access area, so each side has its own feed.
9 Wire the driver-side LED
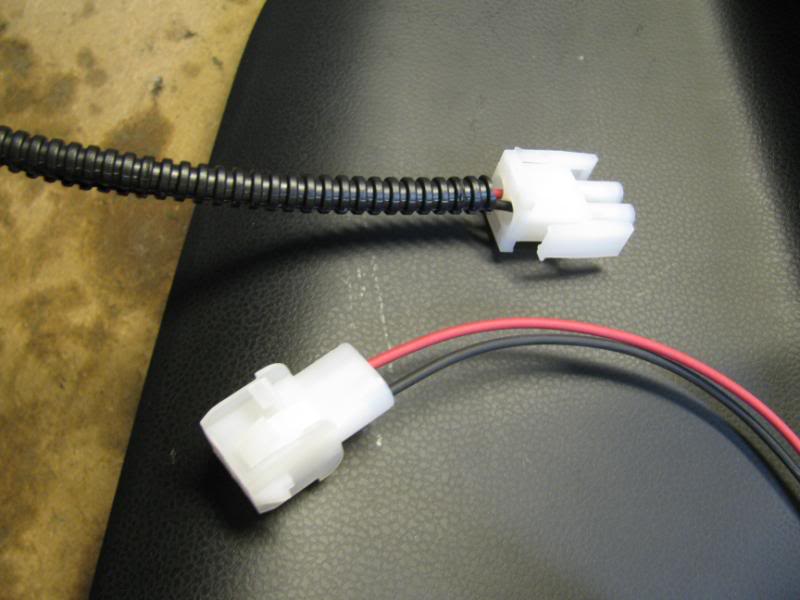
Solder short leads that join the routed +/- pair to the driver-side LED. Seal each connection with heat shrink or electrical tape before tucking the wiring back behind the trim.
10 Wire the passenger-side LED and connect power
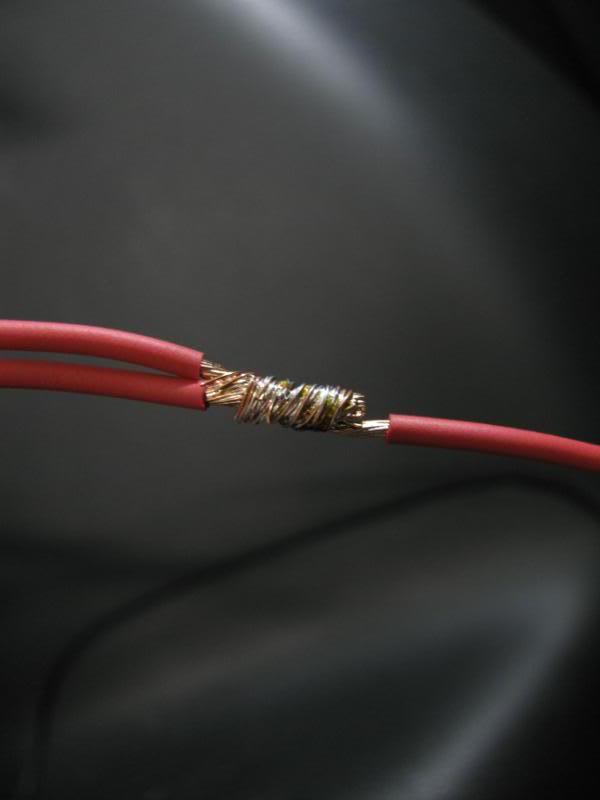
Join the passenger LED to its routed pair. Crimp female spade terminals onto the two supply wires and connect them to the stock hatch-light fixture for switched power. Because the LEDs take over from the factory bulb, the writeup cut into the lamp fixture itself rather than the vehicle harness, since that fixture is an inexpensive, easily replaced Honda part.
11 Optional: add an LED in the hatch door
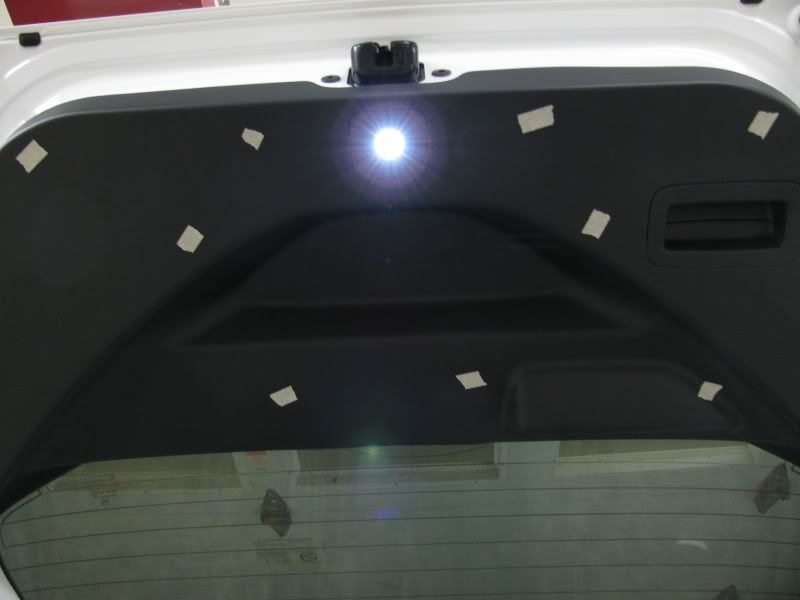
For extra light, pull the inner panel off the hatch door, marking its many clips with tape so they go back in the right places. Drill a 1/2" hole in the flat square section and fit an LED there. Route the wiring through the door's upper-left rubber grommet, sliding wire loom over it so the wires pull through more easily, then tap into the LED wiring at the tail light access panel.
Pro Tips
- 💡 A member running a Jazz used a simpler approach: wire a parallel circuit that keeps the factory lamp lit while a separate LED strip mounted under the pull-out cargo cover adds bright light, done in roughly 30 minutes.
- 💡 Fitting inline pin-and-socket connectors instead of permanent solder joints lets you disconnect and remove the LEDs later.
- 💡 Slipping the wires inside wire loom makes them noticeably easier to feed through the hatch door channel.
Was this guide helpful?

