Honda Fit (GD): Wiring Footwell / Accent Lights to the Dome-Light Circuit
Introduction
This guide covers adding accent or footwell lighting to the first-generation Honda Fit (GD) so the lights follow the dome-light circuit: they come on when a door opens or the car is unlocked with the remote, and switch off when the dome light does. The approach taps two contacts in a connector near the driver's-side fuse box - a constant 12V power source and the ground that the dome-light system switches - and feeds them to cold-cathode tubes or 12V LED strips of your choice. It also covers an optional toggle-switch variation that runs the lights from an accessory circuit for on-demand control without draining the battery. The wiring itself is straightforward, but the work happens in the tight space under the dash and calls for a multimeter to confirm each contact before you commit. Adapted from a community writeup by jl0r on FitFreak (https://www.fitfreak.net/forums/fit-interior-exterior-illumination/10803-diy-guide-wiring-lights-along-w-dome-light.html), including corrections from the follow-up discussion.
Reference
Tools Required
- Multimeter (voltmeter)
- Trim removal tool or flat screwdriver
- Phillips screwdriver
- Wire cutters / strippers
- Electrical tape
- Drill with small bit (for zip-tie holes)
Parts Required
-
Cold-cathode (CCFL) kit with inverter, or flexible 12V LED strips
-
Extra wire for extending to the second footwell
-
Zip ties
-
Add-a-Fuse tap (optional, for switch variation)
-
Automotive toggle switch, ~20A (optional, for switch variation)
-
In-line fuse (optional)
Safety Warnings
- ⚠ Side-curtain airbags run above the doors. If routing wire up to the headliner or dome switch, go up the A-pillar (which does not house the curtain airbag) and keep clear of any SRS components.
- ⚠ Never leave a light tube or wiring loose near the pedals - secure everything so nothing can fall and interfere with braking or the throttle.
- ⚠ Wiring footwell lights to stay lit with the dash/instrument lights while driving at night can be distracting; prefer a door-triggered or manually switched setup.
Step-by-Step Instructions
1 Prepare the workspace at the under-dash fuse box
Locate the fuse box on the driver's side and remove the lower dashboard under-cover panel to open up room to work. The connectors you need sit in a cramped area, so clearing that panel makes routing and testing far easier. If reaching the fuse box confidently is beyond your comfort level, reconsider taking on the project.
2 Identify the switched-ground and constant-power contacts
Find the green connector positioned toward the upper-left of this area. Two contacts matter. The green-with-red-stripe wire sits at the plug's upper-right corner; it carries the switched ground that the dome-light system turns on and off - this is the key contact. The lower-left contact supplies constant, always-on power. Confirm both with a multimeter: probe against a known chassis ground and verify that the switched contact changes state when you open a door or unlock the car with the remote.
3 Tap into the connector without cutting the harness
Release the green connector and insert your new supply and return leads into the plug so they seat alongside the existing power and switched-ground pins. Verify with the meter that each added lead is live in the correct state, then wrap them to the original cable bundle so they cannot back out, and reseat the connector. Feeding leads into the plug this way avoids splicing the factory wiring.
4 Select and connect your lights
Two light types work. Cold-cathode (CCFL) tubes need an inverter/transformer: join the tube to the transformer's positive and negative outputs, then feed the transformer from your tapped power and switched ground. Flexible LED strips are designed for 12V and need no transformer, so they connect straight to the tapped leads. A single 12-inch tube per footwell is ample - a second tube in the same footwell adds nothing noticeable. An in-line fuse is optional for this low-current load.
5 Extend wiring to the passenger footwell
To light the opposite side, run additional wire across the cabin; you do not need a whole second kit just for the wire. Extend on the supply side rather than on the short, fragile leads that run between a tube and its transformer. If you want an independent tube on each side, fit a second transformer instead of stretching those thin light leads, which do not tolerate lengthening.
6 Secure the lights permanently
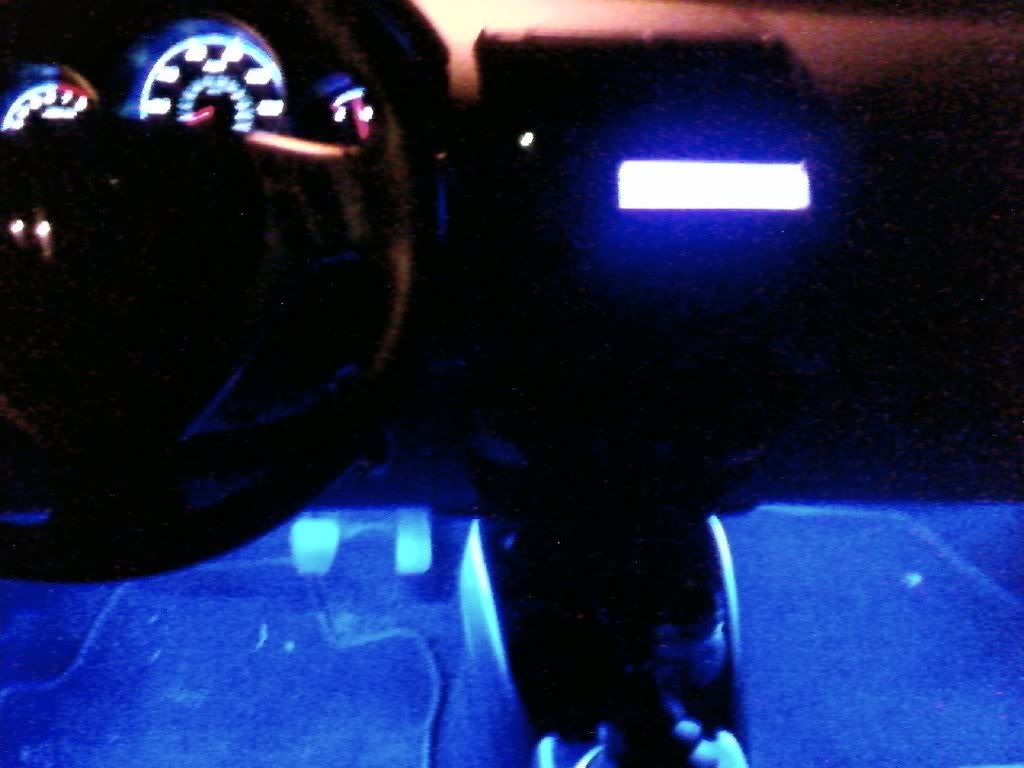
Adhesive-backed hook-and-loop holds at first but tends to let go after months, and a tube that drops toward the pedals is a real hazard. Drill a couple of small holes in the under-dash cover and fasten each tube with zip ties threaded through them. Route and tuck all wiring so nothing hangs loose near your feet.
7 Add an optional on/off switch
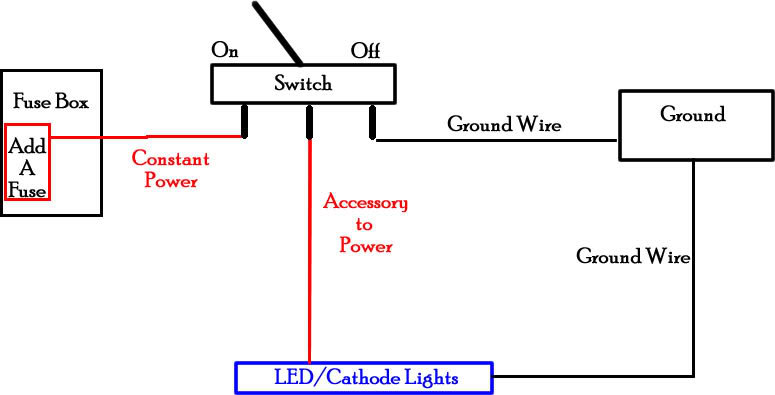
For control independent of the doors, power the lights through an Add-a-Fuse tap on an accessory fuse and run them through a toggle switch (a ~20A automotive toggle works well). Wired this way, the lights behave like any accessory - live only with the key in the first position and the switch on - which prevents battery drain if you forget them. This arrangement does not turn the lights on with the doors. As an alternative, a direct-to-battery feed through a switch and an in-line fuse works with the key removed and draws no parasitic current.
8 Test operation and know which fuse to check
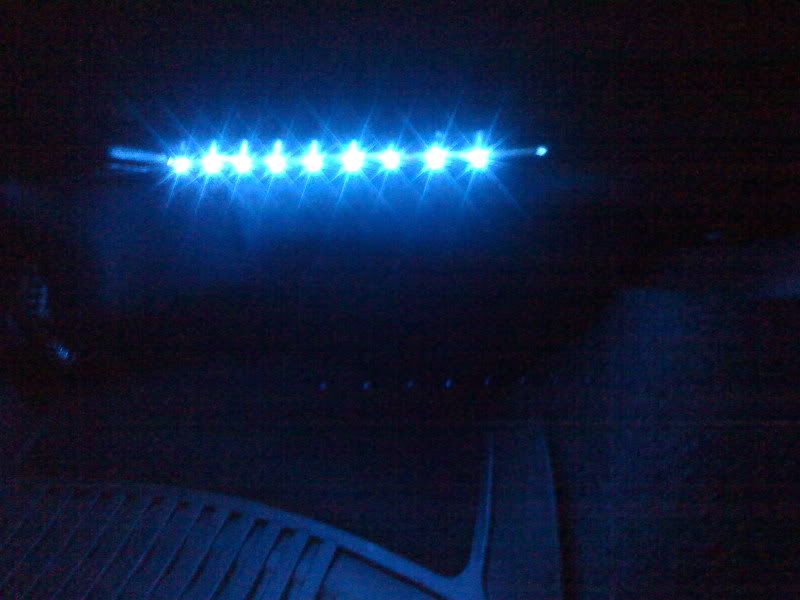
Reassemble, then verify behavior. With the dome circuit tapped, the lights should come on when a door opens or the car is unlocked by remote, and go off when the dome light does. If you blow a fuse while working, the one to check is the backup fuse in the engine-bay fuse box under the hood, not the under-dash box - a common point of confusion.
Pro Tips
- 💡 One tube per footwell is enough; a second tube on the same side is wasted money.
- 💡 Cold cathodes require an inverter; flexible LED strips accept 12V directly and are simpler to wire.
- 💡 When extending to the other side, lengthen the wiring before the transformer, never the short fragile leads between tube and transformer.
- 💡 An Add-a-Fuse on an accessory fuse lets the lights work like a normal accessory and avoids battery drain.
- 💡 The lights show best in low light; in bright daylight they are barely visible.
Was this guide helpful?

