Honda Fit (GD) Rear Koni Sport Shock Conversion
Introduction
The first-generation Honda Fit (GD) left the factory with no aftermarket performance option for the rear dampers, so owners adapted a Koni unit built for a different car. This guide covers installing the Koni Sport "Yellow" model 8041-1191 rear damper, originally listed for the 1994-1998 Saab 900 NG, into the rear of a GD-chassis Fit. The Koni reuses the factory mounting locations with two adaptations: the upper hardware must be resized to the Koni's larger shaft and top diameter, and the narrower lower eye must be shimmed to remove side play. The payoff is a firm, single-adjustable rear damper where nothing off-the-shelf existed. It suits street cars at or near stock ride height; read the warnings before fitting it to a lowered car. Adapted from a community writeup by mike410 on FitFreak (https://www.fitfreak.net/forums/fit-suspension-brake-modifications/73823-diy-koni-yellows-gd3-rear.html), including corrections from the follow-up discussion.
Reference
Tools Required
- Floor jack
- Jack stands
- 14mm socket and wrench
- 19mm wrench
- 5mm hex (Allen) key
- Drill with a 15/32 inch bit
- Bench vise
- Flat file
- Flat-blade screwdriver
- Torque wrench
Parts Required
-
Koni Sport rear dampers, model 8041-1191 (pair; listed for 1994-1998 Saab 900 NG)
-
Metal spacer bushing, 1/2 x 5/8 x 1 1/2 (hardware-store item)
-
Flat washers with a 3/8 inch bore, roughly 1.7mm thick (several per side)
-
Koni damping adjuster knobs
-
Reuse the factory rubber isolators and upper washer
Safety Warnings
- ⚠ Support the car on jack stands before working underneath; never rely on the jack alone.
- ⚠ On lowered or short springs these dampers can be too long and let the spring drop off its perch when the rear is raised; choose a shorter shock in that case.
- ⚠ Do not over-tighten the upper nut. Crushing the rubber isolator alters ride height and can damage the mount.
Step-by-Step Instructions
1 Raise and unload the rear suspension
Chock the front wheels, then lift the rear of the car until the suspension droops and most of the weight comes off the damper you are servicing. Set the vehicle on stands. Unloading the shock this way lets the lower bolt break free easily and lets the unit sit loosely in its lower pocket while you release the top.
2 Remove the lower shock bolt
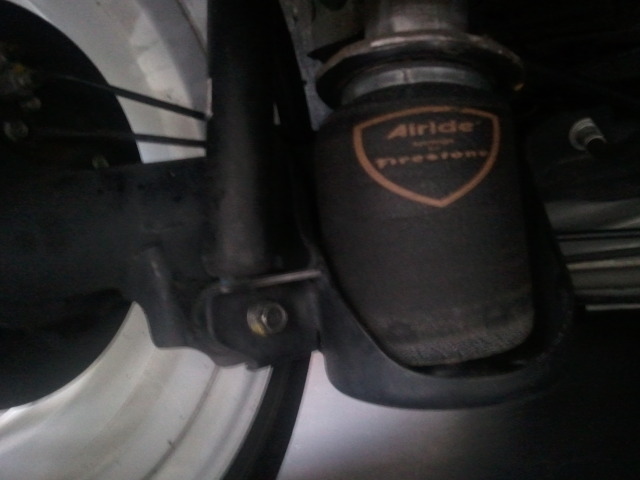
With the damper still resting in its lower pocket, take out the bottom mounting bolt using a 14mm socket. Leaving the shock seated here keeps it from dropping once the upper fastener is released.
3 Free the upper mount
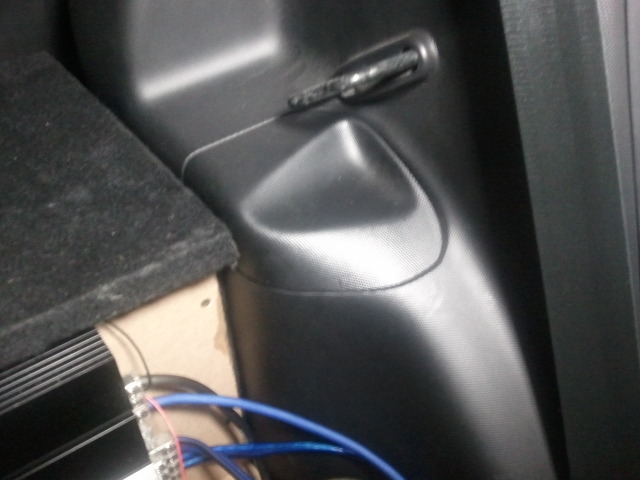
Inside the cargo area, pry off the small plastic trim cap above the shock tower by slipping a finger or flat screwdriver into its slot and lifting, which exposes the upper nut. Hold the damper shaft from turning with a 5mm hex key while backing the top nut off with a 14mm wrench. Recover the metal washer and both rubber isolators and set them aside, then withdraw the shock; retrieve the lower rubber isolator from the body if it stayed behind.
4 Enlarge the upper washer to clear the Koni shaft
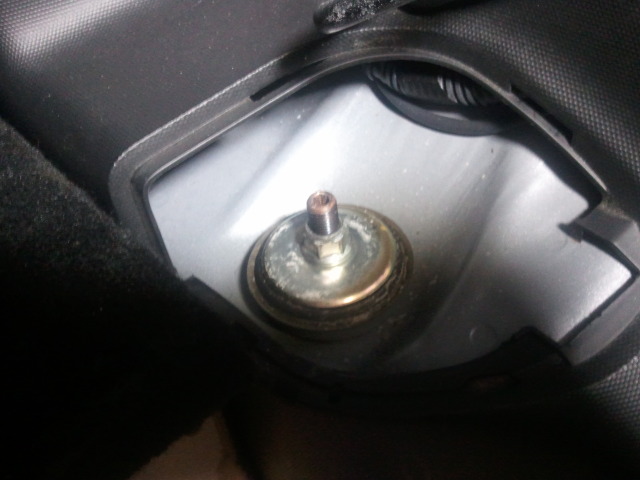
The Koni's top mount is fatter than the stock stud, so the reused top washer needs its centre opened up. Clamp the washer in a bench vise, drill the bore out to 15/32 inch, then dress the cut edge with a file so the washer slides onto the Koni cleanly and seats flat.
5 Fit a spacer bushing over the Koni shaft
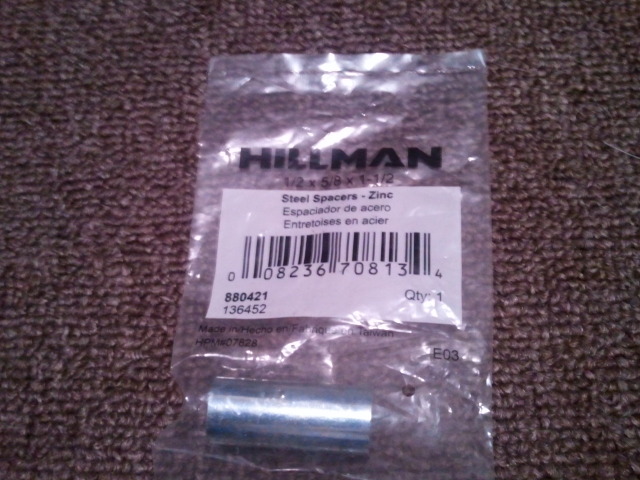
The factory inner sleeve is too small for the Koni shaft, so add a metal spacer to take up the difference. A 1/2 x 5/8 x 1 1/2 bushing presses into the rubber mount and locates the shaft the way the original metal sleeve did. Seat it with light force.
6 Mount the Koni at the top and seat the bottom
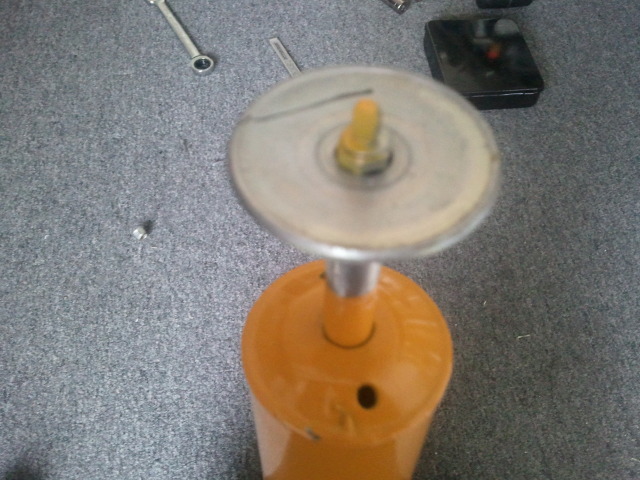
Slide the outer rubber isolator onto the top of the Koni. Feed the shaft up through its hole in the body while guiding the lower end into its pocket; a little hand compression lines it up. From inside, stack the rubber mount, then the drilled washer, then thread the first nut with a 19mm wrench. Snug it only until the rubber is lightly captured without crushing it, then lock it with a second nut jammed against the first.
7 Shim the lower eye to remove side play
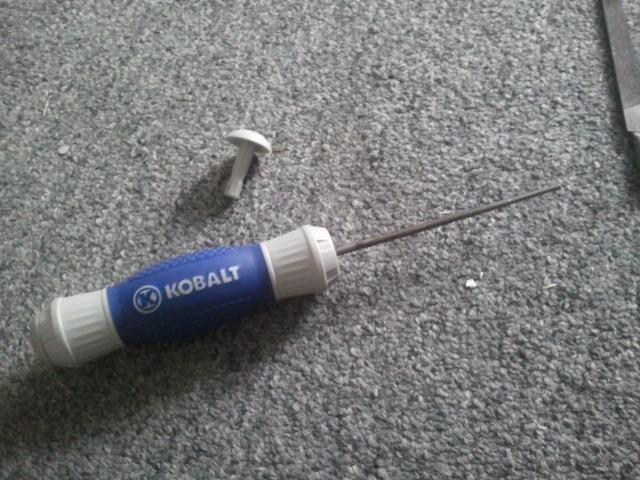
The Koni's lower eye is narrower than the factory fork and must be packed out on both sides. The stock lower mount measured 44.03mm across while the Koni measured 36.14mm, leaving roughly 8mm to take up. Slide washers with a 3/8 inch bore, each about 1.7mm thick, onto the lower bolt and add an equal stack to each side until the eye centres with no slop. Hold the far washers in position with a screwdriver pushed in from the opposite side as you start the bolt.
8 Torque the lower bolt and set the damping
With the eye shimmed and centred, torque the lower bolt to 40 lb-ft. Fit the Koni adjuster knob and dial in your preferred damping setting. Repeat the full procedure on the opposite side, then lower the car back onto its wheels.
Pro Tips
- 💡 Leave the shock resting in its lower pocket while loosening the upper nut so it cannot fall.
- 💡 The Koni is single-adjustable; set the knob to your preferred firmness once the shock is installed.
- 💡 For a cheaper, non-adjustable alternative, a Bilstein Sport listed for the 1999-2001 Saab 9-3 (part 24-027588) mounts the same way as the 900 unit.
- 💡 There is no bolt-in Koni for the GD front; the known front route was custom strut housings from RedShift used with Koni Sport inserts.
- 💡 Deburr the drilled washer so it beds flat against the mount.
Was this guide helpful?

