Adding an Auxiliary (AUX) Input to a Base Honda Fit
Introduction
The base-trim Honda Fit (Jazz) ships without the front auxiliary input that the Sport trim uses, yet its head unit already carries the wiring provision on the rear B connector. This guide adds a working 3.5mm aux jack so any phone or MP3 player can feed the factory stereo through its AUX source. Two paths are covered: a low-cost build using a four-conductor CUI panel-mount jack wired directly to the B connector, and an OEM route that installs the genuine Sport aux jack for a capped, factory appearance. Both require pulling the head unit and center console to reach the connector and the mounting point, plus some soldering or crimping. Once done, the radio's AUX button becomes fully functional and the detection line lets it switch sources automatically when a plug is inserted. Applies to the GD-generation Fit/Jazz base models that lack the factory jack. Adapted from a community writeup by smeister on FitFreak (https://www.fitfreak.net/forums/fit-interior-modifications/6846-diy-auxiliary-base-fit.html), including corrections from the follow-up discussion.
Reference
Tools Required
- Drill with a 1/4-inch bit plus a smaller pilot bit
- Soldering iron and solder (or a crimp tool for the pin connections)
- Heat gun or lighter to shrink heatshrink tubing
- Wire strippers
- Socket wrench with a short (about 6-inch) extension for the deck bolts
- Trim panel pry tool
- Multimeter (optional, for checking pins)
Parts Required
-
CUI Inc 3.5mm 4-conductor panel-mount audio jack, PN SJ-43502PM (DIY method)
-
OR genuine Sport aux jack, PN 39112-SAA-J02ZA (OEM method, ~$38)
-
22 AWG hookup wire, or a CAT5/CAT6 network cable (uses 4 of its 8 conductors)
-
Heatshrink tubing (or electrical tape)
-
3.5mm male-to-male (mini-to-mini) stereo cable for the player
Safety Warnings
- ⚠ This modification is done at your own risk and may affect coverage on the factory audio system.
- ⚠ The 12V accessory (cigarette lighter) socket is unrelated to the radio's aux circuit; do not tie the jack into it.
- ⚠ Handle the pins on the head unit B connector carefully; a bent or poorly seated pin is the usual cause of the one-channel fault.
Step-by-Step Instructions
1 Remove the head unit
Access to the radio's rear B connector is required, so the head unit comes out first. Honda's iPod MusicLink installation sheet documents the exact disassembly for this dashboard and doubles as the removal guide here; work through it slowly. A short socket extension reaches the deck's mounting bolts more easily. Set the unit on a soft surface where you can reach the multi-pin connectors on its back.
2 Free the center console trim
The jack mounts in the center console area and the new cable routes behind it, so release the console trim next. Two screws sit well up inside the console and are reached from underneath; remove both before pulling. Detach the air-temperature and vent control cables from their clips (mark them first), then draw the center panel straight toward you. It is held by seven clips and can feel stuck, but steady firm pulling releases it without damage.
3 Drill and mount the 3.5mm jack
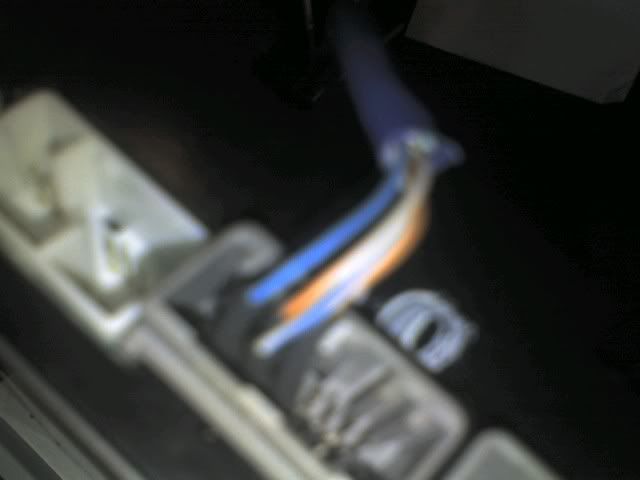
Choose the mounting spot; the location Honda uses on the Sport trim gives the most factory-like result. Start the opening with a small bit, then step up to a 1/4-inch bit sized for the CUI panel-mount jack (confirm the required diameter first if you selected a different jack). Seat the jack in its bracket, secure the bracket with its two screws, and thread the jack's retaining nut for a solid mount.
4 Prepare and solder the jack leads
Cut four leads long enough to reach the head unit, roughly five feet each, from 22 AWG wire or from the individual conductors inside a CAT5/CAT6 cable (four of its eight wires). Solder one lead to each of the four jack terminals. Sleeve every joint with heatshrink tubing, shrinking it with a heat gun or lighter, or use tape. Label each lead so the terminals stay identified while you route them.
5 Wire the leads to the head unit B connector
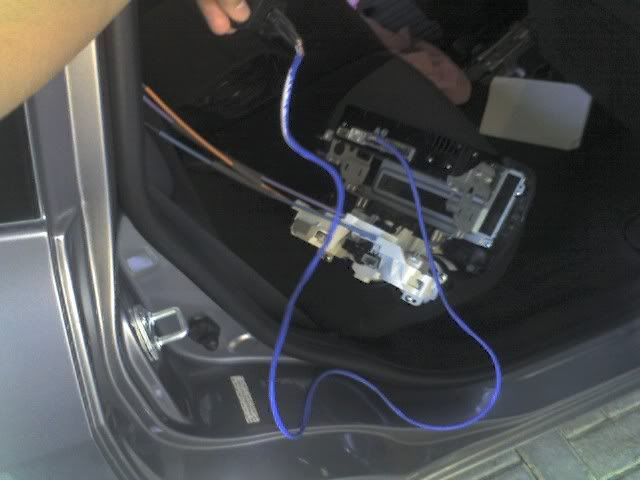
Route the four leads up to the radio and join them to the B connector as follows. Pin B15 (AUX DET) takes Terminal 1; pin B14 (AUX R) takes Terminal 2; pin B13 (AUX L) takes Terminal 3; and Terminal 4 lands on two pins at once, B3 (AUX SIG GND) together with B4 (AUX SHIELD GND). Solder each joint, or crimp onto the connector pins, then insulate with heatshrink. Do not add B5 to Terminal 1: combining B5 and B15 there stopped the aux input from working, as did tying Terminals 1 and 4 to a shared ground. The mapping above is the arrangement that functions.
6 OEM alternative: install the genuine Sport jack
For a capped, factory look, substitute the genuine Sport aux jack, PN 39112-SAA-J02ZA (about $38 from a Honda parts source). This jack has five cavities rather than four and uses the AUX GND pin that the DIY build skips. Wire the B connector to the jack cavities as follows: B15 (AUX DET) to Cavity 1; B5 (AUX GND) to Cavity 2; B3 (AUX SIG GND) to Cavity 3; B13 (AUX L) to Cavity 4; B14 (AUX R) to Cavity 5. Matching pin-type connectors can plug into the B connector to avoid soldering at the deck.
7 Reassemble and test
Refit the head unit and console trim by reversing the earlier steps, and reseat the vent-control cables in their clips. Connect a player with a 3.5mm male-to-male cable and select the AUX source on the radio. Confirm both channels play evenly. If audio comes through only one side unless the plug is eased out slightly, recheck the jack's pin joints or replace a poor-quality jack; that symptom points to the connections at the jack, not the cable.
Pro Tips
- 💡 The radio's AUX button becomes fully functional; the AUX DET line signals the head unit that a plug is inserted so it can switch source automatically.
- 💡 Any standard 3.5mm (1/8-inch) male-to-male stereo cable links the player to the jack; a 3-foot length is plenty and no proprietary MusicLink kit is needed.
- 💡 CAT5/CAT6 network cable is a cheap source of thin conductors; use four of the eight wires, and a shielded or plenum type helps reject noise.
- 💡 Mark each lead before routing so the terminals are not confused at the head unit.
- 💡 The OEM Sport jack (PN 39112-SAA-J02ZA) includes the flush cap that gives the plug a stock appearance when unused.
Was this guide helpful?
.JPG)

