Acura RDX SH-AWD Rear Differential Fluid Change
Introduction
This guide covers replacing the rear differential fluid on the Acura RDX and other Honda and Acura models fitted with the SH-AWD system. On all-wheel-drive cars the maintenance minder flags this job with a service code ending in 6 (for example A16, B16, or A6); Acura calls for the first change near 15,000 miles and roughly every 30,000 miles after that. The rear differential depends on friction modifiers in its fluid to protect the constantly slipping clutch packs, and those additives wear out invisibly well before the fluid looks dirty, so the interval is worth keeping even when the drained oil still appears clean. The work is straightforward: most owners find it no harder than an engine oil change, and it replaces a $120 to $130 dealer service with about $25 to $30 in parts. The one real trick is that the fluid must be pumped into a side fill hole rather than poured, and you must confirm the fill plug will open before you drain anything out. Adapted from a community writeup by Cusewordsmith on AcuraZine (https://acurazine.com/forums/2g-rdx-diy-faq-406/rear-differential-fluid-replacement-899684/), including corrections from the follow-up discussion.
Reference
Tools Required
- 3/8 in. drive ratchet or breaker bar (the plugs take the bare square drive; a slim-head tool clears the tight space better than a bulky ratchet head)
- Fluid transfer pump that threads onto a quart bottle (grease-gun style preferred; a long funnel tube is a backup)
- Oil drain pan
- Torque wrench (compact enough to fit the confined area, if available)
- Floor jack and jack stands (only if you choose to raise the car)
- Shop rags
Parts Required
-
Approximately 2 quarts of Acura/Honda Dual Pump System Fluid (DPSF / DPF-II), P/N 08200-9007A
-
Fill-plug crush washer, 20 mm, P/N 94109-20000
-
Drain-plug crush washer, 18 mm, P/N 90471-PX4-000
Safety Warnings
- ⚠ Always open the fill plug before draining. If the fill plug is seized, you could end up with an empty diff and no way to refill it.
- ⚠ Use only DPSF / DPF-II (P/N 08200-9007A). Conventional gear oil such as 75W-80 lacks the friction modifiers the SH-AWD clutch packs need.
- ⚠ P/N 08200-9007 (without the A) is the CR-V Dual Pump 2 fluid and is not the correct fluid for the RDX rear differential.
- ⚠ If you raise the vehicle, support it on jack stands before working underneath.
- ⚠ On a warm car, keep clear of the hot exhaust running near the differential.
Step-by-Step Instructions
1 Confirm the service and gather the correct fluid and washers
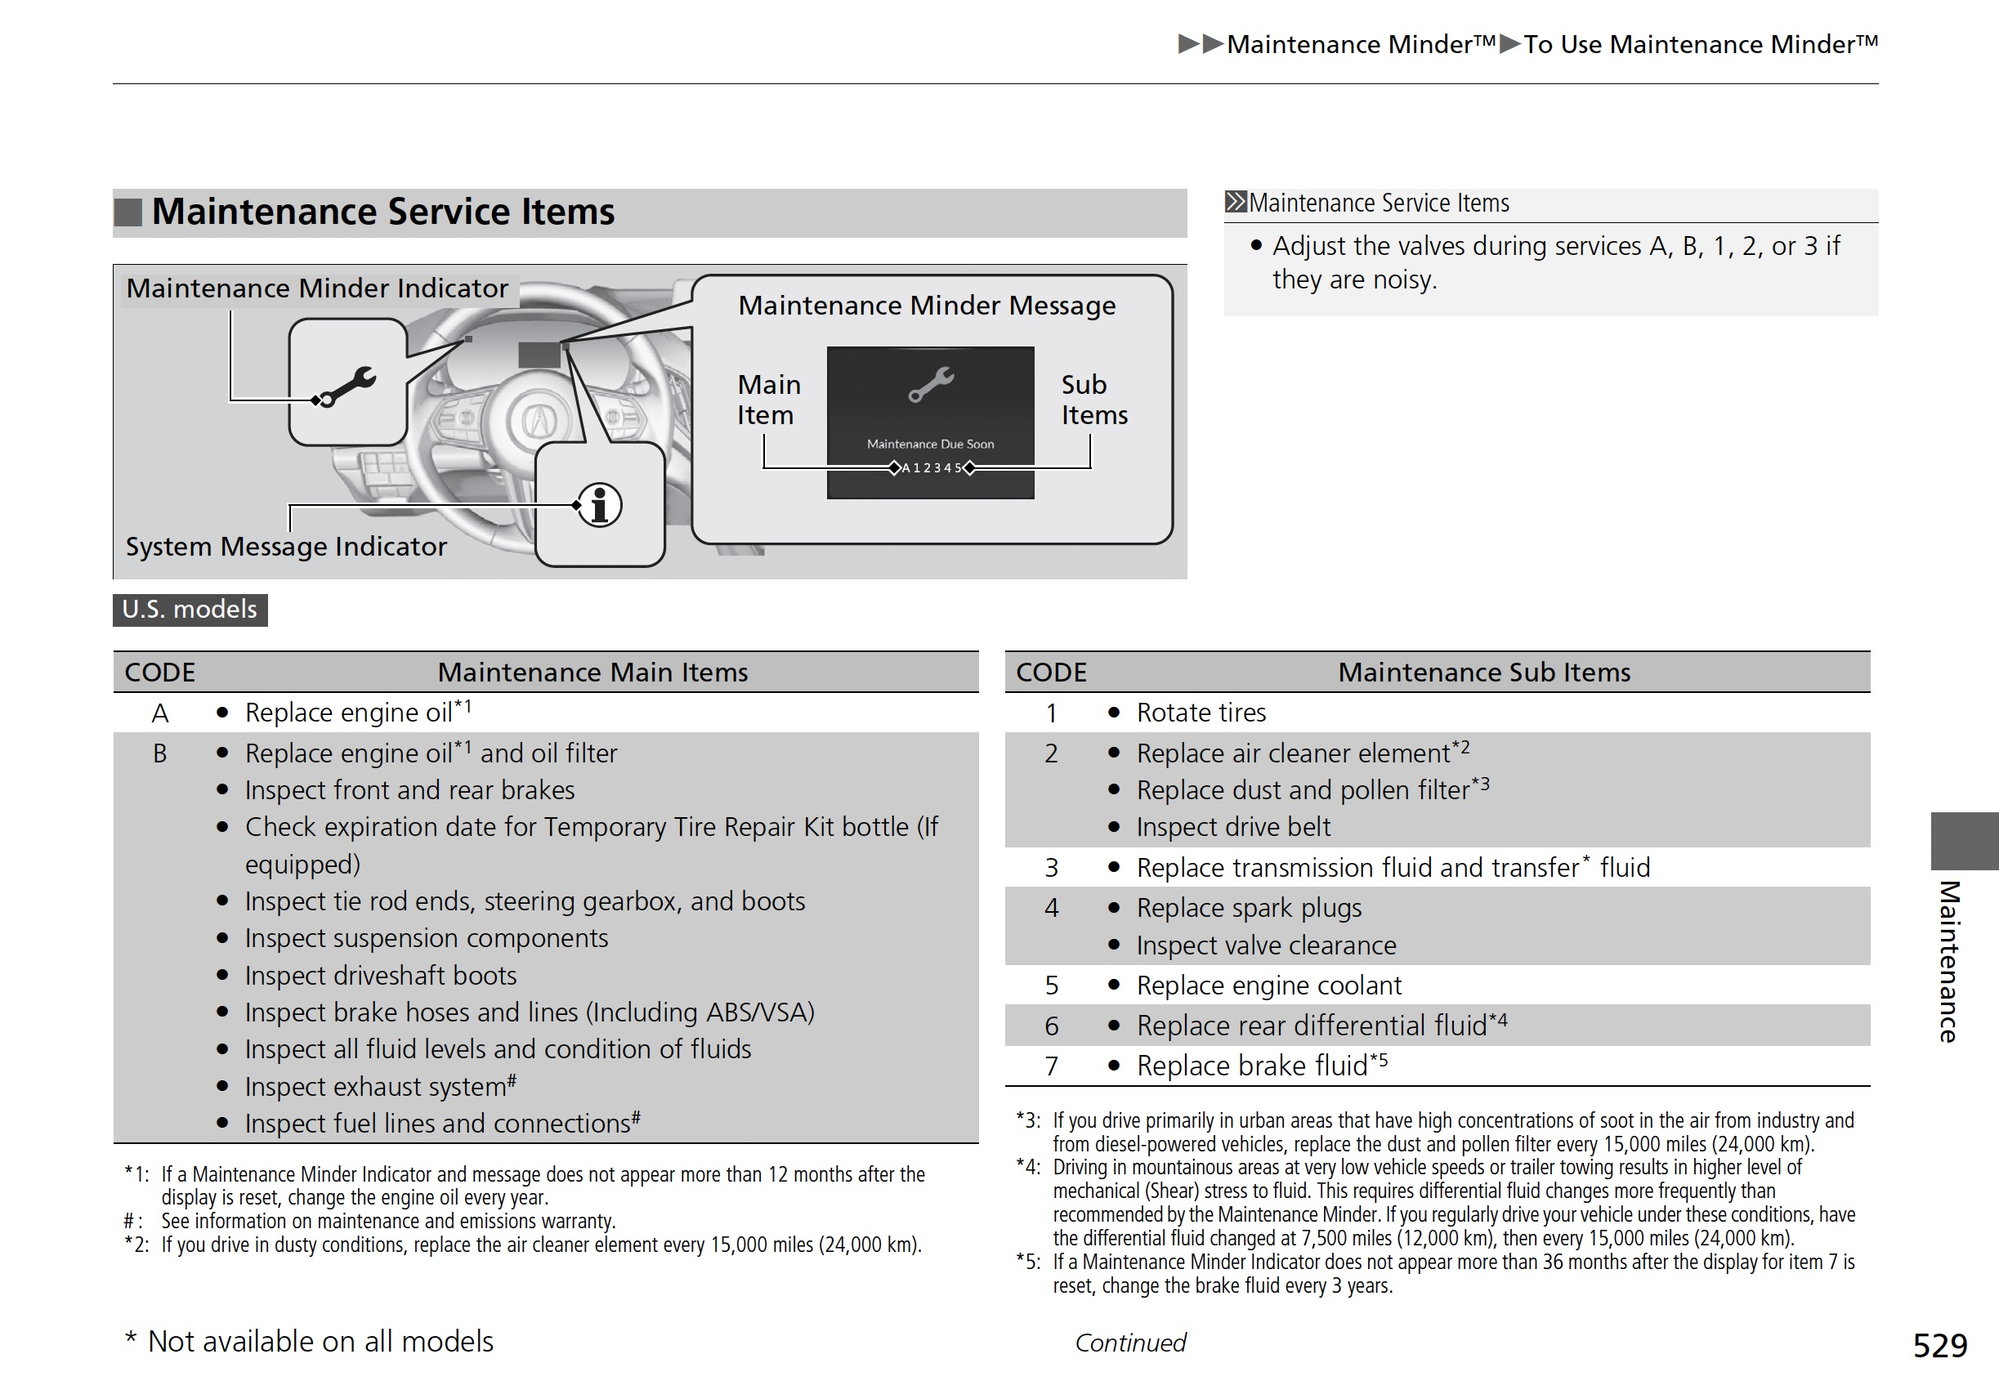
The maintenance minder codes A16, B16, and A6 all include the rear differential service (the trailing 6). Buy the specific fluid: Dual Pump System Fluid, sold by Acura as DPSF and by Honda as DPF-II, part number 08200-9007A, around $9 to $10 a quart at the dealer or about $7.37 a quart for the Eneos-branded equivalent from an online parts supplier. Get two quarts so you have enough to fill to overflow. Do not substitute a conventional gear oil such as 75W-80; one member drained a diff that had been filled with it and found the consistency and color plainly wrong, and the wrong fluid starves the clutch friction plates of the additives they need. Also note that P/N 08200-9007A (with the A) is the RDX fluid and is not the same as 08200-9007 (Dual Pump 2) used in the Honda CR-V. Pick up both crush washers, since the two plugs use different sizes.
2 Get access underneath to the differential
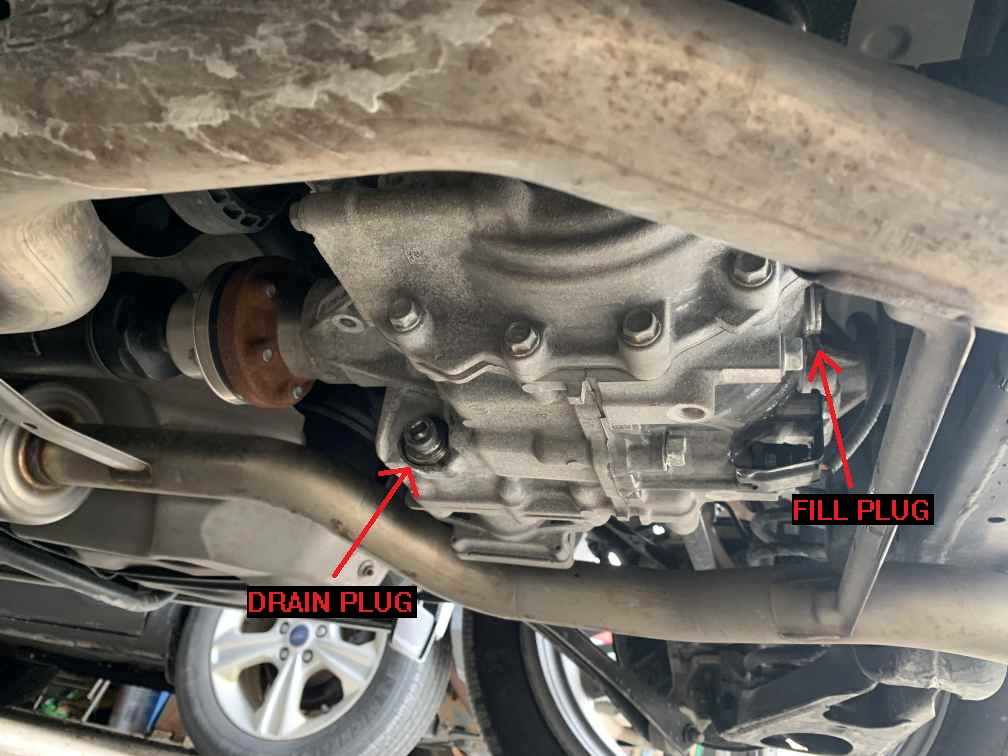
The differential sits between the rear axles, with the transfer shaft running forward toward the front axle. Clearance is tight but workable. A smaller person can often slide under without lifting the car at all; if you do raise it, support it on jack stands rather than working under a jack alone. Removing the spare tire opens up room around the fill plug and lets you check the spare's pressure while you are there. Do not simply drive the rear up onto ramps or blocks: raising the back of the car tips fluid away from the drain and keeps the diff from emptying fully. The fluid is thin, close to water, and flows fine even cold, so there is no need to warm the car first; if you do work on a warm car, keep clear of the hot exhaust nearby.
3 Break the fill plug loose first

Before touching the drain plug, prove that the fill plug will come out. It is on the driver side of the case, ahead of the axle, on a small shelf; the housing is stamped DPSF right beside it. The plug has a square 3/8 in. recess, so the bare square drive of a 3/8 in. ratchet or breaker bar fits it directly with no socket. Because the space is cramped, a chunky ratchet head may not clear the surrounding suspension; a 3/8 in. breaker bar or a flat-headed 3/8 in. torque wrench slips in more easily. Crack the plug loose now. If any fluid weeps out as the seal breaks, have the drain pan positioned. Skipping this check risks draining the old fluid and then discovering you cannot get new fluid back in.
4 Confirm you have a way to pump fluid in
You cannot pour DPSF into the side fill hole, so line up your filling method before draining. The easiest tool is a hand pump that threads onto the top of a quart bottle, the grease-gun style unit sized for quart containers; it moves fluid quickly and cleanly. A long funnel hose is a workable alternative. Avoid a cheap siphon pump: it is slow and messy, and you will spend a long time holding the raised bottle waiting for the fluid to crawl through.
5 Drain the old fluid and inspect the magnetic plug

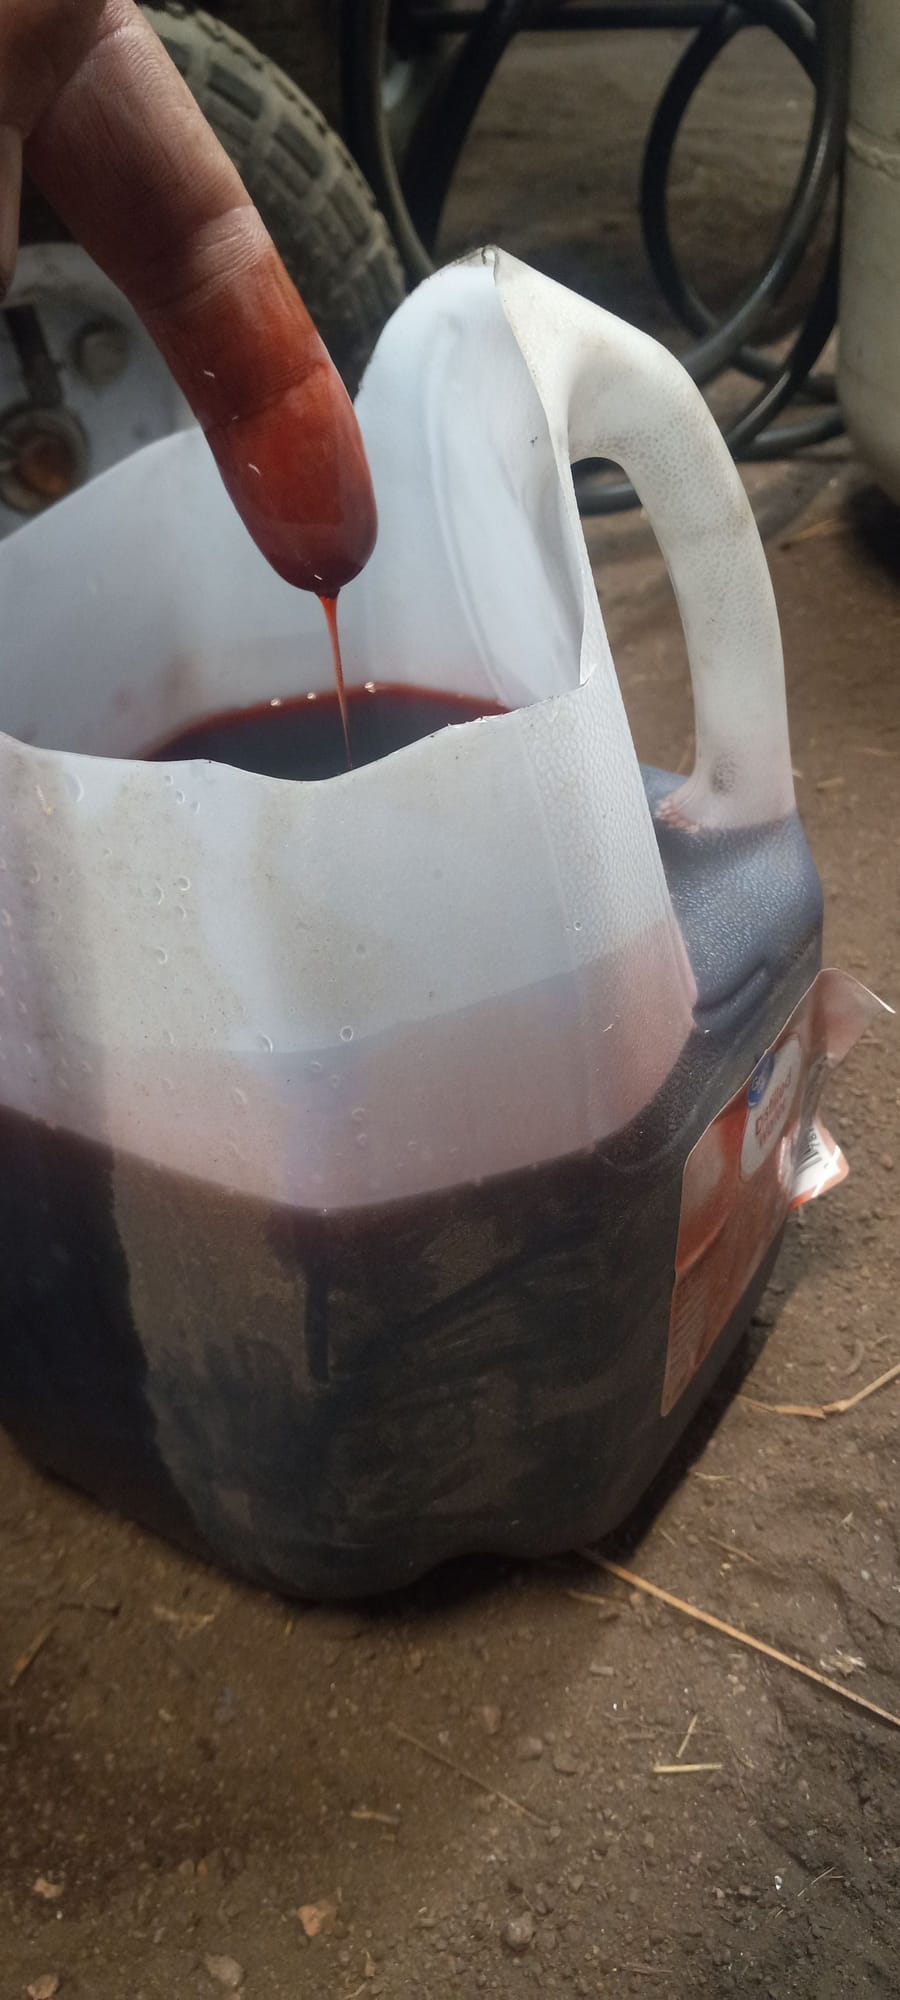
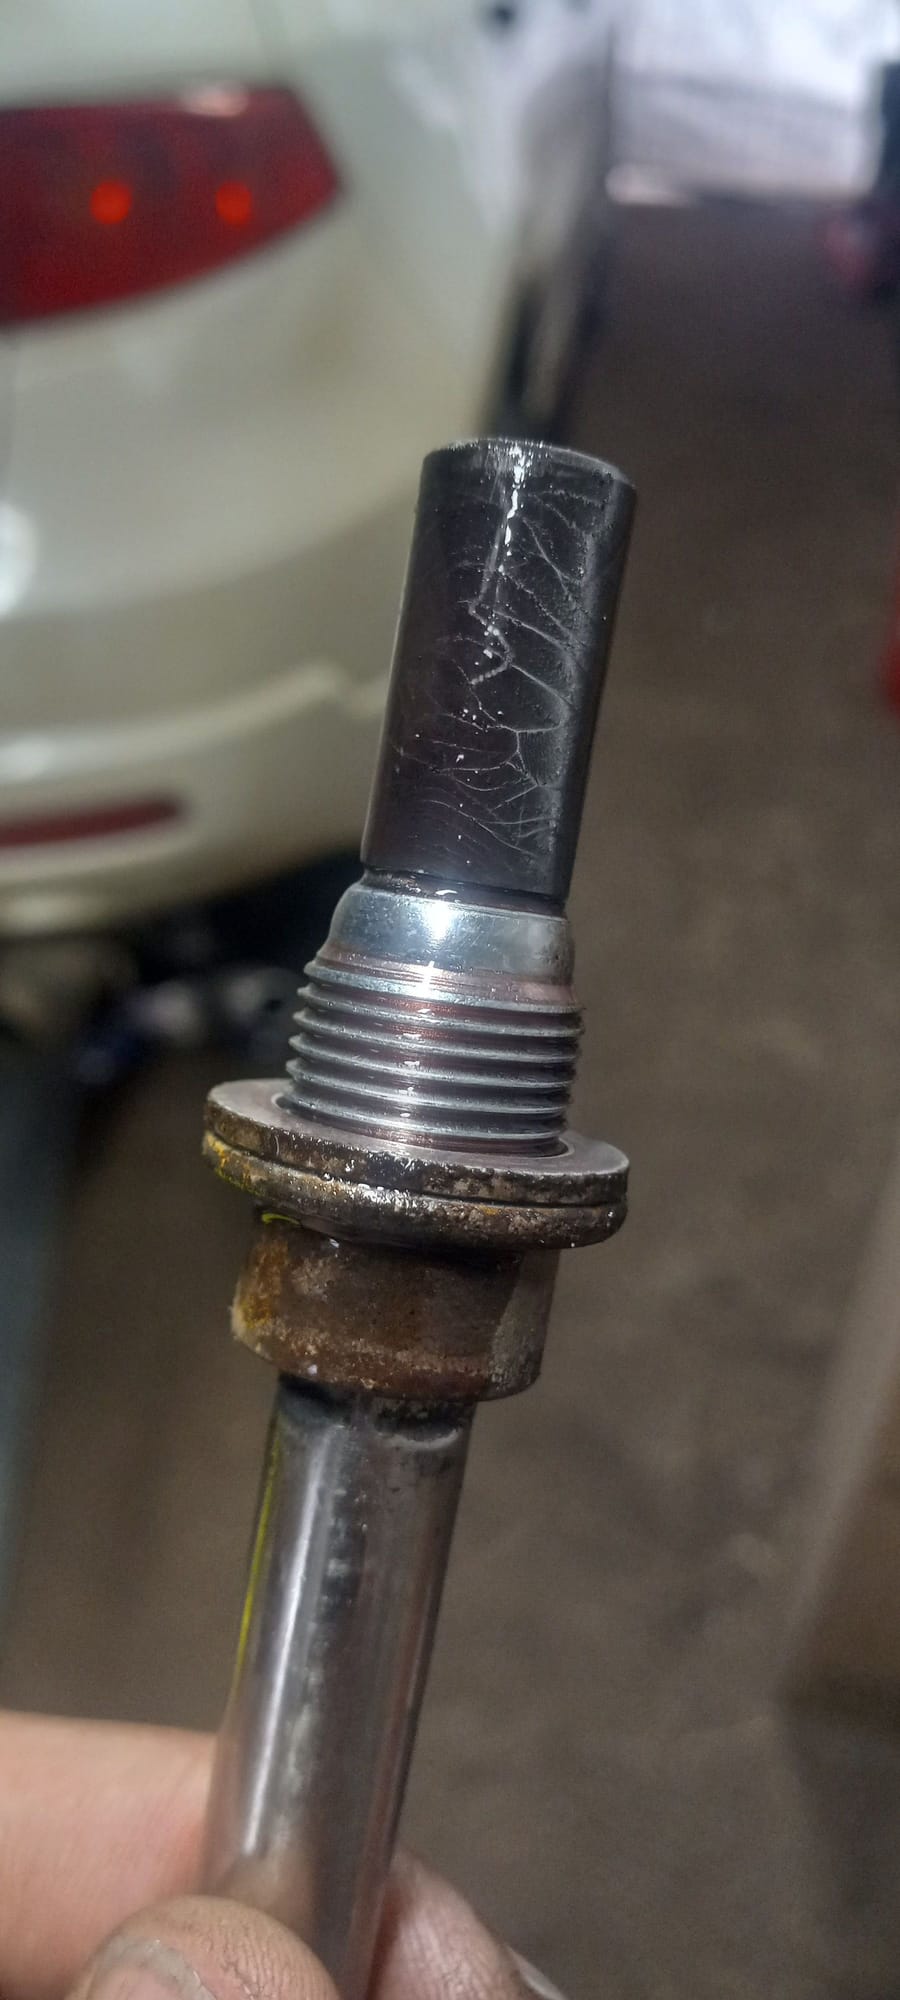
The drain plug is on the passenger side at the lower rear of the case and also uses a square 3/8 in. drive. Set the pan beneath it and remove the plug. Because the bottom of the case is nearly flat, some fluid pools inside; jacking the driver-front corner up a little tips the case so the rest runs out. Lower the car once the flow stops. Expect roughly 1.3 quarts on the OP's vehicle, though other owners have drained closer to 1.75 quarts and one first-generation 2007 gave up nearly 3 quarts. The drain plug is magnetic: inspect it. A coating of fine metal fuzz is normal and is heaviest on an early break-in change, which is the point of doing the service. Clean the magnet completely before it goes back in.
6 Reinstall the drain plug with a new washer
Fit a fresh 18 mm crush washer (P/N 90471-PX4-000) to the cleaned drain plug and thread it in. The owner's manual does not publish a torque figure for the differential plugs, which is why reported values vary: the original writeup used 35 ft-lb, another member measured about 36 ft-lb, and others report the diff spec as roughly 33 ft-lb, while several find that 24 to 25 ft-lb is plenty to seat any Honda or Acura crush washer. The safe practice is to snug the plug just until the crush washer deforms and seals; do not overtighten. If your torque wrench will not fit the space, tighten by feel to that point.
7 Pump in new fluid until it overflows
With the drain pan still under the fill hole to catch spillage, pump DPSF into the fill port until fluid begins to run back out on its own. Overflow, not a measured amount, is the true level indicator, because the correct quantity varies by model and year: the original car took about 1.3 quarts, many owners report the manual figure as 1 and 3/4 quarts and get roughly that in, and a 2007 held close to 3 quarts. If nothing ran out when you first cracked the fill plug, the diff may have been slightly low from the factory, so filling to overflow tops it correctly.
8 Idle and top off (optional factory step)
Several members note an additional step from official service data: after the initial fill, install the fill plug hand-tight using the old washer, start the engine and let it idle for about a minute, then shut off, remove the plug, and top off again. Circulating the fluid lets a little more settle in; owners who did this pumped in roughly another 1 to 1.5 ounces. This step is optional and many skip it, but it ensures the diff is fully topped after the fluid distributes.
9 Seal the fill plug and check for leaks
Fit a new 20 mm crush washer (P/N 94109-20000) to the fill plug and install it, tightening to the same modest point used on the drain plug, just enough to seat the washer. Wipe the case and both plugs clean and dry so that any future seepage is easy to spot on a later inspection. Lower the car if it was raised and remove the drain pan.
Pro Tips
- 💡 A pump that screws onto the quart bottle makes the fill far faster and cleaner than a siphon pump.
- 💡 A 3/8 in. breaker bar or a slim-headed tool fits the fill-plug recess where a bulky ratchet head cannot.
- 💡 Remove the spare tire to free up room around the fill plug.
- 💡 Do not raise only the rear of the car; tipping it back keeps the flat case from draining fully. Lift the driver-front corner instead to empty it.
- 💡 Clean fluid at the change interval is normal; the friction modifiers degrade invisibly, so the change is still worthwhile.
- 💡 The Eneos-branded DPSF equivalent is available online for roughly $7.37 a quart, cheaper than the dealer.
Was this guide helpful?