Sanding an Oversized Transmission Shim Down to a Custom Thickness
Introduction
When a transmission build calls for a shim of a specific thickness that is not stocked or does not exist as an off-the-shelf part, you can start from a slightly oversized shim and remove material by hand until it reaches the dimension you need. This technique was used to adapt a fifth gear for service as a sixth gear, where no standard shim matched the required stack height. The approach is general: order a DIN 988 shim that already has the correct inner diameter and outer diameter but is a little too thick, then sand it down evenly on a flat surface while checking the thickness with a micrometer. It calls for basic shop equipment rather than a machine shop, and works for any Honda manual gearbox where you need to fine-tune gear or bearing endplay with a shim you cannot buy. Adapted from a community writeup by Bense on Honda-Tech (https://honda-tech.com/forums/transmission-drivetrain-127/diy-make-your-thick-shims-thinner-3348005/), including corrections from the follow-up discussion.
Reference
Tools Required
- Hydraulic shop press (a bench vise can substitute)
- Two scrap blocks of wood
- Flat steel block or plate
- Packing tape
- Sandpaper in 180-400 grit (3M Pro Grade Precision recommended)
- Flat, smooth reference surface such as a glass plate
- Micrometer
- Rubbing alcohol and a razor blade for cleaning adhesive residue
Parts Required
-
DIN 988 shim with the correct inner and outer diameter but slightly greater than the target thickness (available from McMaster-Carr)
-
Spare sandpaper sheets in the chosen grits
Safety Warnings
- ⚠ Shim thickness sets gear and bearing endplay, so an out-of-spec shim can damage the transmission. Always confirm the final dimension with a micrometer before assembly.
- ⚠ Uneven pressure produces a tapered shim; measure at multiple points to verify the two faces stay parallel.
Step-by-Step Instructions
1 Source an oversized shim with the correct bore and diameter
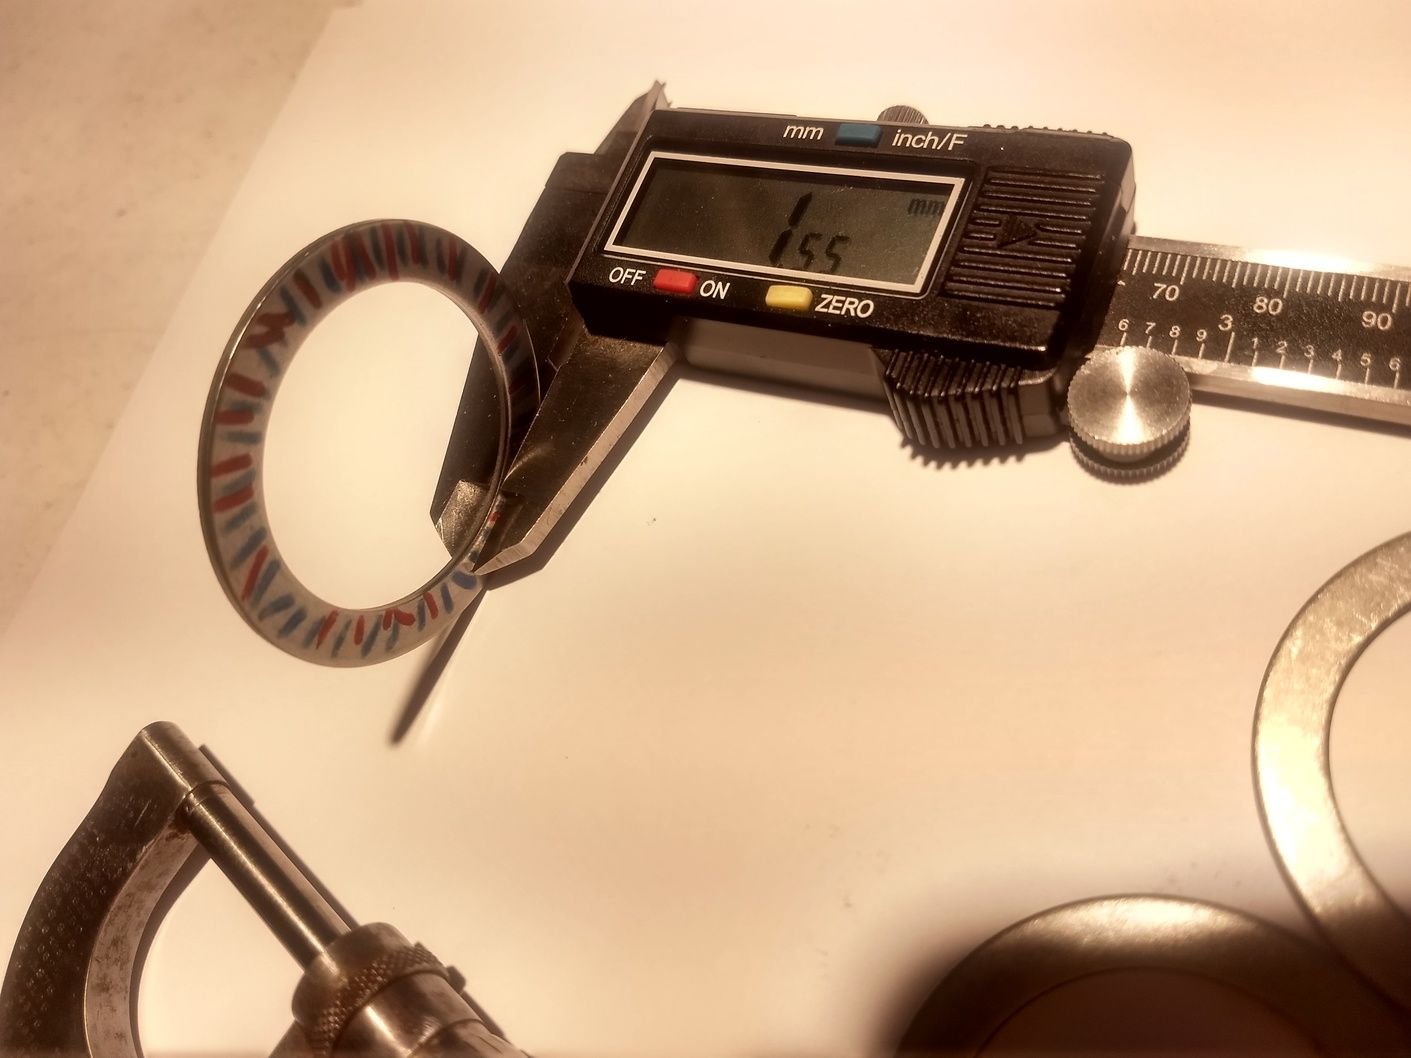
Identify the inner diameter, outer diameter, and target thickness you need. Because the exact thickness is unavailable, order a DIN 988 shim from a supplier such as McMaster-Carr that matches the required ID and OD but sits slightly above your target thickness. That extra material is what you will remove by hand, so choose the closest oversized option you can find rather than one that is far too thick.
2 Stamp a seat for the shim into a wood block
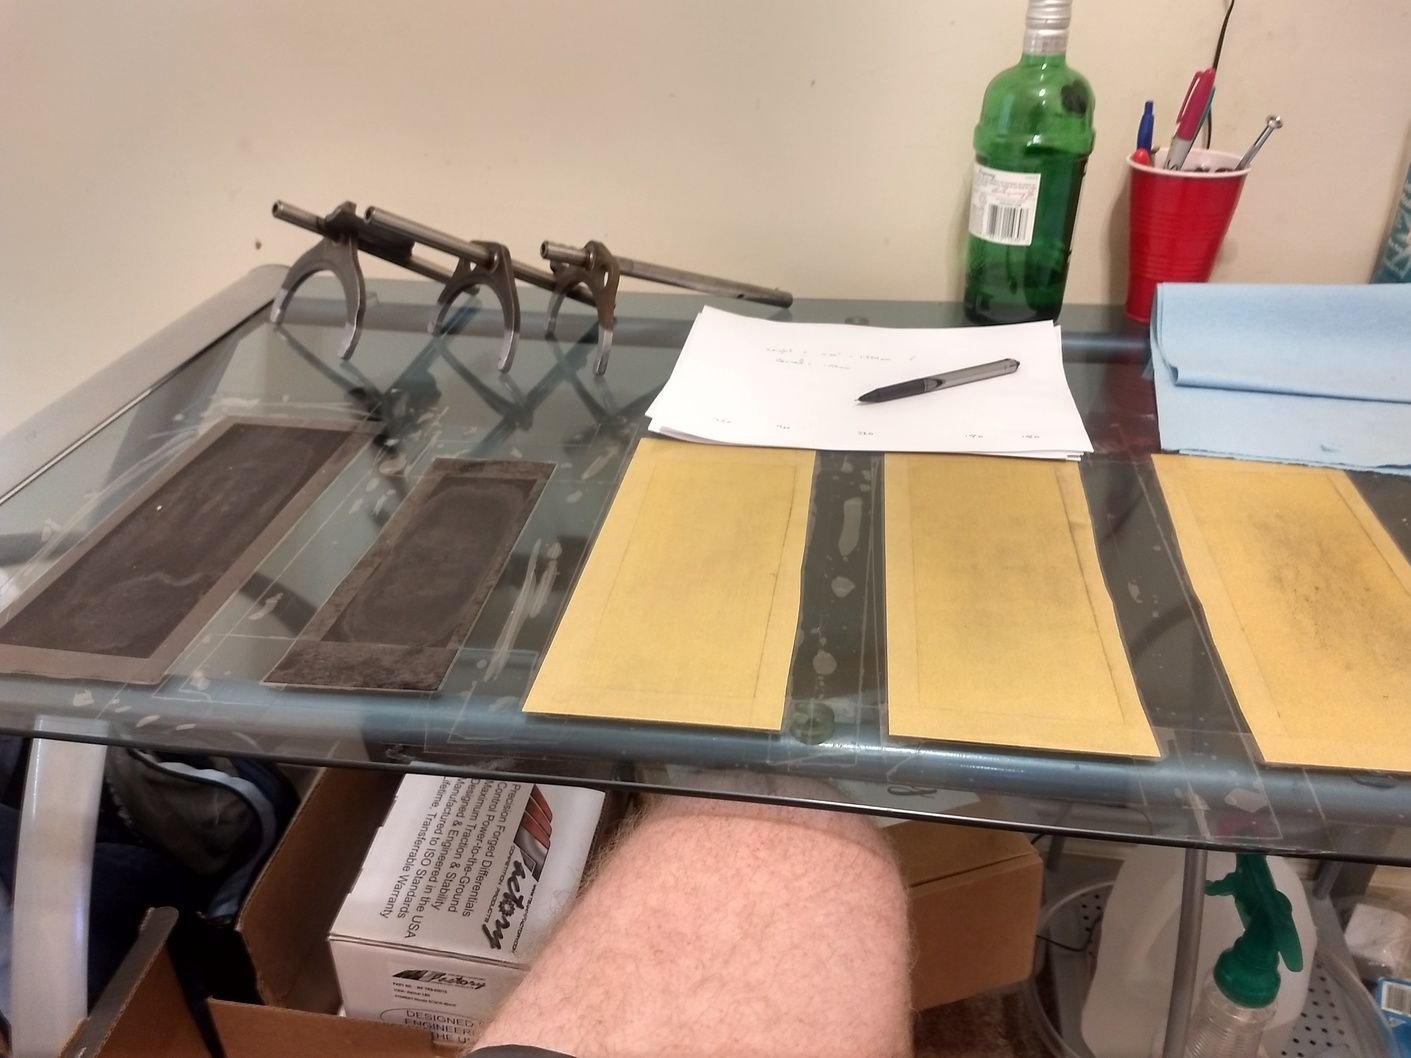
Lay the shim on a scrap block of wood, set a flat steel block on top of it, and compress the sandwich in a shop press. A bench vise will also do the job. The press drives the shim into the wood and leaves behind a recess the exact shape of the shim.
3 Create matched shim holders
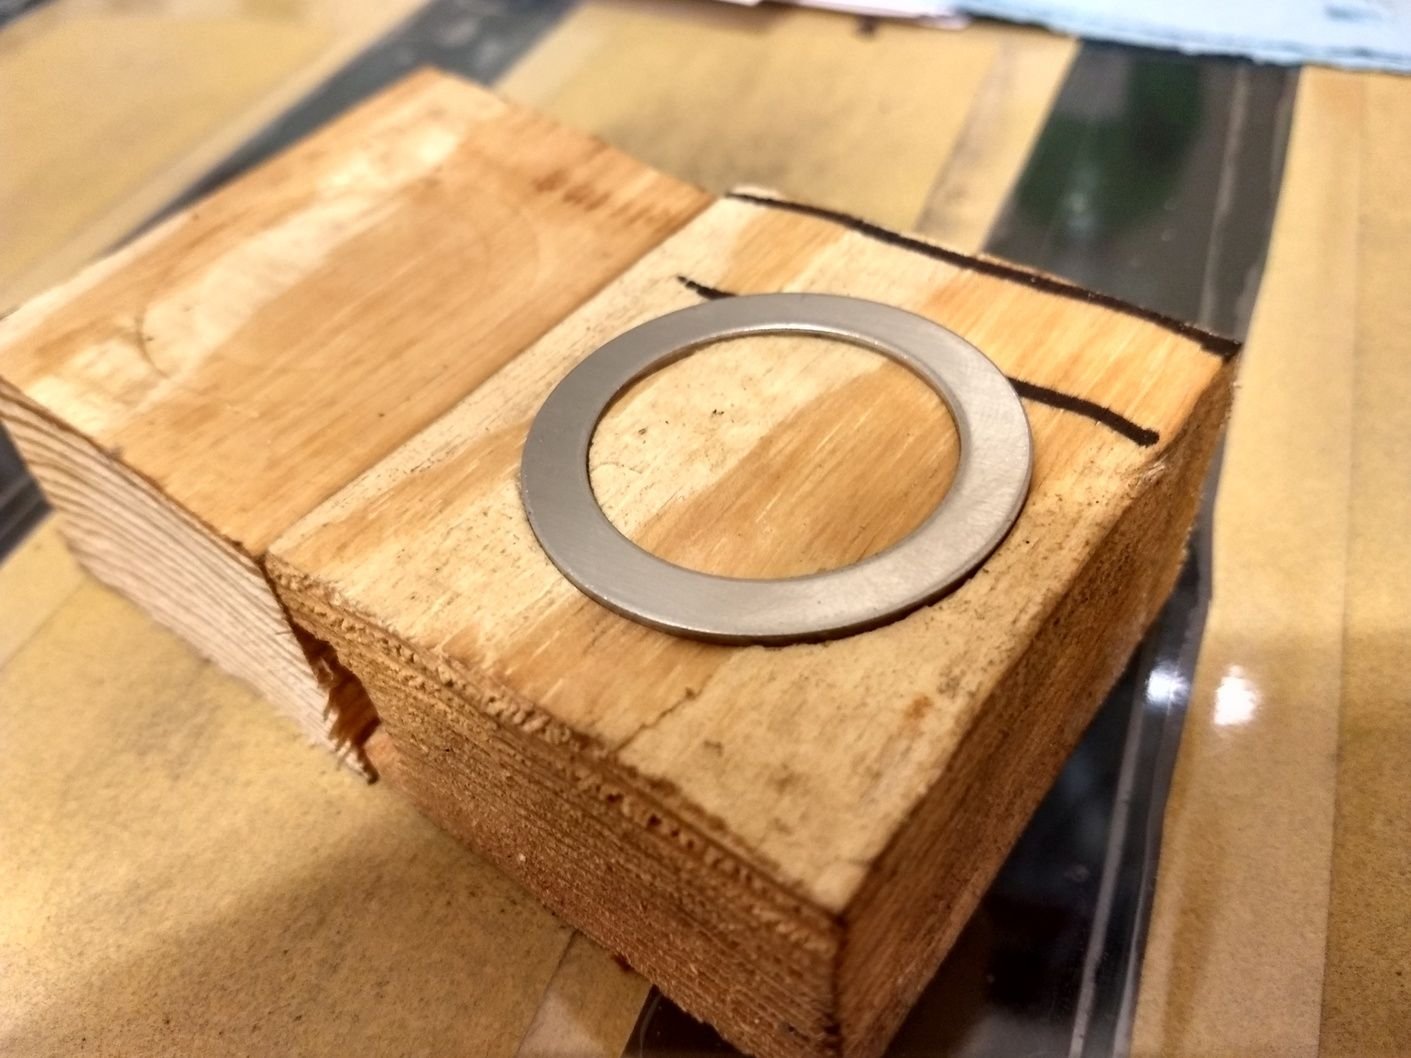
The recessed wood now acts as a cradle that seats the shim flush and keeps it from sliding while you work. With the shim held captive this way you can bear down across its whole face and apply pressure evenly, which is what lets the material come off flat and quickly. Making a holder for each hand keeps the shim controlled during sanding.
4 Build a flat sanding station

Tape a sheet of sandpaper onto a hard, dead-flat reference surface such as a glass plate so it cannot lift or shift. Use 180-400 grit; the finer end of that range gives more control as you approach the final thickness. A truly flat backing is what keeps the shim faces parallel instead of rounded.
5 Sand the shim down in even strokes
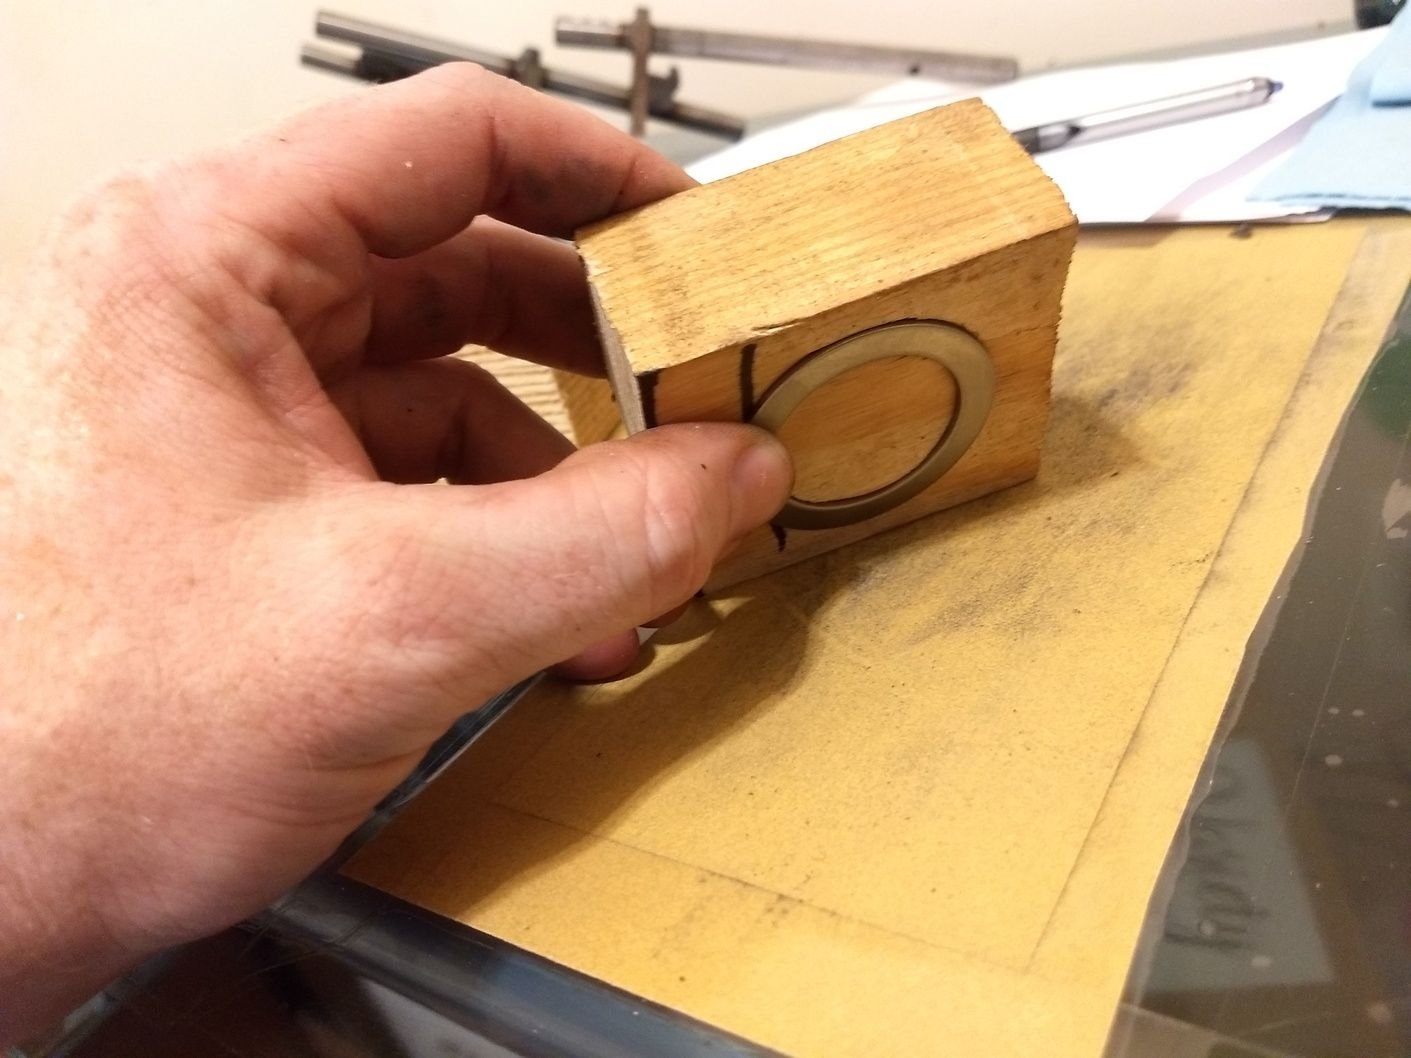
Seat the shim in the wood holder and run it across the taped sandpaper in steady strokes, moving it forward and back over the paper. Rotate the shim regularly and keep the pressure balanced so you remove material uniformly across the whole face rather than tapering one side.
6 Measure repeatedly until you reach the target thickness
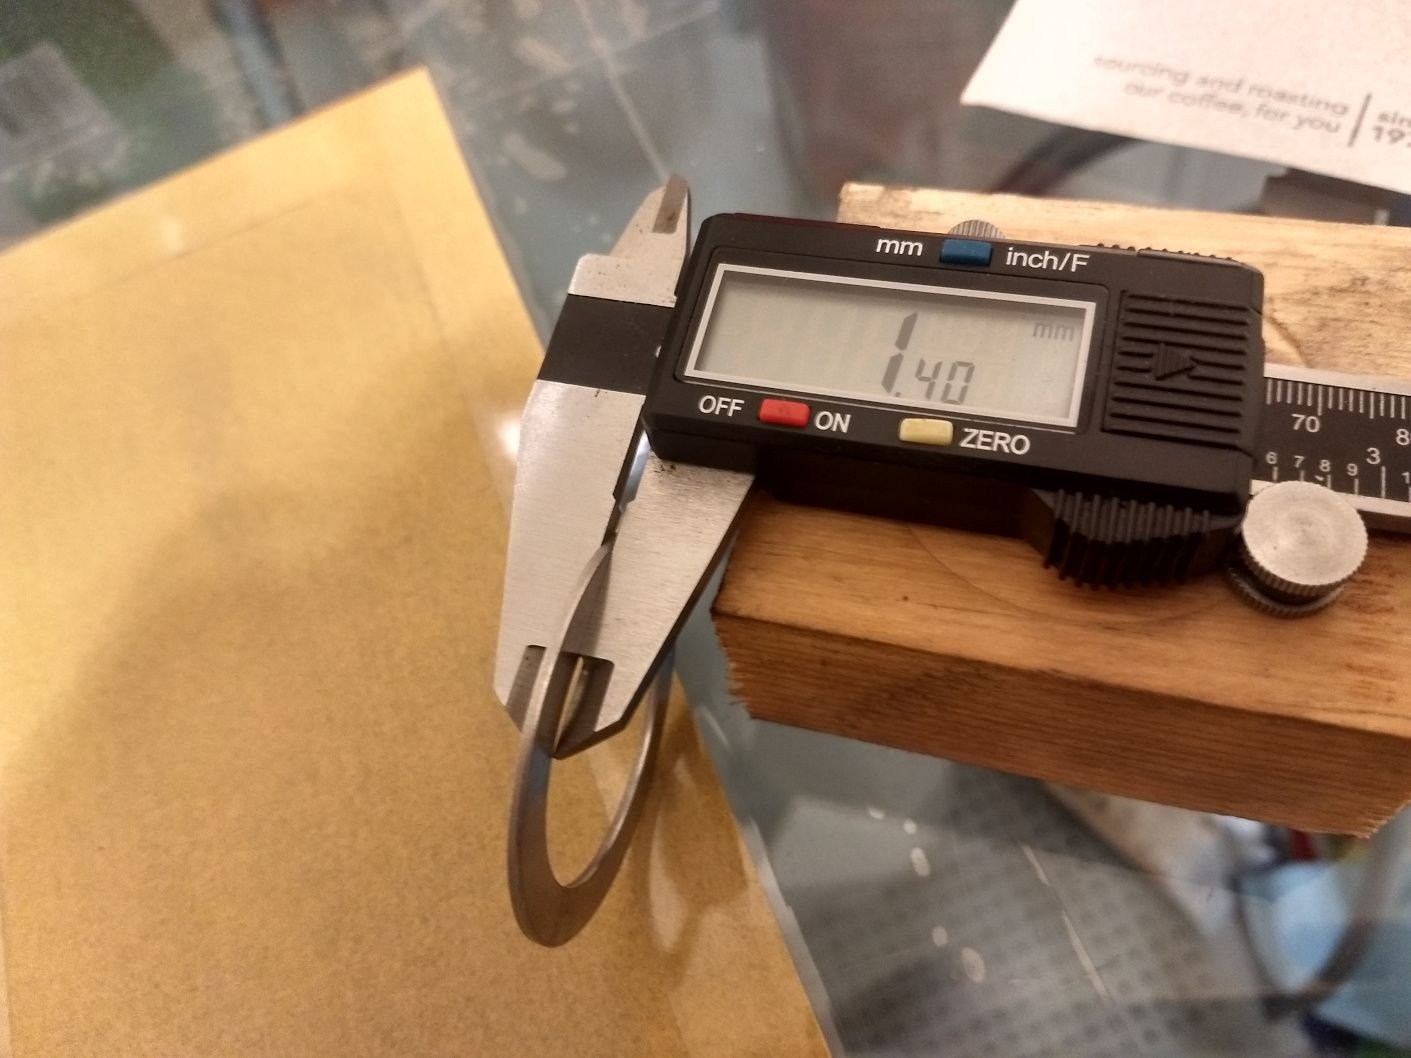
Stop often and check the shim with a micrometer, taking readings at several points to confirm the faces are staying parallel. Sneak up on the target thickness, since removed material cannot be put back. Once the shim measures your desired thickness, clean it and it is ready to install.
Pro Tips
- 💡 Invest in quality sandpaper. The original author found 3M Pro Grade Precision far better than budget paper, which wears out fast and wastes time. Home Depot carries it in 15-sheet bulk packs per grit, cheaper than the online 20-packs of 9x11 inch sheets.
- 💡 When a sheet wears out, peel it off, remove the leftover tape adhesive from the glass with rubbing alcohol and a razor blade, then tape down a fresh sheet before continuing.
- 💡 If you do not have a press, the wood seat can be formed just as well in a bench vise.
Was this guide helpful?
