Honda S2000 Convex Mirror Glass Installation
Introduction
Convex door mirrors widen the rearward field of view and shrink the over-the-shoulder blind spot compared with the flat factory glass, which is why many owners switch to them. This guide covers replacing the standard glass on a Honda S2000 (AP1/AP2) with aftermarket convex glass, for example the popular ITG-style blue units. If you buy the convex glass already fitted into a replacement plastic frame you can skip the heating and glass-transfer steps and simply swap the assemblies; buying loose glass is cheaper but requires softening the plastic holder to move the glass across. The job needs no special tools and can be finished in under an hour per pair. Adapted from a community writeup by thejohnremus on S2KI (https://www.s2ki.com/forums/s2000-modifications-parts-193/how-install-convex-mirrors-503104/), including corrections from the follow-up discussion.
Reference
Tools Required
- Hair dryer (heat gun works but runs much hotter, so use with care)
- Pot of water and a stove (only if using the hot-water heating method)
- Microfiber cloth or lint-free rag
- Fingers or a plastic trim tool to release the mirror from its housing
Parts Required
-
Aftermarket convex mirror glass, such as ITG-style blue, either loose glass or preinstalled in a replacement plastic frame
-
Adhesive putty (sticky-tac) to take up any gap between glass and frame, optional
Safety Warnings
- ⚠ A heat gun runs far hotter than a hair dryer and can warp or scorch the plastic frame quickly, so apply heat slowly and check often.
- ⚠ Convex glass is fragile and cracks easily under center pressure, both when fitting it to the frame and when reinstalling the assembly.
- ⚠ The hot-water method involves boiling water, steam, and a hot pot; handle the mirror and water with care to avoid burns.
Step-by-Step Instructions
1 Clean and inspect the new convex glass
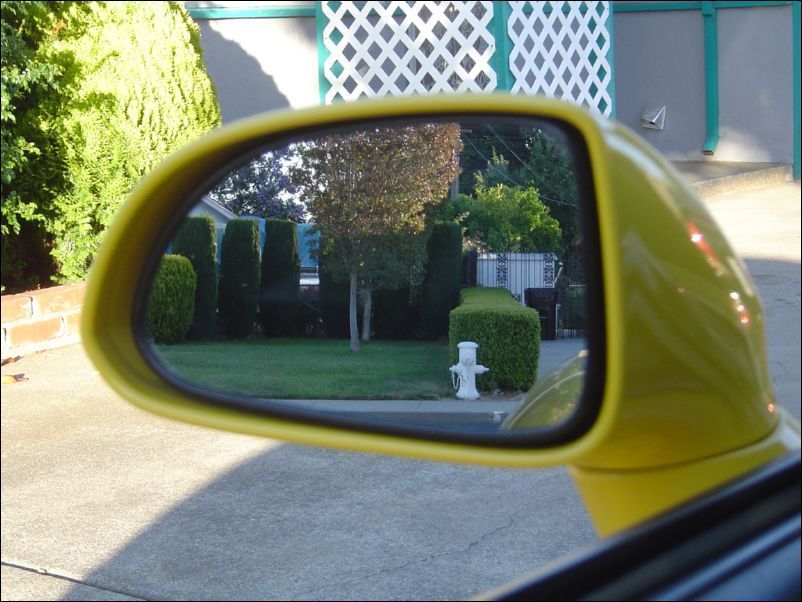
Before anything goes on the car, wipe the replacement glass down to clear off packaging residue, adhesive marks, and any stubborn smudges. Dealing with this while the glass is loose in your hand is far easier than trying to reach it once the mirror is back on the door.
2 Release the OEM mirror from the housing
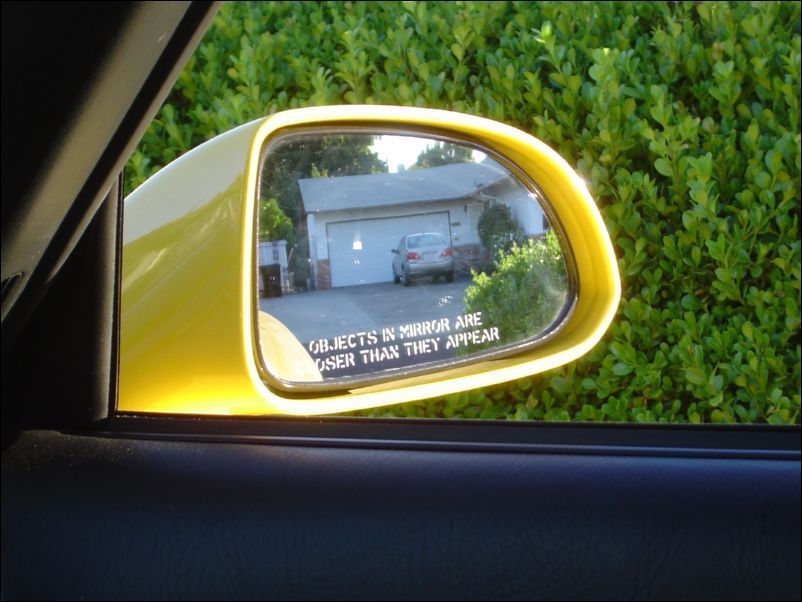
Grip the lower edge of the mirror and work it up and out of the housing. Each side is held by two clips and four snaps; the snaps let go with a sharp, audible pop, and the clips unhook as the mirror rotates up and away from the housing. The passenger side is identical to the driver side.
3 Soften the frame and remove the old glass
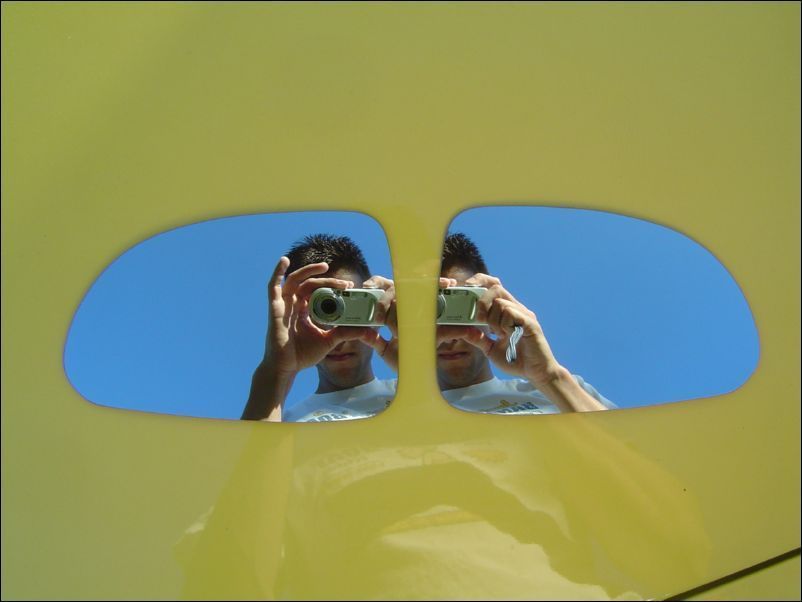
Pick one heating method. Hair dryer or heat gun: aim heat at the two corners of the plastic holder for roughly a minute each until the plastic flexes enough to let the glass pop free. Hot water (corrected in the replies): the original post suggested 20 minutes, but a follow-up corrected that to 20 SECONDS. Bring the water to a boil, take the pot off the heat, drop the mirror assembly in for about 20 seconds, then lift it out and the glass should release easily. Extended boiling is neither needed nor a good idea.
4 Strip old adhesive and prep the frame
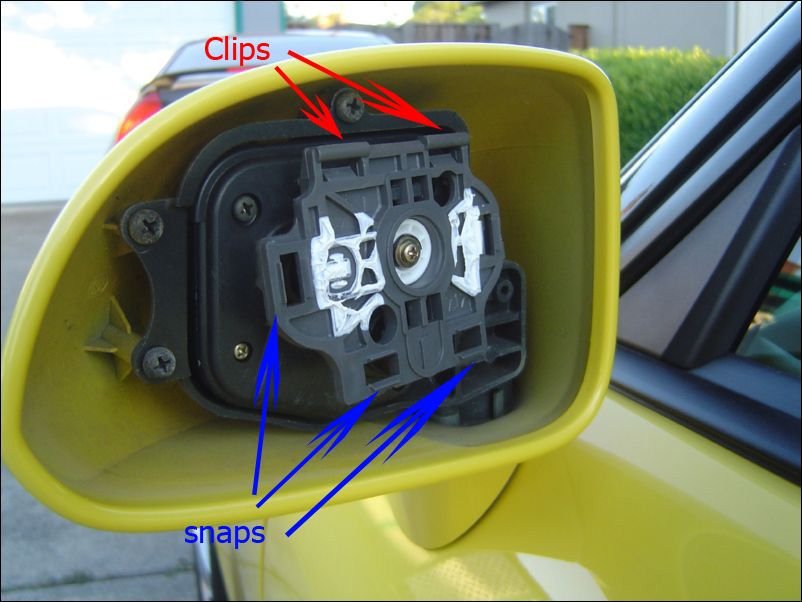
Peel and clean away every bit of leftover adhesive putty left on the old glass and on the plastic holder, since it will otherwise foul the fit of the new glass. Warm the plastic frame once more just before the next step so it stays flexible while the convex glass goes in.
5 Fit the convex glass into the frame

With the frame still warm, ease the new glass in by pressing only around its outer edges; it should seat without much force. Do not push on the middle of the glass, as center pressure is the most common way people crack a brand-new convex mirror during install. If a small gap remains between the glass edge and the frame, press a little adhesive putty into the corners on the inside of the frame to close it up and keep the glass from shifting.
6 Reinstall the mirror onto the car
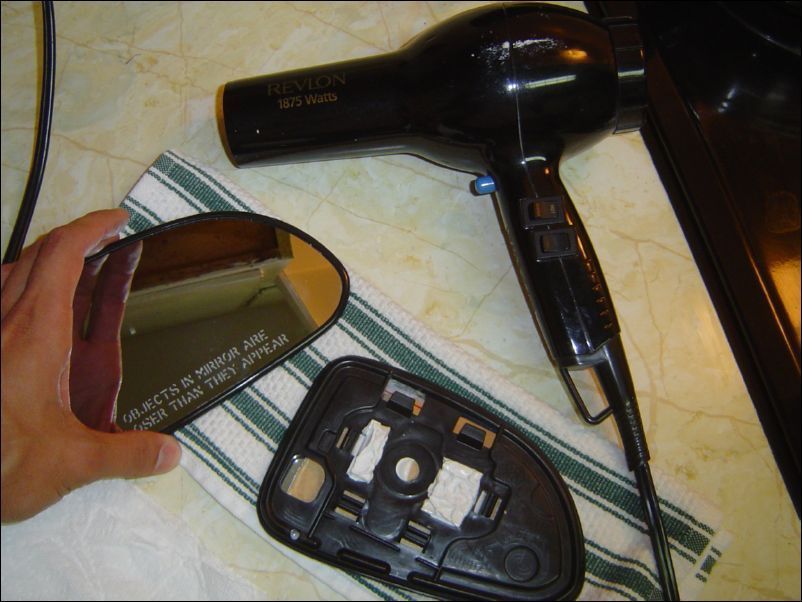
Refit the assembly in the reverse order of removal. First rotate that gray plastic backing plate downward as far as it will travel to hook the clips, then swing it fully upward to seat the snaps; miss this sequence and the mirror will refuse to grab no matter how hard you fight it. As before, keep your pressure on the edges and off the center of the glass while you push the assembly home.
Pro Tips
- 💡 Buying the convex glass already mounted in a replacement plastic frame lets you skip all of the heating and glass-transfer work and just swap the complete assemblies.
- 💡 A separate sponsor thread on the forum includes a video walkthrough of the same swap if you prefer to watch the process.
- 💡 Any 3M double-sided tape included with some kits is for a different, stick-on approach, where the convex glass is bonded directly over the retained factory mirror rather than replacing it.
- 💡 If the mirror vibrates or bounces while driving, that points to a loose mount rather than the convex glass itself, so inspect and secure the assembly before blaming the new glass.
Was this guide helpful?


