DIY Surface Rust Repair and Touch-Up Repaint
Introduction
This guide covers repairing surface rust on painted body panels and blending in a fresh touch-up repaint, using inexpensive aerosol materials rather than a body shop. It suits shallow corrosion on doors, trunk lids, and fenders of Honda and Acura vehicles, such as the 1996 Acura 3.2TL the work was originally done on. The goal is to stop and hide light surface rust and restore a matching finish for roughly the cost of the paint kit (under $100), while understanding its limits: this is a cosmetic surface repair, not a cure for panels that rust has eaten through. Where a panel is perforated, replacing the metal is the durable fix, and follow-up discussion in the thread rightly cautions that filler over unsound metal is temporary. Adapted from a community writeup by SupraManAG on AcuraZine (https://acurazine.com/forums/1g-cl-diy-faq-74/diy-rust-removal-60pic-477888/), including corrections from the follow-up discussion.
Reference
Tools Required
- Angle grinder fitted with a wire-brush wheel
- Sanding block
- 100-grit sandpaper (filler shaping)
- 800-grit wet/dry sandpaper (primer)
- 1000-grit wet/dry sandpaper (colour coats)
- Automotive masking tape
- Newspaper or masking paper
- Latex gloves
- Dust mask (respirator preferred)
- Applicator brush or rag for rust treatment
Parts Required
-
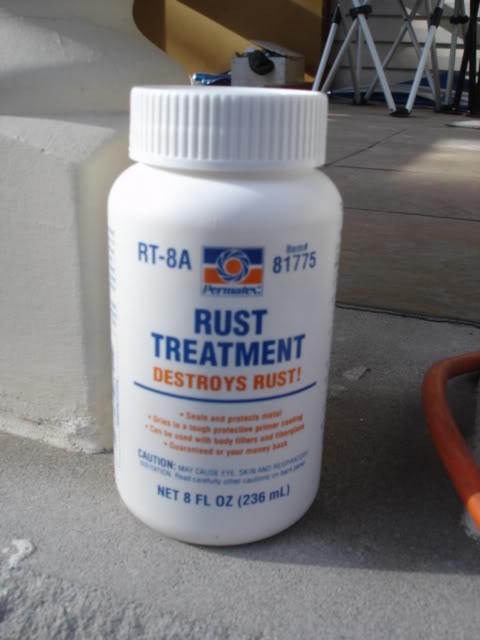
Rust-converting treatment (also acts as primer)
-
Body filler
-
VIN-matched aerosol touch-up colour
-
Aerosol primer
-
Aerosol clear coat
-
Rubbing compound
Safety Warnings
- ⚠ Wear latex gloves and at least a dust mask (a respirator is better) whenever spraying primer, colour, or clear; the solvents and overspray are harmful to breathe.
- ⚠ This is a temporary cosmetic fix. Filler over rust or packed into rust-through holes will fail: it holds moisture and the corrosion comes back. Perforated panels need the rusted metal cut out and replaced.
- ⚠ Do not leave a stripped panel sitting in bare primer or bare metal. Primer absorbs moisture and drives it back into the steel, so always seal the repair with colour and clear coat.
Step-by-Step Instructions
1 Assess the rust and gather materials
Inspect every corroded spot on the body; this method addresses surface rust on panels such as doors, the trunk lid, and rear fenders. Confirm the metal is only rusted at the surface and has not been eaten through, because perforated panels need metal replacement rather than the fill-and-paint approach described here. Order a touch-up paint kit keyed to the vehicle's VIN colour code, along with matching primer and clear coat, from a mail-order automotive paint supplier. A complete set of materials for a job this size can be had for under $100. Plan on about two days of elapsed work, since each coating needs curing time between stages.
2 Grind the corrosion back to bare metal

Fit a wire-brush wheel to an angle grinder and cut the rust back to clean, bright steel, working each area until no flaking orange oxide remains. Where a panel is still solid and the rust has not opened holes, abrasive media blasting is a cleaner alternative that strips corrosion without heat or gouging. Avoid cutting out and welding in fresh sheetmetal unless you have practised the technique, because thin body panels warp easily and a poor weld simply invites more rust.
3 Apply rust-converting treatment
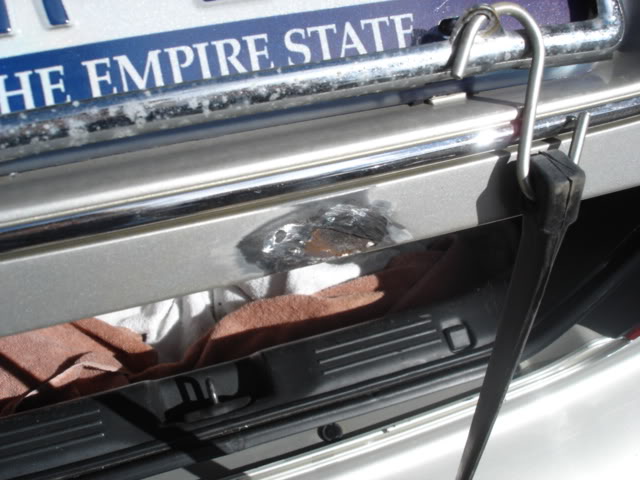
Brush or wipe a rust-converting treatment onto the exposed metal. Apply it in two passes; after the second application the surface reacts to a black finish, and the same product lays down a protective primer layer at the same time. Allow a full 24 hours of cure time before working the area further.
4 Fill and shape shallow imperfections
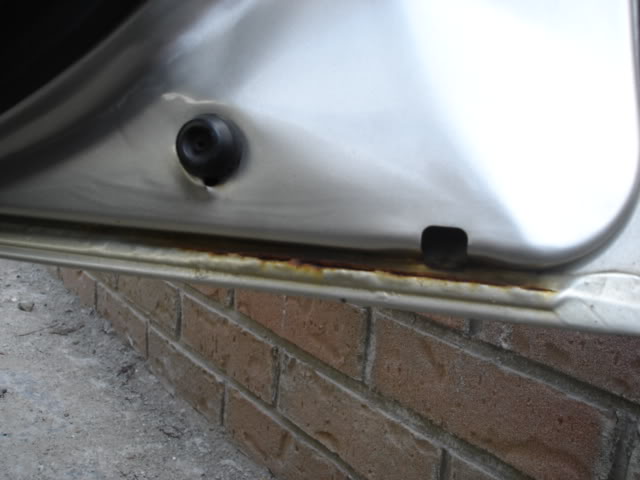
Skim thin body filler only into shallow dents and pitting to restore the panel's contour, then block-sand it to shape with 100-grit paper. Do not pack filler into rust holes or treat it as a substitute for sound metal: filler draws moisture out of the air, the hidden back face keeps corroding, and the rust returns. Reserve filler for cosmetic levelling of surfaces that are otherwise solid.
5 Mask off the repair area
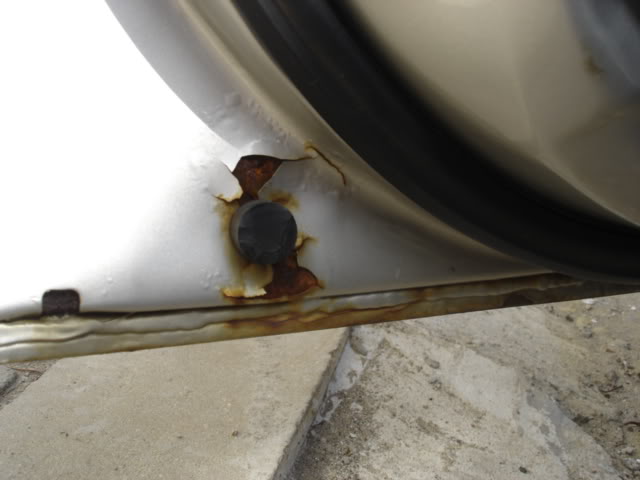
Tape off the surrounding paint with automotive masking tape and cover the rest of the panel with newspaper, leaving only the small patch you actually need to coat exposed. Keeping the open window tight makes the later colour blend far easier; the original repair masked too large an area and struggled to hide the transition afterward. Prime only the bare repair, not the sound paint around it.
6 Prime the bare repair
Shake the primer can thoroughly, hold it 8 to 10 inches from the surface, and lay down light passes. Resist the urge to build heavy coats, because thick primer runs and sags and only creates extra sanding work later.
7 Wet-sand the primer
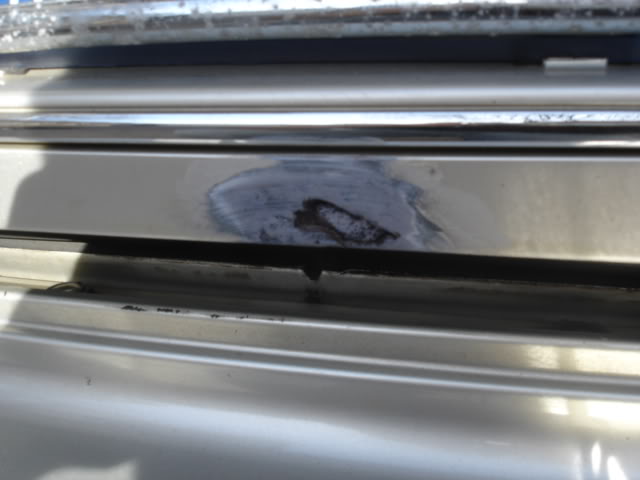
Once the primer has flashed off, wet-sand it smooth with 800-grit paper. A second primer coat is optional; on this repair a single coat was judged good enough to move on to colour.
8 Spray the colour coats

Put on latex gloves and a dust mask, shake the colour can hard so the pigment mixes evenly, and spray from about 10 inches away in thin, even coats. Build the colour up gradually, wet-sanding with 1000-grit paper between coats to knock down texture, but leave the final colour coat untouched by sandpaper.
9 Seal with clear coat
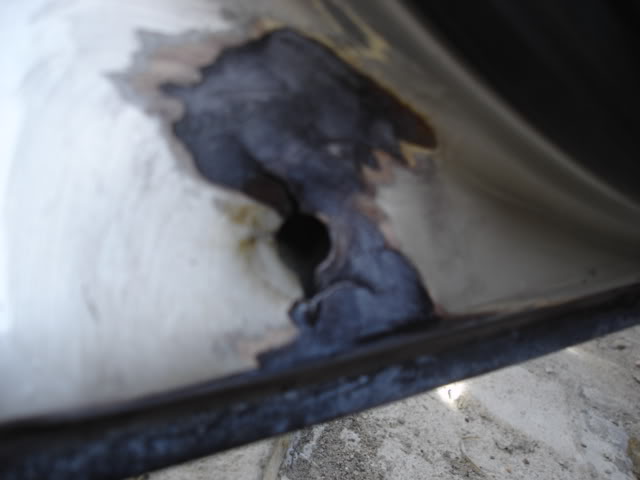
After the colour has dried, lay four to five coats of clear over the repair to seal and gloss the finish. Never leave the panel in bare primer or unsealed metal, because primer behaves like a sponge, pulling moisture down to the steel and restarting the corrosion you just removed.
10 Blend the repair into the original paint
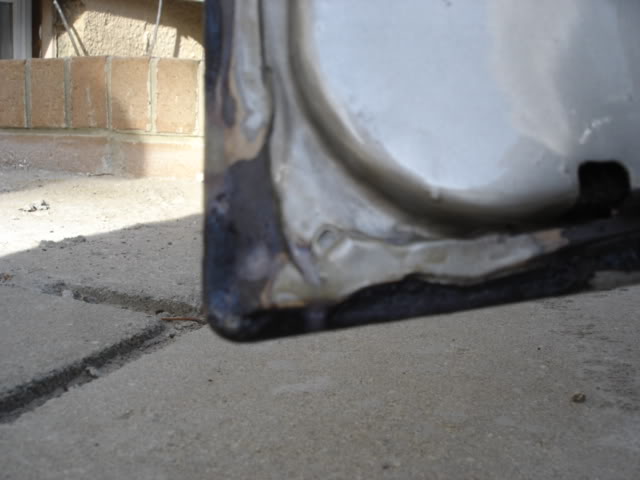
Peel off the tape and newspaper. Because a VIN-matched colour is rarely a perfect match, a visible edge usually shows where the tape sat, and in this case the new colour came out slightly darker. Rub that line out with rubbing compound, then feather a light mist coat of colour into the surrounding factory paint so the boundary fades. Finish with a few more clear coats over the blended zone.
Pro Tips
- 💡 Keep the unmasked area as small as possible; a tight repair window makes the final colour blend much easier to hide.
- 💡 A VIN-matched aerosol colour will never be an exact match to aged factory paint; use rubbing compound on the tape line and a feathered mist coat to disguise the edge.
- 💡 When the panel is still solid, media blasting removes rust more cleanly than a grinder and without warping the metal.
- 💡 The whole job spans about two days because of coat cure times, but the material cost can stay under $100 from a mail-order touch-up paint supplier.
Was this guide helpful?


