DIY Foam-Core Cargo Cover for the Honda Fit (3rd Gen GK)
Introduction
The 3rd-generation Honda Fit hatchback ships without a factory cargo cover, and the dealer-accessory piece runs roughly $160 to $230 for what is essentially a fabric-wrapped board. This guide shows how to build a low-profile replacement from a single sheet of black foam-core board for about $11, sized to wedge into the rear cargo recess with no hardware. Once trimmed, the panel hides valuables in the load area and, combined with tinted glass, is nearly impossible to distinguish from a factory piece when viewed from outside or from the cabin. The method covers cutting the panel, building a template for a clean second cut, edging it, and the reinforcement and weatherproofing fixes that owners worked out over time. It applies to the GK-chassis Fit and adapts easily to similar hatchbacks and small SUVs. Adapted from a community writeup by NotBlake on FitFreak (https://www.fitfreak.net/forums/3rd-gen-gk-specific-fit-interior-modifications-sub-forum/85262-11-diy-cargo-cover.html), including corrections from the follow-up discussion.
Reference
Tools Required
- Utility knife or box cutter with fresh, sharp blades
- Straight edge or metal ruler
- Tape measure
- Scissors
- Scrap cardboard (for making the template)
Parts Required
-
One 40" x 60" black foam-core board (custom-framing grade), roughly $11
-
Black cloth gaffer's tape for edging (e.g. ProTapes Pro Gaff, 11 mil thickness, 1" width, 55 yd, black)
-
Optional reinforcement: aluminum or curtain rods, or a second board for doubling thickness
-
Optional waterproofing: Plasti Dip or black spray paint
Safety Warnings
- ⚠ Always cut with a fresh, sharp blade and cut away from your body; a dull blade tears foam-core and is more likely to slip.
- ⚠ Untreated foam-core absorbs water and the paper layers fail once soaked, so seal the panel before exposing it to damp or wet loads.
Step-by-Step Instructions
1 Source a full-size black foam-core sheet
Buy a black foam-core board rather than the flimsy craft-store foam boards. At a craft or framing retailer, ask the custom-framing counter for a large black foam-core sheet; a 40" x 60" panel costs about $10 to $11 plus tax. Buying at this size is deliberate: it leaves enough material for a first practice cut plus the finished panel, and gives you a spare to rebuild the cover years later if the first one gets damaged.
2 Rough-cut an oversized blank
With a fresh, sharp blade in the box cutter, cut a rectangle of roughly 45" x 14" from the sheet to serve as your working blank. Cut a hair large; you will remove material to fit, and you cannot add it back. Score along a straight edge in several passes rather than forcing the knife through in one stroke, which keeps the cut clean and reduces crushing at the edges.
3 Trim the blank down to the cargo recess
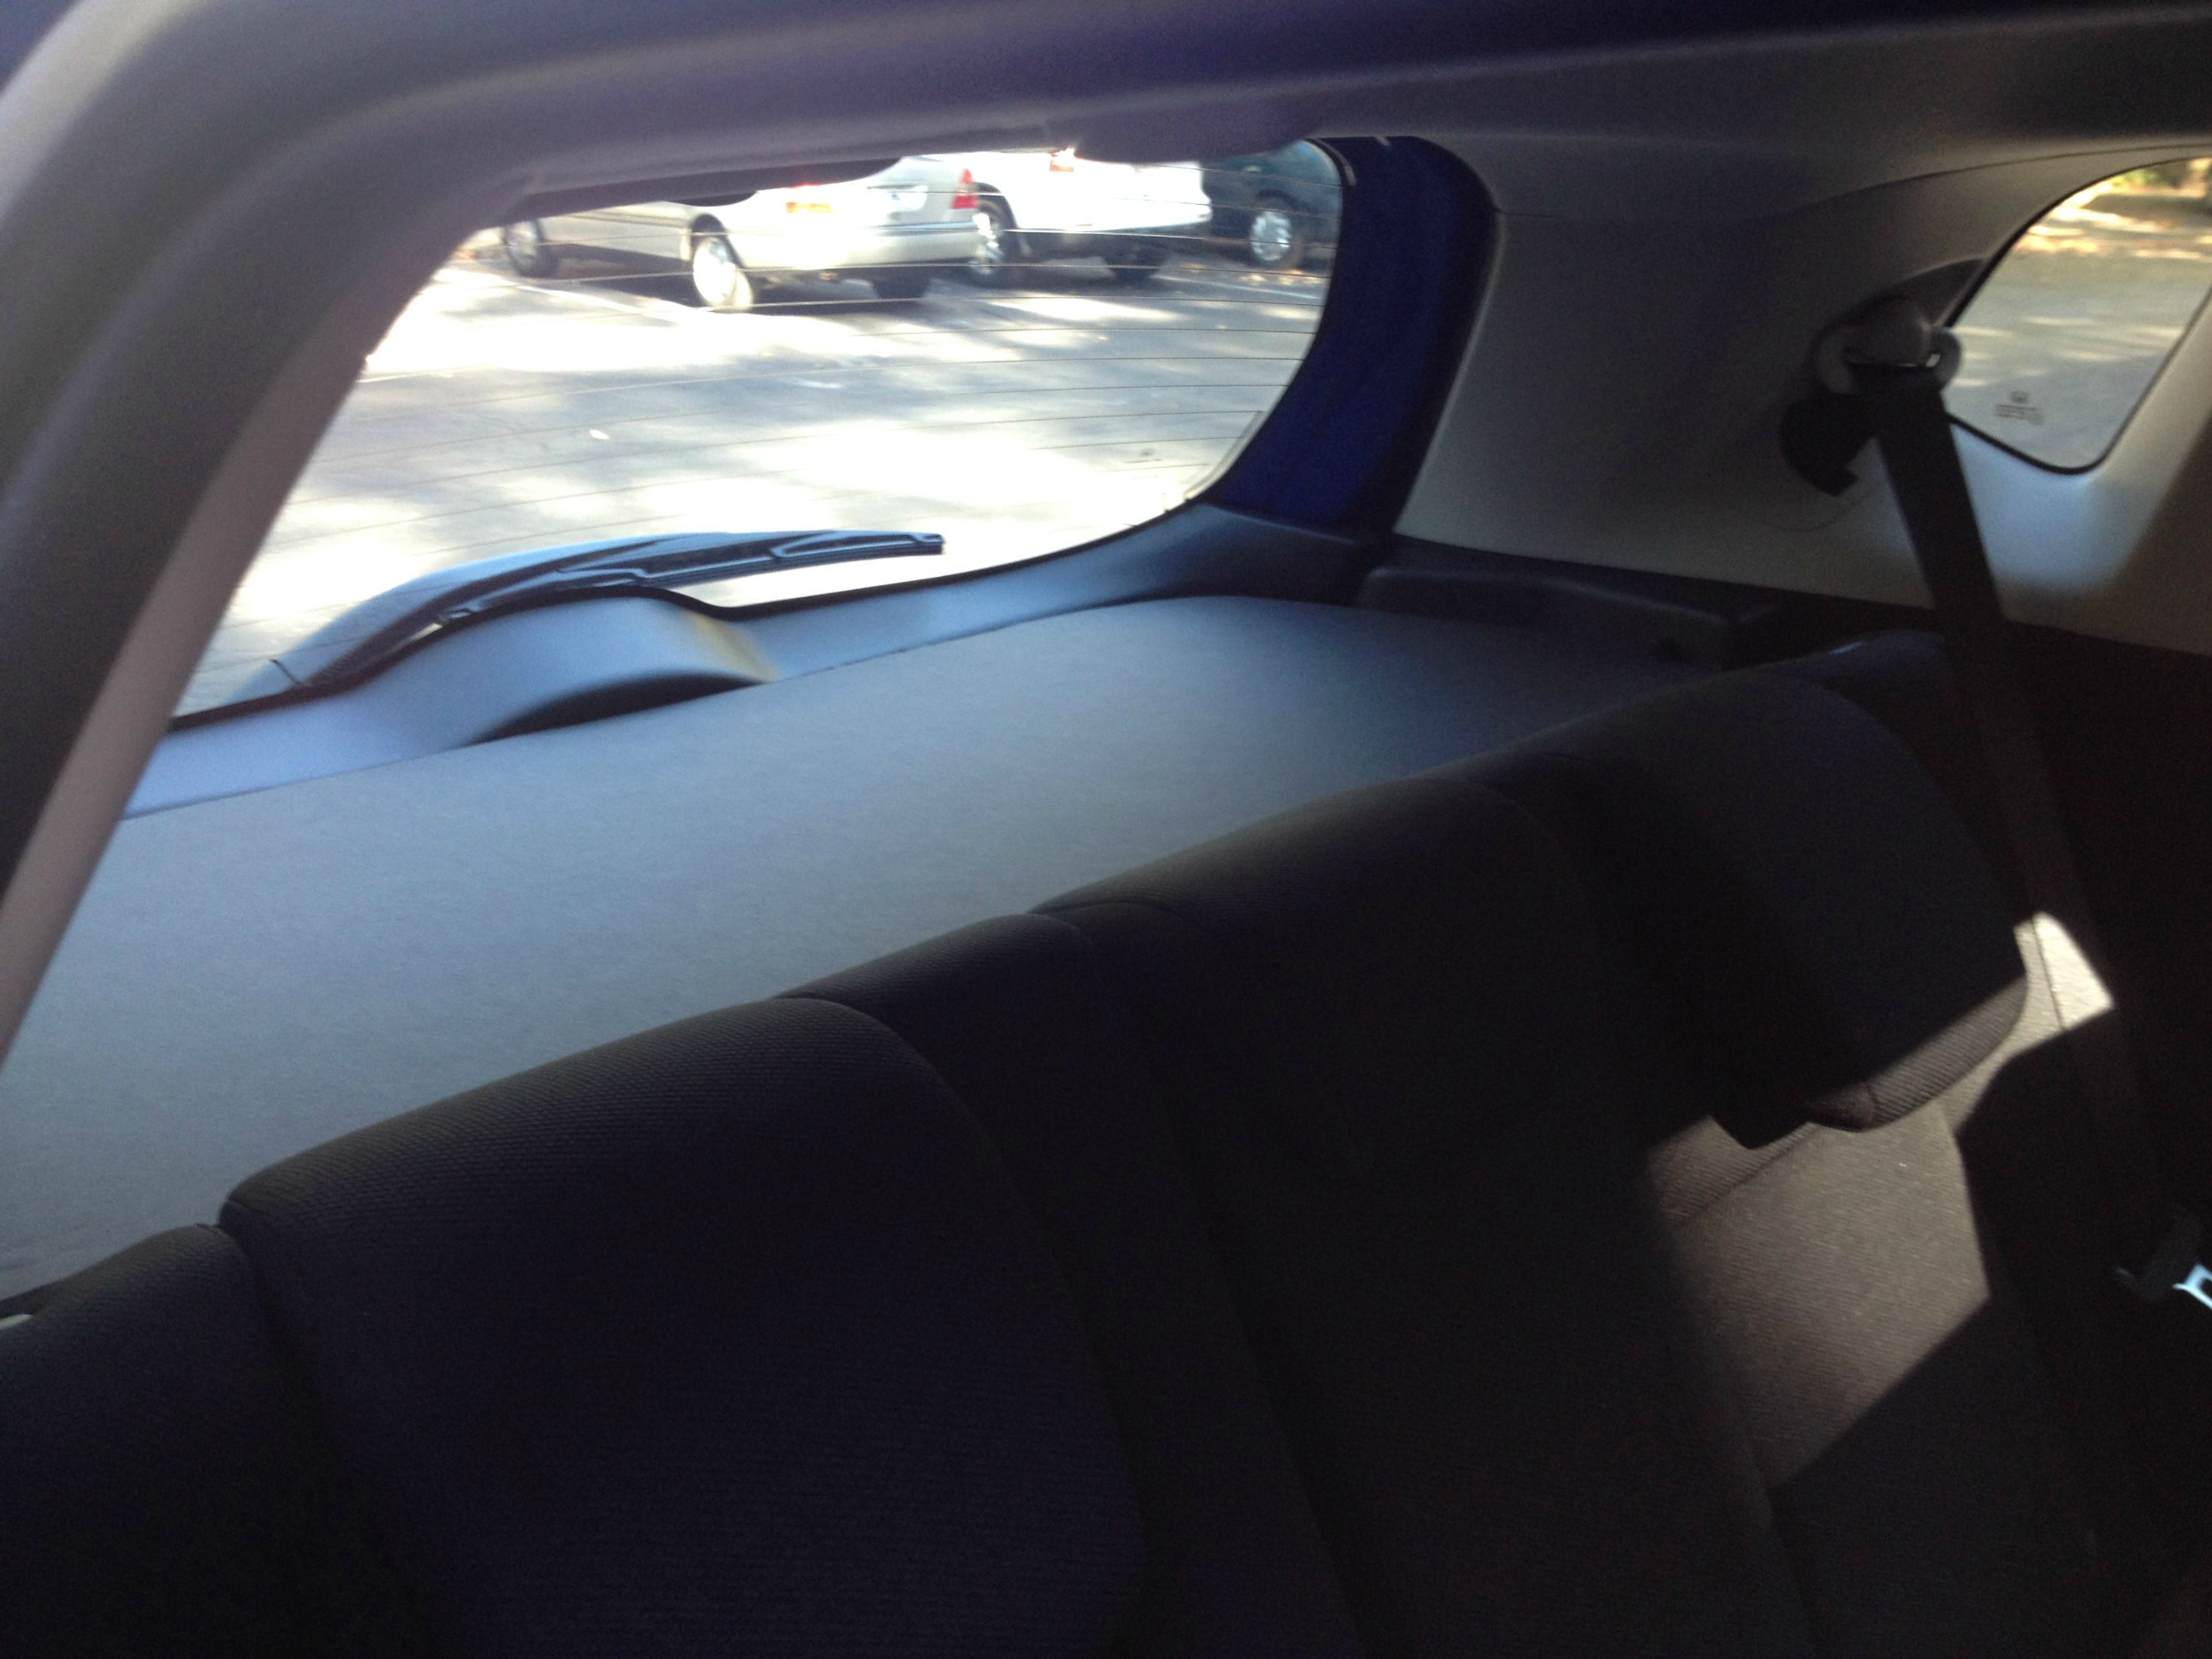
Set the blank into the rear cargo tray and pare it back gradually, shaving small amounts at a time and re-checking the fit after each pass. The opening is not a simple rectangle, so expect to sneak up on the final shape slowly. Patience here is what separates a snug, invisible fit from an obviously loose one.
4 Capture the shape as a reusable template
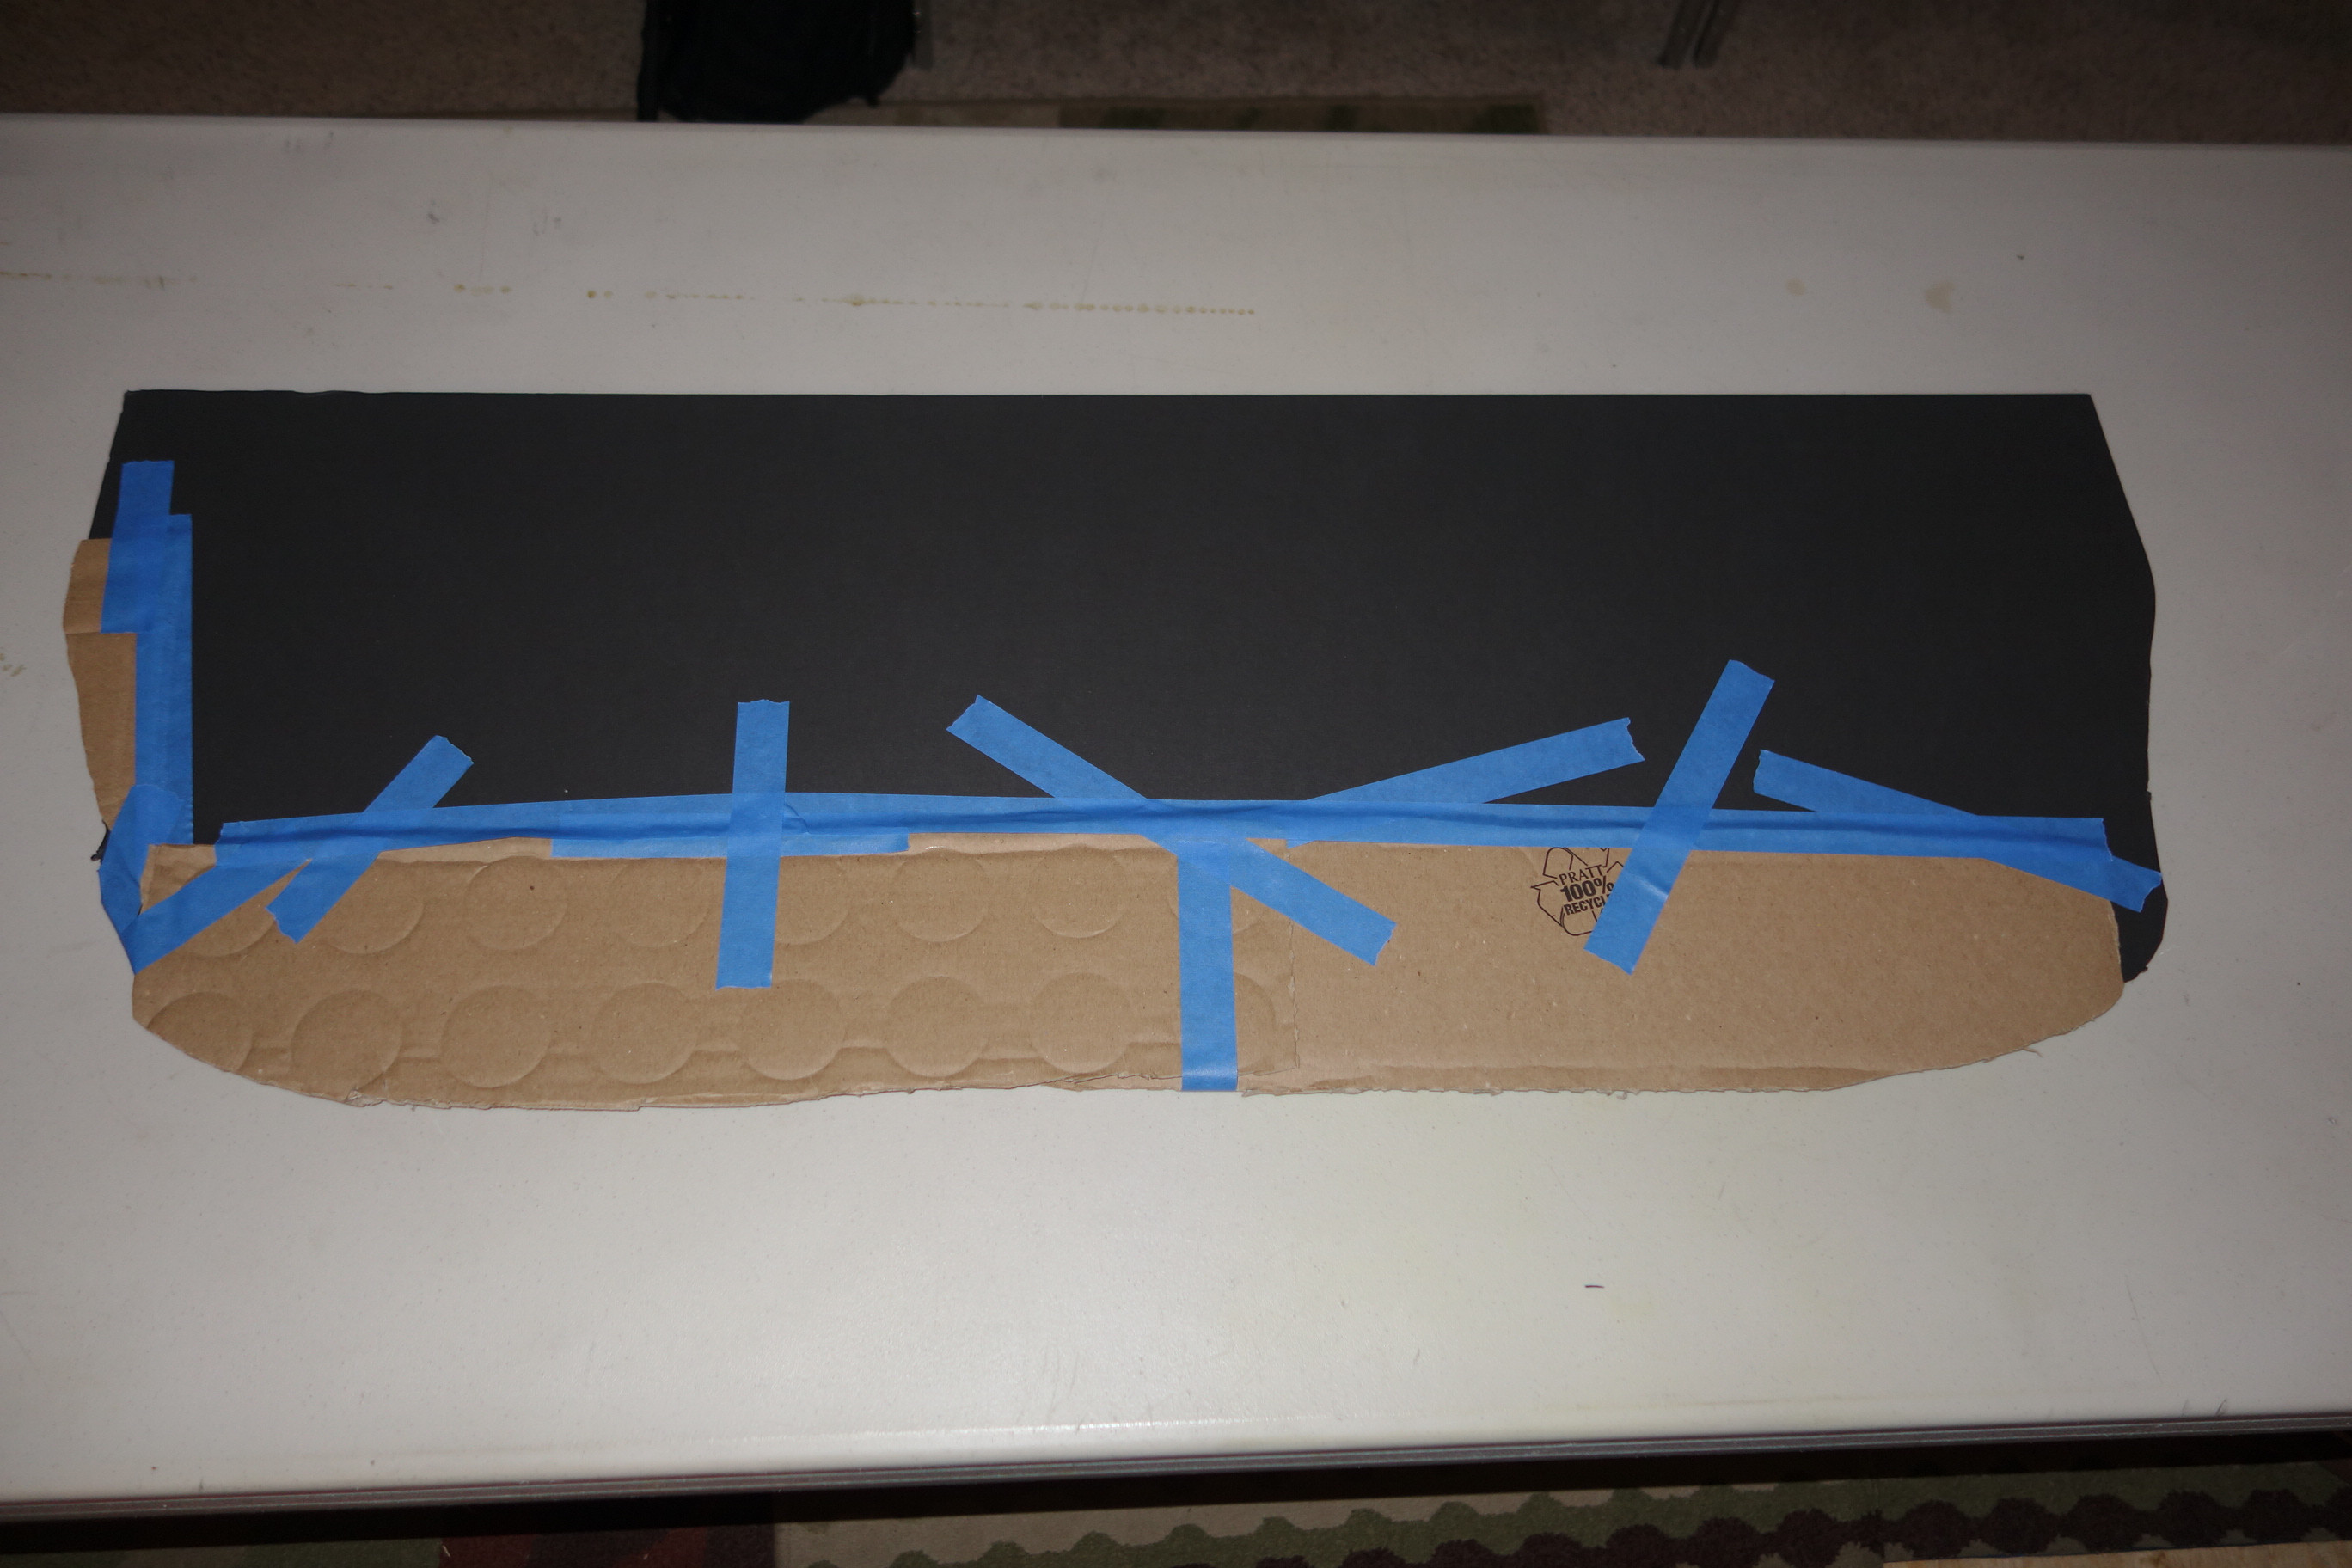
If you cut too deep anywhere and leave a gap, tape scrap cardboard into the missing area so the blank fills the recess completely. Once every edge sits flush, that patched blank becomes your master template, recording the exact outline without you having to guess it a second time. Building a dedicated cardboard pattern first is a valid alternative and wastes no foam board.
5 Cut the finished panel from the template
Lay the template on a clean, uncut area of the foam-core sheet, trace its outline, and cut the final panel to that line with the sharp blade. Because the shape is already proven, this cut should need only minor trimming rather than repeated test-fitting.
6 Test fit and finish the edges
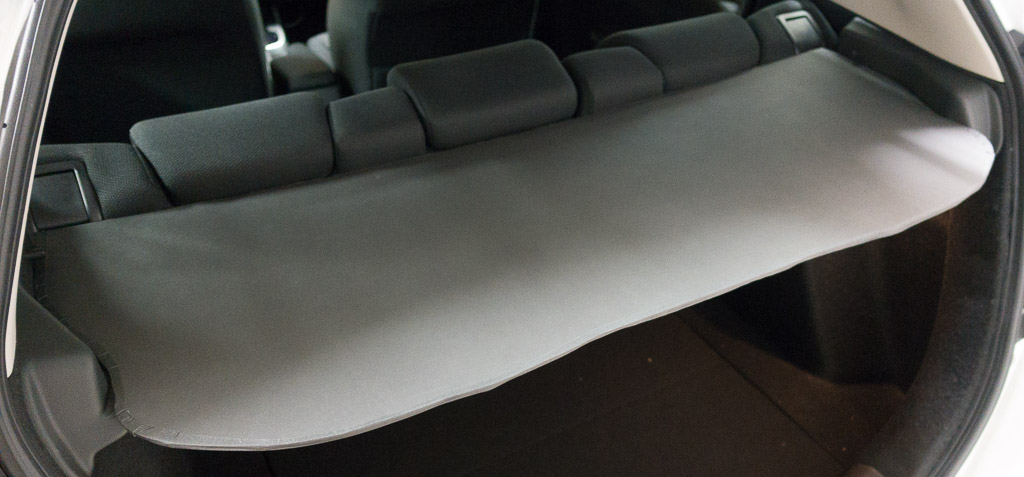
Drop the finished panel into the tray; a correctly sized piece wedges in on its own with no Velcro or fasteners. Wrap the perimeter with black cloth gaffer's tape to protect the exposed foam edges and clean up the look. To remove the cover, flex it gently in the middle and lift it out, then stow it flat for bulky loads.
7 Add a fold line for rear-seat recline (optional)
If you want the cover to clear a reclined rear seat, score partway through the underside along a straight edge, cutting only the near face and never all the way through. This creates a hinge that fills the gap when the seatback is upright and folds up when it reclines. Run a strip of tape across the fold on the scored side so the paper plies do not tear open with repeated bending.
8 Reinforce against sag and bowing
A single sheet is only rigid enough to hold its own weight and will bow across the wide span over time. Owners who ran it unreinforced reported it eventually folding in the middle. The proven fixes are to laminate a second board on top with glue for double thickness, or to bond stiffening rods to the underside; aluminum or curtain rods add rigidity while keeping the panel light. Even doubled foam can bow slightly, so rods are the more durable option.
9 Weatherproof the surface (optional)
Foam-core does not tolerate moisture, and the paper plies degrade if they get wet. If the cover may be exposed to damp cargo, seal it. Spray paint tends to look poor and blotchy on the bare paper surface, so a rubberized Plasti Dip coating is the better choice for a water-resistant, uniform black finish.
Pro Tips
- 💡 Measure and fit the panel with the rear seats in their most-reclined position so the cover works across the full range of seat angles.
- 💡 Dark window tint hides the small gaps that remain at the panel edges, so a perfect cut is not required for the cover to conceal cargo.
- 💡 Corrugated plastic sheet is another workable material; a small flap folded down at the front end helps it hold its shape, though heat can make it sag.
- 💡 A flat foam-core panel stores more easily than the curved OEM tray, which takes up more space when you need to carry tall items.
Was this guide helpful?