
DC2 Integra Dashboard Swap into an EG Civic
- If your EG has a passenger airbag, source a DC2 dash with its passenger airbag intact and treat all SRS components with appropriate care.
- When swapping the heater box, the copper pipes where the heater hoses clamp are soft and deform easily - cut the old hoses off rather than levering against the pipes, and expect coolant loss.
- When cutting dash plastic and door trims, work in small passes and keep the tool away from surfaces that remain visible - slips through the door vinyl are not repairable.
Introduction
This conversion replaces the 1992-1995 EG Civic dashboard with the more modern dashboard from a DC2 Integra, along with the matching heater box, fusebox, center console, kick panels and carpet. It is primarily a wiring-and-fabrication job: the DC2 dash harness must be re-pinned into the EG's connector shells (mapped with a multimeter), the dash mounts modified with an angle grinder and custom sheet-metal brackets, and the dash, steering column support beam and door trims trimmed for fitment. Use parts from the same OBD generation throughout - a 1994-1997 DC2 is OBD1, matching an OBD1 EG main harness, and mixing generations invites wiring differences. This guide assumes the EG dash and heater unit are already removed. Total cost depends entirely on parts sourcing; the documented build came to roughly $2,500 including seats. Adapted from a community writeup by Paul1985 on OzHonda (https://ozhonda.com/forum/showthread.php?103308-DIY-DC2-Dash-into-EG), including corrections from the follow-up discussion.
Procedure
13 steps-
Step 1: Gather matched parts and identify the three dash harness plugs
Source a complete DC2 dash with its harness attached, plus the DC2 fusebox, dash mounts, heater box, console and trim parts, all from the same OBD generation as your EG (OBD1 here: 94-97 DC2 with an OBD1 EG main harness). The dash harness connects via three plugs: green to the fusebox, grey to the main harness and blue to the rear harness. The green plug connects directly; the blue and grey plugs differ in size between DC2 and EG and are the reason for the re-pinning work that follows.
-
Step 2: Remove both dash harnesses and label every plug
Remove both the EG and DC2 dash harnesses from their dashboards so everything is accessible on a bench. Photograph and label what each plug is for: hazards, demister, radio, cigarette lighter, dimmer, two cluster plugs, glove box light (DC2), earth and clock.
-
Step 3: Trace both harnesses with a multimeter
Set the multimeter to ohms on the lowest range (or autorange). Draw each plug, noting pin locations and wire colors. Place one probe in pin 1 of the grey, blue or green plug, note its wire color, find pins of the same color elsewhere in the harness and probe them; a reading means you have found where that pin goes. Record every pin of all three plugs on both harnesses. A published cluster pin-out diagram for these chassis is a useful cross-check.
-
Step 4: Re-pin the DC2 dash harness into the EG plugs
Using your continuity map, de-pin the DC2 dash harness terminals and insert them into the correct positions in the EG connector shells. A sewing needle works well for releasing the terminal locking tabs. An earlier guide suggests only the blue plug needs swapping, but on this car everything differed - trace and verify your own harnesses rather than trusting a generic map.
-
Step 5: Make the one required solder joint
Solder a splice joining the grey plug's YEL/BLK wire to the green plug's YEL wire. This is the only soldering in the conversion, and the turn signals and hazards will not work until it is done.
-
Step 6: Modify the driver-side dash mount
Grind the fusebox mount off the DC2 driver-side dash mount area, then drill out the EG dash mount's spot welds. Attach the EG fusebox mount to the DC2 dash mount: drill two holes and bolt it on. Also grind a notch in the mount to clear the steering support beam.
-
Step 7: Fabricate brackets for both dash mounts
Cut thin sheet metal to size for each side, drill two holes to bolt each plate to its dash mount, and drill one more hole so the plate bolts to the original mounting point on the body. Use small-head nuts and bolts so the hardware clears the dash.
-
Step 8: Trim the dash and the steering column support beam
Trial-lift the dash into place: excess plastic behind the cluster opening will interfere. Mark it, pull the dash out and cut the plastic away with a dremel, keeping all cuts out of visible areas. Drill a hole behind the clock for the dash bolt if you want that factory mounting point (the dash is secure without it). If the cluster still fouls, mark and trim the steering column support beam - remove the beam, trim it and the non-removable part of the support, and refit.
-
Step 9: Install the DC2 heater box
Use the DC2 heater core/box, not the EG one - it bolts up to the EG firewall with no modification. Removing the old heater hoses is the hard part on an old car: expect to cut them off and fit new hoses, and be very careful not to deform the soft copper pipes on the heater box where the hoses clamp. Some coolant will be lost; top up afterwards.
-
Step 10: Fit the center console and armrest
The DC2 console appears misaligned at first, but with the carpet in and the DC2 console and armrest brackets fitted it lines up correctly. The foam insert under the carpet is optional and just makes the fit more snug. The armrest side screws need new holes drilled in the armrest if you want them fitted; the assembly is solid without them.
-
Step 11: Modify the door trims
Peel back the vinyl on each door skin carefully without tearing or cutting it. Refit the trim and mark roughly where it needs cutting, then trim with a dremel in small passes, test-fitting repeatedly (this took about ten on-off cycles per door). Glue the vinyl back down with contact adhesive; because the vinyl was molded before cutting, a couple of areas will not be 100 percent perfect but glue down almost unnoticeably.
-
Step 12: Fit kick panels, sill mouldings and carpet
The DC2 kick panels work with the dash, though the fit is not perfect: trim the EG door sill mouldings to length (DC2 sills may also fit). The kick panels clip to the side of the door opening and can also use the firewall mounting point. DC2 black carpet fits the EG almost perfectly - cut one hole for a seat belt mounting point, and accept slightly imperfect fitment at the sides of the rear hatch area. Use the kick panels to cover the gaps at the carpet's front corners.
-
Step 13: Color-match the remaining trim
To match grey EG trims, door handles and the handbrake handle to the DC2 dash, scuff each piece with a scotch-brite pad, clean with an alcohol-based cleaner, let dry fully and apply vinyl paint per the can's instructions. Let parts dry completely before reassembly - handling them early scratches the fresh paint.
- Use the DC2 underdash fusebox with the DC2 dash - it is not strictly necessary, but all the dash functions work with it, and the fuses sit in the same locations as the EG box.
- Do the harness tracing indoors on a bench or couch - with both harnesses out of the car the multimeter work is far more comfortable and accurate.
- Sourcing determines cost: this interior came to roughly $2,500 all up, and ITR parts (e.g. Recaro seats at $1,500-plus) raise it quickly.
- Vinyl paint on the steering wheel is a $14 stopgap that works but will likely wear - budget for a proper wheel later.
- Rear trims can be dyed or painted black to match if you are not running a stripped interior; the seats are the hardest part to match.
Related procedures
All guides →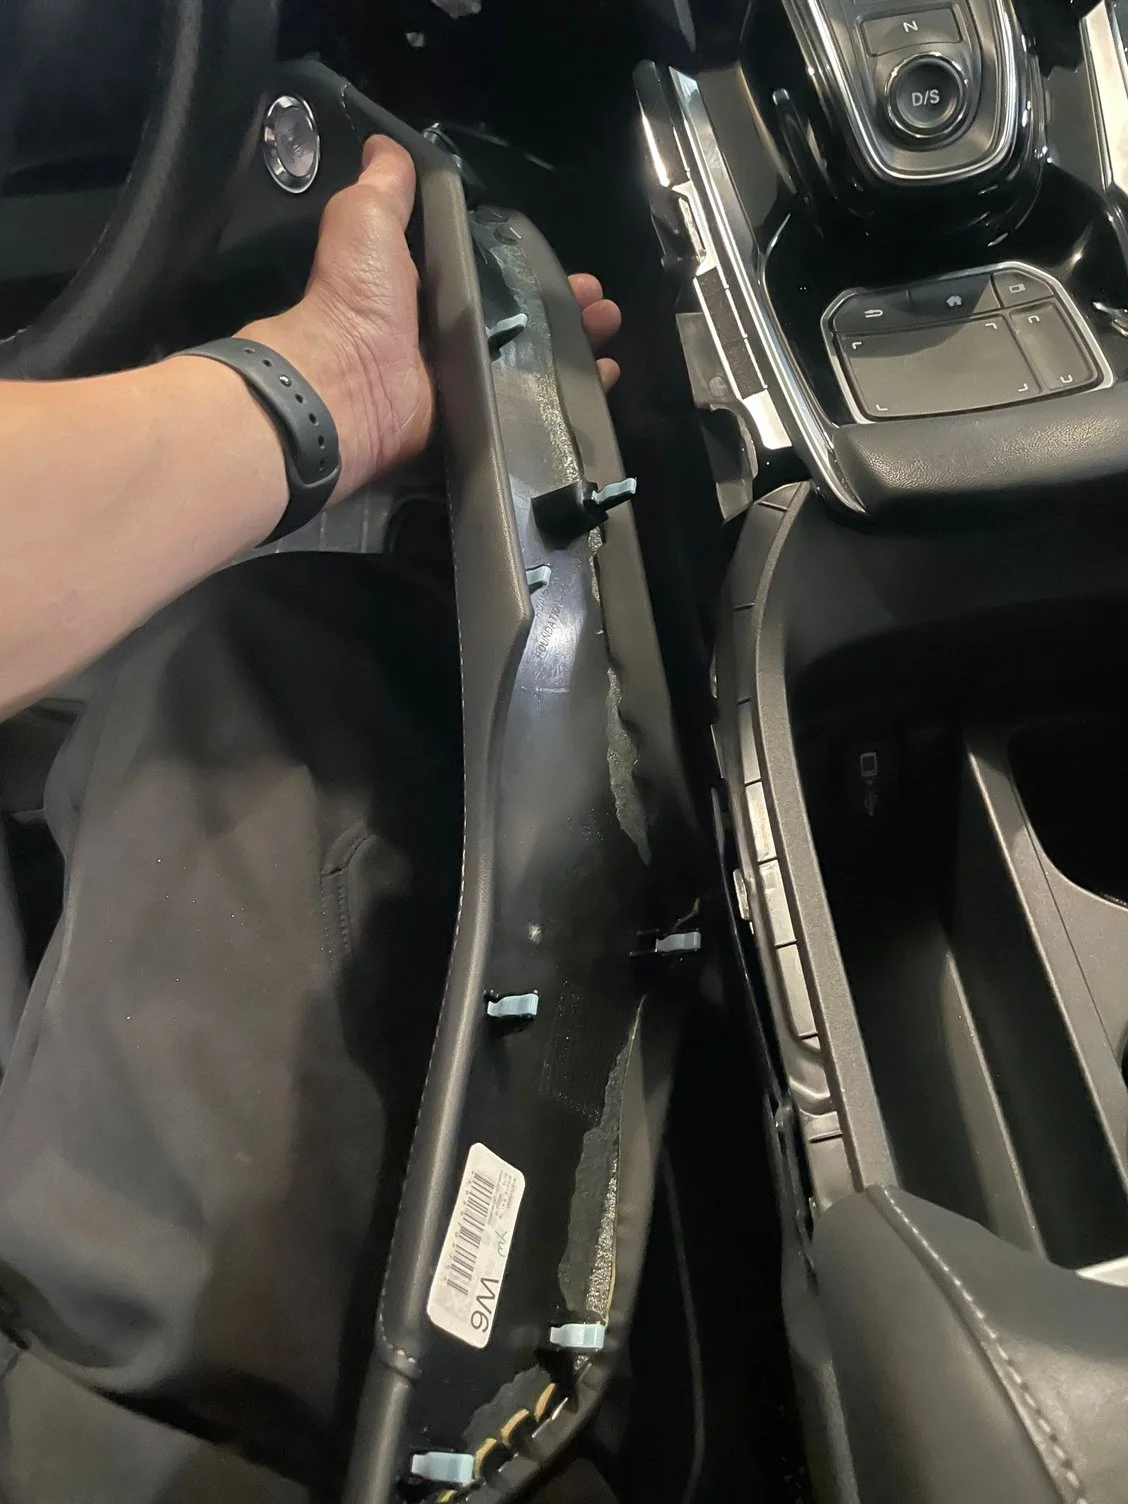
Tap right for next · left for back · Keys: ← → step · Space / PgUp / PgDn scroll · Esc exit