Acura RDX (2G) Engine Block Heater Installation
Introduction
A screw-in engine block heater warms the coolant before startup, reducing cold-start wear and delivering cabin heat sooner in freezing climates. This guide covers fitting the factory screw-in heater element into the second-generation Acura RDX, where the plug threads into the block casting stamped with the engine serial number, tucked between the radiator and the valve cover. The job is mostly about gaining access and managing coolant: the heater bore sits in a cramped part of the bay, and even after the radiator and block are drained a further amount of coolant escapes when the plug comes out. The same screw-in element and method also apply to related Honda/Acura engines that use the equivalent factory kit. Confirm you can physically reach the plug with your tools before draining anything. Adapted from a community writeup by Tech on AcuraZine (https://acurazine.com/forums/2g-rdx-diy-faq-406/block-heater-install-963481/), including corrections from the follow-up discussion.
Reference
Tools Required
- 24 mm socket
- 19 mm deep socket with 1/2 inch square drive and long flex/breaker handle
- 14 mm socket
- 12 mm box-end wrench or deep socket
- Torque wrench capable of 75-85 Nm (55-63 lbf.ft.)
- Ratchet and extensions
- Small funnel and roughly two and a half feet of vinyl tubing
- Clean drain container
- Flashlight
Parts Required
-
Acura/Honda block heater element kit (screw-in type, includes aluminum sealing washer)
-
Aluminum sealing washer (supplied in the kit)
-
Permatex 2 Form-A-Gasket sealant (No. 2BR, UPS 80500)
-
Engine coolant for top-up (Honda type; reuse drained coolant only if clean)
Safety Warnings
- ⚠ Work only on a completely cold engine; hot coolant under pressure can cause serious burns.
- ⚠ Engine coolant is toxic to people and animals. Catch it in a clean, covered container and clean up spills promptly.
- ⚠ Do not omit the aluminum sealing washer or the thread sealant; a poorly sealed heater bore can leak coolant.
Step-by-Step Instructions
1 Confirm access to the plug before committing
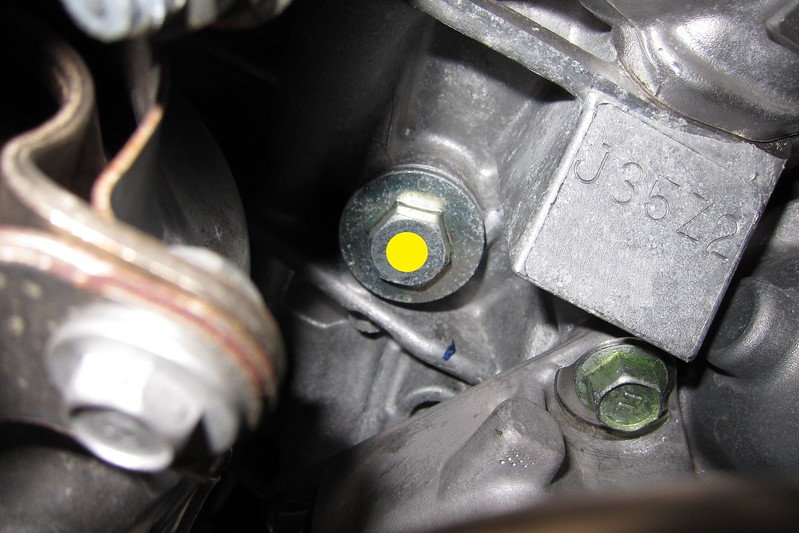
Work on a fully cold engine. Before draining any coolant, verify that the tools on hand can physically reach the block heater screw plug, because the bore sits in a very tight pocket of the engine bay. Peer through the long slot at the hood latch/lock with a flashlight, or drop a small camera into the space between the radiator and the engine, to spot the plug beside the block casting that carries the engine type and serial number. Only proceed to drain the system once you are confident of access.
2 Remove the air duct/intake trim
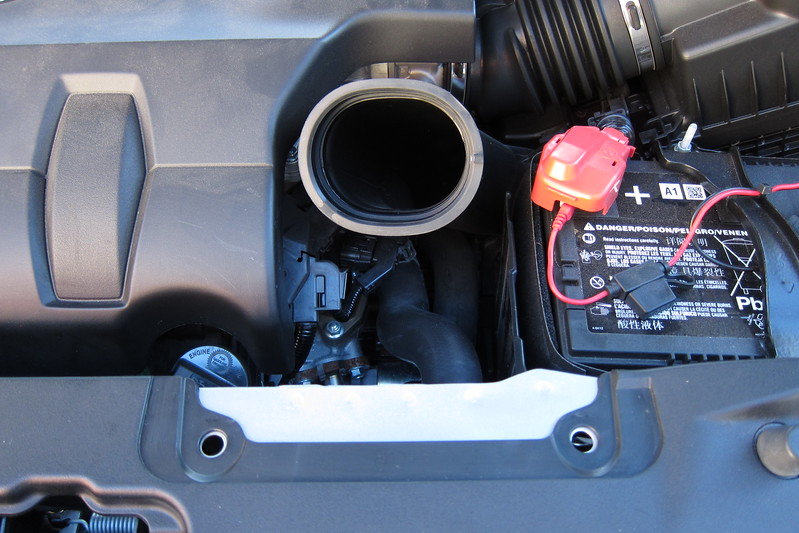
Take out the air duct over the engine to open up the working area. Approach the plug from a roughly 45-degree side angle rather than straight down, since the valve cover and ignition coil packs block a vertical path to the bore.
3 Drain the radiator
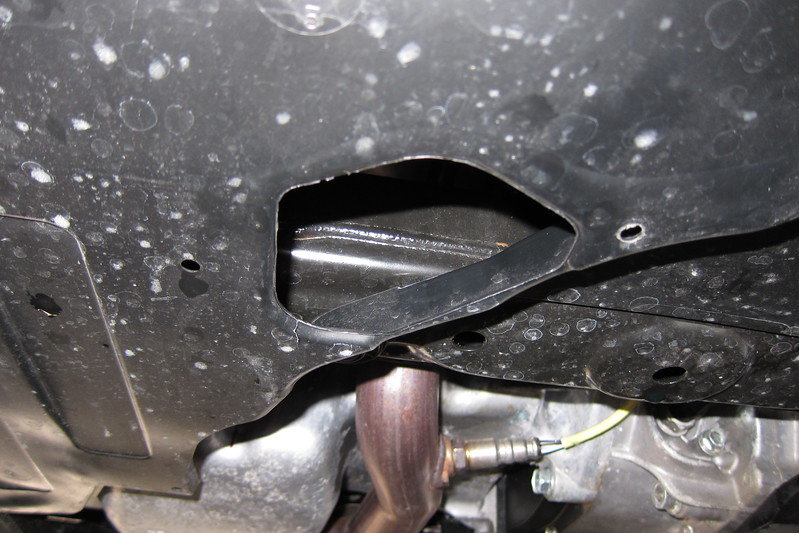
Locate the white plastic radiator drain valve above the access hole in the plastic under-body pan. Turn it counter-clockwise, viewed from the end of the valve, to open it. Unlike some other makes, this drain is flush with the radiator and has no spigot, so feed the coolant through a small funnel into a clean container if you intend to reuse it. Access here is tight for larger hands.
4 Drain the engine block at the rear bleeder
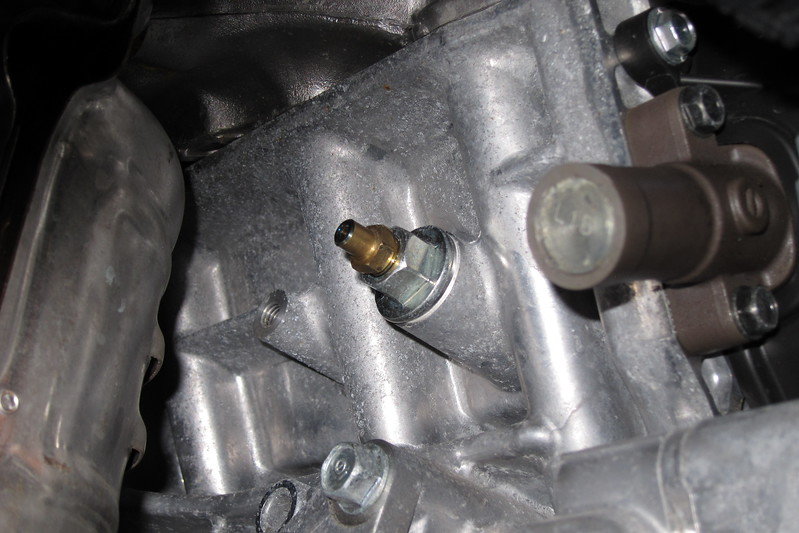
The block's coolant drain sits toward the passenger side at the back of the engine. Using a 12 mm box-end wrench (or a deep socket), crack the bleeder screw loose, then cycle it open and closed with the wrench. Push a length of vinyl tube (about two and a half feet) firmly over the bleeder so the coolant runs into your clean container for reuse.
5 Clear the O2 sensor bracket and wiring out of the way
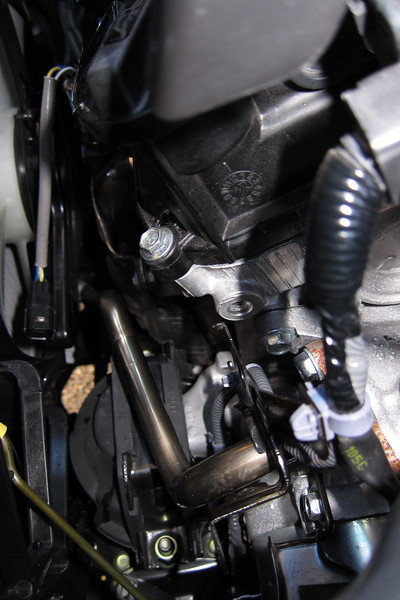
Release the front O2 sensor connector by pressing its tab and pulling it upward, then free the connector from its metal bracket by pressing the tab and pushing it downward. Undo the bracket bolt with a 14 mm socket. Raise the automatic transmission fluid dipstick about five millimeters and swing it toward the radiator so it is out of the path. Shift the bracket and its wiring toward the battery, tucking it against the radiator hose and tying it back if needed. This clears room for a socket on the heater plug.
6 Remove the block heater screw plug
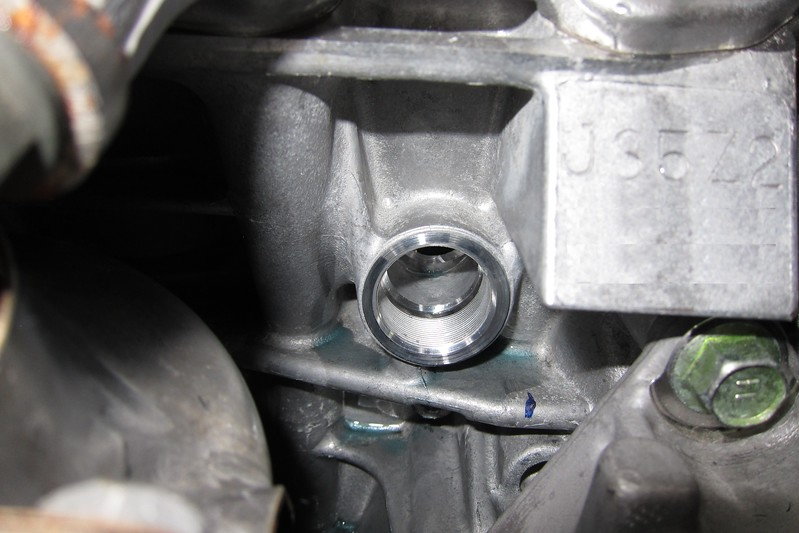
With the bracket cleared, seat a 19 mm deep socket on a 1/2 inch square drive with a long flex or breaker handle onto the plug and break it loose; it then backs out by hand. Withdraw the plug together with its aluminum sealing washer. Be ready with a container: roughly a liter of additional coolant pours out of the heater bore even after the radiator and block have been drained.
7 Clean the threads
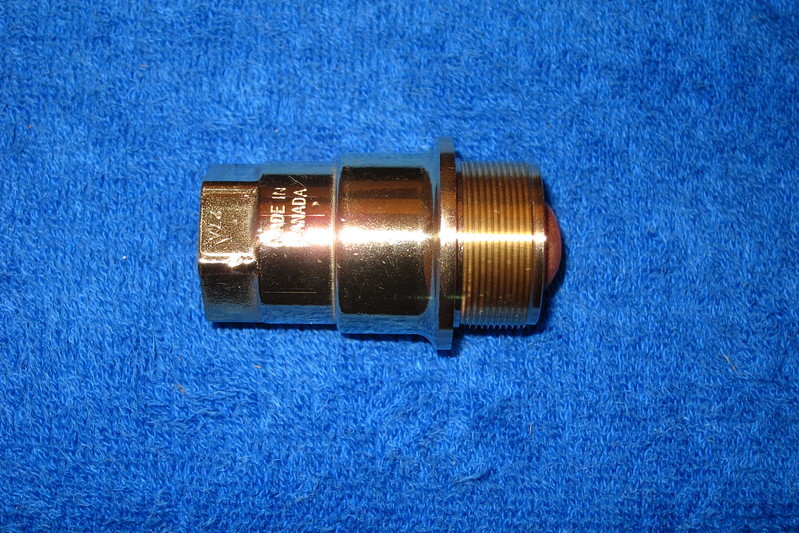
Inspect and clean the threads in the engine block bore and on the block heater element before fitting. Clean, dry threads are needed for the sealant to work and for an accurate torque reading.
8 Seal and thread in the heater element
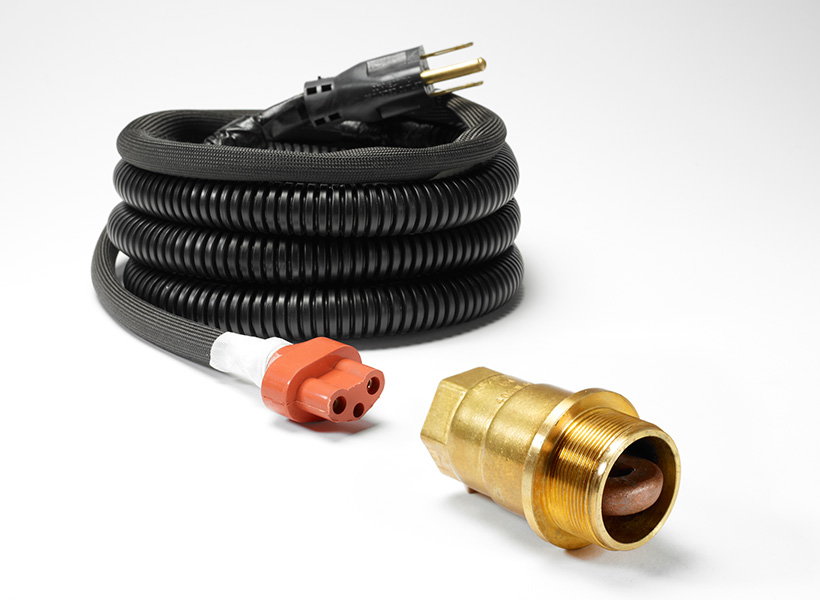
Fit the aluminum sealing washer to the element; do not leave it off. Coat the element threads with a thin layer of Permatex Form-A-Gasket No. 2 sealant (part No. 2BR, UPS 80500), a non-hardening compound specified for this Honda/Acura heater kit. Start the element by hand into the block bore. The hex on the end of the element takes a 24 mm socket.
9 Torque the element
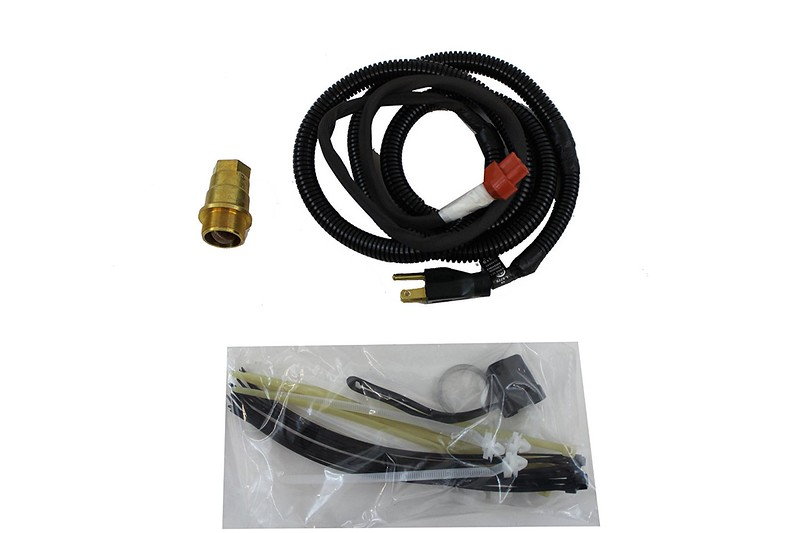
Tighten the heater element with the 24 mm socket to the specified torque of 75 - 85 Nm (55 - 63 lbf.ft.).
10 Reassemble, refill, and check for leaks
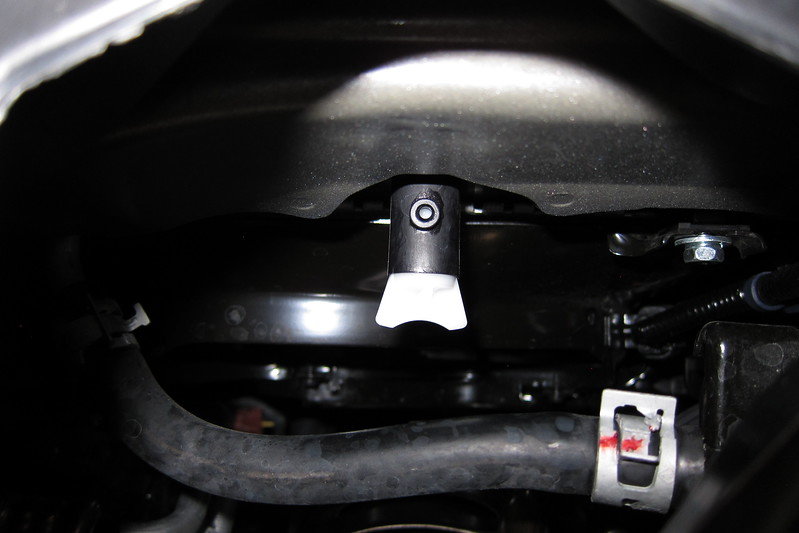
Confirm every coolant drain is closed and reinstall the O2 sensor bracket, connector, dipstick, and air duct. Refill with the reserved coolant, or fresh coolant if the old was degraded, and top up as required. Do the final top-up only once the engine is warm, the cooling fans have switched through several on/off cycles, and the thermostat has opened; keep the reservoir between MIN and MAX until the level stops dropping. Once the engine is back to ambient temperature, remove the radiator cap and confirm the coolant sits at the top of the filler neck. Inspect for leaks. Route the heater's power cord to suit your parking setup, with the engine cold.
Pro Tips
- 💡 You can see the plug by shining a flashlight into the elongated gap at the point where the hood latches onto the lock; a phone or lowered digital camera confirms its exact position beside the engine serial-number casting.
- 💡 Approach the bore from a 45-degree side angle; a straight-down path is blocked by the valve cover and coil packs.
- 💡 Because the radiator drain is flush with no hose spigot, a small funnel makes it far easier to catch clean coolant for reuse.
- 💡 Even after draining the radiator and block, keep a container under the heater bore for the extra coolant that escapes when the plug is removed.
Was this guide helpful?