Dual-Piston Front Brake Upgrade for the 1G Acura CL (Legend Calipers, Prelude Rotors)
Introduction
This guide covers converting the single-piston front brakes on a first-generation Acura CL (the 4-lug 2.3CL) to a larger dual-piston setup using off-the-shelf parts. The calipers come from a 1994 Acura Legend GS 3.2L and are ordered as loaded Raybestos units (RC10627 and RC10628), so they arrive with pads, hardware, and their own mounting brackets and bolt straight to the CL knuckle. They are paired with the larger 11-3/32" (11.5") front rotors used on a 1996 Prelude VTEC. The result is a stronger, more confident front end without custom fabrication. The write-up folds in the follow-up discussion, most importantly a critical left/right orientation trick that determines whether the calipers can be bled at all, plus notes on the Legend proportioning valve and the option to renew the flexible brake lines at the same time. Adapted from a community writeup by jfkhan on AcuraZine (https://acurazine.com/forums/1g-cl-diy-faq-74/dual-piston-caliper-upgrade-diy-685351/), including corrections from the follow-up discussion.
Reference
Tools Required
- Floor jack
- Jack stands
- Lug wrench
- Socket and ratchet set
- Line (flare) wrench for the brake hose fittings
- Bleeder wrench
- Torque wrench
- Slide-pin grease
- Brake cleaner
- An assistant for two-person bleeding
- Caliper paint and masking (optional)
Parts Required
-
Raybestos loaded front calipers, part numbers RC10627 and RC10628, from a 1994 Acura Legend GS 3.2L (arrive complete with pads, hardware, and mounting brackets)
-
Front rotors, part number 39796374R, 11-3/32" (11.5") diameter, from a 1996 Honda Prelude VTEC
-
New front brake lines (recommended)
-
DOT brake fluid
Safety Warnings
- ⚠ Support the vehicle on jack stands, never on a jack alone, before removing a wheel.
- ⚠ Never let the master-cylinder reservoir run dry during bleeding; drawing air into the system requires a full re-bleed.
- ⚠ Brake fluid strips paint and damages finishes; wipe spills immediately and keep it off the caliper paint and bodywork.
- ⚠ Brakes are safety-critical; if you are not confident bleeding hydraulics, have the finished job checked before road use.
Step-by-Step Instructions
1 Source and verify the parts
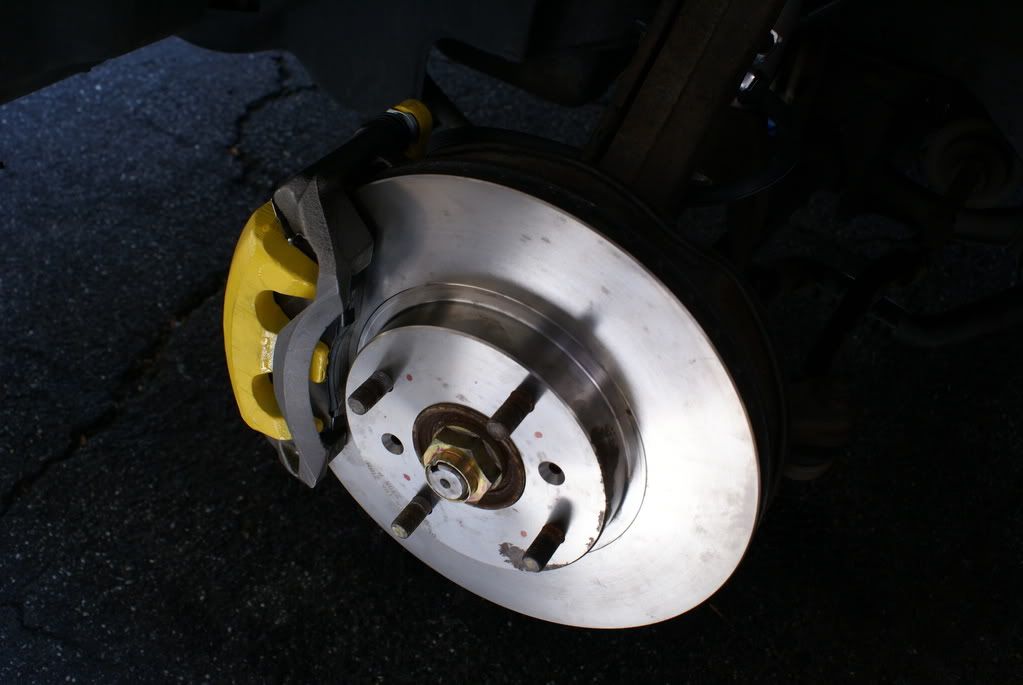
This upgrade pairs dual-piston front calipers from a 1994 Acura Legend GS 3.2L with the larger front rotors from a 1996 Honda Prelude VTEC. Order the calipers as Raybestos loaded units, part numbers RC10627 and RC10628, so they arrive complete with pads, hardware, and mounting brackets and require no separate bracket sourcing. For the rotors, specify part number 39796374R and confirm the 11-3/32" (11.5") diameter version rather than the smaller 10" rotor that some applications used. This combination suits the 4-lug 2.3CL.
2 Paint the calipers first (optional)
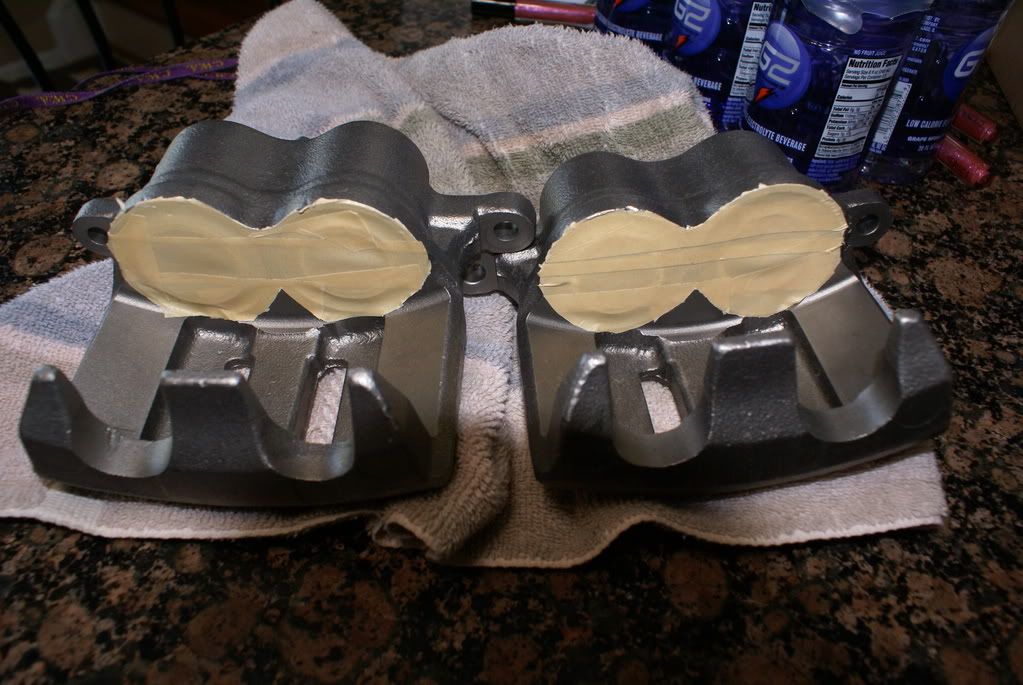
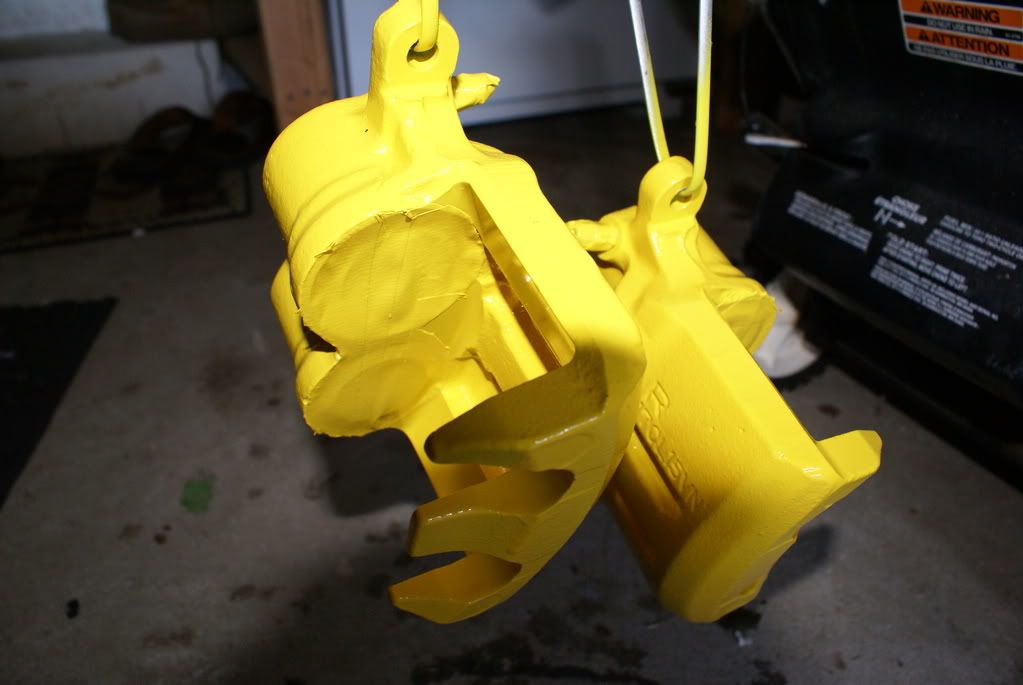
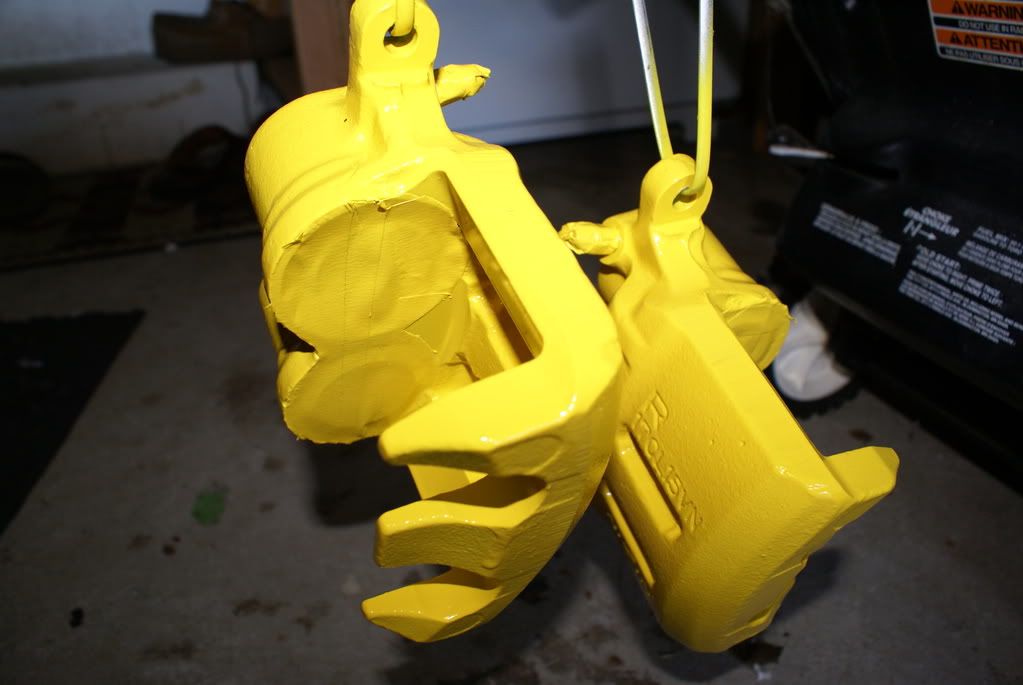
If you want painted calipers, finish that while the units are clean and on the bench. Degrease each caliper with brake cleaner, then mask off the piston and its rubber dust seal so no paint contacts the sealing surfaces. Suspending the calipers on wooden skewers makes it easy to coat them evenly and let them cure undisturbed. Be aware that the original installer later regretted painting: the finish is easily ruined by brake fluid during bleeding and by any subsequent rework, so leaving the castings bare is a reasonable choice.
3 Raise the car and remove the front wheel
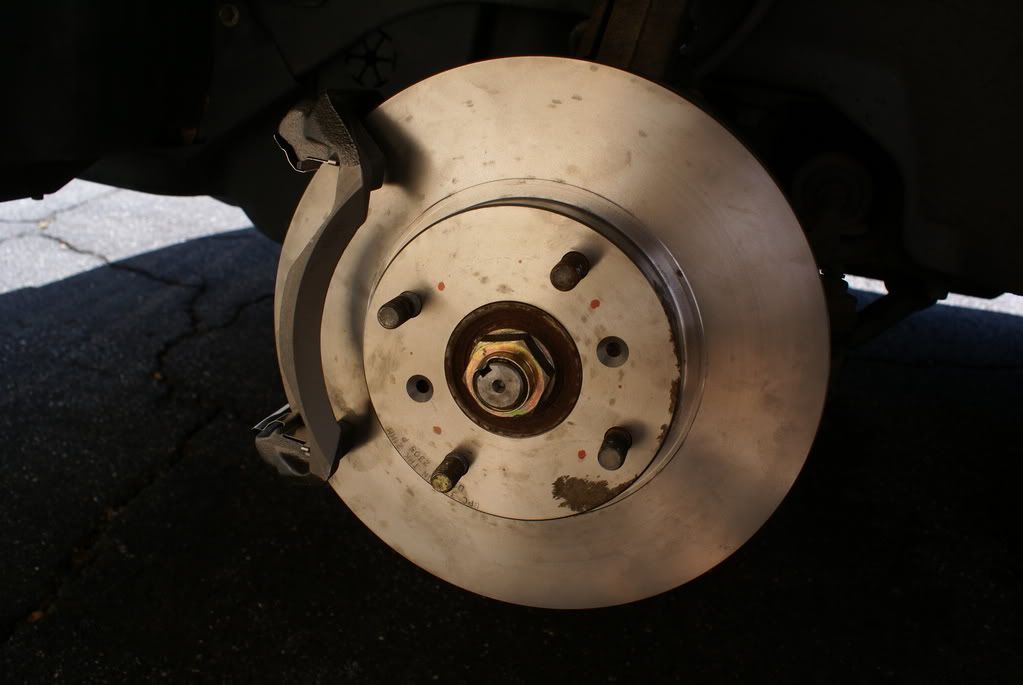
Loosen the front lug nuts, raise the front of the vehicle, and support it securely on jack stands before removing any wheel. Take the front wheel off to expose the brake assembly. Do not attempt this job with the car resting on a jack alone.
4 Remove the original caliper and bracket
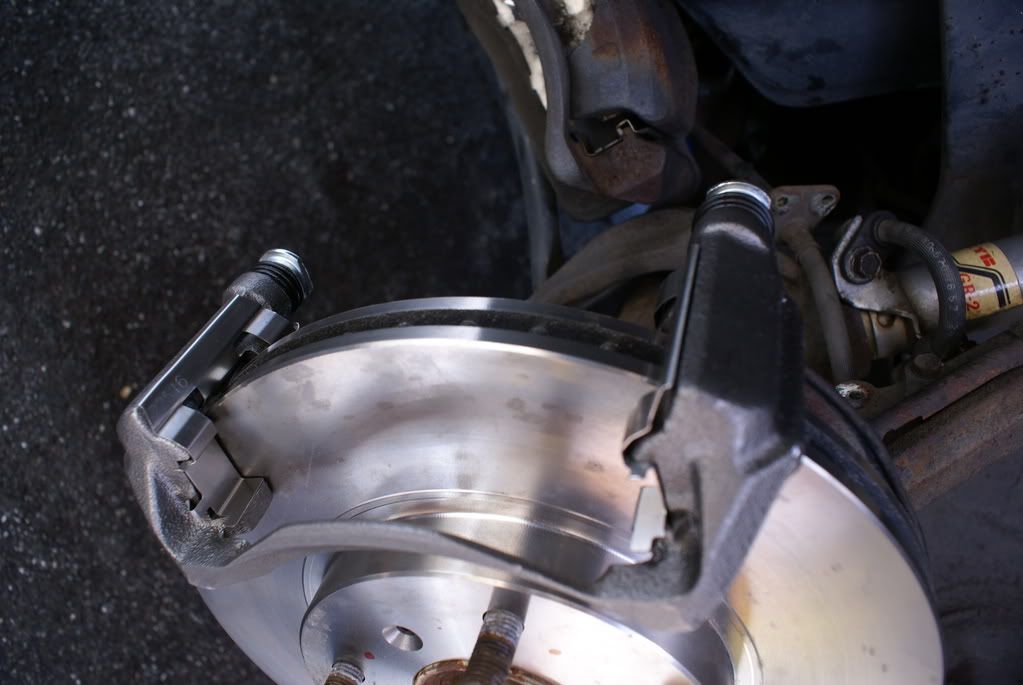
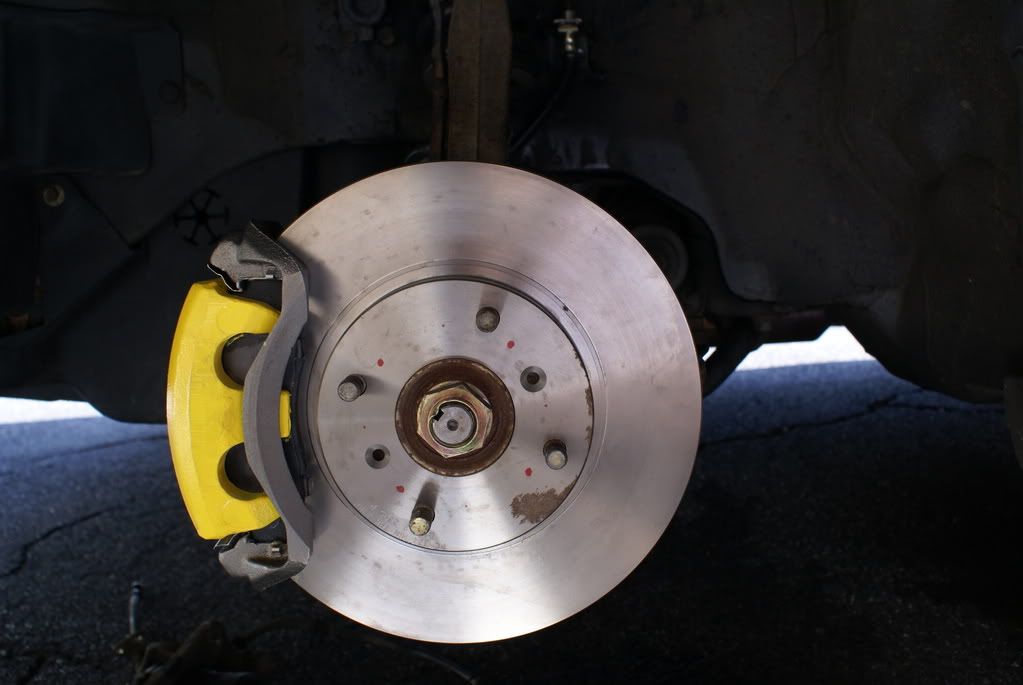
Back out the caliper slide (glide) bolts and lift the factory caliper off its slides, then unbolt the mounting bracket from the knuckle. Leave the flexible brake hose connected for now and rest the caliper where it cannot hang from or strain the hose. Detach any clips that route the hose along the suspension so you gain slack to work; this also prepares you to renew the hose in a later step.
5 Get the left/right caliper placement right
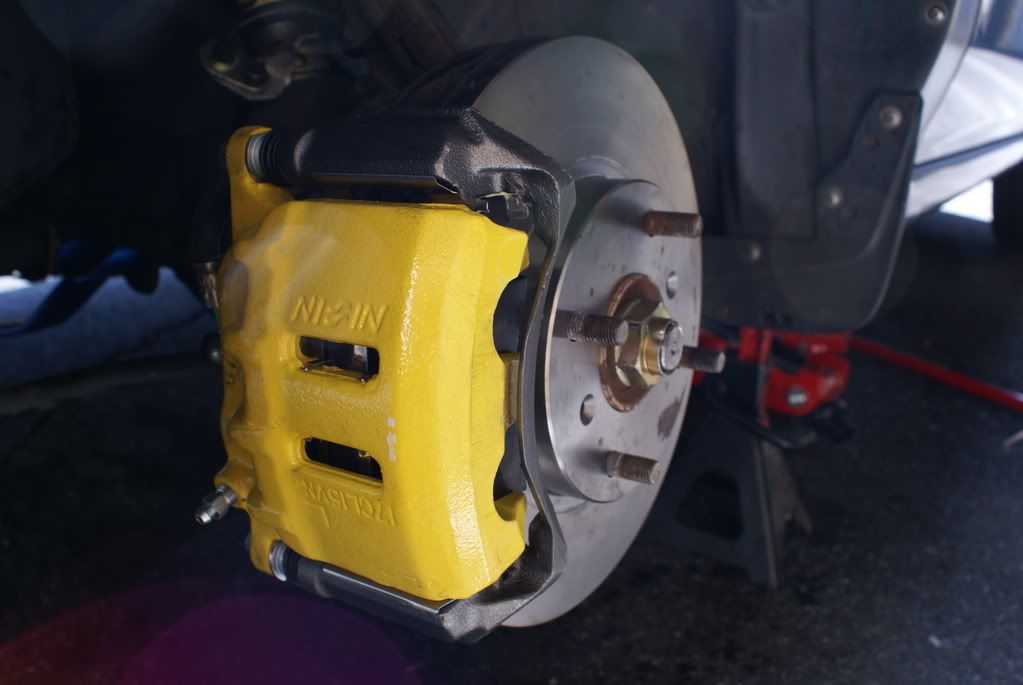
This is the step that most often goes wrong. The replacement calipers are stamped R and L, but they must be installed on the opposite corners from those markings: fit the R caliper on the left and the L caliper on the right, viewed from the driver's seat. Because the two pistons are different sizes, this orientation matters, and it is what keeps each bleeder screw at the top of the caliper. Installed as marked, the bleeders sit low, trap air, and make the system effectively impossible to bleed; getting it backwards on the first attempt cost the original installer a $200 shop charge to reverse. If you have already mounted them as marked, one reader's workaround is to loosen the lower slide bolt and pivot the caliper upward until the bleeder is the highest point before bleeding, the same motion used for a pad change.
6 Install the bracket, pads, and caliper
Bolt the new mounting bracket to the knuckle. Apply a thin film of slide-pin grease so the pads move freely, seat the pads, and fit the caliper over them. Run the slide bolts back in and confirm every fastener is properly tightened before continuing.
7 Fit new brake lines and reconnect the hydraulics
With the hose already free, this is the ideal moment to install a fresh front brake line; aged rubber lines swell under pedal pressure and bleed off braking effort, so new lines restore a firmer pedal. Connect the new line to the caliper and secure it to each suspension anchor, leaving the upper end near the hard-line fitting. Crack the old line loose at the steel hard line and thread the new line on promptly to limit fluid loss. Keep the master-cylinder reservoir topped up throughout.
8 Bleed the corner
Bleed this corner before touching the other side. With the reservoir full, have a helper pump the pedal until firm and hold it down; open the bleeder to release fluid and trapped air, then close it before the pedal is released. Repeat until the fluid runs clear and free of bubbles, refilling the reservoir constantly so it never runs dry, because drawing air into the system forces a full re-bleed. Working alone, a gravity bleed is an alternative. As a final check, start the engine and confirm the pedal holds the same firmness with the booster active as it did with the engine off.
9 Repeat the other side and test drive
Repeat the entire procedure on the remaining front corner. When both sides are complete, refit the wheels, lower the car, and test-drive at very low speed in a safe area to confirm the brakes bite correctly and the pedal is solid before driving normally.
Pro Tips
- 💡 The calipers ship as loaded assemblies, so pads and hardware come in the box.
- 💡 A gravity bleed is a low-effort alternative to two-person bleeding.
- 💡 The Legend proportioning valve is not required; the installer ran the swap without it and reported normal braking, though one commenter questioned whether the larger front calipers might shift front/rear balance slightly.
- 💡 Renewing the flexible brake lines while everything is apart gives a noticeably firmer pedal.
- 💡 This swap suits the 4-lug 2.3CL; the donor rotors match its hub.
Was this guide helpful?