Acura RDX Advance Running Board Installation (2013-2016)
Introduction
The factory Advance running boards for the second-generation Acura RDX span the full length of each rocker and give easier access to the cabin and roof, but the accessory kit ships without instructions and the job is far from bolt-on. Both plastic underbody covers must be marked, drilled, opened with a hole saw and trimmed before the mounting brackets and boards can go on, which is why some owners have paid roughly $300 to have a shop do it. This guide walks through the complete install for a 2013-2016 RDX, from lifting the vehicle to final torque, and folds in the follow-up notes about mud-guard clearance and pre-threading the bracket holes. Work over a clean floor, protect your eyes while drilling, and support the vehicle on stands the whole time. Adapted from a community writeup by carbonTSEX on AcuraZine (https://acurazine.com/forums/2g-rdx-diy-faq-406/diy-advance-running-boards-install-942146/), including corrections from the follow-up discussion.
Reference
Tools Required
- Socket ratchet in 10mm, 12mm and 13mm sizes
- Torque wrench (for the 16 lb-ft final pass)
- Power drill plus bits: 3mm (1/8), 6mm (1/4), 8mm (5/16), 10mm (3/8)
- 30mm hole saw (a 29mm saw also works)
- Air saw, or a fresh sharp utility/X-acto knife
- File (for deburring)
- Push pin
- Floor jack and jack stands
- Eye protection
Parts Required
-
Acura Advance running board kit: (2) running boards
-
(4) A brackets
-
(2) B brackets (short)
-
(2) C brackets (long)
-
(32) 8x20mm flange bolts
-
(4) 8x65mm flange bolts (for B brackets)
-
(4) 8x80mm flange bolts (for C brackets)
-
Isopropyl alcohol (to clean protective-tape residue)
Safety Warnings
- ⚠ Keep the vehicle on jack stands the entire time you work underneath; do not trust the floor jack alone.
- ⚠ Wear eye protection while drilling and cutting the plastic covers.
- ⚠ Do not open the two large marked circles with the step drill bits; use only the hole saw so the openings stay the correct size.
- ⚠ The chrome trim in the middle of the board sits low and is easily bent by curbs or objects when parking; take care maneuvering.
Step-by-Step Instructions
1 Raise and support the vehicle
Lift one side of the RDX with a floor jack and lower it onto jack stands so both underbody covers are accessible. Never rely on the jack alone while you are working beneath the sills.
2 Remove the driver-side underbody cover
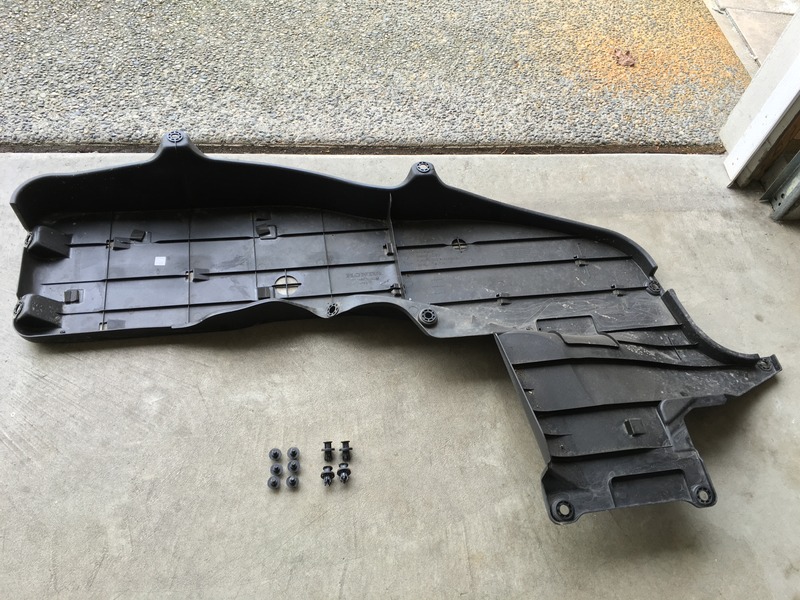
On the left (driver) side, take out the six 10mm bolts and release the four retaining clips, then set the cover aside on a clean surface. Note where each fastener came from so it can be returned to the same spot later.
3 Remove the passenger-side underbody cover
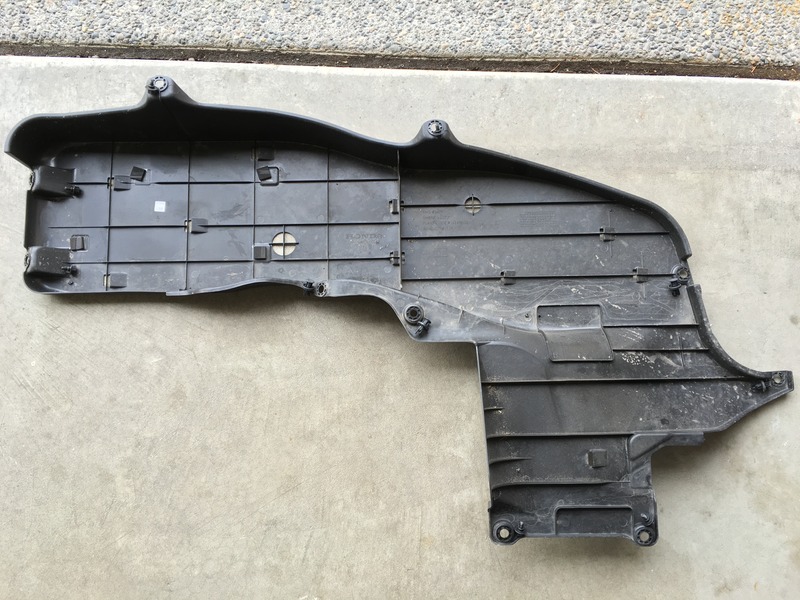
On the right (passenger) side, remove the two 10mm bolts and the six clips holding its cover, and take it off. Keep its hardware separate from the driver-side pieces.
4 Mark and pilot-drill the driver cover
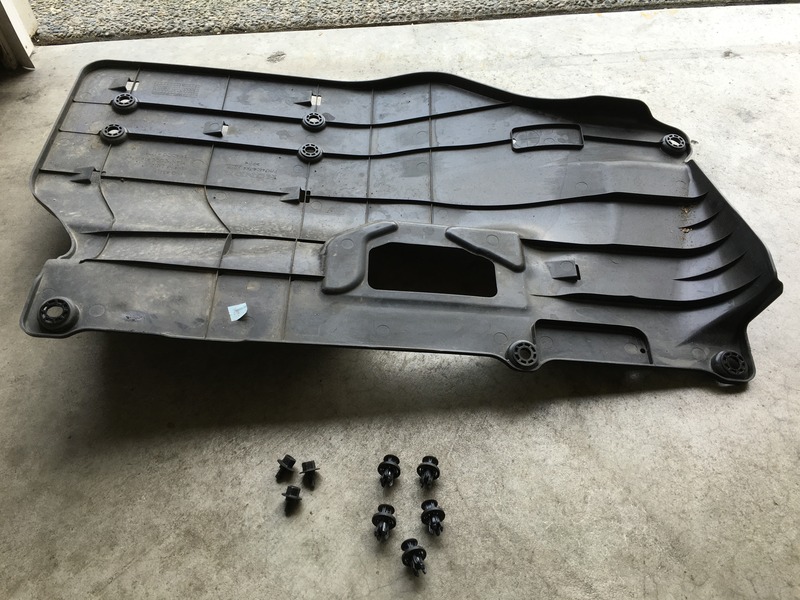
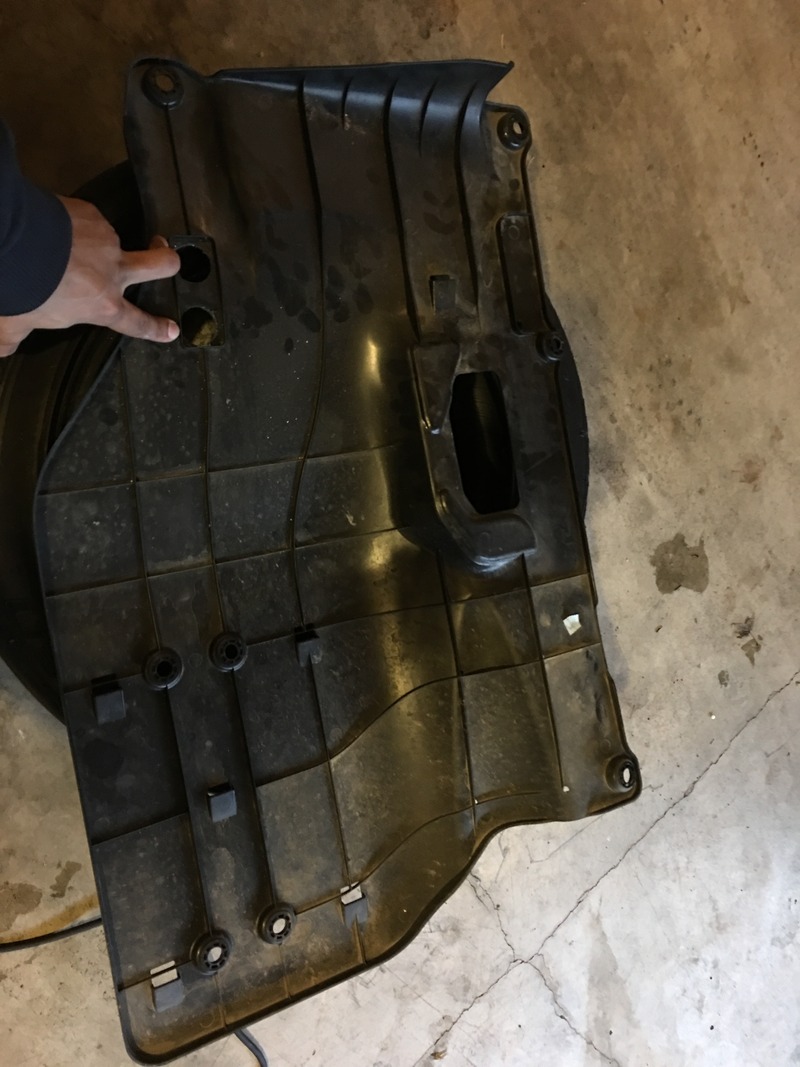
The driver cover carries molded circles marked with a plus sign: six small ones and two large ones. Dimple the center of all eight with a push pin, then run a 3mm (1/8) pilot through each of the eight marks.
5 Open the driver-cover holes to size
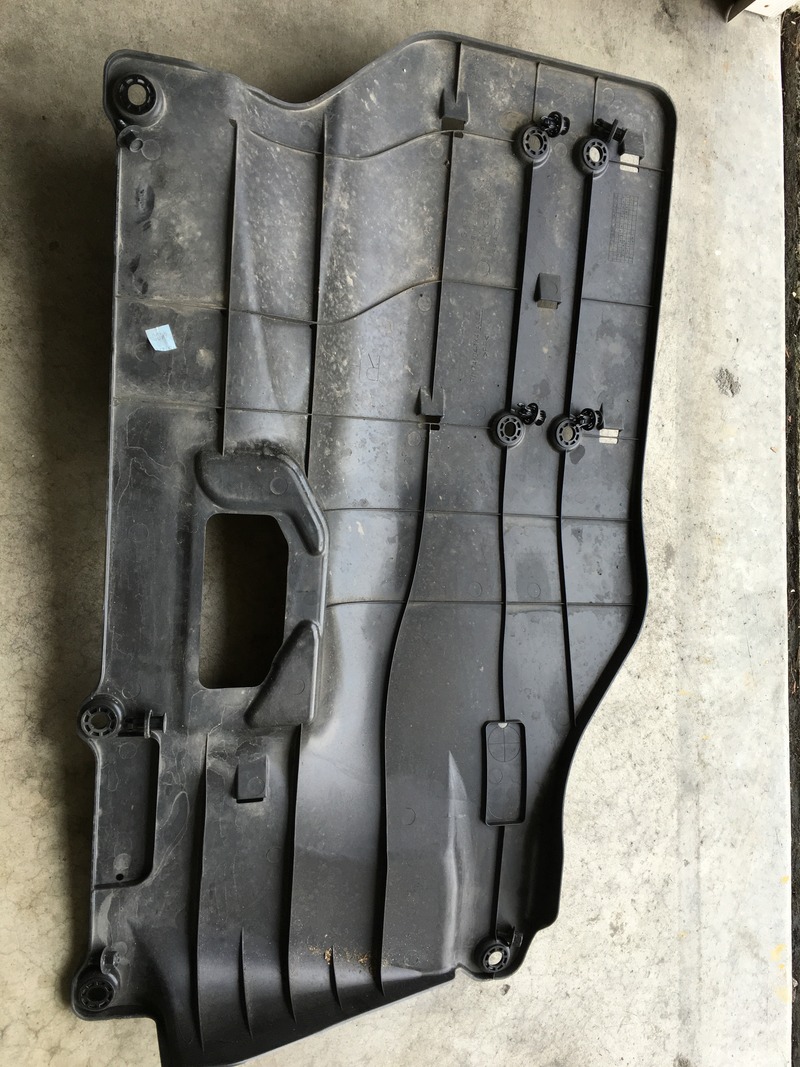
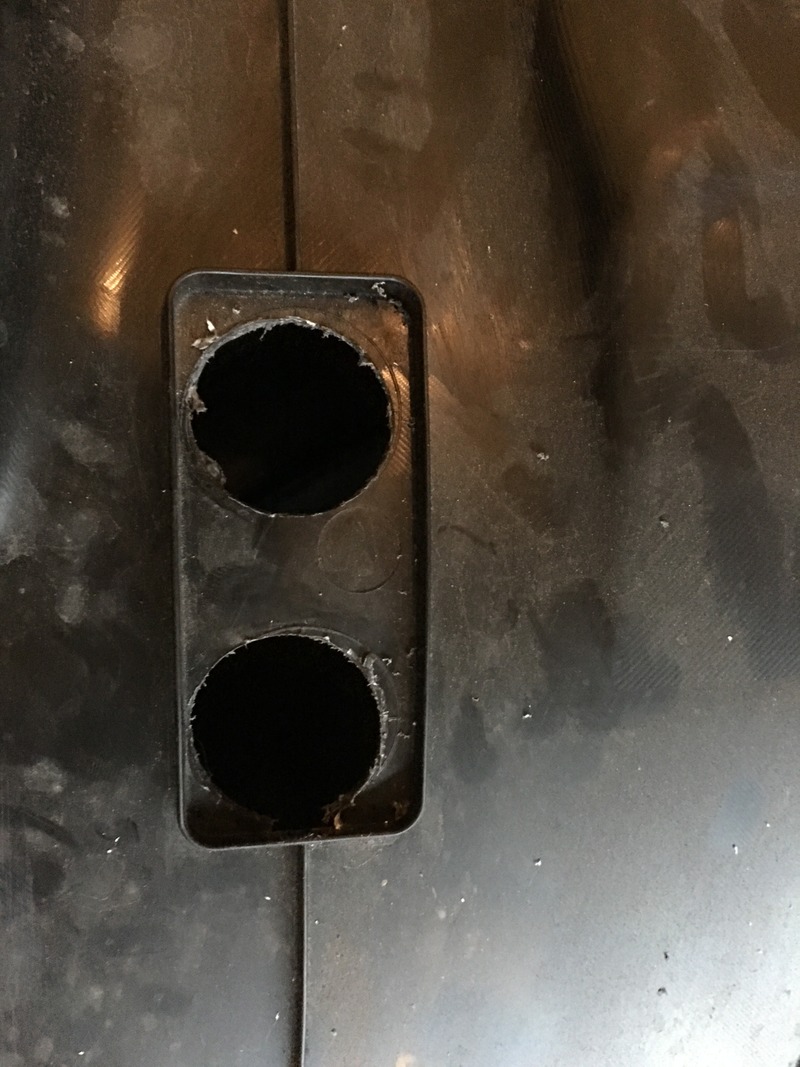
Step the six small pilots up through 6mm (1/4), then 8mm (5/16), then 10mm (3/8). Leave the two large circles at pilot size for this stage. Cut the two large openings with the 30mm (or 29mm) hole saw, and file every edge clean of burrs.
6 Drill the passenger cover
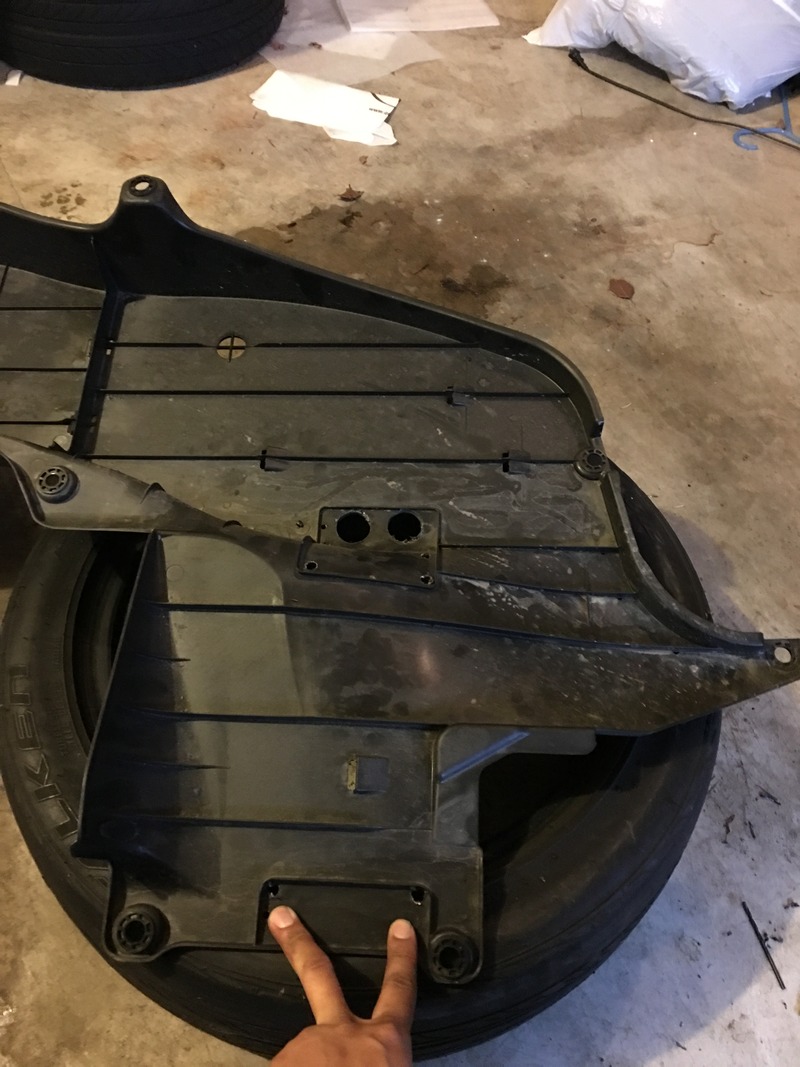
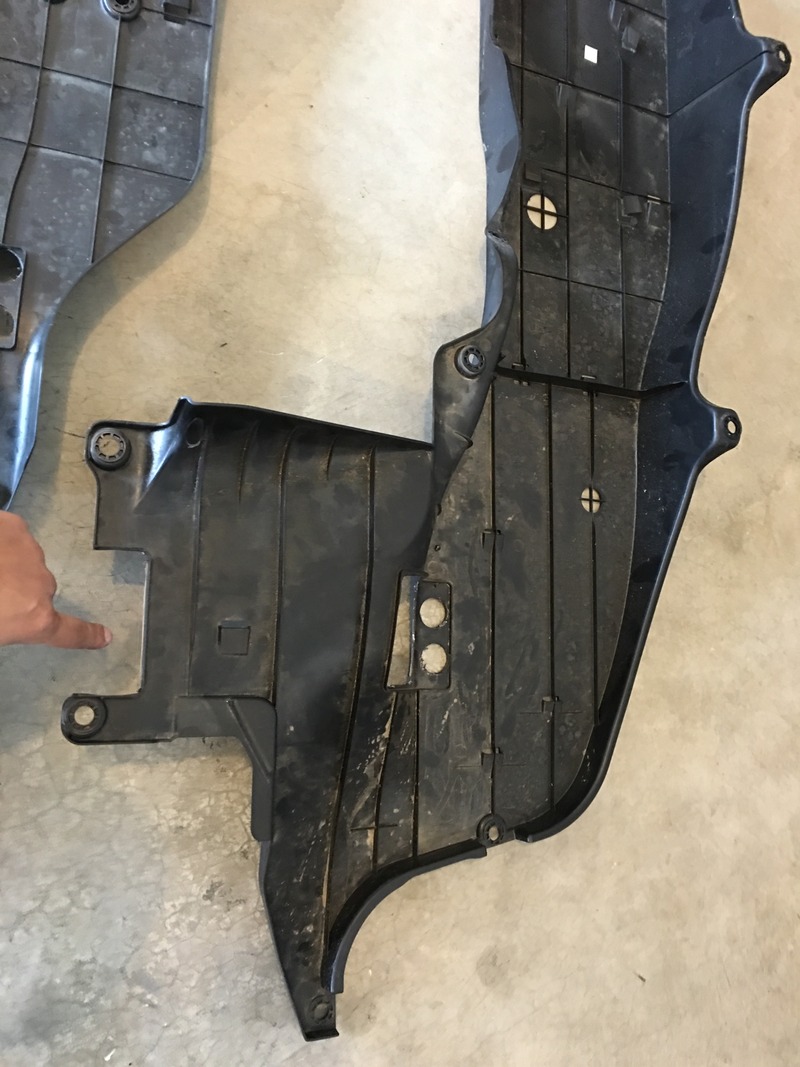
Repeat the marking and drilling on the right cover, which has only two small plus-marked circles and two large ones. Punch and pilot all four at 3mm (1/8), step the two small holes up through 6mm, 8mm and 10mm, and finish the two large ones with the hole saw. Deburr with the file.
7 Trim the cover end pieces
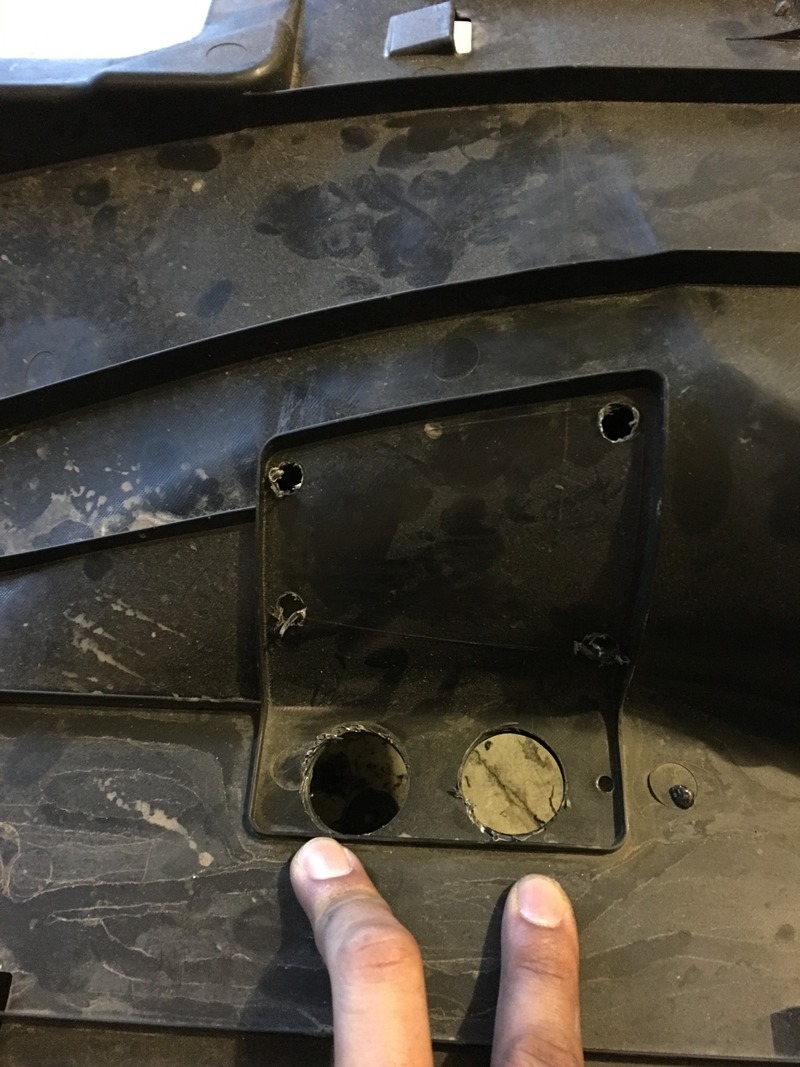
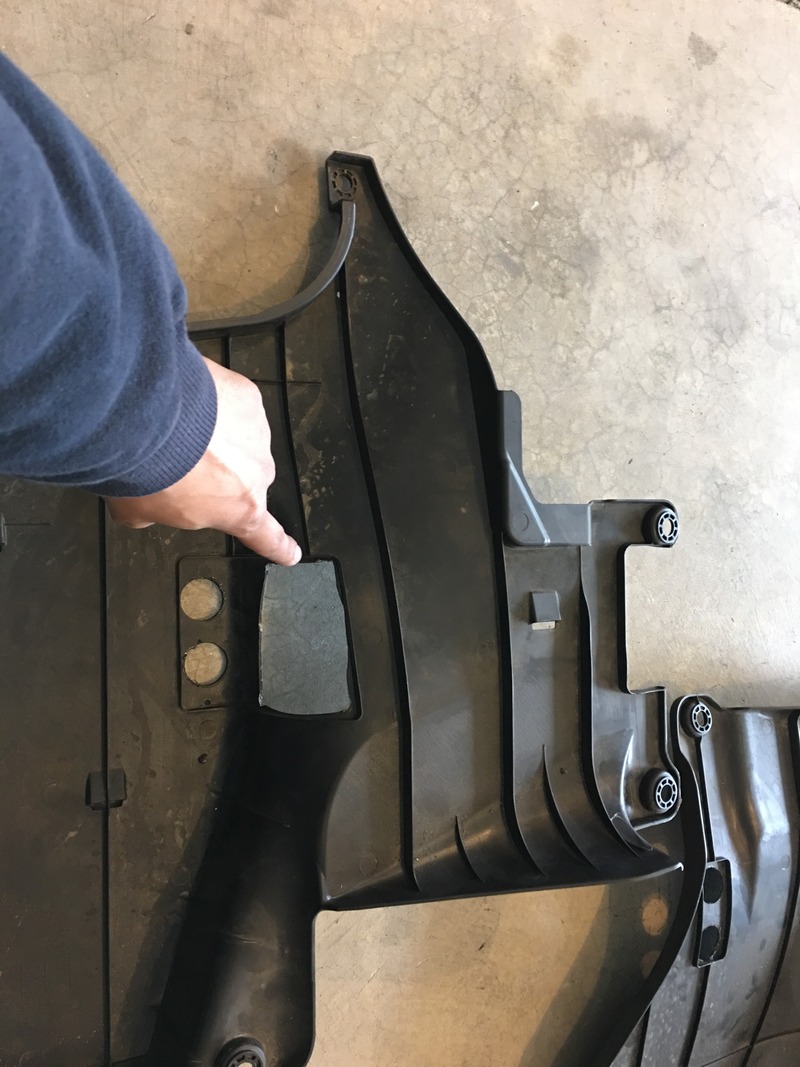
Cut away the end sections of both covers at the drilled openings so the brackets can pass through. An air saw is ideal; a new, sharp utility or X-acto blade also does the job. Dress the cut edges smooth.
8 Refit both underbody covers
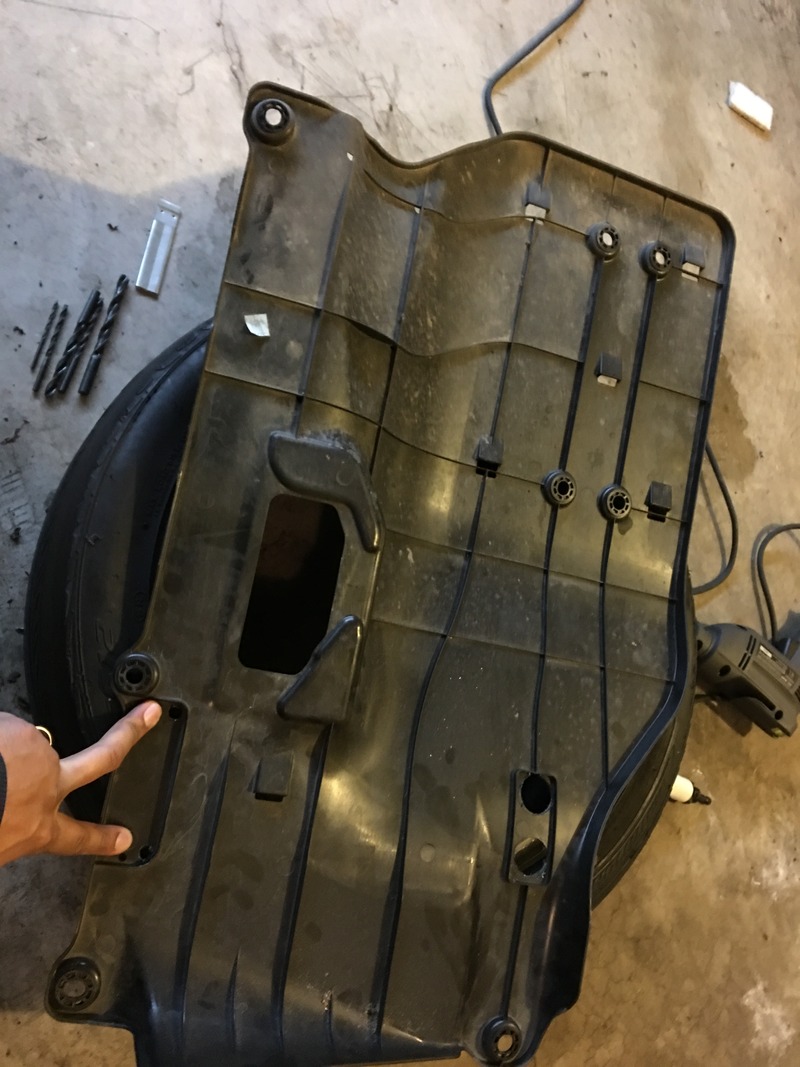
With the panels prepped, reinstall each cover using its original 10mm bolts and clips before moving on to the brackets.
9 Mount the A brackets
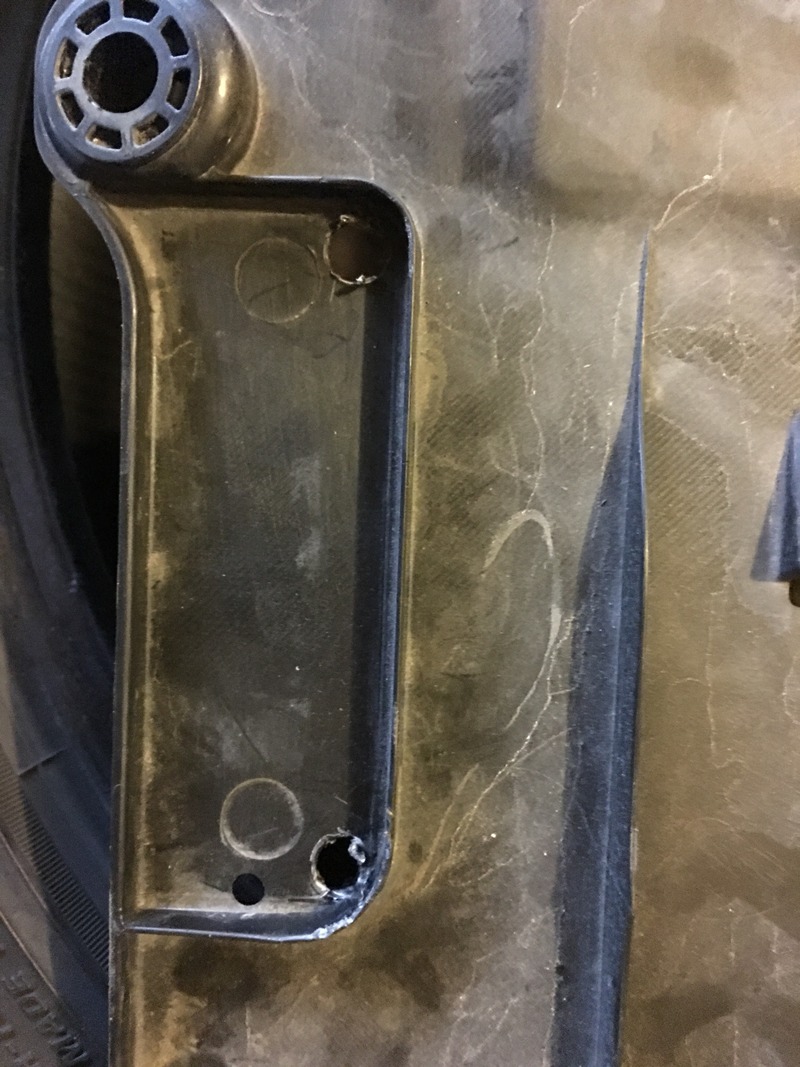
Each side takes two identical A brackets; orient them with the open end pointing inboard toward the vehicle center. Secure each with two 8x20mm flange bolts and a 13mm socket, left loose for now. Running a bolt through every threaded hole first makes them seat far more easily during final assembly.
10 Fit the B (short) brackets
The short B bracket mounts toward the front of each side. Attach it loosely with two 8x65mm flange bolts using a 12mm socket.
11 Fit the C (long) brackets
The long C bracket goes toward the rear. Fasten it loosely with 8x80mm flange bolts and a 12mm socket. On the left side it passes through the pre-cut square opening; on the right it feeds through the large drilled holes.
12 Tie the brackets together
Join bracket A to bracket B, and bracket A to bracket C, on each side using four 8x20mm flange bolts and the 13mm socket. Keep everything loose so the assembly can still be shifted.
13 Hang and align the running boards
Lift each running board onto its pair of A brackets and start four 8x20mm flange bolts per board with the 13mm socket. This can be done solo. Push up on the board while snugging the bolts so it seats firmly, and check that it sits parallel to the body before locking it down.
14 Final-torque and clean up
Once both boards are aligned, torque all bolts to 16 lb-ft with the torque wrench. Peel off the protective tape and wipe away any adhesive residue with isopropyl alcohol before lowering the vehicle.
Pro Tips
- 💡 Thread a bolt into every bracket hole before mounting the brackets; the fasteners are tight the first time and this makes them go in much smoother.
- 💡 Front mud/splash guards do not conflict with these boards. Installing the guards before or after the boards works with no clearance problem reported.
- 💡 The 30mm hole saw called out in the kit can be hard to source; a 29mm saw is a fine substitute for the large openings.
- 💡 The Advance boards run the full length of the vehicle with black plastic and chrome trim, unlike the shorter Sport step; they help with roof and cargo access.
Was this guide helpful?


