
Honda B-Series Harmonic Damper Inspection and Fluidampr Upgrade
- Never fit a lightweight aluminum crank pulley on a built or high-RPM engine - it provides no torsional damping and the resulting crank stress can cause catastrophic failure.
- Do not install a press-fit damper by drawing it on with the crankshaft bolt and an impact gun - you can damage the crank threads. Use the proper installation tool.
- An aged or cracked OEM damper can fail catastrophically; a loosened crank bolt or slipped timing belt from pulley failure can bend every valve (as reported in the replies with an aftermarket lightweight pulley).
Introduction
The harmonic damper (crank pulley/balancer) on the crankshaft snout does more than drive the water pump, alternator and A/C compressor: it counters torsional twist and resonance vibration in the crankshaft. The OEM elastomer damper is tuned to a narrow frequency range for the factory setup; once forged internals, cams, forced induction or nitrous alter the engine's harmonics, the stock damper protects less and robs horsepower and torque, and its rubber bond degrades with heat and climate cycling - a failure mode the factory service manual never schedules for inspection. Uncontrolled resonance can wear or destroy the crankshaft, bearings, oil pump and even the valvetrain. This guide covers inspecting the stock damper, choosing a replacement for a modified B-series (which is internally balanced - the stock damper carries no counterweights), installing a Fluidampr viscous unit, and verifying the result. The author fitted one to a forced-induction B-series rebuilt from the ground up and measured a 36.4 dB peak noise reduction at idle. Adapted from a community writeup by jetspeedz on Honda-Tech (https://honda-tech.com/forums/forced-induction-16/fluidampr-jetspeedzs-personal-impressions-review-how-install-write-up-3329855/), including corrections from the follow-up discussion.
Procedure
7 steps-
Step 1: Inspect the OEM elastomer damper
The factory damper is two cast pieces bonded with a rubber-type material. Inspect the rubber ring for cracking and deterioration - and do not trust a casual glance. The author's OEM damper with only about 25,000 miles looked excellent to the naked eye, but under 10x/20x magnification a large crack was developing near the edge, the kind that grows into catastrophic failure. Rubber dissipates heat poorly, and heat from damping plus hot/dry and cold/wet climate cycles progressively cost it hardness (durometer) and elasticity. If the rubber shows cracking, or the engine is modified beyond stock, the damper needs replacing.
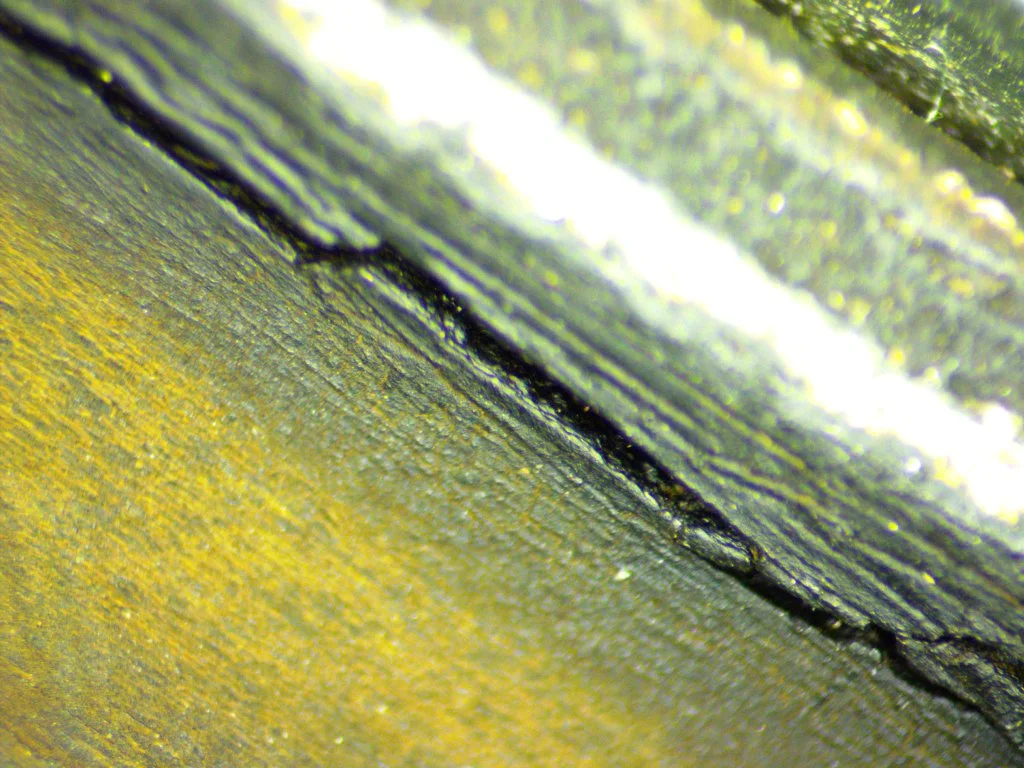
FIG. 2.1 -
Step 2: Rule out lightweight crank pulleys
Do not replace the damper with a lightweight anodized pulley or another lightweight 'underdrive' alternative. OEM and quality aftermarket dampers are weighted for a reason: a lightweight pulley absorbs no torsional twist, allowing vibration to travel back through the crankshaft into the block and head, robbing power and risking micro-fractures in the crank that stay invisible until it is too late. Reputable engine builders do not recommend them.
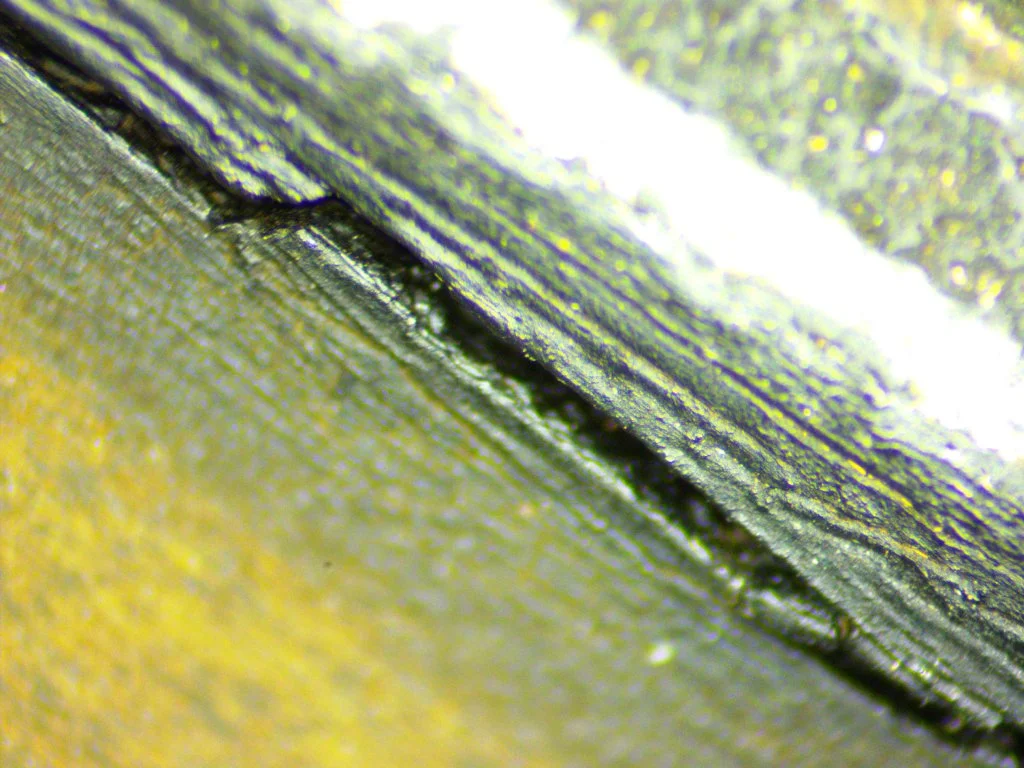
FIG. 2.2 -
Step 3: Choose a damper matched to your build
For a modified motor, compare the damper types on facts. The Fluidampr is a viscous unit: an outer housing bolted to the crank, a free-floating inner inertia ring, and proprietary silicone fluid in the shear gap between them. As combustion twists and rebounds the crank, housing and ring move in and out of phase; the ring shearing through the silicone converts torsional vibration to heat, which the housing dissipates. It is self-tuning across the whole RPM range, maintenance-free for life, rated from -40F to 300F, SFI 18.1 certified with the certification engraved (not a sticker), and because the inertia ring free-floats, its effective rotating mass is on par with the OEM damper despite a higher total weight. An elastomer-type unit such as ATI is tuned by rubber O-rings toward higher-RPM frequencies and has a published rebuild schedule: every five years up to 400 hp, every two to three years at 400-600 hp, and annually over 600 hp. Note availability: Fluidampr does not make units for the H22 or D-series, so those engines are limited to elastomer options.
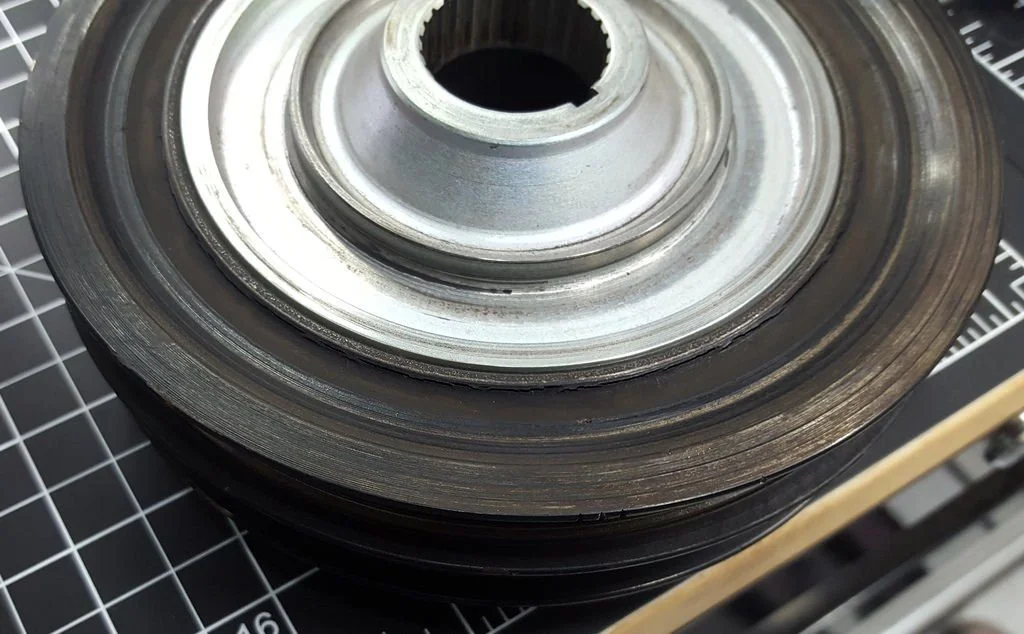
FIG. 2.3 -
Step 4: Obtain the correct installation tool kit
The Fluidampr mounts to the B-series crank snout as a press fit, so a proper installation tool is essential. The Fluidampr tool kit is the only kit the author could find with the M14x1.25 adapter that matches the Honda crank thread - none of the universal damper installation kits include it. The kit is not cheap (it can cost more than the damper), but no safe alternative was identified in the discussion; consider borrowing one.
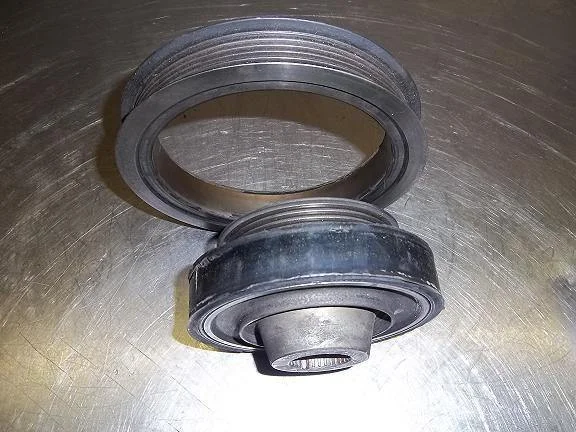
FIG. 2.4 -
Step 5: Press the damper onto the crankshaft with the tool
Remove the old damper and draw the Fluidampr onto the crank snout using the installation tool threaded into the crank via the M14x1.25 adapter, pressing it evenly to full seat. Do not force the damper on using the crankshaft bolt and an impact gun - that shortcut can damage the crank threads. The damper's timing marks are engraved and easily visible for setting ignition timing afterwards.
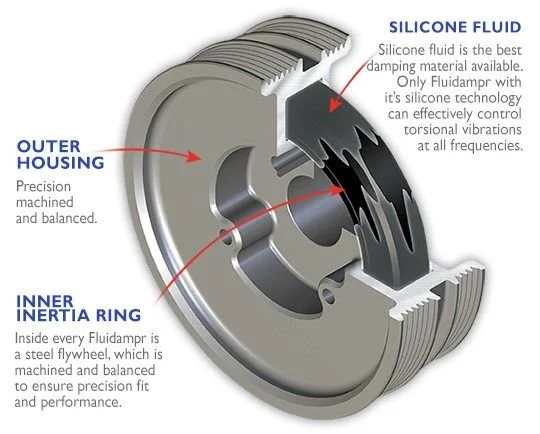
FIG. 2.5 -
Step 6: Verify the result at idle
Start the engine and observe idle quality. The author measured a 36.4 dB reduction at peak points with a decibel meter compared with the OEM damper - a difference obvious without instruments. Vibration measured with an accelerometer-based meter dropped from an initial intensity level IV on the valve cover, with cabin readings of only level I to II; vibration felt through the steering wheel was immediately reduced. Startup was also noticeably easier, attributed to the reduced effective rotating weight.
FIG. 2.6 -
Step 7: Road test and datalog
Drive the car and datalog to confirm behavior across the rev range. Expected observations from the author's testing: noticeably less vibration at high RPM, smoother and more responsive throttle feel, smoother gearshifts with less judder even with a grabby race clutch and flywheel, and a smaller RPM drop between shifts. Idle stability under A/C load at a stop also improved, with less tendency to bog or stall.
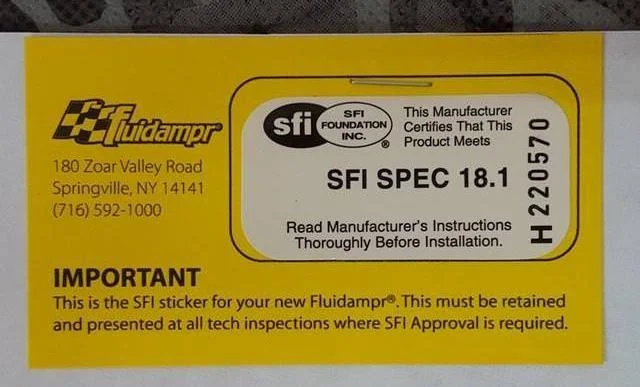
FIG. 2.7
- The B-series is internally balanced, so the damper is purely a damper - there are no counterweights on it. Any replacement is about vibration control, not balance.
- Inspect the OEM damper at every major service even on a stock engine; the factory service manual gives no replacement interval, yet the rubber bond degrades with age, heat and climate.
- A used Fluidampr is a safe buy - it is maintenance-free for life with no rubber to age, so mileage on the unit does not matter.
- Rumors that the silicone gel hardens over time were not supported by any evidence found by the author, and the same viscous design is used by OEMs (Ford, Audi, Lamborghini) and across military applications by parent company Vibratech.
- One reply attributed a supercharger belt-drive bearing failure to crank vibrations passed along by the old damper; the smoother crank output after the upgrade protects belt-driven accessories too.
Related procedures
All guides →Tap right for next · left for back · Keys: ← → step · Space / PgUp / PgDn scroll · Esc exit