
Koni Sport Shocks and Ground Control Coilover Sleeve Install (Honda Civic)
- Never work under a car supported only by a jack - always use jack stands on flat ground.
- Use a real spring compressor and keep the spring secured in it - a compressed coil spring that slips can cause serious injury. Do not improvise with a jack.
- Always final-torque suspension bolts with the car at static ride height, not with the suspension at full droop, or the bushings will be preloaded and fail early.
- At very low ride heights the short coilover springs can go loose at full droop (e.g. over a crest) - check for spring retention when choosing your ride height.
Introduction
This procedure fits Koni Sport dampers with Ground Control coilover sleeves and Eibach springs to a Honda Civic - a proven, budget-friendly performance combination that lets you choose spring rates and adjust ride height, and the same layout applies to EG/EK Civics and DC2 Integras with double-wishbone suspension. Because the kit reuses the factory top hats, bump stops, and hardware, most of the work is careful disassembly and reassembly of the strut units in the right order. The rear is covered first, then the front, which differs mainly in the shock fork attachment to the lower control arm. Koni Sports handle spring rates up to around 600 lb (10.7 kg/mm); the author started at 400 lb front / 300 lb rear for street comfort, getting additional roll stiffness from sway bars instead. Torque figures are not repeated here - take them from a Helms or equivalent manual for your chassis, and always final-torque suspension bolts at static ride height. Adapted from a community writeup by Muzz on OzHonda (https://ozhonda.com/forum/showthread.php?70834-DIY-Koni-amp-Ground-Control-Civic-Install), including corrections from the follow-up discussion.
Procedure
13 steps-
Step 1: Raise the car and remove the wheels
On flat ground, jack up the car and place it on jack stands, then remove the wheels for working room. If you only have two stands, do one end of the car at a time. Never work under a car supported only by a jack.
-
Step 2: Remove the rear shock/spring assembly
Remove the lower shock bolt and the lower control arm's inner (subframe-side) bolt. Up top, only the two outer nuts securing the strut top need to come off - leave the Allen key socket in the center of the shock shaft alone. The assembly is now free; wriggle it around and pull it out. A member correction: undoing the LCA bolt at the trailing-arm end instead of the subframe end gives more leverage and is easier to get back in, though the author found the subframe bolt goes back in easily with the Konis because the new springs exert no force at full droop.
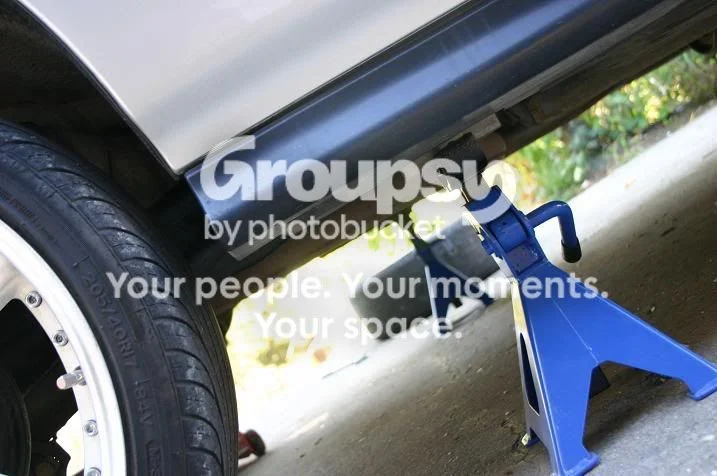
FIG. 2.2 -
Step 3: Disassemble the stock strut with a spring compressor
Compress the spring until it no longer pushes on the top hat, then undo the shock's top nut using a spanner while holding the shaft with an Allen key in its top. Note the component order as it comes apart: 1) shock, 2) bump stop, 3) smaller/thicker washer, 4) dust shield, 5) larger/thinner washer, 6) spring, 7) lower top hat bush - its flat side is the side pressed into the hat, 8) top hat itself, 9) upper top hat bush, again flat side toward the hat, 10) lipped washer (lip curls up), 11) top bolt. Use a proper spring compressor - the author improvised with a jack on the rear and strongly advises against it, and there is no way to improvise at the front.
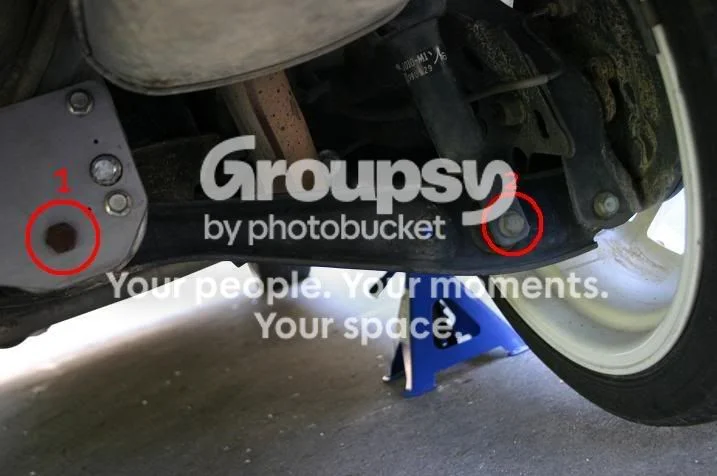
FIG. 2.3 -
Step 4: Install the Ground Control sleeves on the Koni shocks
Slide the coilover sleeve onto the shock body so the sleeve's inner ring sits properly over the shock's circlip. The fit is already very firm, but the author added a thick, wide strip of adhesive foam inside the sleeve to eliminate any chance of the sleeve moving on the body if a wheel ever gets airborne.

FIG. 2.4 -
Step 5: Cut the stock bump stops and fit them to the new shafts
Cut each stock bump stop in half, keeping the thicker top half. The white plastic ring goes onto the shock first, followed by the cut bump stop on the shaft.
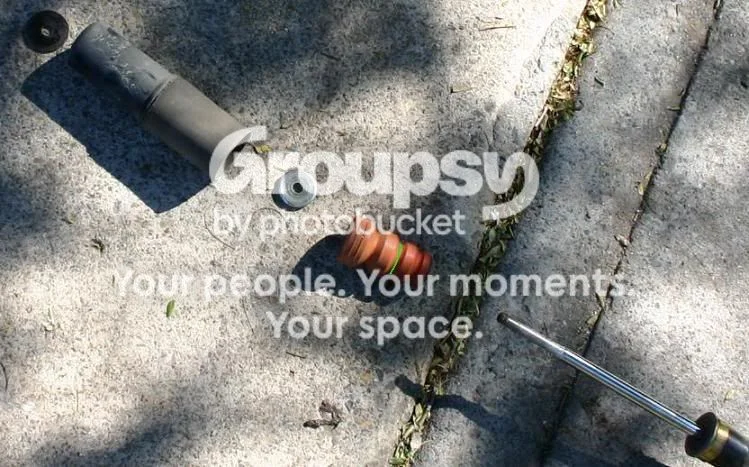
FIG. 2.5 -
Step 6: Fit replacement dust boots
The stock dust shields cannot be used with the coilover sleeves (without sleeves they can be reused by drilling the shaft hole out to 12 mm). Universal steering rack boots from a local parts store fit the shocks well. Press the smaller/thicker washer into the boot (it seats tightly in one of the rings), trim the boot so the lip over the washer is as long as possible, and place the larger washer on top. Add a small spacer washer under the top washer to limit clamping force on the rubber: with 3 mm thick boot rubber, a 2 mm washer allows only about 1 mm of compression, so the washer stack - not the rubber - carries the clamping load. The author also filed the sharp outer top edge off the lower washer so no sharp edge digs into the boot rubber. Running without dust boots works but shortens shock life by letting dust wear the piston shaft.
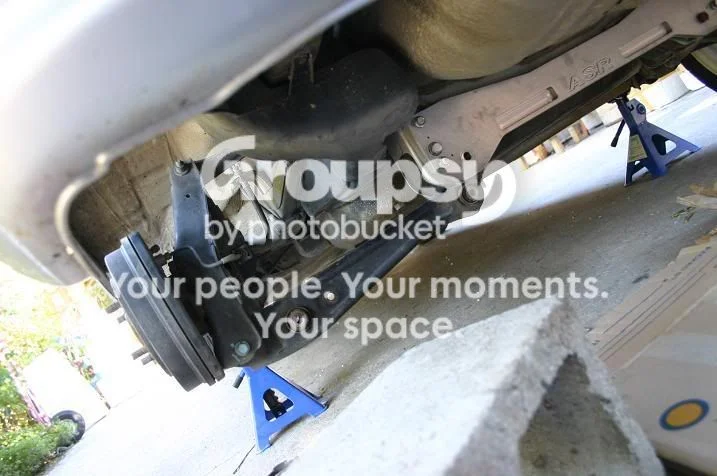
FIG. 2.6 -
Step 7: Assemble the top hat onto the new shock
Slide the metal tube onto the shaft. Fit the lower bushing from your stock top hat over the tube with its flat side pointing up toward the hat - the fit is tight because the bushing hole is sized for a 10 mm shaft and the Koni shaft is 12 mm, but there is no need to drill it out: the extra squeeze makes the bushing stiffer and holds the shaft more firmly. Pull the stock rubber spring isolator out of the top hat and replace it with the one supplied in the Ground Control kit. Slide the spring onto the shock, seat the top hat on the lower bushing, squeeze the upper bushing (flat side down into the hat) over the tube, add the lipped washer with the lip facing upward, and bolt it all down with the two supplied bolts, torquing them one at a time. The Koni instructions give no torque for these, so the author used the stock shock's top nut torque from the manual.
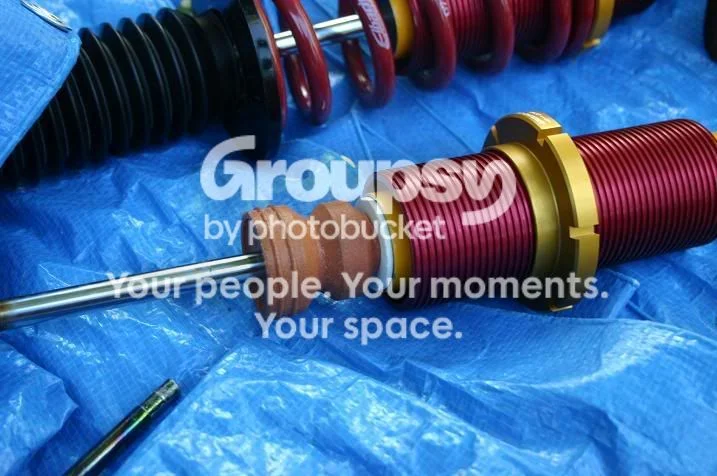
FIG. 2.7 -
Step 8: Install the rear assemblies and torque at ride height
Fit the assembled unit: hand-tighten the two top hat nuts so the shock can still move, then slip both the lower shock bolt and LCA bolt most of the way in without any clamping force. Torque the two top nuts to spec, set the ride height on the adjustable spring perch and lock its set screw (checking may mean lowering the car and jacking it back up to adjust, possibly several times), then lower the car to static ride height and torque the lower shock bolt and LCA bolt to spec. Suspension bolts must always be final-torqued at static ride height, never at full droop.
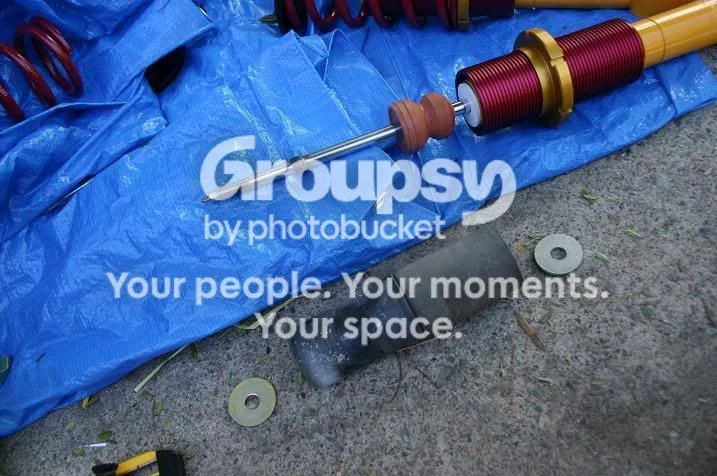
FIG. 2.8 -
Step 9: Remove the front struts
With the front on stands and wheels off, undo and remove the bolt holding the shock fork to the lower control arm - if it sticks, drive it through using a hammer against a thinner bolt. Undo and remove the pinch bolt clamping the shock in the fork and drop the fork off the shock. Undo the two top hat nuts and remove the strut. A member tip: crack the fork bolt and pinch bolt loose first, tap the fork loose with a rubber mallet, and push down slightly on the control arm for plenty of room to slide the strut out.
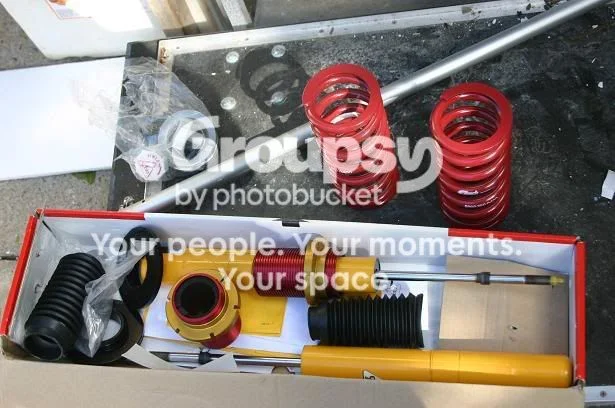
FIG. 2.9 -
Step 10: Transfer the brake line rings to the new front shocks
Disassemble the stock front struts (the component order is identical to the rear). Tap the brake-line retaining rings off the stock shock bodies with a hammer and install them on the new shocks, aligning each ring so its pointed tab points through the middle of the indent, then push the ring upward as far as it will go, until the bumps in the shock body stop it. Note: some later Koni bodies are smooth without these locating bumps; the ring will still work sitting on top of the fork with the tab located in the fork gap.
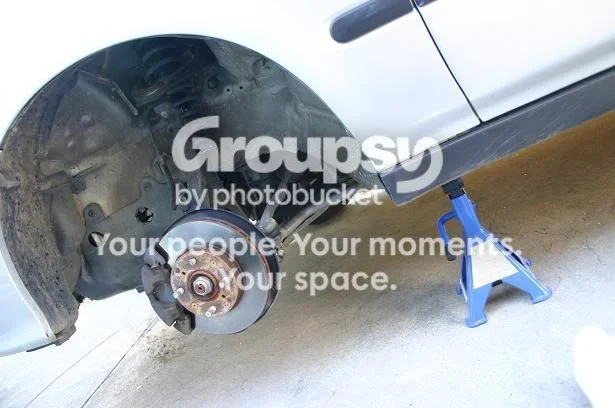
FIG. 2.10 -
Step 11: Assemble the front shock/spring units
Build the front units in the same order as the rear: coilover sleeve on the body; white plastic ring on the shaft; top half of the cut stock bump stop on the shaft; smaller/thicker washer over the shaft so it sits on the collar; dust boot; larger washer above it. For the top hats, press the new, larger metal tube into the two bushings and swap the stock spring isolator bush for the Ground Control item. Fit the spring, seat the top hat, add the lipped washer (lip curving upward), and tighten down with the two new bolts.
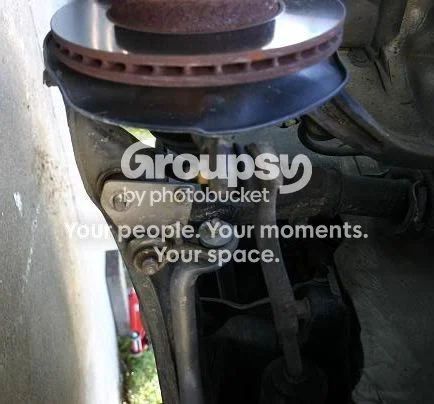
FIG. 2.11 -
Step 12: Install the front units
Bolt each unit in place hand-tight with the two top hat nuts. Slide the shock fork onto the new shock, making sure the pointed tab on the brake-line ring locates in the gap at the fork's rear, with the ring sitting on top of the fork - there is a notch where the pinch bolt lines up that sets the fork height. Install the pinch bolt and tighten it to the correct torque, then fit the fork-to-LCA bolt without tightening it yet.

FIG. 2.12 -
Step 13: Set ride height, settle, final torque, and test drive
Adjust each spring perch to the desired height - you will jack up to adjust and lower to check several times. Both sides must end up equal; the easiest measurement is taken between the bottom of the coilover sleeve and the bottom edge of the adjustable spring perch. Lock each perch set screw. Lower the car, roll it back and forth a few times to settle the suspension, then torque the fork-to-LCA bolts and the top hat nuts to spec at static ride height. Set the damping adjustment equal on both sides. Test drive gently with the radio off, listening for any unusual noises, then get a wheel alignment.

FIG. 2.13
- Hold the shock piston with a 9 mm ring spanner while tightening the two top hat nuts so the shaft cannot spin.
- On EG Civics the long stock rear springs can jam the assembly against the LCA on removal - unbolt the sway bar mounts so the lower control arm can drop further and the unit comes straight out.
- The author's setup: 400 lb front / 300 lb rear springs with a 24 mm Whiteline front sway bar and a custom 32 mm hollow rear bar - softer springs for bumpy street use, with roll stiffness from the bars. Koni Sports are good up to around 600 lb (10.7 kg/mm) spring rates.
- Ground Control sells extra Eibach spring pairs in any rate (about $118 US at the time), and the front and rear springs are similar lengths so rates can be swapped around for testing.
- These Koni Sport dampers adjust with a linear progressive feel - there are no clicks, so match sides by turn count.
- If you are not using coilover sleeves, the stock top hat metal tube and dust shield can be reused by drilling them out to 12 mm for the Koni shaft.
- Consider extended front top hats only for big drops; the author limited lowering to 35 mm maximum to preserve roll center and camber curves - Civics do not respond well to excessive lowering.
Related procedures
All guides →
Tap right for next · left for back · Keys: ← → step · Space / PgUp / PgDn scroll · Esc exit