
Honda Coolant Change and Bleed (EG/EK Civic, DC2 Integra)
- Never open the radiator cap or drain bolts while the engine is hot — pressurized coolant can cause serious burns. Squeeze the top hose first: firm means hot.
- Do not overtighten the 12mm bleed bolt: 9.8 Nm is the specified torque, and overtightening has broken the bleed housing for at least one owner.
- Engine coolant is toxic. Collect the old coolant and take it to a proper waste disposal facility — never tip it into the garden or a stormwater drain.
- Avoid opening the bleed valve on top of the block unless it is already leaking — it is difficult to reseal properly.
Introduction
This procedure drains, refills, and bleeds the cooling system on 1990s Honda Civic (EG/EK) and Integra (DC2) models, and follows the Honda service manual method. Honda recommends flushing the coolant roughly every 40,000 km (many dealers do it every 20,000 km); old coolant loses its corrosion inhibitors and turns visibly brown against fresh fluid. The job needs only two drain points, a 12mm bleed bolt, and about 4-5 L of coolant, and it is one of the easiest pieces of preventive maintenance you can do on these cars. Adapted from a community writeup by wynode on OzHonda (https://ozhonda.com/forum/showthread.php?11430-DIY-Coolant-change-(EG-EK-DC2)), including corrections from the follow-up discussion.
Procedure
10 steps-
Step 1: Confirm the engine is cold
Never open the radiator while the coolant is hot — pressurized hot coolant can cause serious injury. Squeeze the top radiator hose: if it feels firm, the system is still under pressure and hot, so wait. Only proceed when the engine has fully cooled.
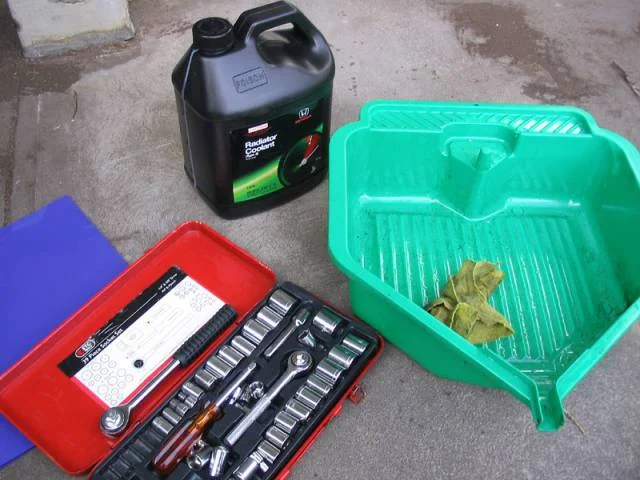
FIG. 2.1 -
Step 2: Set the heater to maximum
Start the car and move the heater temperature control to its hottest setting, then stop the engine. This opens the heater valve so the heater core drains and refills with the rest of the system.
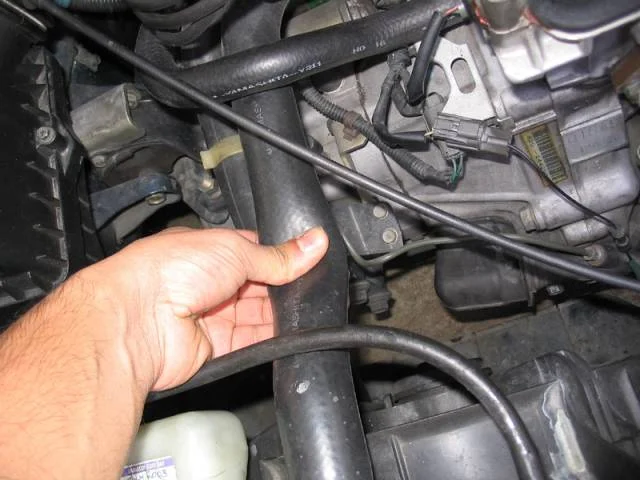
FIG. 2.2 -
Step 3: Remove the radiator cap and open the radiator drain
Remove the radiator cap. Place a drain pan under the radiator and loosen the plastic drain bolt down at the base of the radiator — it does not need to come out completely, just enough for the coolant to start draining. The plastic radiator drain plug does not use a metal crush washer.
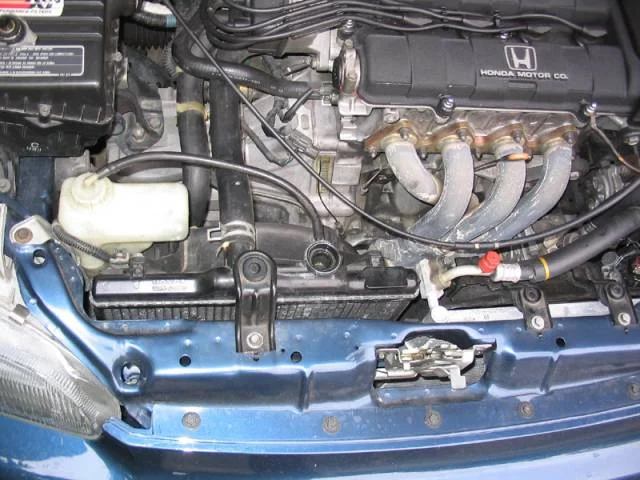
FIG. 2.3 -
Step 4: Drain the engine block
Remove the engine block drain bolt (19mm) and let the coolant drain out completely. If the block bolt is seized, do not force it — the job can be completed from the radiator drain alone, especially if the coolant has been changed regularly. Alternatively, jack the car up slightly on the side opposite the radiator drain to help the block empty through the radiator.
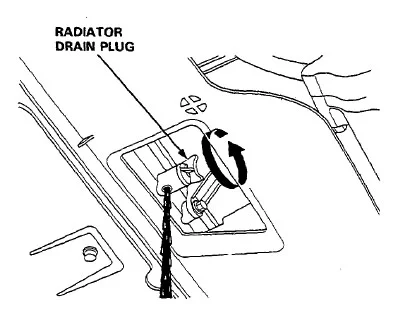
FIG. 2.4 -
Step 5: Empty the overflow reservoir
Take the cap off the coolant overflow reservoir, pull the reservoir straight up out of its holder, and empty its contents into the drain pan. Put it back into its holder and refit its cap.
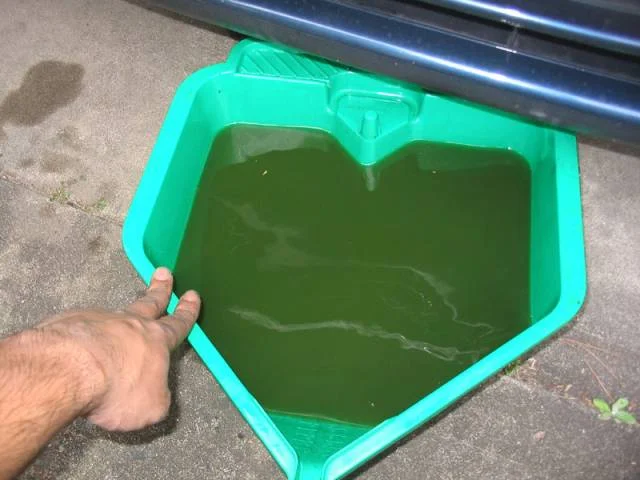
FIG. 2.5 -
Step 6: Refit the drain bolts
Once draining has finished, tighten the radiator drain plug fully. Apply liquid gasket to the engine block drain bolt (optional but recommended) and tighten it back up.
-
Step 7: Fill the radiator
Pour pre-mixed coolant into the radiator through the cap opening up to the base of the filler neck. If using concentrate, mix it 50-50 with distilled or demineralised water first — tap water contains minerals that build up in the water jackets and can react with the coolant and corrode the engine.
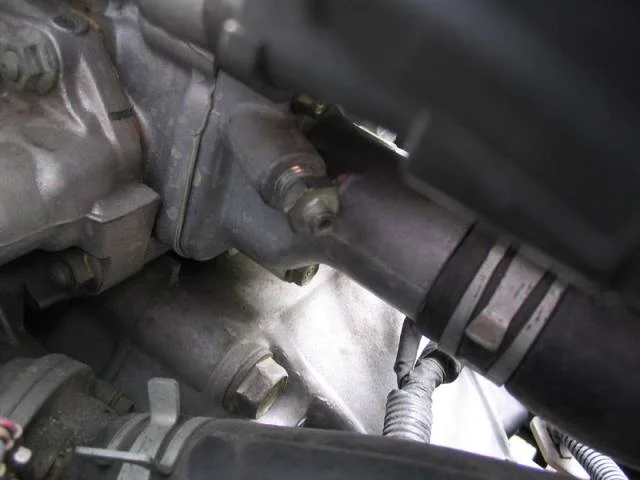
FIG. 2.7 -
Step 8: Bleed the air from the system
Loosen the 12mm bleed bolt sitting at the highest point of the uppermost radiator hose, keeping it open until no air bubbles come out and there is only a steady stream of coolant, then retighten it. Do not overtighten — 9.8 Nm is sufficient, and overtightening can crack the housing. On DOHC non-VTEC engines the bleed bolt is behind/underneath the distributor; on SOHC engines it sits atop the radiator hose at the engine's front, just above the stamped engine number. If nothing comes out of the bleed bolt, tighten it, fit the radiator cap, briefly run the engine to build pressure, then crack the bolt again.
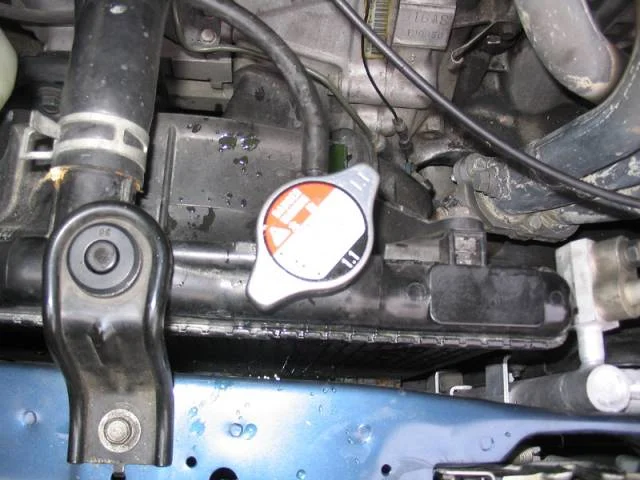
FIG. 2.8 -
Step 9: Top up and warm the engine
Bring the radiator level back up until it reaches the base of the filler neck, then put the radiator cap on to its first click only (or leave it loose). Start the engine and let it run until fully warmed up — make sure the radiator fan cycles on at least twice. This purges remaining air from the system.
-
Step 10: Final level check and cleanup
Turn the engine off, let it cool, check the coolant level in the radiator, and top up if necessary — the system often draws in a little more coolant after the first heat cycle, so re-check again after the first drive. Fill the overflow reservoir to the MAX mark and refit both caps. Wash any spilt coolant off painted surfaces and the driveway with clean water.
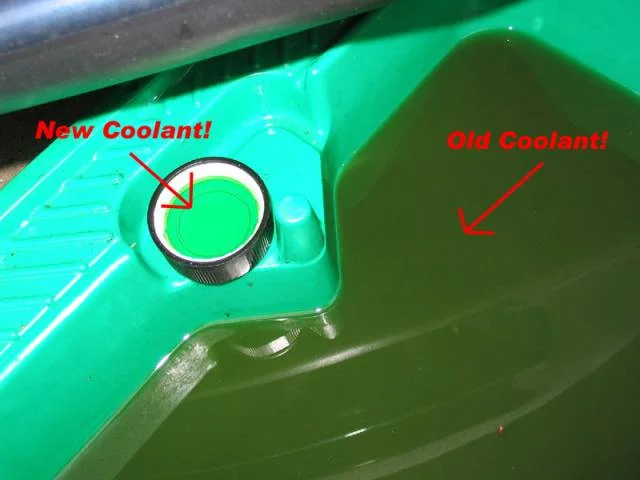
FIG. 2.10
- Honda pre-mixed coolant (about 4 L per bottle) removes any guesswork about mix ratio and water quality.
- Drain when the engine is just warm enough that the thermostat has been open, or remove the thermostat, if you want to flush the entire system — with a cold engine and closed thermostat some old coolant stays in the block. Flushing the radiator and block with a hose (finish with distilled/demineralised water) clears remaining buildup.
- As an alternative to the bleed bolt, jack the front of the car up so the radiator cap is the highest point of the system and run the engine with the cap off (or on loosely) until the fans have cycled and no more bubbles appear.
- Coolant flush interval: roughly every 40,000 km (dealers commonly do it at 20,000 km services).
- If you switch coolant brands or types, flush the entire system with clean water first so the two formulations never mix.
- Hard, flaky deposits you can feel breaking up inside a radiator hose when you squeeze it are rust and scale — replace all the hoses and flush the system.
- How long the fan takes to cycle depends on ambient temperature: around 5 minutes on a hot day, longer on a cold day.
Related procedures
All guides →Tap right for next · left for back · Keys: ← → step · Space / PgUp / PgDn scroll · Esc exit